How to Make Waterproof 3D Prints

A waterproof 3D print is easier to achieve than you might think. Read on for tips on material, slicer settings, and post-processing!
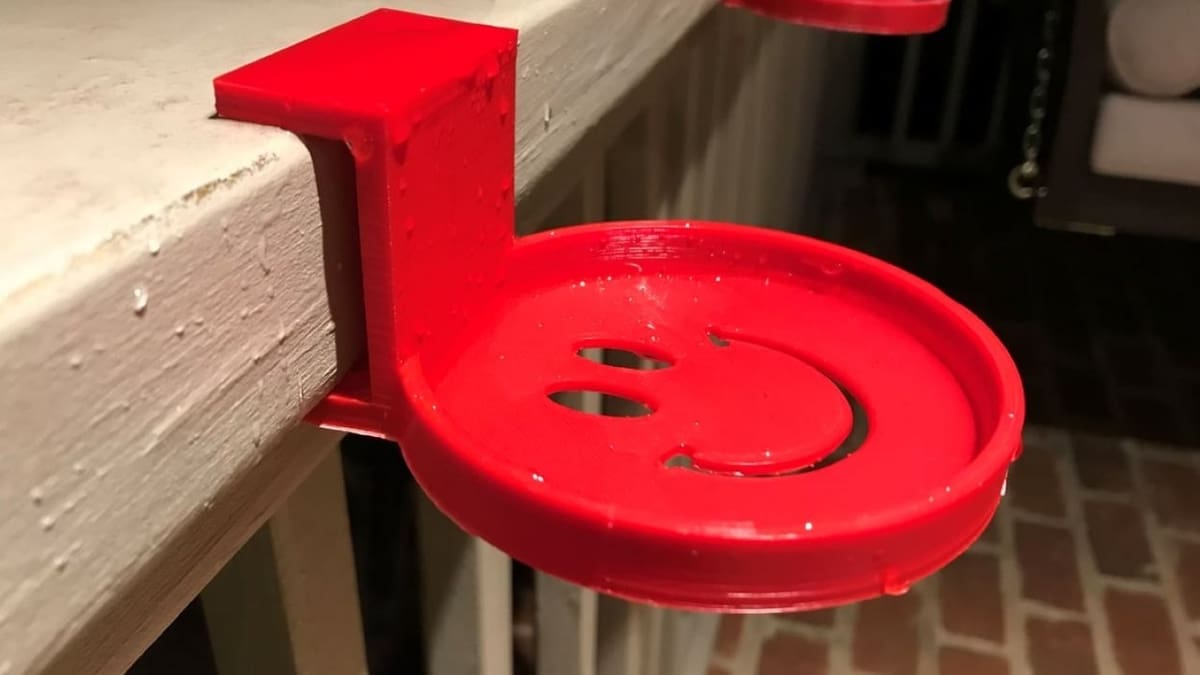
Although 3D printed parts have many benefits, they’re usually not waterproof. Taking the time to waterproof your parts can make them last longer and protect them against water damage. Plus, it just takes a few simple steps to do.
Many people have misconceptions about what “waterproof” means, so let’s clear that up right away. Basically, there’s waterproof and watertight, and they’re different. Waterproof means that water can’t penetrate into (and through) the part, while watertight means that water can neither enter nor escape the part. In practice, you may want a print to be waterproof if it’ll be exposed to rain or a humid climate. Whether it holds water without leaking is irrelevant.
For example, if you were 3D printing a car part (say, part of a bumper), there’s no need to make it watertight, but it should be waterproof to ensure it holds up against repeated rain exposure. On the other hand, if you were printing a water bottle, it should be watertight to retain liquid.
In this article, we’ll focus on how to waterproof your 3D printed pieces. We’ll show you some different methods, including material selection, slicer settings, post-processing, and testing. Let’s get started!

Material Selection
Some materials are more vulnerable to chemical reactions and deformations than others, which can lead to non-waterproof parts. If a material is reactive to water, a 3D print made of that material will most likely deform when it comes in contact with water or is placed in a humid environment. So, material selection should be your first consideration.
Just remember that it isn’t the only step. While certain materials may be labeled as waterproof, parts made from them might not be.
Materials
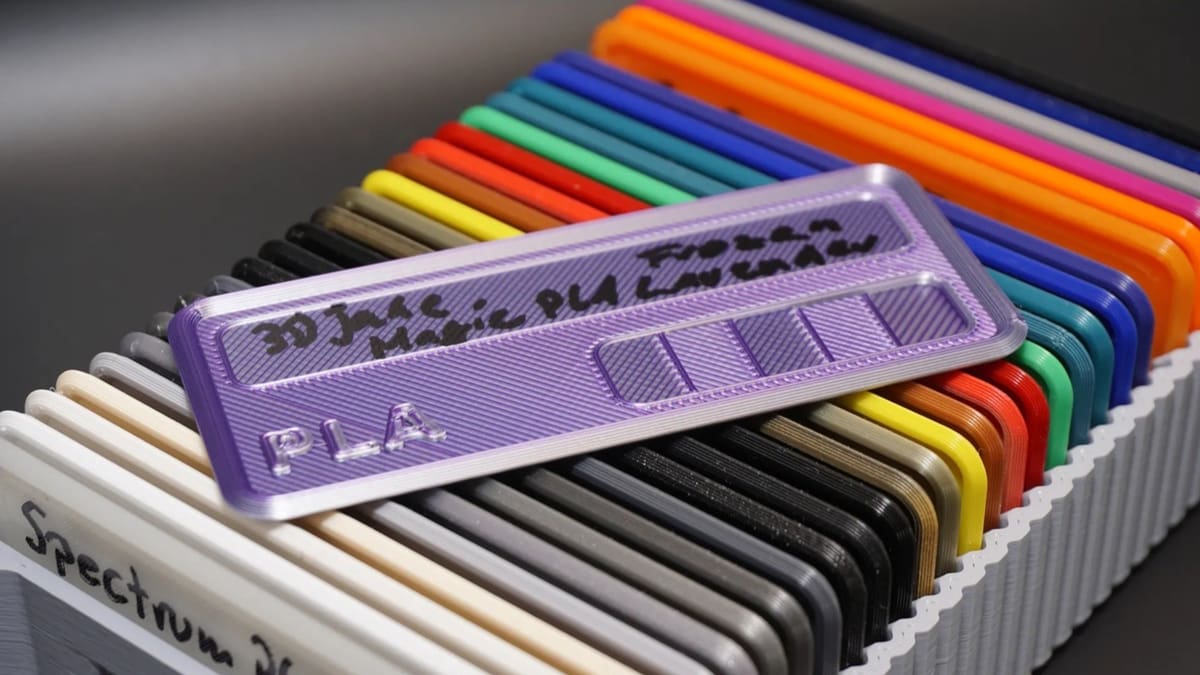
If you’re FDM printing, you’ll likely be considering three main materials: PLA, ABS, and PETG. Although less common, Polypropylene (PP) is another material to consider due to its waterproofing abilities. Let’s take a closer look at all of them.
- PLA isn’t known as the most waterproof material, but it does the job. It should work fine as long as it’s interacting with cold rather than hot water.
- ABS is an excellent material for waterproof printing. Parts can crack and deform when in the cold, but its waterproof properties have been reported to otherwise last for extended periods of time.
- PETG, a modification of PET (which is used in water bottles), is a great material for making waterproof prints. PETG is commonly considered to be waterproof and also has excellent thermal resistance. This material is probably your best bet for printing waterproof parts.
- PP is one of the best options for waterproof prints. It’s inherently hydrophobic, holds water nicely, and has a good amount of chemical and impact resistance.

Further Considerations
When deciding on the right material for your situation, it’s essential to keep in mind the conditions the part may be exposed to (and how often).
Food Safety
If you plan on using a 3D printed part for anything that will come in contact with food or drink, you should use a food-safe material such as PP or PETG, not ABS or ASA. Before printing, make sure the manufacturer of the specific filament states that it’s food safe.
Heat Resistance
Heat resistance doesn’t have anything to do with a part being waterproof, but depending on the intended application, it could be relevant. For example, dishwasher-safe parts are subject to extreme temperatures and a lot of water, so material selection is especially important. Make sure to choose a heat-resistant material that’s also waterproof, for example ABS or PETG.
UV Resistance
Parts exposed to long periods of sunlight can fade in color and become brittle. The addition of water can accelerate this effect, so if you plan on printing objects for your garden or a bike accessory, it would be worth upgrading from PLA to a more resistant material like ASA.
Slicer Settings
One of the most important factors for 3D prints is the way they’re sliced and with what settings. Among other things, settings determine how tight, full, and protected a 3D printed part is, which can in turn influence how waterproof it will be.
Just be aware that, though slicer settings play a large role in making a 3D print waterproof, some models are harder to waterproof than others. Complex models with a lot of detail are more challenging, so be sure to make your model as simple as possible.
Once you’ve tweaked your model accordingly, it’s time to play around with the print settings. Below are the most important ones to consider.
Extrusion
Purposely over-extruding your prints can make parts more waterproof, as there’s a reduced chance that there’ll be any gaps in them. You can do this by increasing the extrusion multiplier, also sometimes called “flow rate”, in your slicer.
You’ll also want to improve layer adhesion, and you can do this by increasing the temperature and reducing the print speed. By adjusting these settings, the nozzle will stay a bit longer over each part of the print, enhancing the bond between the melted filament as it’s deposited over the cooled one from the previous layer. Increasing the temperature can also help with over-extrusion.
Shells & Infill
You should increase the number of shells you use on a print. Adjusting this setting adds more of a boundary, which encases the infilled portion of the 3D print. Three shells are a good starting point, but this should be increased depending on the conditions it’ll be exposed to and the material you’re using.
For example, if the part leaking water can cause damage to your other belongings, it’s not a bad idea to increase the number of shells. If you opt for a less resistant material like PLA, increasing the number of shells is more important than for a more resistant material like PP.
In addition, consider using a higher infill percentage. This will add more infill to your print, which could help retain its structural integrity.
Nozzle Size
Though it’s not a slicer setting per se, a wider nozzle can help to make parts more waterproof. A wider nozzle means thicker extruded lines, including a part’s shells. Regardless of how many there are, thicker shells mean less chance that, during printing, they accidentally print thin enough to form holes or gaps. Of course, with or without a thicker nozzle, more shells can only help to waterproof a print.
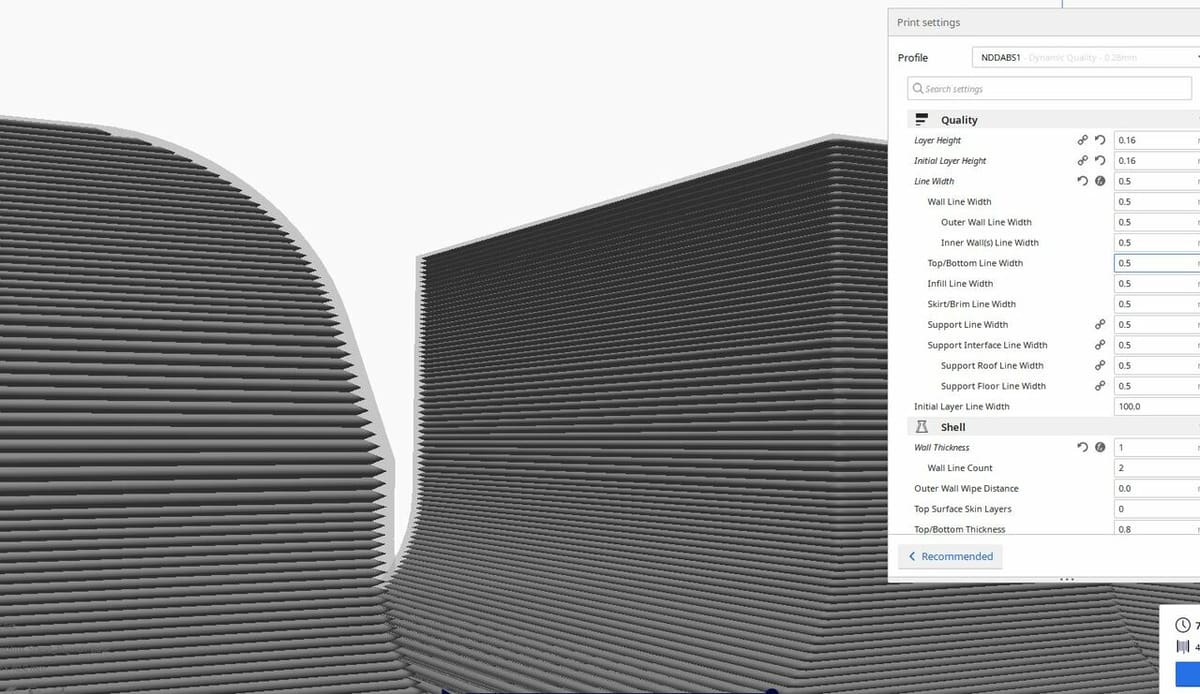
Layer Height
Using a lower layer height setting can improve how waterproof a print is because it creates more densely packed layers that are better for keeping water out. Smaller layer heights can also lead to improved layer adhesion, so even if it takes a little extra printing time, you’ll end up with an object less prone to cracking and leaking.
Post-Processing

Post-processing is one of the best ways to make a 3D printed part waterproof. Layer smoothing, in particular, can yield great waterproof results. It blends layers, eliminating layer line gaps and creating a tighter seal around the part.
Layer smoothing can be done in a few different ways, but the main technique is to apply a solvent to a soluble print. Some materials are soluble in certain chemicals. ABS partially dissolves in acetone, for example.
- Acetone: This is perhaps the most popular solvent used for post-processing. Acetone vapor smoothing works with ABS, ASA, HIPS, PMMA, and polycarbonate filaments.
- Epoxy: Another post-processing method is coating a print with epoxy resin. The epoxy quickly smooths layer lines on 3D prints, making the parts less vulnerable to water.
- Wax: Though less common, wax is a good candidate for waterproofing prints. It doesn’t dissolve layers like acetone does. Rather, it fills in any gaps in between layers.
- Flex Seal: A versatile option for post-processing, Flex Seal is a waterproof rubber spray-on sealant coating widely used in construction to address water leaks. When applied to 3D prints, it creates a durable, flexible layer that effectively waterproofs the surface.
- Painting: A creative and effective post-processing technique, painting a 3D print with non-water-based primers and paints can enhance waterproofing. This method forms a protective seal over the print’s surface, isolating the 3D printed walls from water exposure.
Testing
Now that you’ve created a waterproof part, it’s a good idea to test it. Don’t immediately assume that, by following the recommendations above, you’ll always have a waterproof part.
Testing your print can be a bit tricky and might also depend on the geometry of your design. If the piece can hold a cup or so of water (whether that’s the intended purpose or not), try filling it up with water and marking exactly where the waterline sits. Be sure to keep the part in a cool, shady area and keep an eye on it over the next day to see if the water line decreases significantly. If so, you’ve got a water leak.
If your part doesn’t hold water, put it on a scale and write down the dry weight. Then, let the part soak in a tub of water for a day. Afterward, thoroughly dry the surface of the part and weigh it again. If your part is much heavier now than it was a day ago, there’s likely water soaked into it.
If your part didn’t turn out to be waterproof, we suggest revisiting the recommendations above: Adjust your slicer settings, apply a uniform epoxy seal or other post-processing methods, or possibly use a different material altogether.
You also could have a printing issue, so be sure to check that all systems on your 3D printer are running smoothly. For some tips, check out our article on troubleshooting 3D printing problems.
License: The text of "How to Make Waterproof 3D Prints" by All3DP is licensed under a Creative Commons Attribution 4.0 International License.