Sanding 3D Prints: How to Sand PLA & More

Sanding 3D prints is a lot of work, but it's worth the effort. Read on to learn how to achieve photo-ready 3D prints!
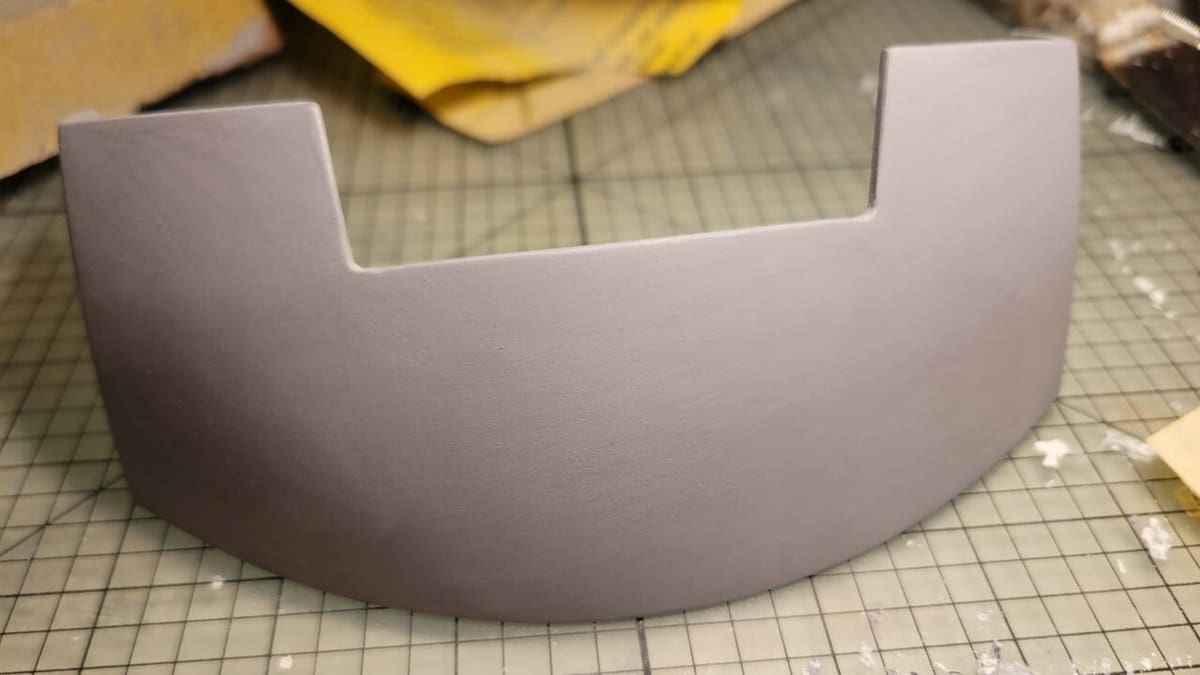
All manufacturing processes have limitations, as even machines aren’t able to produce shapes as smooth or detailed as designed. A raw 3D printed part isn’t going to be perfect, therefore some post-processing is almost always needed. This is the step that eventually leads to “Wow! How did you make that?” Sanding is the most common post-processing technique in 3D printing, but it’s also more labor-intensive than other alternatives.
At first, you might be overwhelmed by the thought of sanding for hours. Rest assured, there are techniques to get faster and more professional-looking results. Sanding PLA has some unique challenges, and it helps to start with a smooth print. In this article, we’ll discuss everything you should keep in mind when sanding your 3D prints as well as how to do it. So, roll up those sleeves, and let’s get to work.
How to Print Smooth Parts
In order to avoid a lot of work later, it’s best to plan ahead to print parts that will be easy to sand. Everything from how you store filament to the settings you choose in the slicer can impact how much sanding your prints will require.
PLA, like most plastics, is hygroscopic, meaning it absorbs moisture from the air. Humid PLA going through the printer’s nozzle leaves a rough, inconsistent finish. It also leaves strings of material behind. New spools are shipped vacuum packed and with desiccant, so they aren’t a problem. Spools older than a few weeks, however, should be stored in a dry place or dried before printing.
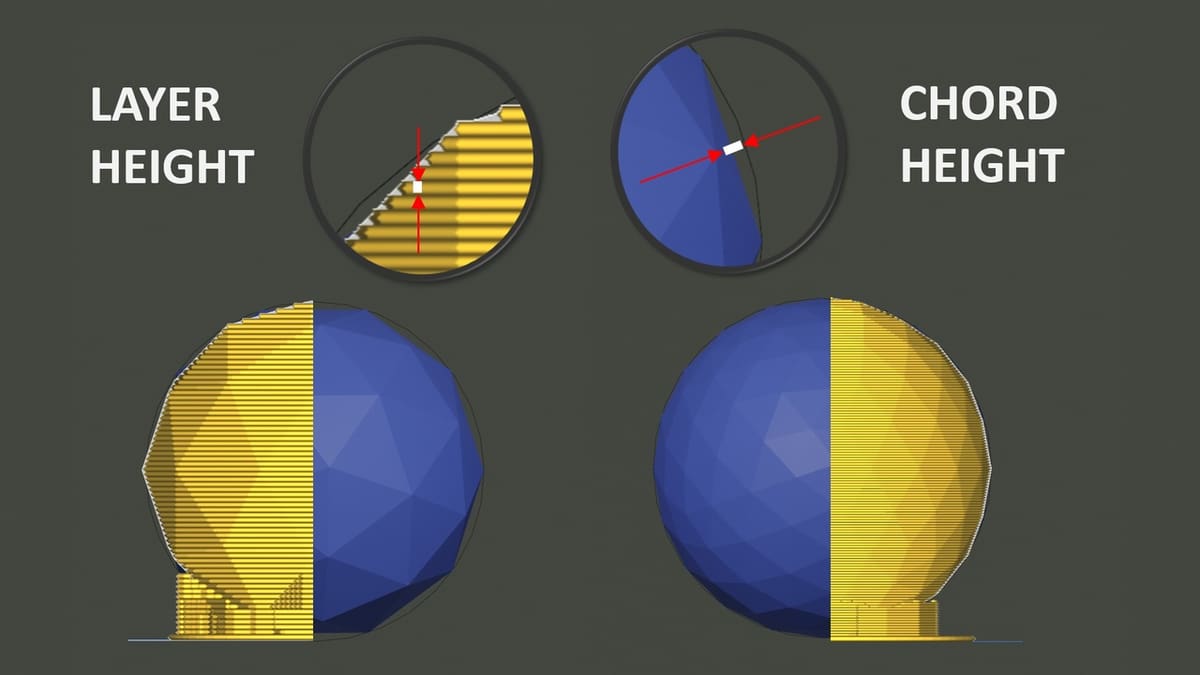
Even how you export your 3D model from your design software can have an impact on the final print’s surface quality. Chord height is the maximum allowable deviation the STL file will have from the source model. A lower number means the model will have a higher polygon count, which reduces the faceted corners seen on curved surfaces. When exporting STL files, keep the chord height much lower than the print layer height.
If you’ve downloaded an STL file from a sharing site like Thingiverse, you won’t be able to change chord height. Generally, STL files on repositories tend to have a decent resolution, so this isn’t something you need to worry about.
Slicer Settings
Once you’ve got a smooth STL file, keep the momentum going in the slicer. There are quite a few settings that can help reduce the amount of sanding required. Here are a few:
- Print orientation plays a role in surface quality. Supports are needed in overhang areas, making for a very rough surface. If possible, print with the good side up so there will be no visible traces of supports.
- Layer height should be set to your machine’s finer settings, within reason. A very low layer height can add a lot of print time but will produce a smoother finish. Shapes with vertical walls and flat tops are more forgiving with coarse layers than angled walls or domed tops.
- Wall thickness is very important for sanding. It’s good to have a little extra wall thickness in case you sand too deep. Otherwise, you could leave a hole or tear out pieces of filament. A thin wall will deflect as you sand, leaving an imprint pattern from the infill. Also, remember you’re going to be gripping the part tightly; a fragile part can easily break while handling.
- Print speed, if set too fast, can cause the printer to vibrate, leaving witness marks on the print. So, slow down the machine’s acceleration settings to reduce vibration.
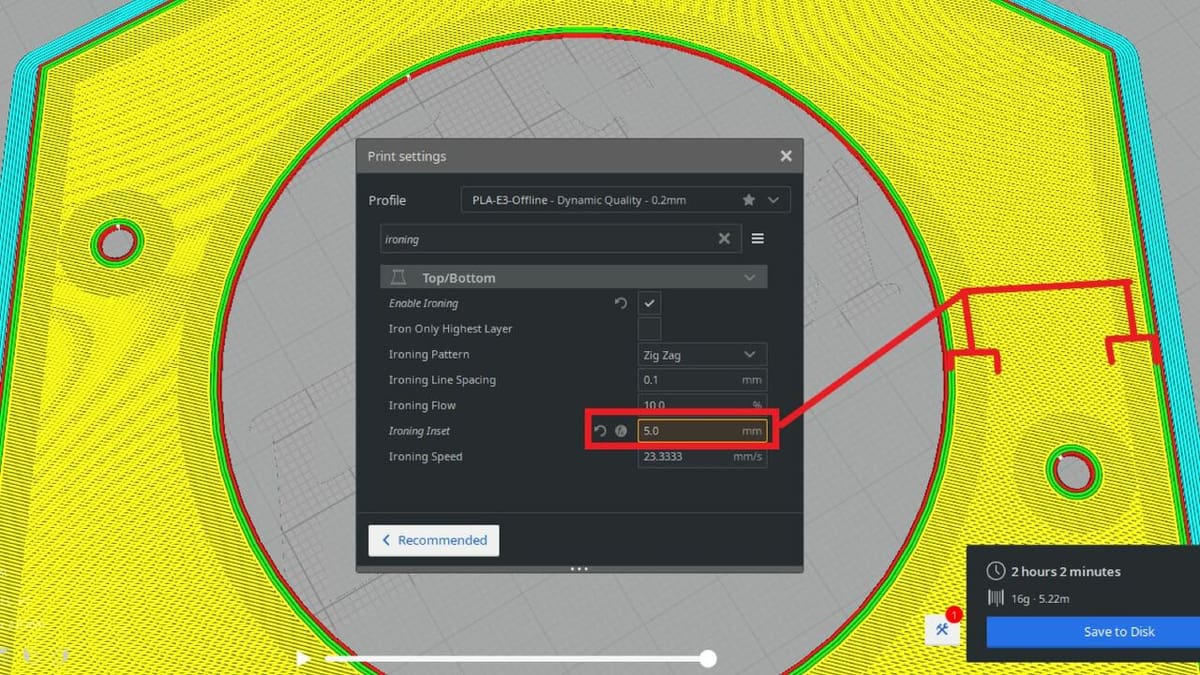
Unique slicer features can also help achieve a smoother 3D print. UltiMaker Cura and PrusaSlicer offer a feature called “ironing”, which smooths the top layers of the print. By running the printer nozzle over the top layer, the high points are smeared flat. You may have to experiment with the settings, but it can help smooth that top layer.
Why Sand?
Even if you’ve done all you can, sanding is still commonly required to achieve a superior finish. But sanding can be a lot of work, so why do it?
- Safety and comfort: Removing sharp edges and rough surfaces is always important. PLA isn’t very sharp, but it can be uncomfortable in wearable applications like costumes or prosthetics. Feel the entire part with your hands and remove anything sharp with coarse sandpaper or a file. Doing this first makes it easier to aggressively sand in subsequent steps without tearing sandpaper.
- Precision fit: If you’re assembling mechanical parts, precision is important. You want to preserve forms like cylinders and flats. Shafts and holes need precise clearances based on their function, but depending on the accuracy of your printer, they could also need some adjustment. Before and during sanding, test fit parts and mark areas to be removed, and be careful not to sand too far.
- Aesthetic: How a print looks is important, especially for functional pieces like movie props or marketing demos, but also purely for workmanship pride. In all these cases, removing layer lines is a priority.
What You’ll Need
Whatever your reasons for sanding, you’ll want to start with fast material removal first. This gets the bulk of the shaping done fast.
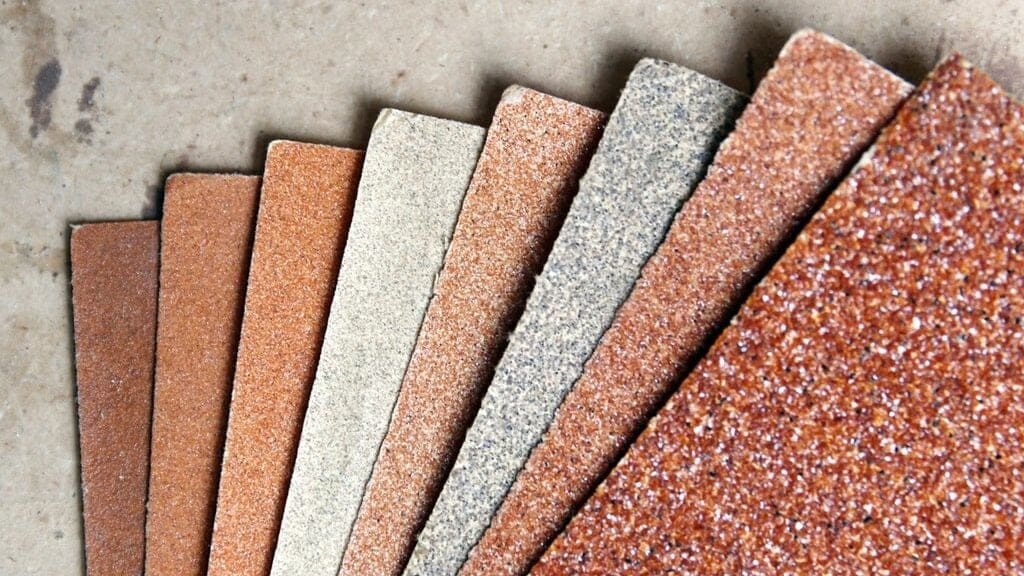
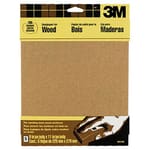
Sandpaper comes in various types of grit (levels of roughness). Coarse grits (60 or smaller) are for fast material removal. Medium grits (60 to 80) are for smoothing before priming. Fine grits (100 to 120) are for preparing to paint. Very-fine grits (150 to 220) can be used in between paint coats. Extra-fine (400 and greater) are for shining and polishing after painting.
Often, the cheaper products have poor adhesives, which cause the sand to fall off the paper. Even worse is sandpaper with inconsistent grit sizes. A single coarse grain on a piece of fine paper can leave deep scratches, setting you back to rough sanding. Avoid storing course and fine papers together for this reason. It’s also important to clean a part before changing to a finer grit so as to remove any residual coarse grains.
DIY Tools
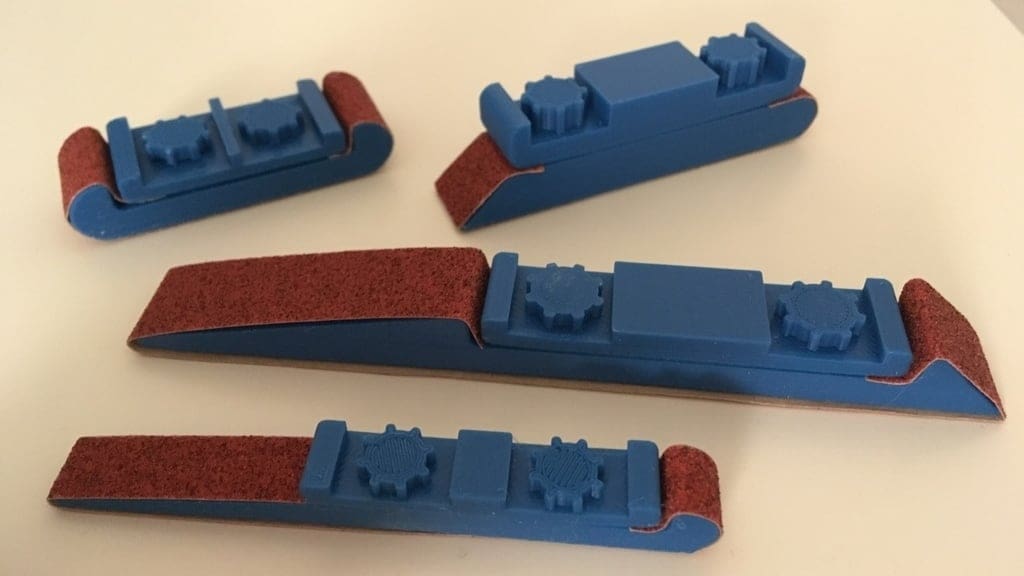
Some parts’ geometry may require specialized tools to sand particular surfaces or hard-to-reach places. Luckily, this doesn’t have to be expensive, as there are many DIY solutions. A sanding block, for example, can be created by wrapping sandpaper around a piece of hard material, usually wood.
A foam, cloth, or rubber pad between the sandpaper and block helps the paper conform to the shape of the part. This sanding pad is good for softening hard edges and removing STL file artifacts. Thicker pads will allow the sandpaper to conform to the part’s shape. Be aware, though, that sanding sharp corners with a thick soft pad will cause the paper to rip if you push too hard.
Simply folding a piece of sandpaper is great for deep grooves and corners. Roll sandpaper around a dowel for enlarging or smoothing out holes. Of course, you can also print your own sanding tools.
Store-Bought Equipment
In terms of sanding tools to buy, files are handy for hard-to-reach areas. PLA won’t wear out files but can clog the file teeth, so a file card – a type of wire brush for cleaning files – is good to also have on hand.
Another good item to keep on hand is a tack cloth, which is used to clean an object before priming or painting. All that sanding dust has to go somewhere!
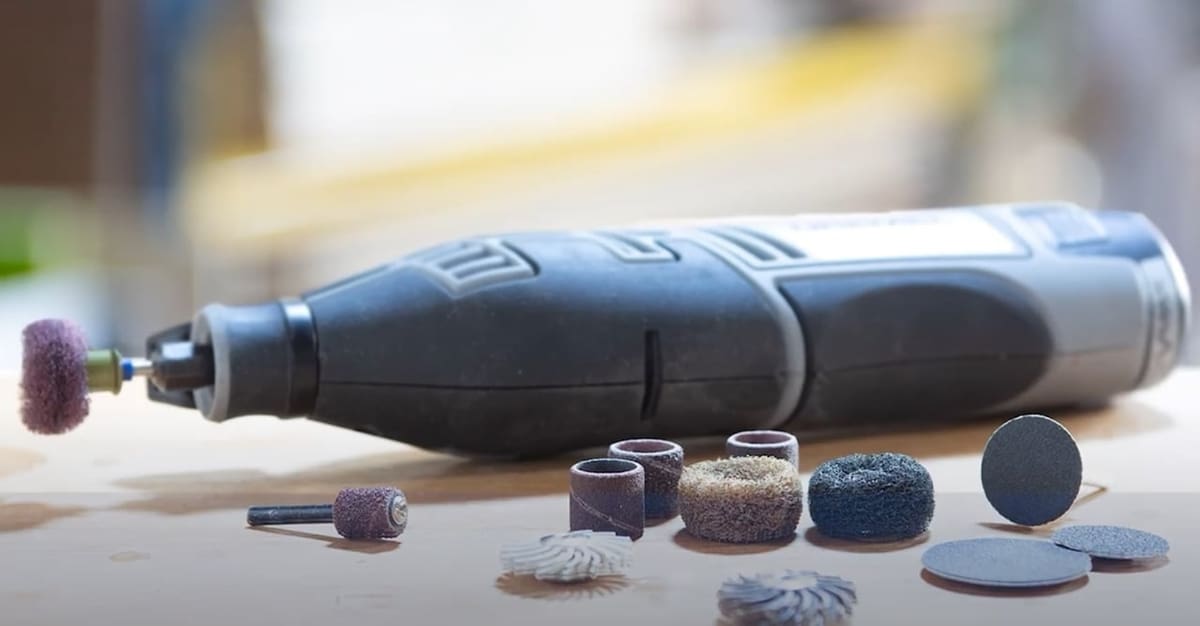
Power Tools
Power tools are great for the fast removal of material over large areas. This can save a lot of time, but it takes a bit of practice. Friction will soften or melt PLA after a few seconds if the pressure or speed is too high, especially if the walls are thin or the part is small.
It’s advised that you start with less critical areas while you get a sense of how fast it heats up. Don’t sand one area long. If the part is getting less smooth as you sand, it’s getting too hot. A breeze from a fan may help, but it’s mostly about keeping the tool moving.
Other Materials
Fillers and primers are essential for hiding deep layer lines, gaps, and other low-lying defects. Larger gaps can be patched with wood putty or similar fillers, while primers are a type of porous paint that adheres well to the base surface.
There are a few types of primer to know about. Sandable primers go on thick to smooth surfaces. Brush-on primers cost less and are good for spot filling or very large projects. Spray primers are convenient and don’t leave brush marks.

Finishing Technique
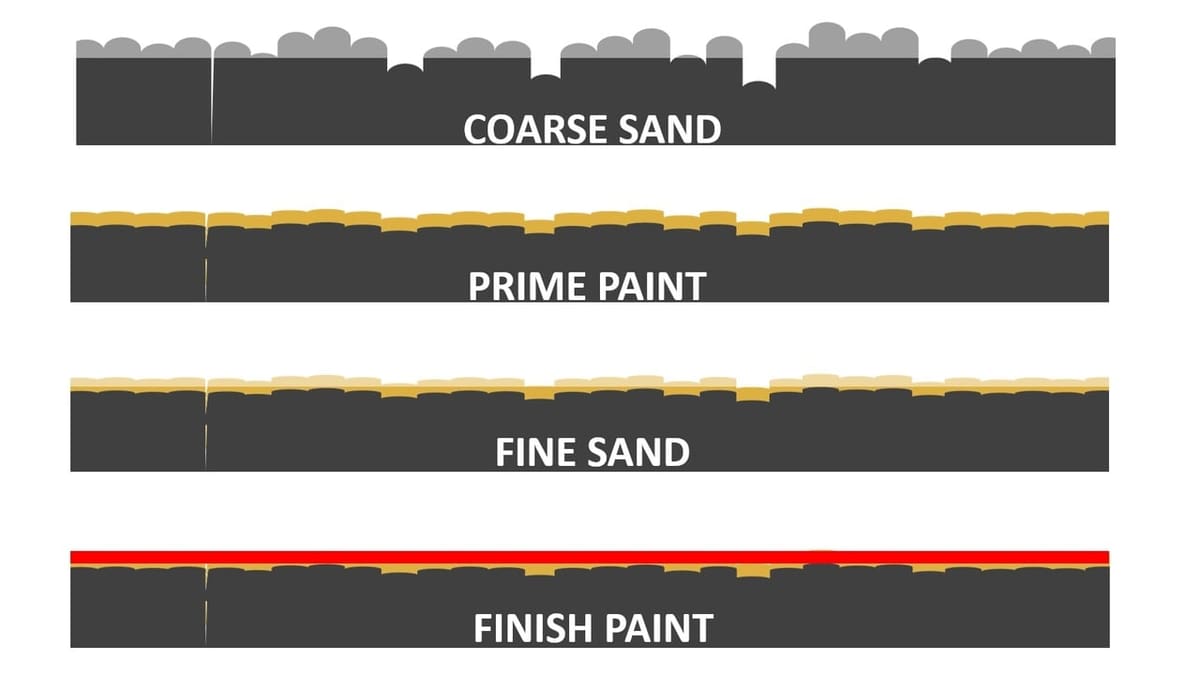
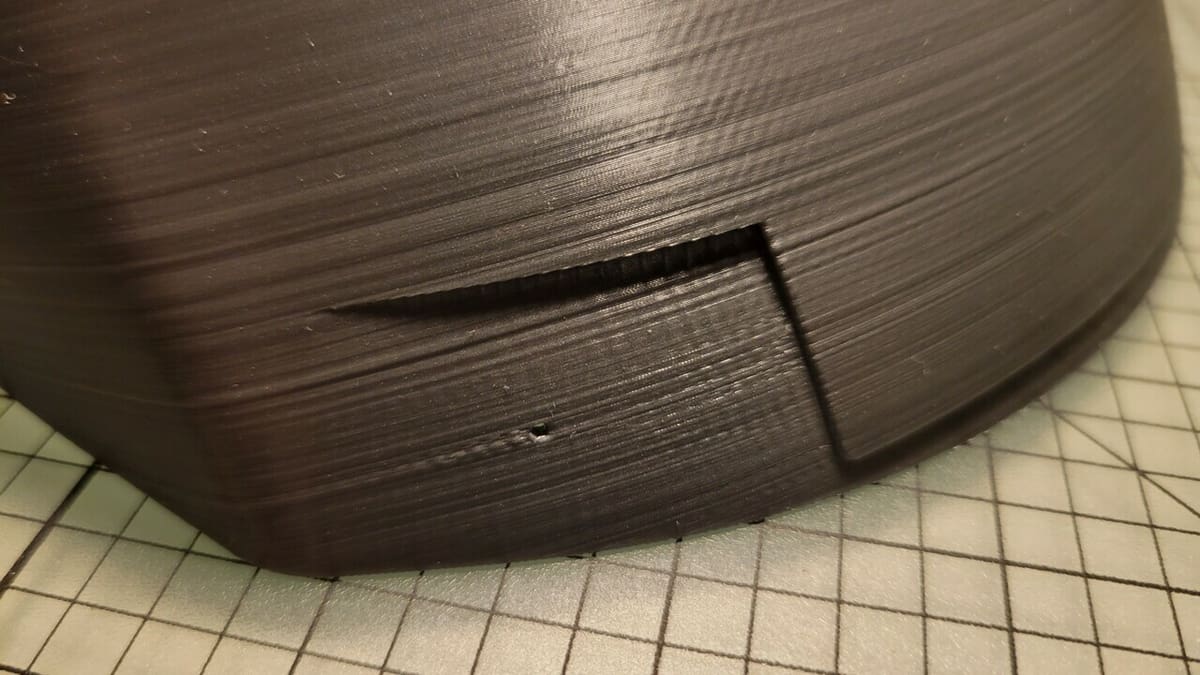
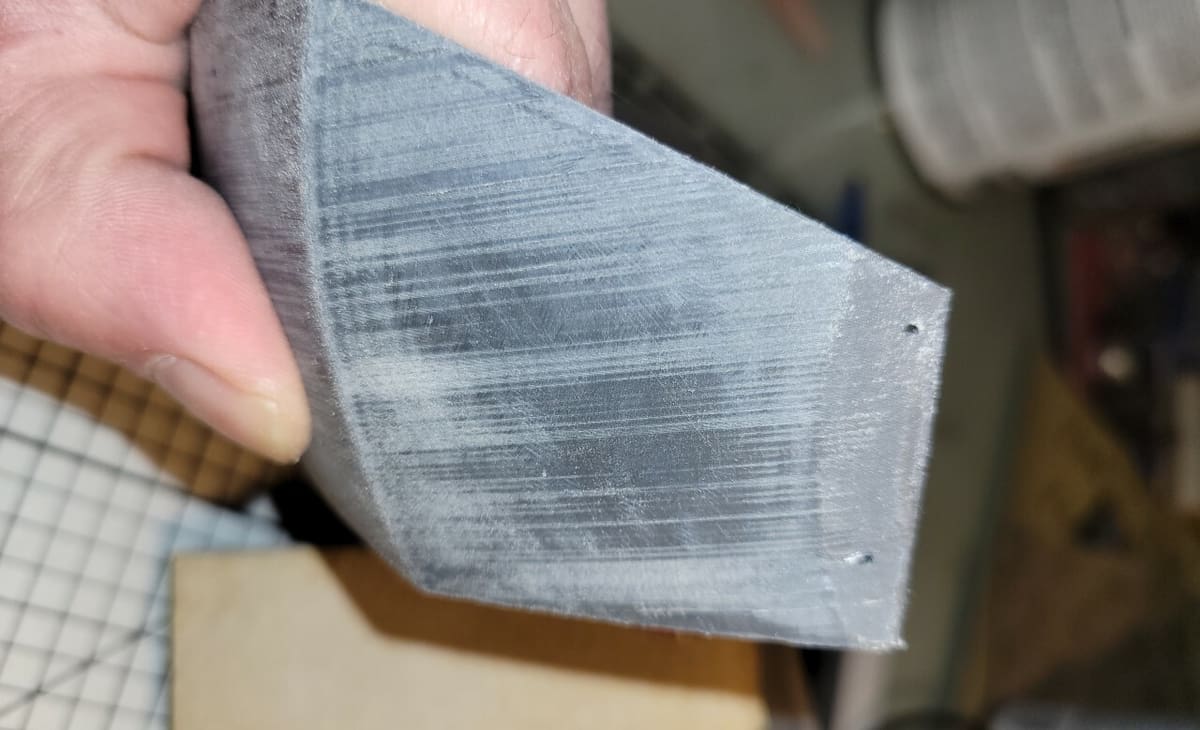
The as-printed surface of a part has peaks and valleys. The peaks consist of print layers, support material, printer artifacts, or STL nodes. The valleys are the spaces between layers and gaps caused by interrupted nozzle flow.
To smooth the surface, you’ll need to flatten the peaks by removing material and raise the valleys with filler or primer. An aggressive first pass with coarse sandpaper will remove almost all of the peaks. Subsequent passes, each with finer paper, will remove scratches from the previous step.
Wet sanding can be used for finer grits. Using a bit of water helps clear away debris and prevents the paper from being gummed up, as primer and fillers can stick to the paper and clog the grit.
But most importantly: remember to always use a dust mask and eye protection when sanding!
Cosmetic Finishing Level
How do you know when you’re done? How do you define finish level? Consider the end-use and how large a defect can go unnoticed. The baseline human eye can discern a feature about .3 mm in size from 1 m away. You can use this ratio to define the minimum flaw size for each use case.
To help determine how much more finishing parts require, always inspect them in good lighting and with the paint thoroughly dry. Paint shrinks as it dries, revealing imperfections.
Step-by-Step Summary
To apply what you’ve learned to your next project, use this summary as a guide:
- Use an STL file that has enough fidelity for your use case.
- Print parts with optimized slicer settings.
- Before sanding, inspect the part for print defects, sharp edges, or rough surfaces.
- Start with coarse sandpaper or files to smooth any hazardous edges and surfaces.
- Test fit any parts needing assembly, cycling any moving parts through their range of motion. Rough sand as needed to achieve the desired fit.
- Using 60-grit sandpaper, sand all aesthetic surfaces. Remove all of the peaks down to the valleys. Some gaps and extra deep valleys can remain.
- Use a putty-type filler to fill any gaps, exposed infill, or other print defects. Let the putty dry.
- Using 60-grit sandpaper, sand all putty repairs to remove excess material.
- Using 100-grit sandpaper, sand all surfaces. Continue until any deep scratches from the 60 grit are gone.

- Use a primer to paint parts with one even coat. Allow time for drying.
- Inspect each part, with good lighting, for defects and visible layer lines.
- Sand parts again with finer sandpaper, paying extra attention to problem areas.
- Prime each part again and allow to dry.
- Repeat the previous three steps until parts meet your quality expectations.
- Your parts should now be done with sanding and ready for painting.
Sanding Other Materials
Once you’ve mastered sanding PLA, you can try other materials. Variations in hardness, grain, and softening temperature affect how a part is sanded.
- ABS and PETG are popular printing filaments that can be vapor smoothed, whereby a solvent is used to temporarily dissolve the surface material. ABS can be smoothed with acetone, while dichloromethane works with PETG. Otherwise, these materials sand similar to PLA.
- Rubbery materials tend to smear if too much force is applied. Fast, light sanding strokes work best. Use wet sanding for gummy materials to avoid grabbing the material and clogging. Use finer sandpaper if the rubber wants to catch the grit.
- Fibrous materials like wood and composite filaments should be sanded in the direction of the grain. Carbon fiber, kevlar, and fiberglass leave you with painful slivers if you don’t wear gloves. Wet sanding keeps composite fibers from being airborne, but still always wear a dust mask.
- Metals take longer to sand but can achieve a high luster. Oxidation can make some metals like aluminum and copper dull over time. Add a clear coat to prevent oxidation or polish to restore shine.
- High-density urethane foam is easily sanded with medium grit. Clouds of dust will linger in the air and everywhere, so keep a vacuum running. Polystyrene foam can be melted by paint, so test with scrap material before you invest too much time in a part.
- Glass and ceramics are harder than the grit in some sandpapers. Specialized sanding stones, sticks, or slurries need to be used.
Alternatives to Sanding
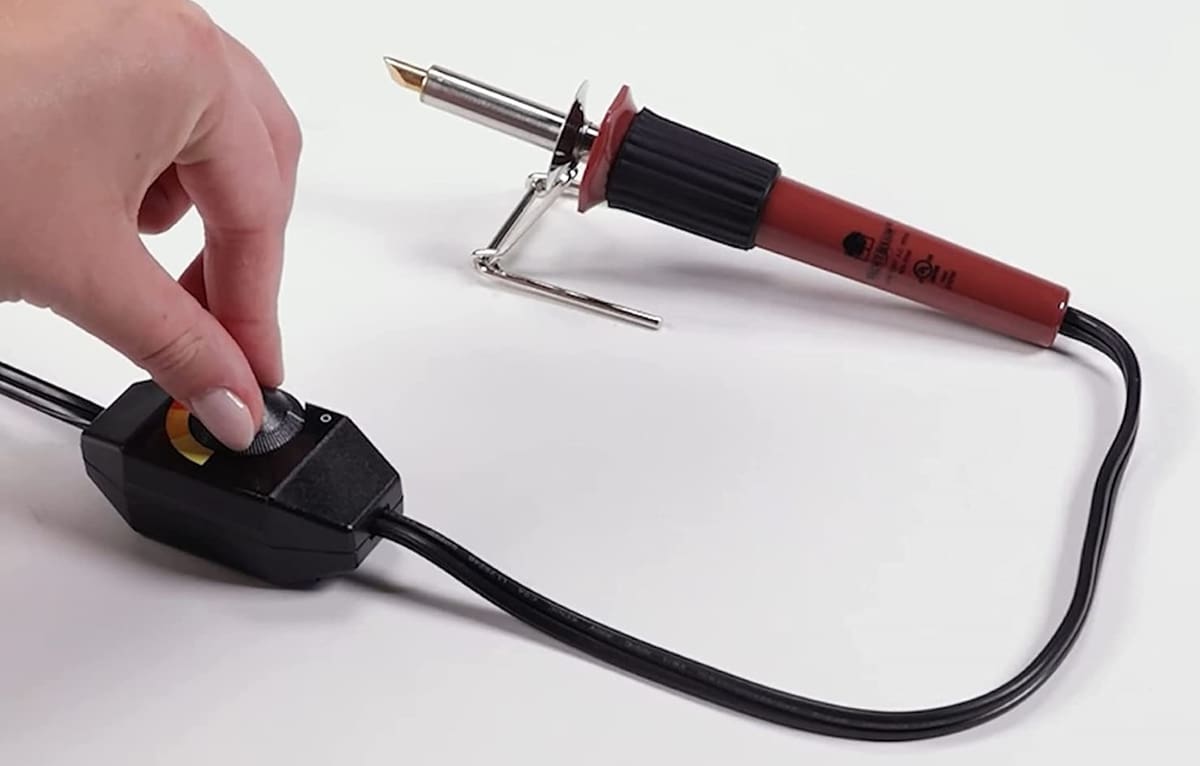
Now, if all of this seems like too much work for you, there are a few other methods for smoothing PLA. A woodburning tool or soldering iron can be used to carefully melt the outer surface, achieving a low-effort smoothness. Here’s a master making it look easy on YouTube.
Some of these other techniques can be messy and require good ventilation. For example, epoxy or UV resins can be coated over the part, leaving a thick hard shell, but you don’t want to be breathing certain coatings for too long. After a few builds, you’ll find the right balance between time spent and quality of finish. Now, start your next project and start making dust!
License: The text of "Sanding 3D Prints: How to Sand PLA & More" by All3DP is licensed under a Creative Commons Attribution 4.0 International License.
CERTAIN CONTENT THAT APPEARS ON THIS SITE COMES FROM AMAZON. THIS CONTENT IS PROVIDED ‘AS IS’ AND IS SUBJECT TO CHANGE OR REMOVAL AT ANY TIME.