How to Remove 3D Prints from the Bed: 7 Safe Ways

A 3D print stuck to the bed can be a hassle. Read on to learn some safe ways to remove a 3D print from the bed!
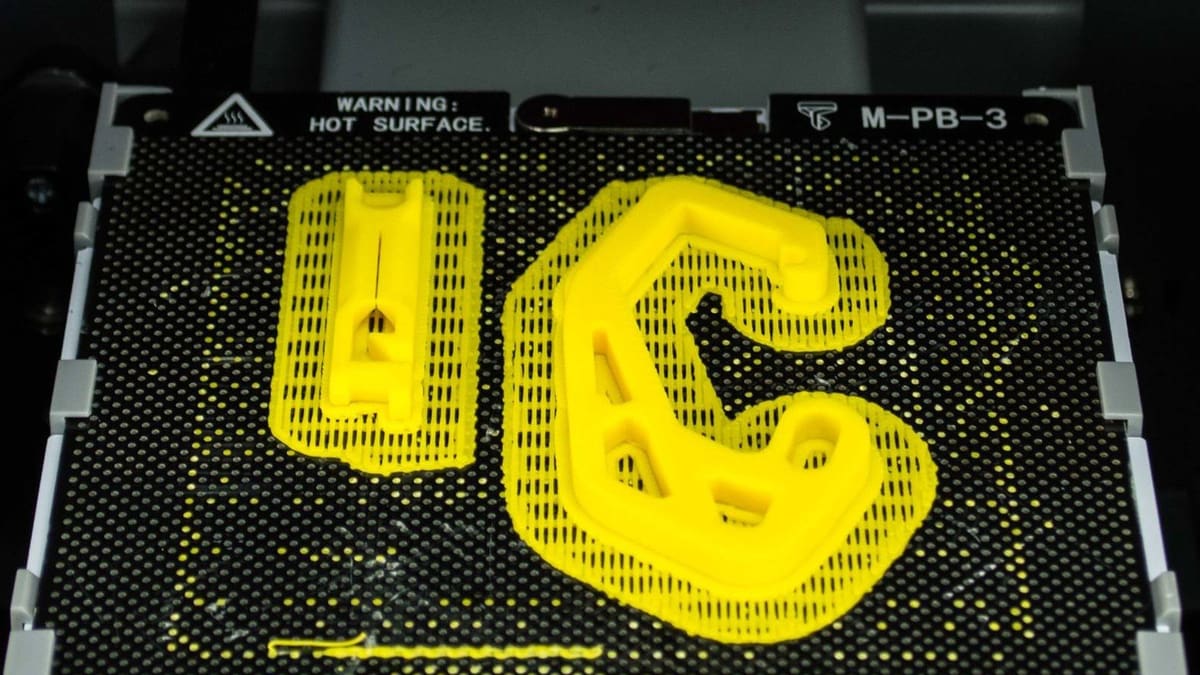
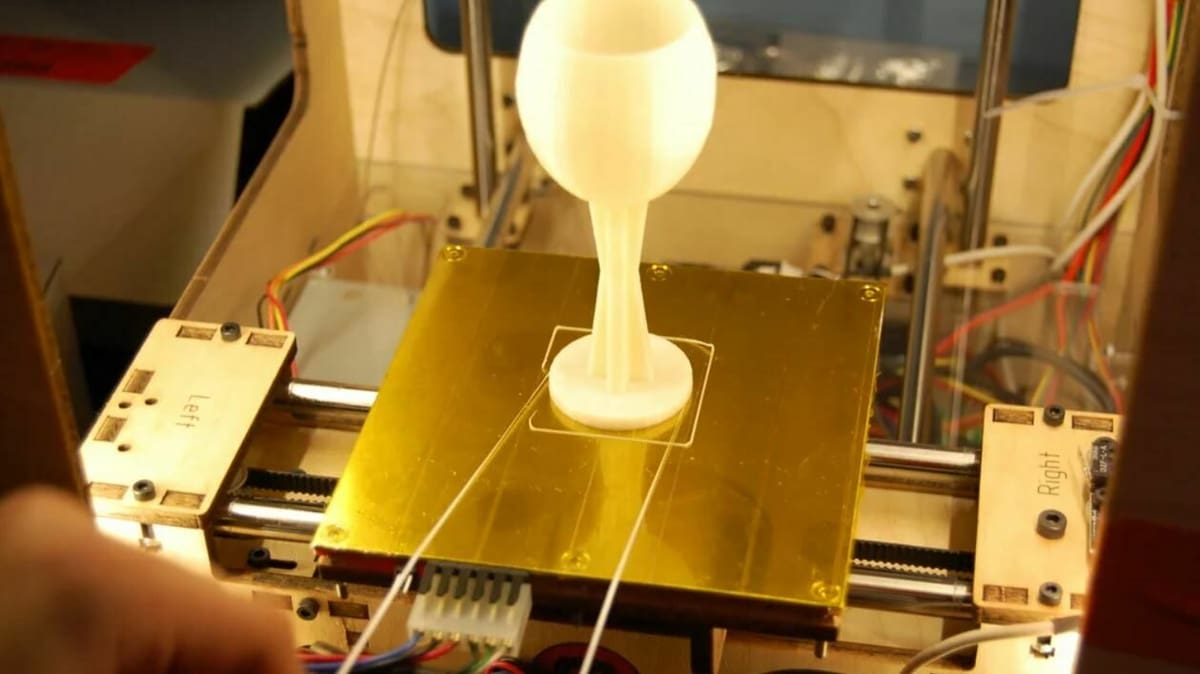
You’ve tuned your slicer, fixed your printer, and just produced a great print, but you can’t get it off the build plate. Although poor first layer adhesion can be a problem, too much part adhesion to the build surface is also an issue.
Removing a print from the build plate, especially when it’s extremely stubborn and doesn’t want to move, can be a difficult and risky process. Ideally, you want to remove the print easily without damaging the part or the build plate. While this may sound straightforward, it can be far from that if there’s too much first layer adhesion, which is often the case with materials like PETG, which stick very well to most surfaces.
In this article, we’ll be going over a few different ways to remove a 3D print from the build plate. For each section, we’ll go over what the method is, what you’ll need, and how to do it!
Apply Brute Force
The first method is an obvious one: use brute force. For this, all you need is your hands. Use one hand to hold the build plate in place and the other to push or pull the print from the surface. This can be a risky process as a sudden release from the bed could cause you to slam your hand into something, so be cautious when removing parts this way.
Alternatively, try using a strong object to pry the part off the bed. This works well if there’s an area of the print where a gap exists between the build plate and the object.
Keep in mind that you can really only use the brute force method when your print is strong. A heavily detailed print with many small features has a higher likelihood of getting damaged in this process, especially if there’s no smooth, easy surface to grip.
Use a Flat Blade
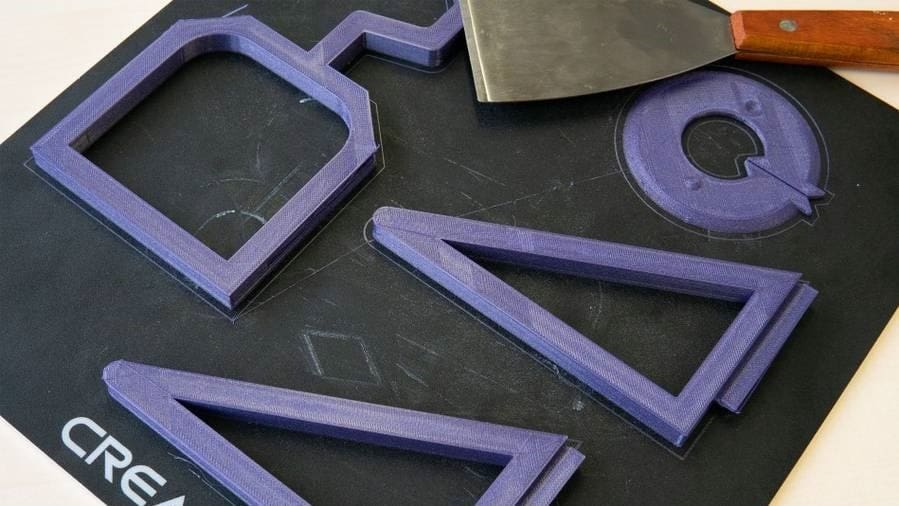
The second way you can remove a part (and perhaps the most common) is using a flat, sharp blade, like a spatula. This type of tool comes in all shapes and sizes. You can even use a paint scraper or a large flathead screwdriver.
Other great options recommended by makers include a BuildTak spatula, plastic razor blades, and filling knives.
No matter what type of blade you use, the most important thing to remember is safety. It’s not hard to cut yourself or have parts dislodge from the bed abruptly if you’re not careful. To keep from hurting yourself, always push the blade away from you. When doing so, be careful not to scratch the print surface, as this could make it hard to level your bed and might affect the adhesion of future prints.
Create a Temperature Difference
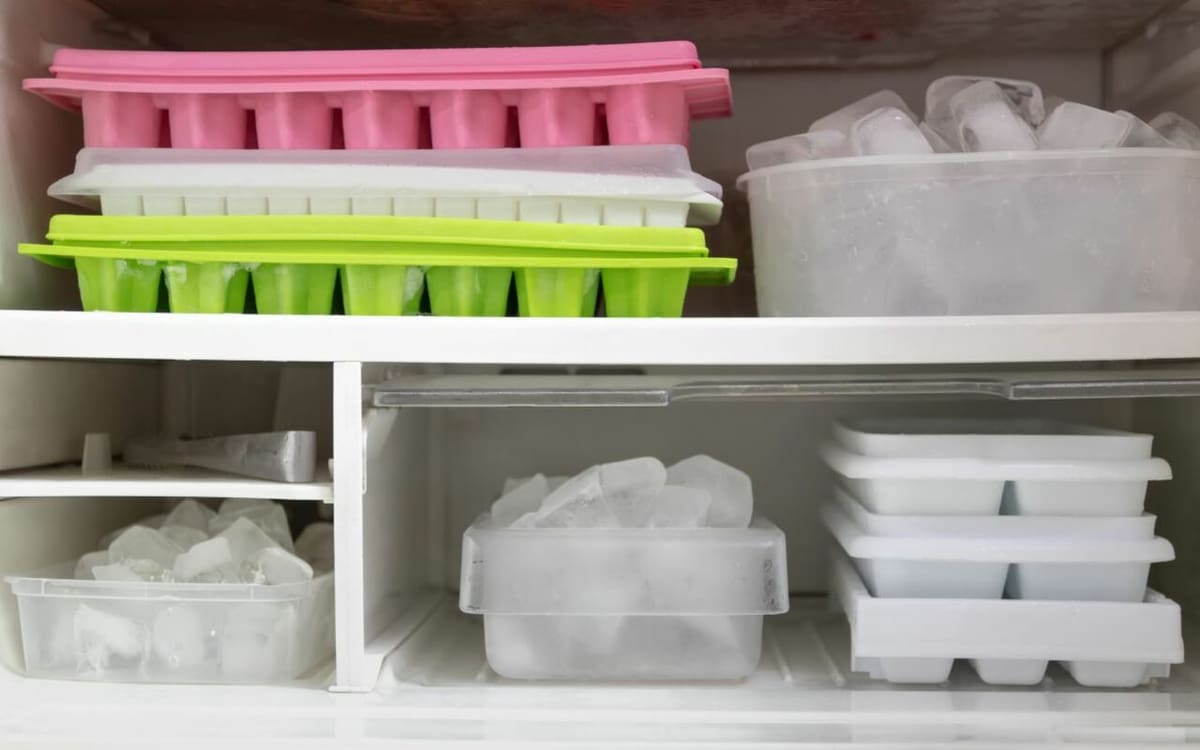
Another way to remove a print from the bed is by cooling it down. When materials get colder, they contract, and you can take advantage of the different cooling rates of the build surface and the printed part. If you have a build plate made from a temperature-sensitive material like glass or aluminum, this method will work even better.
To do this, let your build plate and print cool down to room temperature. Then, if the part is still stuck, place the build plate (with the stuck part) in a cool area. This could be your fridge, freezer, or on top of a vent spewing cold air. If the build plate’s too big or you can’t remove it, there’s an alternative.
Leave it for a few minutes or until the bed gets moderately cold, then try removing your print. The print should pop off easily. If it doesn’t, try putting the build plate back in the cold environment for longer or use another method from this list.
If you’re dealing with a glass bed, though, thermal shock can lead to problems, so make sure that the build plate is at room temperature before putting it in the fridge or freezer.
Another temperature-changing solution that doesn’t put the whole bed at risk might not even warrant a trip to the hardware store, if you’ve already got a can of compressed air to clean your keyboard or other devices. If you turn the can upside down, because of reasons explained by minutephysics, spraying the base of the print can lead to an immediate difference in temperature, with the model contracting and breaking free. Two warnings are necessary, though: First, safety above all, wear gloves, as you want to avoid frostbite or any kind of harm to your fingers. Second, as mentioned above, make sure that the bed is at room temperature (especially if it’s glass) before spraying.
Floss It Off
While this method is a little unconventional, floss is very effective for removing a stuck part from the bed. You’ll want to move it back and forth repeatedly like a saw. This back-and-forth motion will produce friction that can help remove your part.
While dental floss is perhaps the most widely-used tool for this untraditional method, you can also use stronger string-like products such as jewelry wire or even high-gauge soldering wire.
Once you have your floss or wire, loop it around the base of your print so that it’s lying on the build plate, then rapidly move it back and forth, pulling it towards you. Your part should eventually give way and dislodge from the build plate, possibly with a fresh scent, too!
Run It Under Cool Water
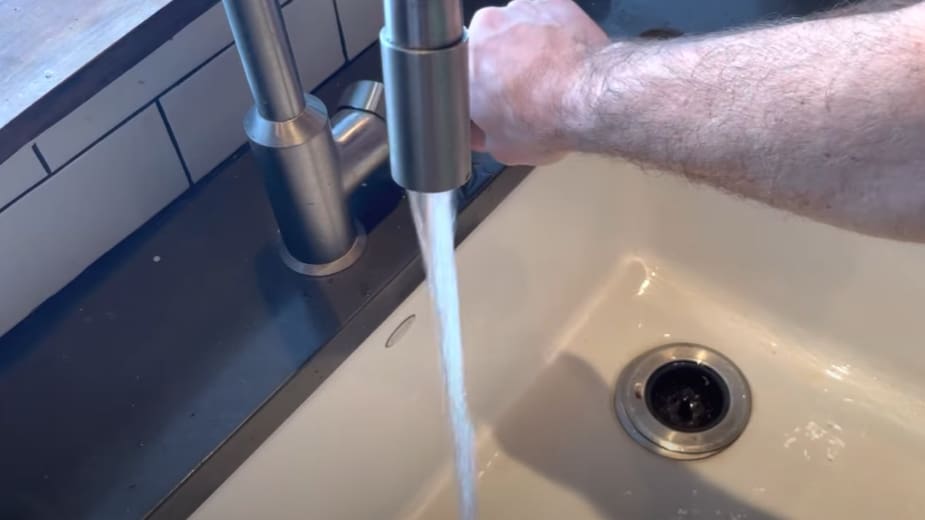
This method is fairly simple, as all you need to do is put your part under a steady flow of cool or cold water. This process is similar to sticking your print in the fridge; you’re creating an intentional temperature difference between the materials.
You’ll want to wait until everything has cooled down to room temperature. If the part is still stuck, remove the build plate and place it in a sink. If you used glue, hairspray, or a similar adhesive, first run some warm water (not too hot though) on the base of your print to remove some of the adhesive substance.
Following this, run some moderately cool or cold water on your build plate for a few minutes. If you can, avoid getting the print wet, as this method will work best if only the build surface or the printed part is cooled. An additional advantage is that running water can continue to remove any remaining adhesive.
After a few minutes, you can try removing the part again using your hands or a prying tool like a spatula. If your print still won’t budge, run the build plate for longer under colder water or try a different method.
Add a Solvent
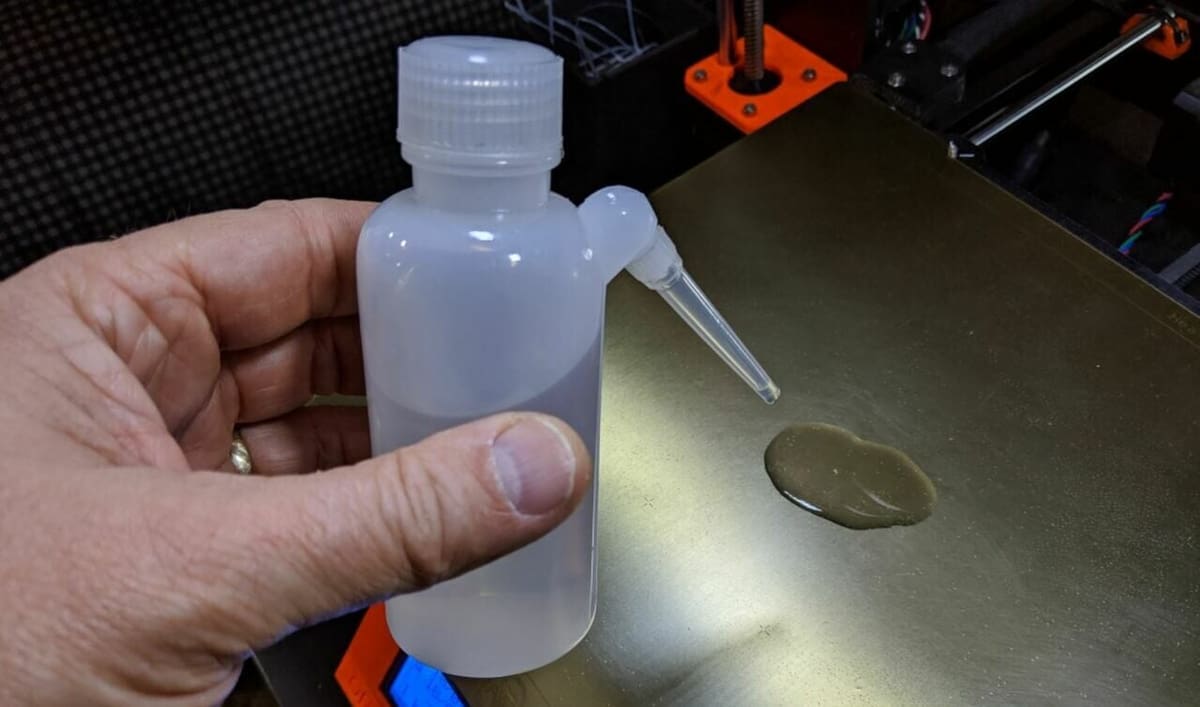
Our final method for removing a part from the build plate is using a solvent. Keep in mind that solvents shouldn’t be the first thing you try, as they can ruin print surfaces. This is especially true if you’re using PEI sheets, painter’s tape, or similar surfaces that can’t handle them.
If you’ve exhausted all other options and want a solvent for part removal, there are a few good options; two of the most popular include isopropyl alcohol (IPA) and acetone. Applying a solvent on your print’s base where it touches the bed will soften the affected area, making it easier to slip a prying tool under the print to remove it from the bed.
When using a solvent, apply a little bit on the connection points between the bed and the print. Make sure not to use too much, as this could lead to other problems like the degradation of your build surface.
Preventative Measures
Before removing a print from the build plate becomes an issue, there are few things you can do to ensure things go smoothly. Here are some preventative measures to make the removal process easier from the start.
Replace Your Build Platform
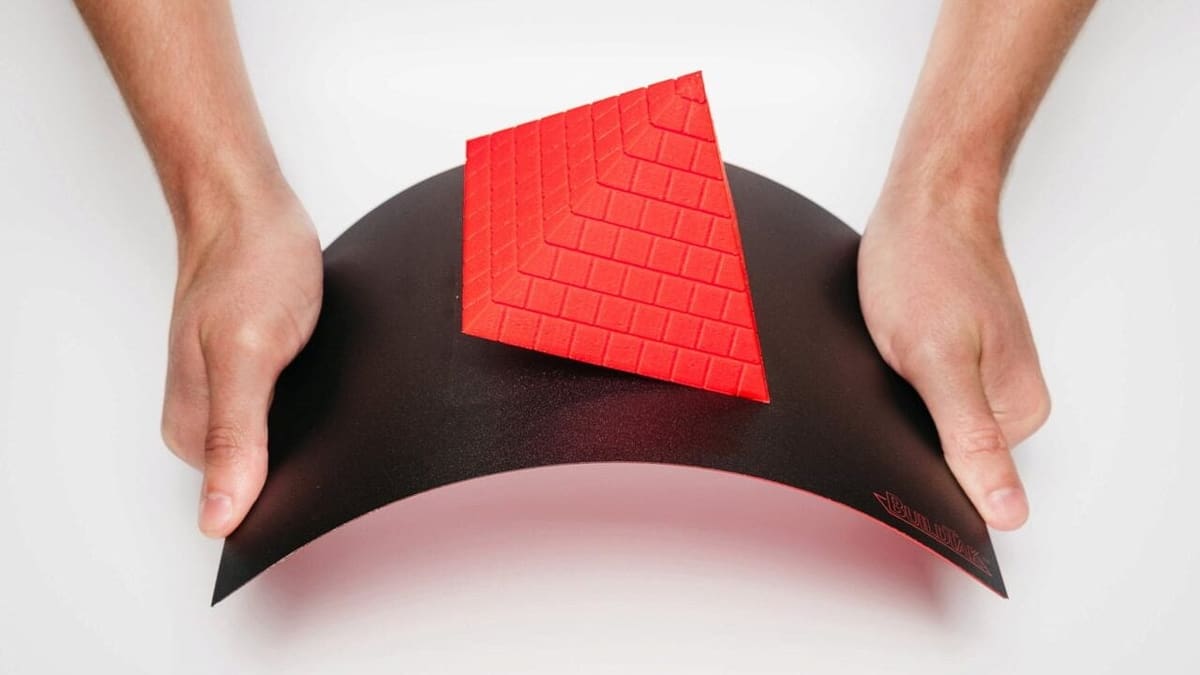
You may want to consider switching to a flexible build plate if part removal is a big problem for you. Flexible build plates are just that: build surfaces that are meant to bend. This quality makes it easy to remove parts, as you simply flex the build plate and the print should pop off.
Nowadays, there are many options for a flexible build platform. Prusa, BuildTak, and Easy-Peelzy are among the most popular brands.
When choosing a flexible build plate for your printer, make sure that the dimensions are correct and that it’s compatible with your machine. For example, you don’t want to choose a thicker plate that could block an inductive sensor.
Flexible beds from metal or other materials have many additional benefits. For example, you can get a flexible bed with a textured or smooth surface, allowing you to try out different adhesive finishes to see which one best suits your printer and materials.
Once you secure your new build plate to your printer, level the bed, set the Z offset, and you can start to print. After your print is complete, detach the build plate and bend it gently until your part pops off. You may want to bend it in multiple directions if the part isn’t coming off right away.
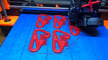
Enable a Raft
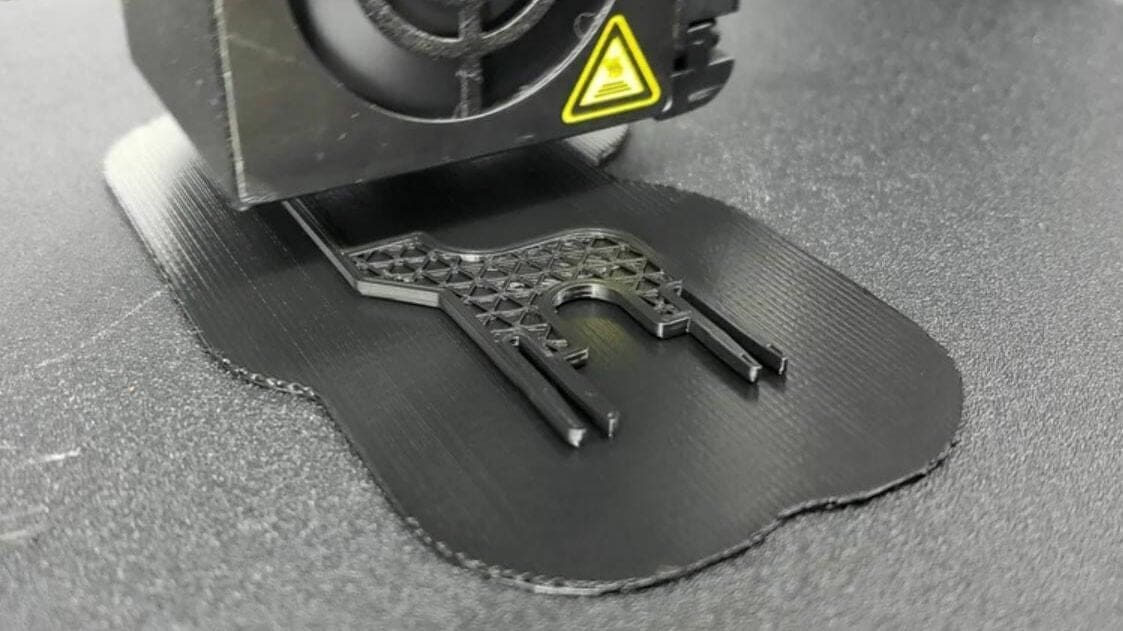
Another preventative method is to enable a raft in your 3D slicer (like Cura) when preparing a model for 3D printing. While rafts are meant to improve bed adhesion, they’re also a set of buffer layers between your print and the build plate. On top of this, you don’t need to worry about damaging the raft because you’ll likely dispose of it anyway.
Besides making it easier to remove parts, rafts also reduce the chance of your part being warped, so it’s a win-win feature. The main disadvantage of using a raft is the increase in printing time and filament consumed.
Most slicers have adjustable raft settings like the number of top layers. Once printed, you can continue in one of two ways: removing the part from the raft first or removing the raft from the build plate first.
It generally makes more sense to remove the raft from the build plate first, and you can do this in basically any way you want as long as you’re only touching the raft (to avoid damaging any features on your model). You can always use the other methods on this list to remove the raft, but the removal process should be much easier, given a raft’s geometry.
Add to the Build Platform
Our last preventative measure is to add another surface or buffer layer to the build plate to separate your print from the printing surface. This method is similar to a raft but uses non-printable buffer layers like tape or glue between the bottom of your print and the build plate.
Many options for these buffer layers exist, including painter’s tape, peelable PEI sheets, and regular glue sticks.
To use these types of additives, stick or apply the buffer layer, recalibrate your Z offset to account for the increase in build plate height, and start your print. Once that’s done, you can remove the part from the buffer layer or remove the entire buffer layer. In the case of glue, you can run the plate under water to remove the glue layer to help the part fall off.
License: The text of "How to Remove 3D Prints from the Bed: 7 Safe Ways" by All3DP is licensed under a Creative Commons Attribution 4.0 International License.