BattleBots: All You Need to Know to Build Your Own

Ladies and gentlemen, are you ready? Read on to learn everything you need to know about how to build a battlebot!
While it may seem counterintuitive, building robots for the purpose of destroying them is a popular hobby. This sport was popularized by televised competitions like Robot Wars and BattleBots. In fact, while technically called “combat robots”, these machines are widely referred to as “battlebots” as a result of the influence of the latter show.
Before being popularized by television, robot combat had its origins in the United States. Members of the “Denver Mad Scientists Society” organized some of the first robot battles in the late 1980s and 1990s, which led to the first Robot Wars held in San Francisco. From there, similar competitions were adopted throughout the world, kickstarting the evolution of BattleBots and inspiring more people to begin making their own.
Building combat robots can be a rewarding experience, although learning solely through trial and error can be a costly choice. Losing may result in the total destruction of a robot! In this article, we’ll go over all you need to know to get started with building your own battlebot and some tips to prevent the dismantling of all of your hard work!
What Is a BattleBot
Battlebots are electronic machines designed to fight with the intent of dismantling each other. Despite being called “robots”, battlebots are typically remote-controlled, although some autonomous combat robots have been used with varying degrees of success.
Traditional robot fights are one-on-one, with a limit of three minutes for contestants to try and inflict as much damage as possible. A contestant automatically wins if they “knock out” the opponent or, in other words, cause enough damage to prevent their opponent from moving. However, if the three minutes expire without a knock-out, the judges decide the winner based on several criteria, such as control, aggression, and damage.
Combat robots are classified by weight, which prevents extreme deficits in power and makes engineering even more important for a robot to be successful. There is a wide range of weight classes:
- Fairyweight (known as Antweights in the U.K.): 150 g
- Antweight (US): 1 lb
- Beetleweight: 3 lb
- Hobbyweight: 12 lbs
- Featherweight: 30 lbs
- Heavyweight: 250 lbs
There have been competitions with weight classes other than these, but they are uncommon and not ideal for beginners. With this information in mind, the next step in building a battlebot is to choose the weight class to compete in.
Choosing a Weight Class
The largest factor to consider when choosing a weight class is typically budget; large combat robots are very expensive, costing thousands of dollars.
It is advised that beginners stick to lighter classes since components are simpler and specialized materials and tools aren’t necessary. Many battlebot in the “insect” weight classes (Antweight, Beetleweight, etc.) use 3D printed components, making the manufacturing process easier for those owning 3D printers. Also, losses aren’t nearly as costly, so learning through trial and error is less painful on the wallet.
Another thing to consider is that heavier classes require more experience and specialized machinery to create large custom components. A complete heavyweight battlebot can cost anywhere from $5,000-$50,000 to produce.
Once the weight class of a battlebot is decided, the next part of the process involves deciding the kind of weapon your combat robot is going to have.
Common Weapons
Battlebots are outfitted with weapons to inflict damage on competitors, making them the most important design considerations! There are multiple types of weapons that are commonly used, and the rest of the bot is typically designed around this choice.
Here are some of the basic categories:
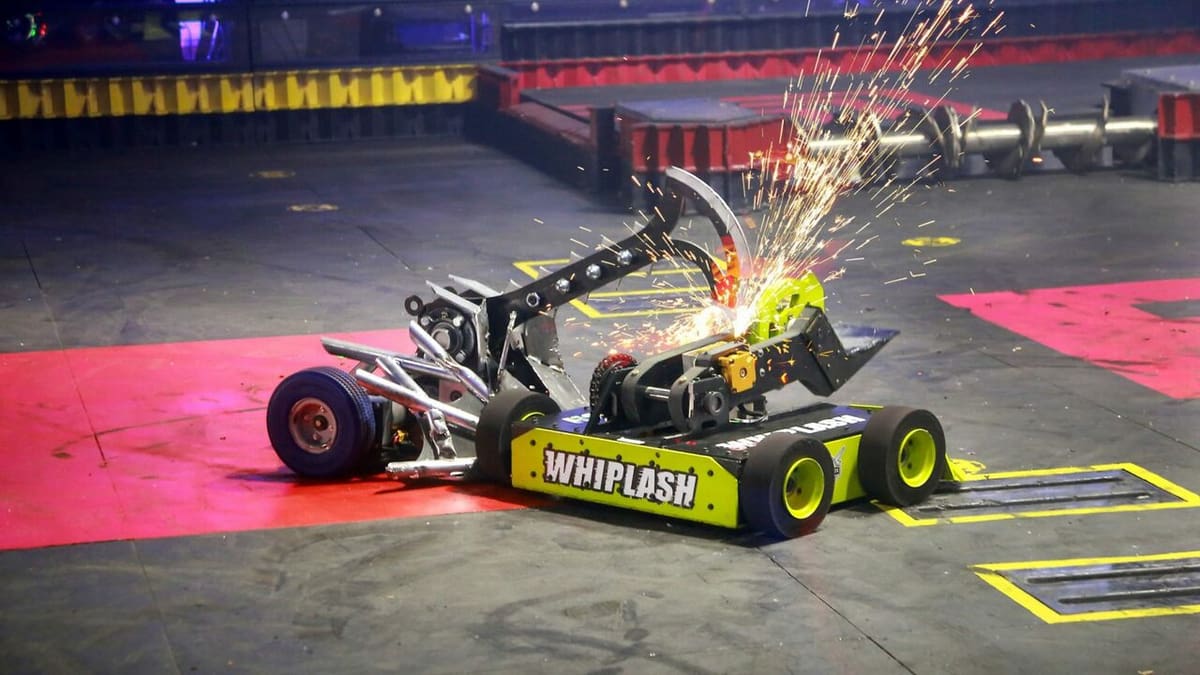
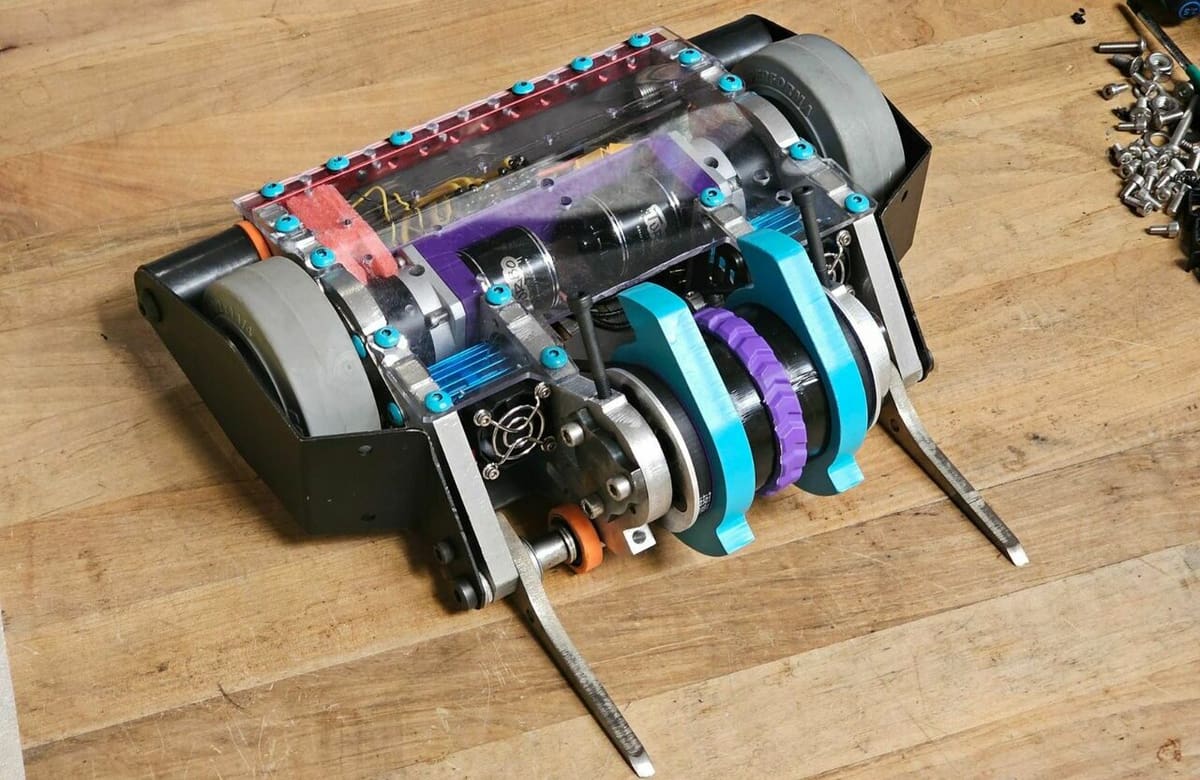
Spinner
Spinners are BattleBots that have rotating blades that function like a saw. This category of weapon is very destructive and stores a lot of energy, allowing them to potentially launch and cut opposing robots. As a result, they are very competitive.
Robots with these weapons are versatile given the multiple different orientations and shapes of spinners that have different effects. There are both vertically and horizontally spinning blades. Some of the different shapes include drum, bar, saw, eggbeater, or shell spinners, although there is no limit to how a blade can be shaped.
Flipper/Lifter
Combat robots with this type of weapon have a pivoting arm that is used to launch opponents upward, potentially damaging or disabling them if they are not invertible (we’ll talk more about that later).
Generally, the flipper arm is actuated by servos in smaller battlebots, which results in a relatively simple electronic system. On the other hand, more complex pneumatic or hydraulic systems are used more frequently in larger robots.
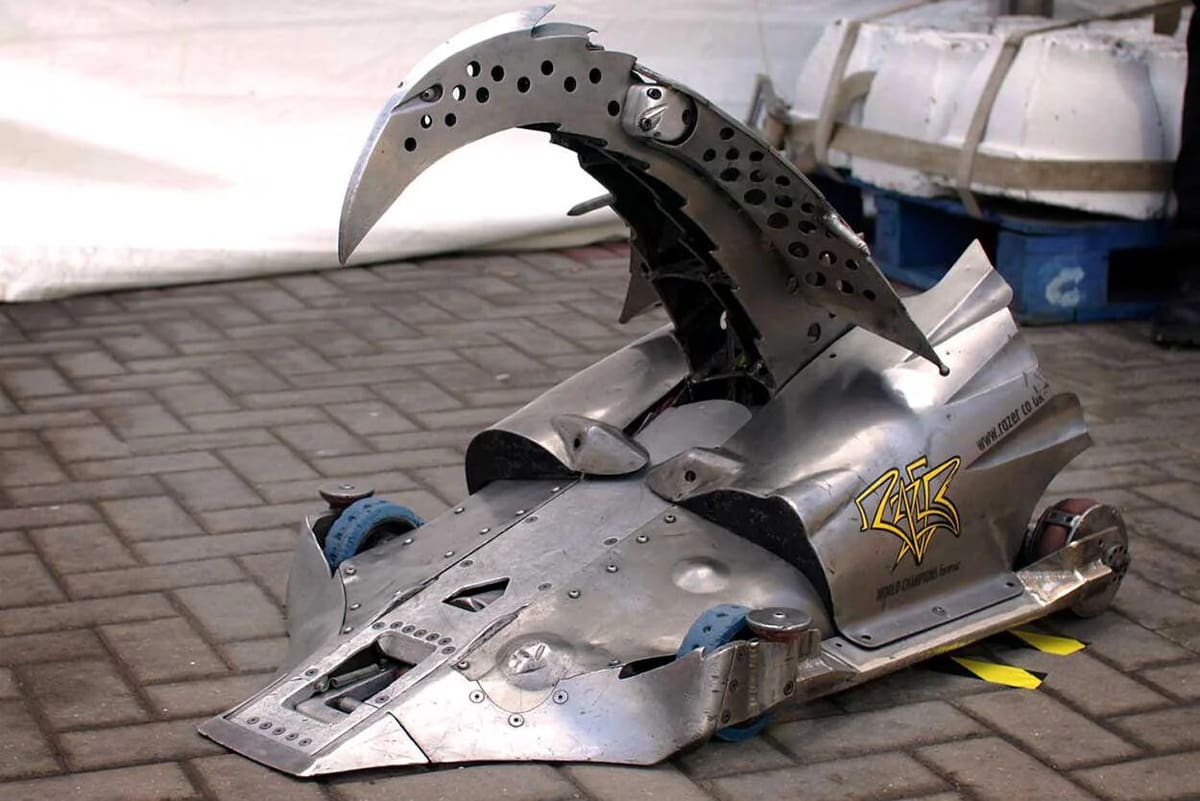
Crusher/Hammer
These robots are quite similar to flippers in that they have pivoting arms. As opposed to lifting their targets, crusher and hammer bots strike downward, targeting the typically weak top armor of other battlebots and hoping to puncture armor and break electronics.
Servos and other kinds of motors are typically used to move the arm, sometimes using chains or linear actuators to translate the movement. Combat robots using hammers or crushers are weaker compared to spinners because they have less time for their weapon to gain momentum, resulting in this category being less competitive (but definitely cool looking!).
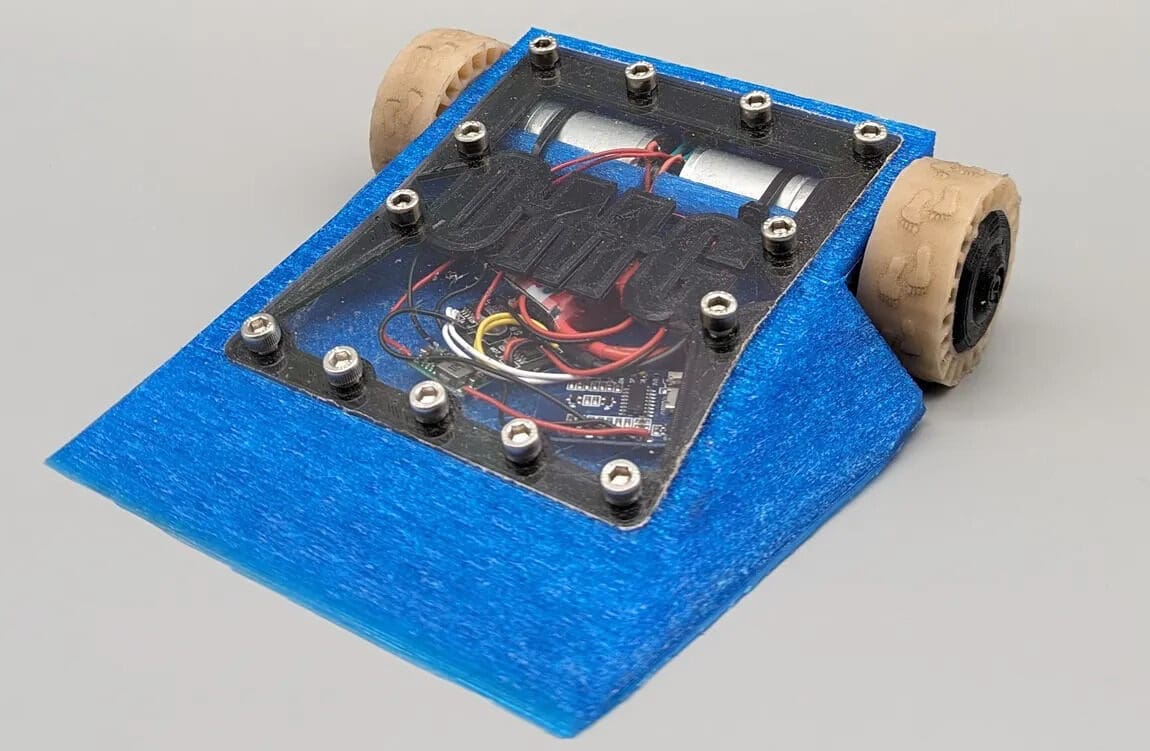
Wedge
Battlebots with wedges are the most basic, and great for beginners! Wedges entail a hard, armored front used to ram into opponents. No extra components like a weapon motor or a special actuation system are needed, so more of the allotted weight can be used for stronger armor or driver motors. As a result, wedge robots are tougher and less likely to rack up costs from getting destroyed, and can be quite competitive in lighter classes.
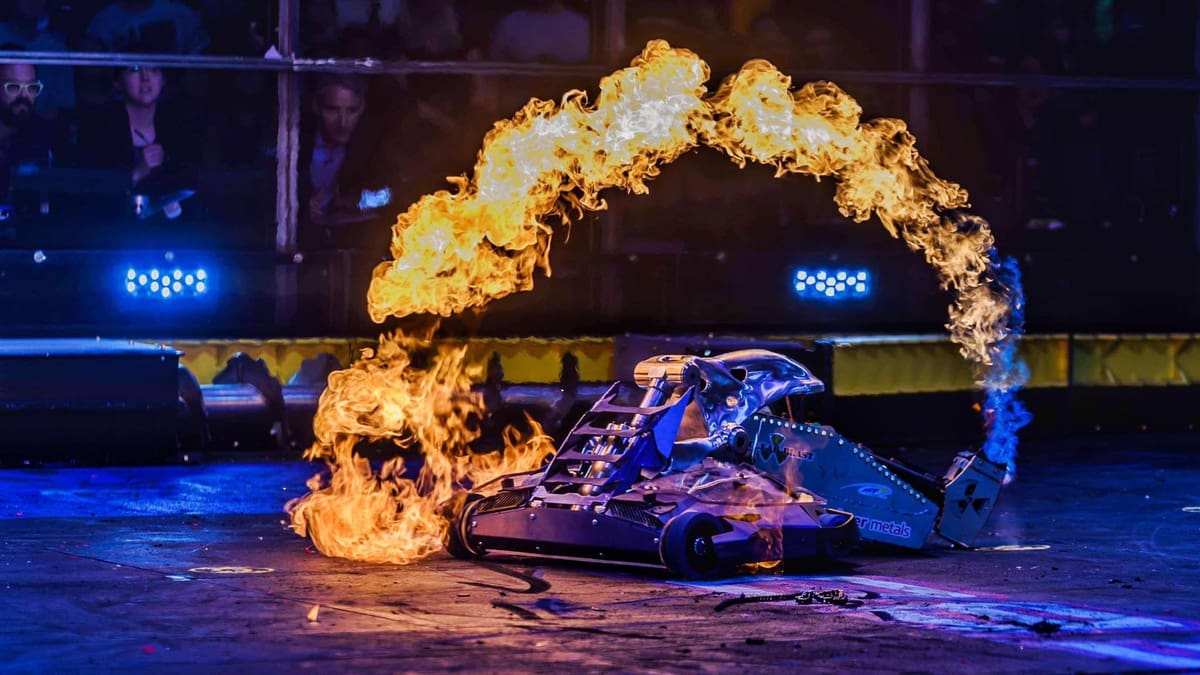
This is just the start of the most common types of weapons used for battlebots. Really, there are no limits to what a battlebot can be outfitted with, save for weapons that don’t comply with competition rules, which often include chemical, electrical, or explosive weapons. Even weapons like flamethrowers and flails have been used.
Some combat robots combine multiple categories of weapons, such as SawBlaze. However, note that the more weapons a robot has, the less weight can be devoted to each, reducing their power and effectiveness.
Electronics
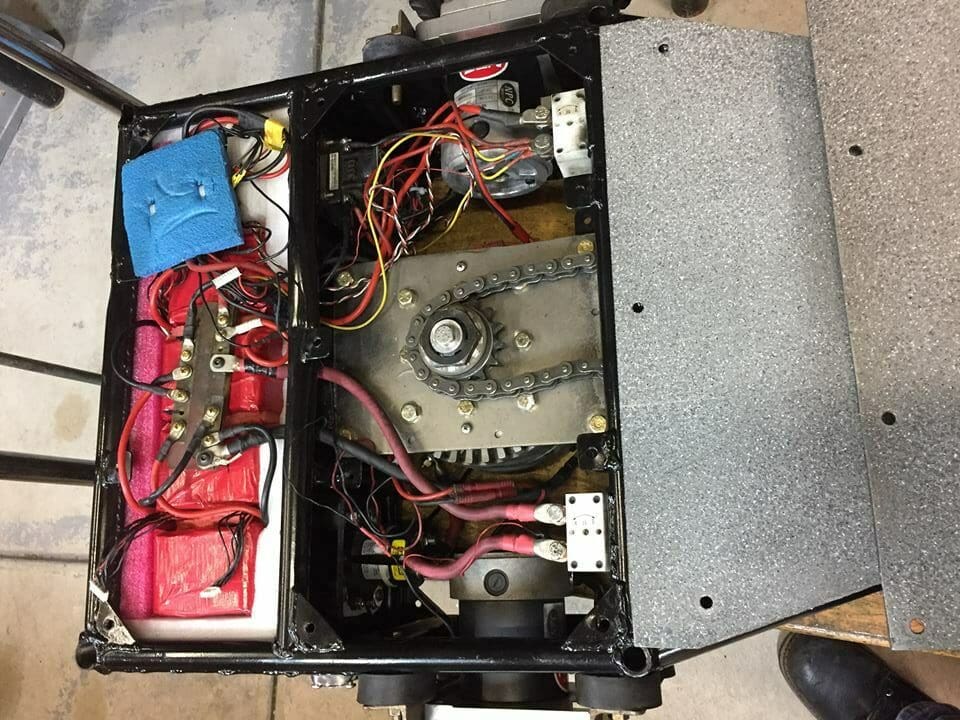
Once the general concept and weapon of a battlebot are chosen, the next step is designing the electronic system. It’s fairly important to choose the right components because if a malfunction occurs as a result of poor quality or incompatible parts, it may lead to a loss by default.
There are multiple parts that are needed by pretty much every battlebot, in addition to the specific electronics needed for the weapon. We’ll go into the electronics that are most often used:
Battery
The battery powers every part of a combat robot. A lithium polymer (LiPo) battery is a popular choice because of its light weight and high power. Although a battery with a small capacity (mAh) is ideal for weight reduction, it needs enough runtime to last the full 3 minutes.
Weapon Motor/Servo
This part must be powerful in order to inflict damage; in the case of spinners, brushless motors are generally recommended. However, spinner motors should not be too fast. The RPM, as determined by the KV rating (RPM per volt), should be suitably slow so that the blade can bite into the armor and not just glance off. Around 5,000 to 10,000 RPM is a good starting point, but the weapon should be tested to make sure it has a suitable speed.
Drive Motors
The drive motors of a battlebot should be strong enough that it can’t get pushed around easily. While this is less critical for spinner robots, wedge robots certainly need a powerful drivetrain to make their weapon effective. Battlebots typically use differential steering, like a tank, in order to maneuver. As a result, the same kind of motor is needed to drive each wheel. So depending on the drive system, two or four motors are needed.
Switch
It may not seem obvious at first, but a switch is a much-needed safety feature for combat robots. It’s used to prevent a robot from starting up unexpectedly when the power source is plugged in. A hex switch is popular because it can be concealed, preventing the power from getting toggled during a fight.
ESC
An ESC, or electronic speed controller, is needed for each motor in the electronic system. This includes one for each of the drive motors, as well as the weapon motor. ESCs are rated for specific voltages and currents, so different motors will require different ESCs. However, servos don’t require an ESC and can generally be plugged directly into the receiver.
Transmitter/Receiver
A transmitter and receiver used for a battlebot should have about four channels. This gives flexibility in terms of how a weapon is controlled and leaves room for later additions. Extra switches on the transmitter are also helpful, as they can be programmed as kill switches for weapon motors. Naturally, a lightweight receiver is best to avoid adding significant weight to the combat robot.
It can be difficult to find all of the right components for a robot; electronics must be powerful enough but also fit within the weight limit when added to the chassis. Tutorials are a useful tool, as successful electronic systems can be copied or used as a starting point. There are also premade systems such as those by BotKits and FingerTech that make the job easier. Just keep in mind that at least some electronics will get destroyed in combat, so it’s a good idea to buy extras of certain parts, such as motors, that are more susceptible to damage.
Designing
Now it’s time to design the actual chassis of the battlebot, customized to the components that have been chosen.
The first step of this process will be figuring out the space required for the various parts with a quick prototype. Following that, we’ll go over some popular materials and the considerations that should be taken into account when choosing armor. Then, the chassis can be designed. Let’s get into it!
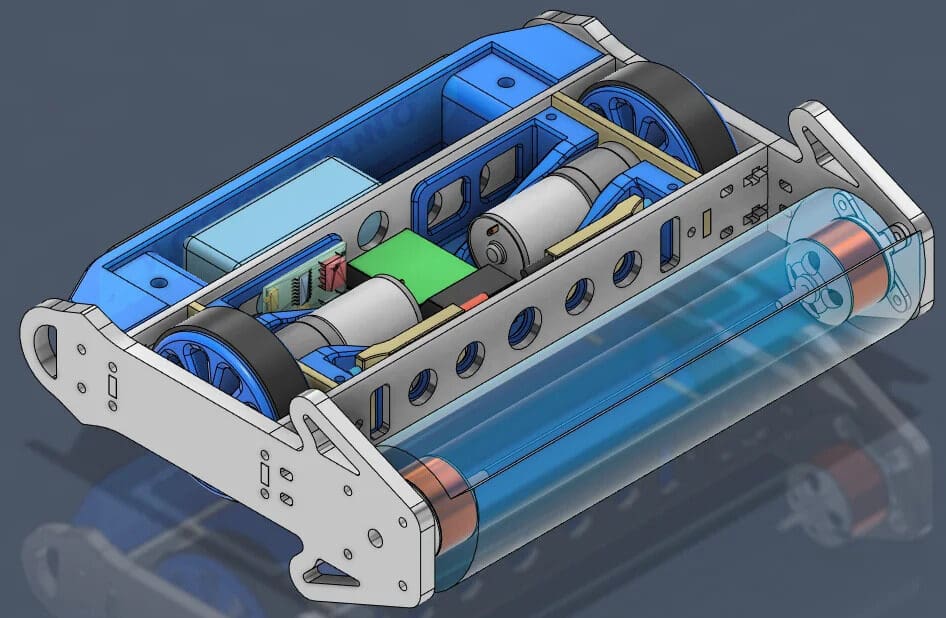
Prototyping
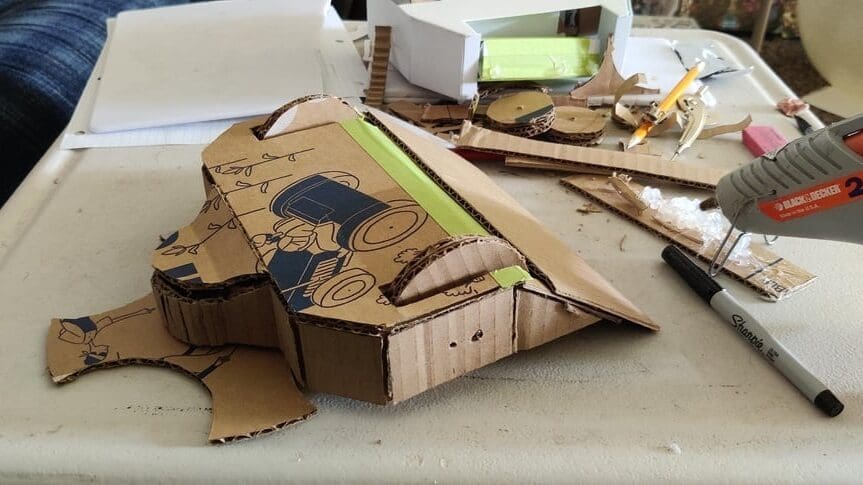
It’s best to begin designing once the physical parts are in your possession, since things like wires can take up extra space and are rarely included in product dimensions. The challenge here is often to fit the most powerful components possible into the smallest and lightest form factor achievable.
A good way to ensure that there will be enough space for electronics is to make a mock-up. This entails temporarily attaching components to scrap material, such as foam board or plywood, so that an efficient layout can be determined.
The entire electronic system should also be weighed to account for inaccurate specifications. This is important to know when it’s time to design the chassis, as the remaining allowed weight may influence material choice or the amount of armor that can be added.
Material
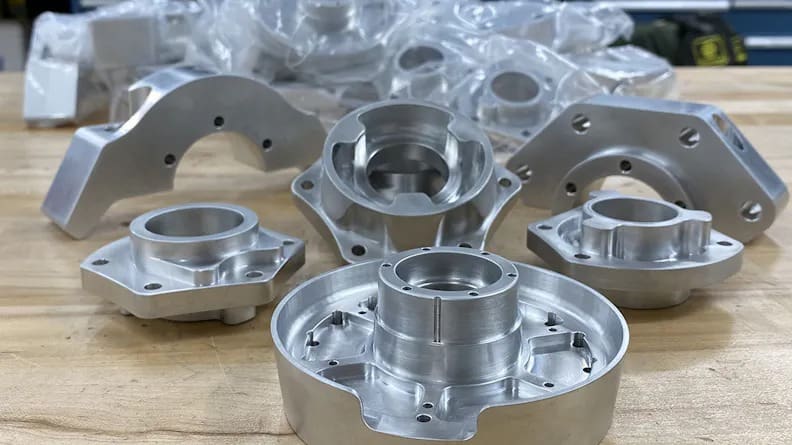
Next, the materials that will make up the battlebot should be chosen, as the associated manufacturing process may impose constraints on the overall design.
Metal is commonly used for armor that needs to be very strong. Aluminum, steel, and titanium are widely used by combat robots in nearly every weight class. However, metals are characteristically heavy and should be used sparingly in lighter classes.
Plastics, on the other hand, are much better for the lightweight insect classes and are often preferred for armor. Some of the more common materials are 3D printable, including nylon, TPU, and polycarbonate. Other options, such as UHMWPE and Garolite, are often cut with CNC machines.
As a general rule of thumb, it’s better to use strong materials on the sides as armor and light materials on the inside. Lighter materials, such as 3D printed parts, can be used to make brackets to hold components that aren’t under stress. Tough materials like UHMWPE and TPU are good options for ablative armor, which is armor that absorbs damage rather than violently breaking. Should you want to 3D print a specialized material for such a purpose, you might want to consider a 3D printing service.
Chassis
With all of this established, it’s time to figure out what the chassis of the battlebot will look like. Using computer-aided design (CAD) software should help ensure that the different parts will interact precisely once replicated.
When designing the chassis, you should keep in mind avoidable causes of defeat and consider how to prevent such scenarios:
- Inversion: Weapons, such as flippers, can invert a robot and render it helpless. Many makers prevent their robot from being incapacitated through inversion by designing a flat chassis that allows the wheels to stick out of the top and bottom.
- Immobility: If damage is done to the wheels, a battlebot to become immobile and it would therefore be more easily knocked out. Adding guards around the wheels can reduce the likelihood of such an event.
- Fire: Heat is not uncommon in robot combat. Potentially volatile electronics like batteries should be given extra protection to prevent them from being punctured.
If parts will be 3D printed, there are ways to optimize their strength without much change in weight. The wall count can impact part strength greatly, even more so than increasing infill in some cases, so consider bumping it beyond the common 2-4 walls. The strength of 3D printed parts is anisotropic, so consider both the infill pattern and printing orientation for best efficiency. Avoiding extreme overhangs will ensure that there aren’t gaps due to drooping layers and will ensure that tolerances are tight.
Considerations
Throughout the design process, there are some important things to keep in mind. A battlebot is rarely ready on its first iteration, so don’t be afraid to make revisions after evaluating strength or test fitting components. You should also check the weight of the battlebot throughout the process so you don’t end up back at the drawing board.
Here are some important characteristics of a battlebot that should be considered before it’s ready to enter a competition:
- Maneuverability: A robot must be maneuverable for it to be able to fight effectively. Wheels should be placed close to the center of mass so that it has plenty of traction and moves predictably. Spinners especially suffer from poor wheel placement as the force of the weapon can shift the bot around if the wheels are too far back.
- Drive system: There are a few kinds of drive systems to choose from. Two-wheel drive takes up less weight and allows for a more powerful weapon. A four-wheel drive is more complex, but provides more traction, making it useful for wedge robots. Tank-like tracks have also been used and can give a robot even more traction, however, they present a larger target for weapons and don’t work well when damaged.
- Defense vs. offense: Since there’s a weight limit, sometimes sacrifices have to be made. Using lighter armor can allow a robot to have a more offensive weapon or be faster. On the other hand, reducing the power of the weapon system can allow for a design more suited for taking blows. Cleverly designed armor can have a large impact without requiring much weight. Armor with large faces gives weapons like spinners more surface area to bite into, so more angles can make blows more likely to glance off.
There are also a lot of regulations for the design of combat robots, although they vary between organizations, so be sure to check the rules of the competition the robot is intended for. It’s also a good idea to watch some robot fights to get a feel for the battle dynamics, effective and inefficient robot designs, and types of failure.
Example Projects
Sometimes, checking out published robot designs can be a good starting point to emulate or to use for inspiration. There are a lot of great ideas out there.
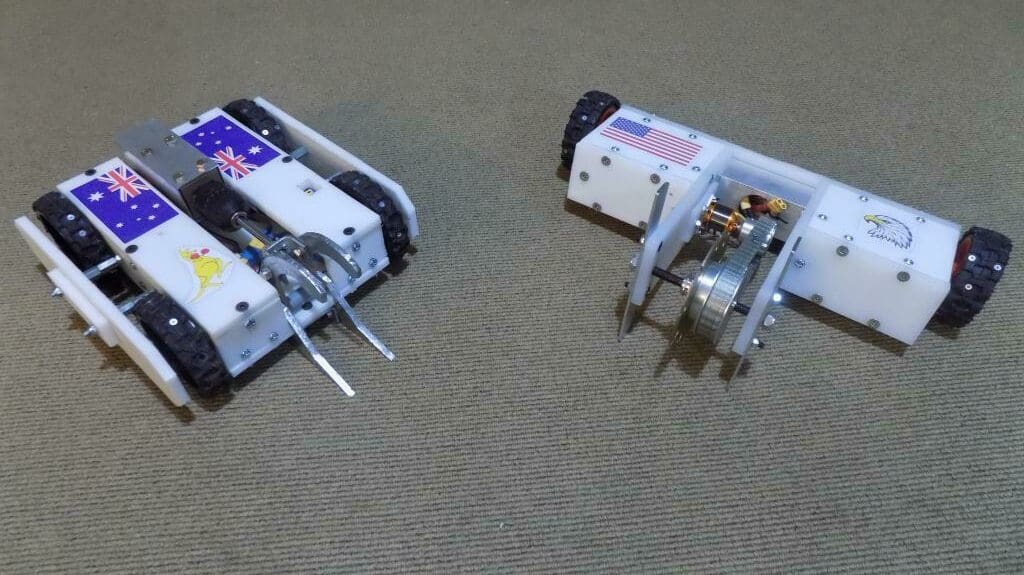
Maker’s Muse is a very popular 3D printing YouTube channel with over a million subscribers. Its creator, Angus Deveson, makes combat robots regularly and posts videos about the build. The focus is heavily on fairyweight bots, also known as antweights in the U.K. and Australia, where he’s based. He uses 3D printing extensively, especially in the case of a fairyweight lifter that proved quite successful. If this particular project is of interest to you, the files are available for purchase on the Maker’s Muse website.
Robert Cowan is another YouTuber who has multiple combat robot projects under his belt, with Copperhead being perhaps the most notable, having appeared on the BattleBots show. Robert Cowan also made a YouTube series on the design of his fairyweight robot, Sergeant Cuddles. He gives in-depth descriptions of the various systems and components of the robot, as well as the revisions he made throughout the process. His series is a great example of what the process of building a combat robot really looks like.
Last but definitely not least, this example is a great model for giving combat robots a try without too much commitment. Printables user Johannes uploaded a fully printable combat robot suitable for the 3 lbs class. Since it is a basic wedge, the electronics are simple, and there is sufficient space in the electronics cavity to allow some experimentation with the right components. Most of the body is meant to be printed in TPU and the maker states that they intended polycarbonate to be used for the top lid.
License: The text of "BattleBots: All You Need to Know to Build Your Own" by All3DP is licensed under a Creative Commons Attribution 4.0 International License.