
G92 G-code: All You Need to Know

The G92 command sets the nozzle's current location and is useful for changing offsets. Read on to learn all about G92 G-code!
What Is It?
G-code is the basic programming language used for almost all CNC machines, including 3D printers, routers, and laser engravers. It “instructs” the machine on how to move, heat, and perform other actions.
In fact, the term “G-code” is actually a bit of a misnomer; the programming language is known as RS274, but “G-code” is often used to refer to the entire language, including different letter commands (G, M, S, etc.).
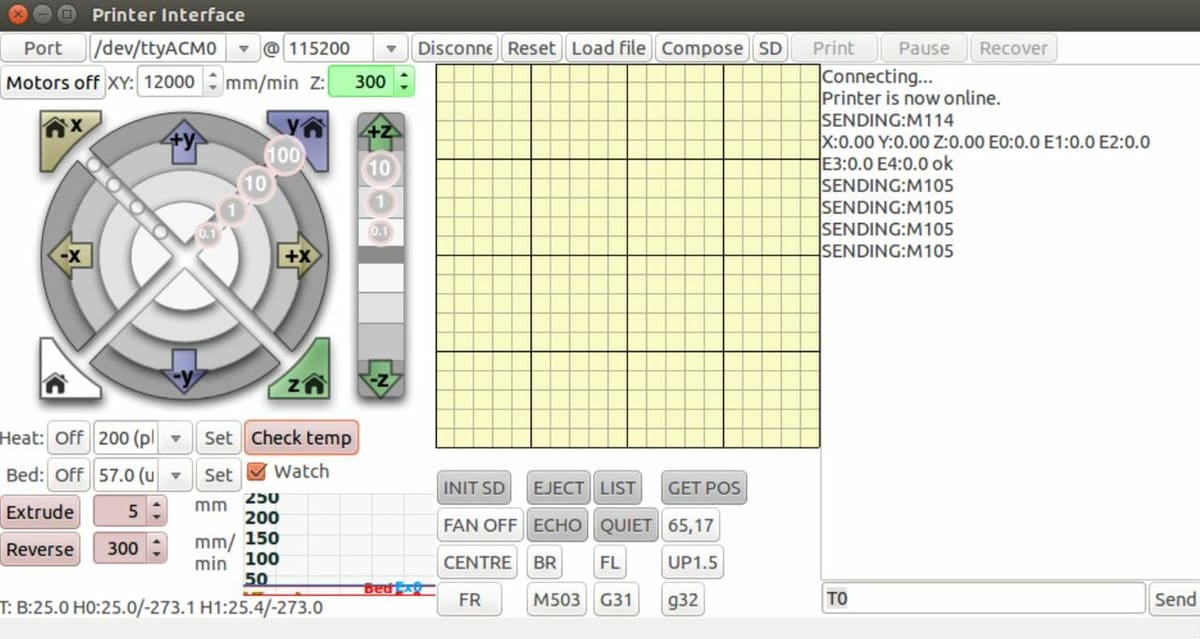
G-code is interpreted by a printer’s firmware and is created in a slicer, which turns a 3D model (STL, OBJ, 3MF, etc.) into a G-code script. Large command scripts, like entire 3D prints, are usually sent to the printer through the mainboard or memory device (microSD card), while individual commands are usually sent on a G-code terminal. Terminals can be super helpful to set offsets, PID tune, check problems, and more. Some popular ones include Pronterface or OctoPrint‘s integrated G-code terminal.
Some Numbers
Hundreds of different G-code commands exist, and each command starts with a letter followed by a number (e.g. “G0”). Some commands deal with motion, others with heat; every command is unique in what it tells your machine to do. For example, G0 instructs the printer to move as quickly as possible, while G1 is for controlled motion.
Instructions can also be in a series of combinations to further define the initial command. For example, G0 X10 Y20 tells your machine to rapidly move 10 units along the X-axis and 20 units along the Y-axis.
The G92 command is one of these G-code commands and, on a 3D printer, it specifies the current location of the nozzle. For example, the script G92 X10 Y20 Z30 E40 tells your machine that the nozzle is located at coordinates (10, 20, 30) – that is, 10, 20, and 30 mm in the positive X-, Y-, and Z-axes, respectively. The E value indicates that the extruder (specifically, the stepper motor controlling the gear) has extruded 40 mm of filament.
Telling the printer where the nozzle is located may seem unintuitive, but in fact, this command can be super helpful, especially when it comes to setting offsets. In this article, we’ll discuss, with examples, how you can use this command on your machine.
How to Use It
The purpose of the G92 command is to allow the setting of work offsets on your machine so that you can counteract a physical or spatial offset. This allows you to have a physical offset between the true home position and the digital home position. For example, you can use the G92 command if you want to 3D print or cut only a certain part of the build platform or at a specific height.
On a 3D printer, setting an offset would be as simple as homing the nozzle (G28) – thereby sending it to the true home – moving some distance in any direction (G0 or G1), and setting a digital home (G92 X0 Y0 Z0). Yet, there are also other uses.
3D Printing Example
Let’s say your 3D printer has told your extruder to push 5 mm of filament (G1 E5), and now you want to extrude 2 mm more of material. If you just send G1 E2, your printer will know that it has extruded 5 mm, and will actually retract 3 mm rather than extrude 2 mm.
To perform this action properly, you can send G92 E0 and then send your G1 E2 command. This will tell your printer to zero the extruder (E) “axis” so that it can then extrude the 2 mm of filament. In a sense, it has “forgotten” that it previously extruded 5 mm.
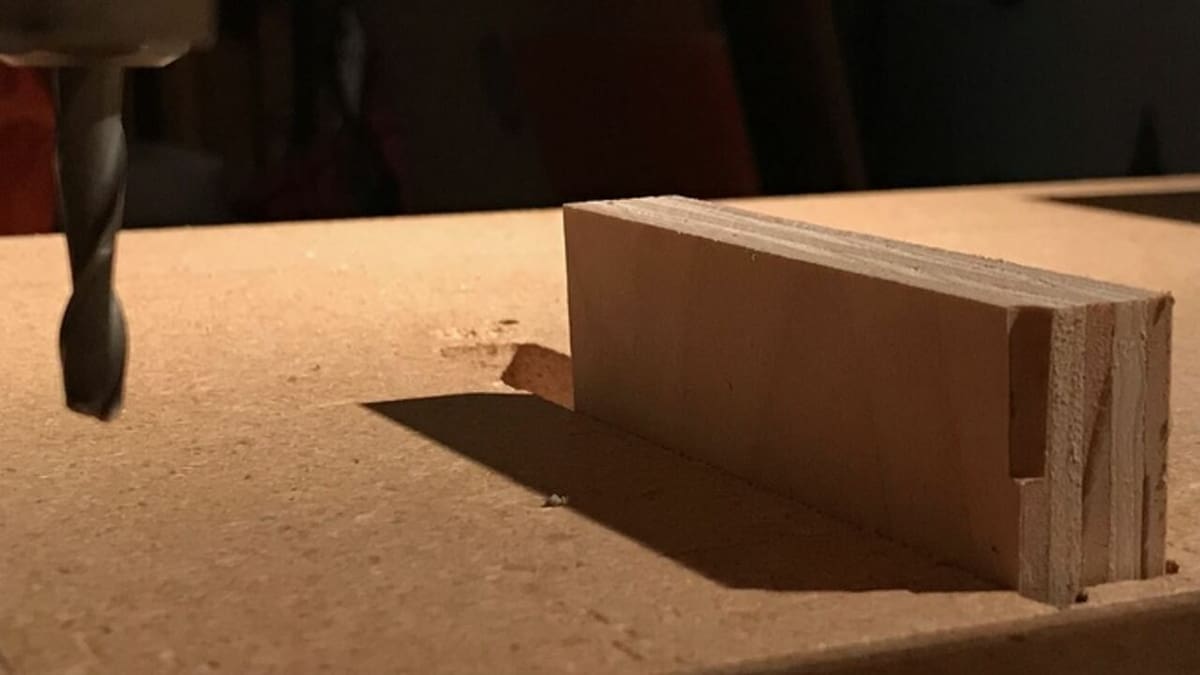
CNC Example
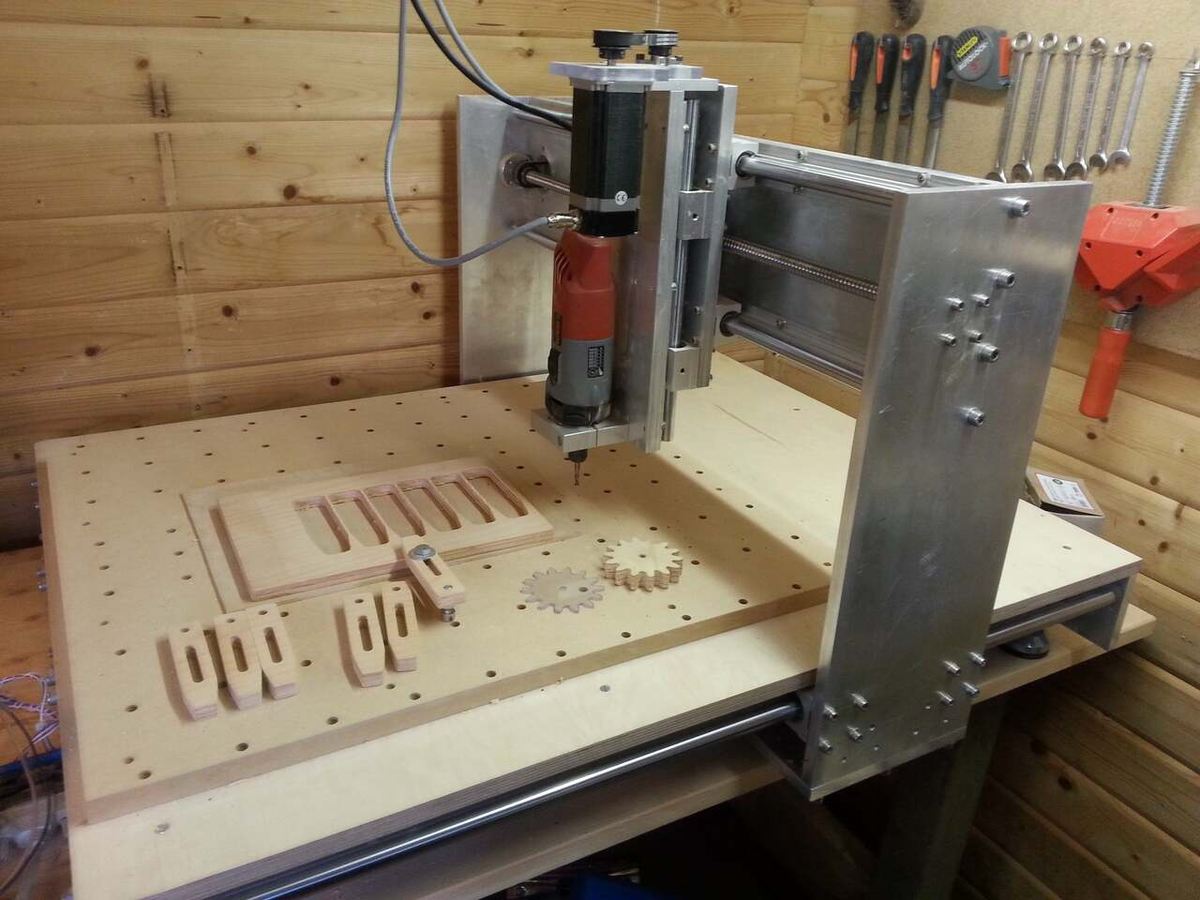
Let’s say you want to use your router to cut a block of wood who’s bottom corner is secured at location (20, 20, 3) and your spindle’s home location is (0, 0, 0) (bottom corner of the bed). As programmed, your machine will interpret any incoming G-code from the perspective of that home location.
If you don’t want to add 20, 20, and 3 to all of your cutting commands, you can simply use G92 to accommodate the block’s physical offset. To do this, send G0 X20 Y20 Z3 to move your spindle to the location of the block, and then set the offset with G92 X0 Y0 Z0. This will make all your motion commands (for that job) much simpler to program and read.
Common Issues
When using the G92 command, you may run into some issues, but don’t worry because many can be easily solved. Let’s take a look.
- Offsets not taking effect: After sending any form of the G92 command, you can cancel the offset with the G28 command, which will home any specified axis back to their true zero location (at the endstops). For this reason, make sure your G-code script doesn’t contain G28, otherwise, it will forget the G92 offset.
- No endstops: If your machine runs Marlin firmware and has no endstops or limit switches, you’ll need to edit your firmware to use the G92 command. The lead developer of Marlin, thinkyhead, has noted that you should make sure the “NO_WORK_OFFSETS” feature is enabled.
- Incompatible or unsaved firmware: Some users have experienced issues with how their firmware interprets the G92 command. Every time you flash new firmware, check to make sure it supports the G92 command. (Marlin does.) Then, after setting new offsets with the command and flashing new firmware, send the M500 command to save all settings.
If you want to test G92 offsets, you can use the M114 command, which will read back to you where the machine thinks its axes are located.
Lead image source: ZmosphSA via Medium
License: The text of "G92 G-code: All You Need to Know" by All3DP is licensed under a Creative Commons Attribution 4.0 International License.