Ender 3 (Pro) Z Offset: How to Adjust It

The first layer is the most important part of the print, regardless of the printer. Get it right with these Ender 3 Z offset tips!
With any 3D print, getting a solid first layer sets the scene for the rest of the job. Many factors contribute to how well the first layer of a print comes out, like the bed levelness, print speed, and temperature.
One of the most important contributors to the first layer is the Z offset. The Z offset is a positive or negative value added to the default Z-axis home position in order to accommodate the relative positioning of the nozzle and the build plate.
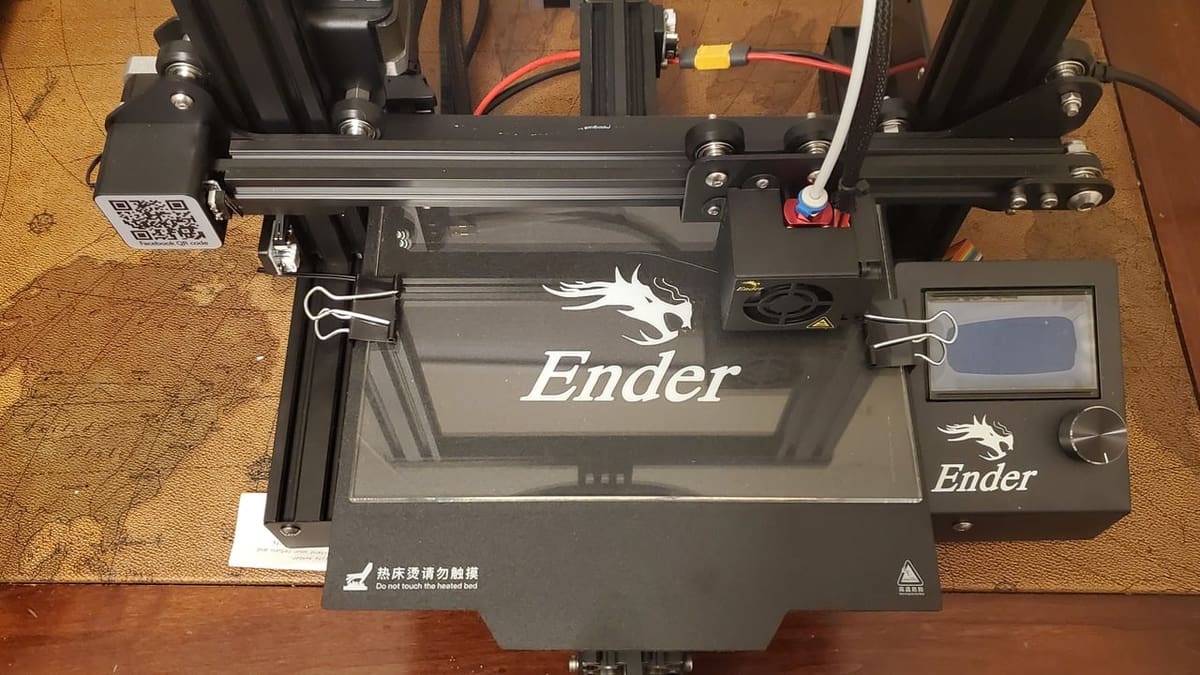
With the Creality Ender 3 and Ender 3 Pro, two of the most popular hobbyist 3D printers, you can adjust the Z offset in a few ways. But first, more information!
What's the Big Deal?
The home position for a moving component on a printer is usually defined as the point where the component triggers the limit switch on its motion path (axis). In the case of the Z-axis carriage on a 3D printer, however, the true zero point is actually slightly above where the component triggers the limit switch. This allows for a negative Z offset value.
A Z offset is needed because the Z-axis limit switch and the build plate could be at different positions from machine to machine. This offset also helps you control how much space the nozzle gives filament when printing over the build plate or a previous layer.
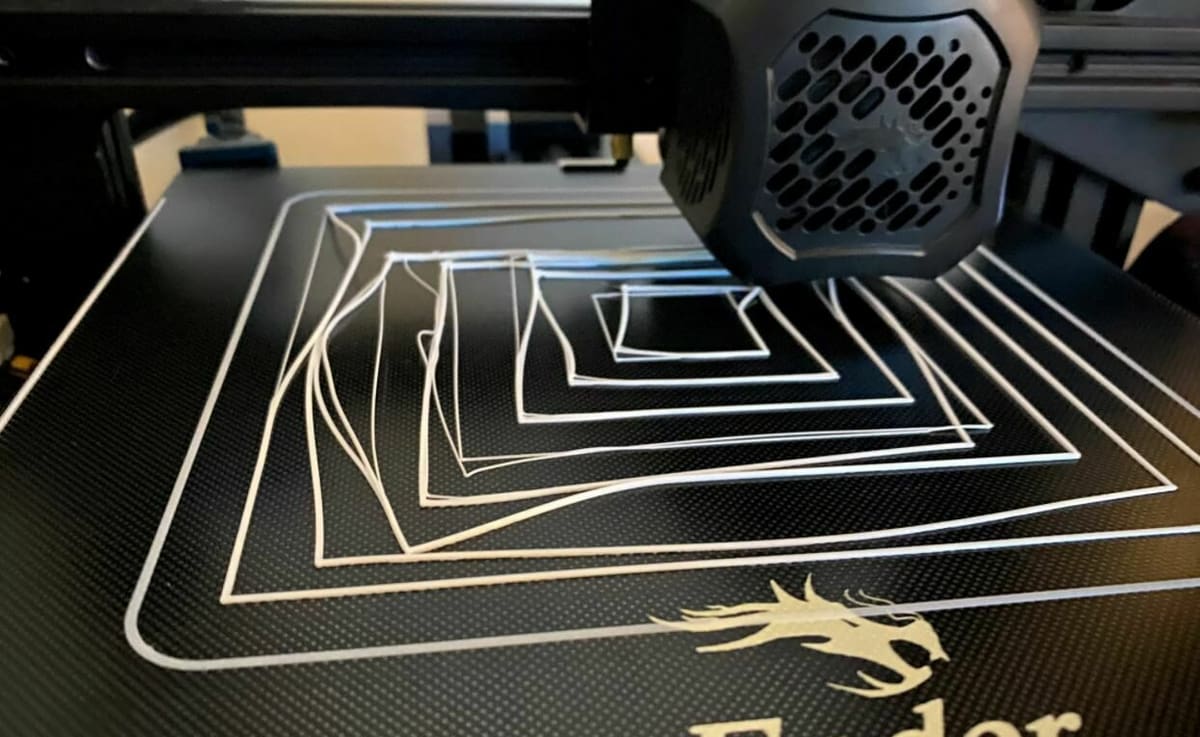
If the Z offset isn’t set properly, you will likely experience adhesion or extrusion issues, particularly on the first layer of your print. And, as you probably already know, a bad first layer often leads to a completely failed print because every following layer is affected by the first.
It’s important to remember that the Z offset isn’t the same as the levelness of the bed. Leveling your bed ensures an equal distance from the build plate to the nozzle at all points, while setting your Z offset adjusts this distance so that filament can be neatly laid out on the build plate.
Remember that all of the following methods lead to the same result, so you only need to pick one!
But First, Check Your Machine

Before we get into the ways to change your Z offset on your Ender 3 (Pro), know that you may need to first manually adjust the position of your Z-axis limit switch. As the Z offset is a digital value, moving this sensor isn’t the same as adjusting the Z offset. However, before turning to your slicer to adjust the Z offset, it’s important to ensure that your machine’s mechanical setup is ideal. (Indeed, it’s been reported that some stock Ender 3s have the limit switch placed too high.) In this way, you can think of adjusting the limit switch like performing a small tune-up.
The Switch
Limit switches are small mechanisms strategically placed along each movement axis. They’re used to prevent the machine from overextending and causing damage to the print bed and other components.
It’s a good idea to think about the Z-axis limit switch as a hard stop for the printer. You should try only moving it if you have the feeling that the assembly could be improved, when you change your build plate (e.g. switching to a thicker build plate), or if you’re attempting to print on top of another object (e.g. an existing print). Manually adjusting the limit switch can also help to avoid using a large Z offset.
Adjusting

When it comes to where the Z-axis limit switch should be placed along the Z-axis, there’s only a small window of opportunity. Anywhere outside of this window will make it practically impossible to use a Z offset to achieve an ideal first layer.
If the limit switch is positioned too low, the Ender 3’s X-axis carriage won’t be able to hit it without the printhead running into the build plate (potentially damaging it). On the other hand, if it’s set too high, the printhead won’t be able to go low enough to be a good distance above the build plate. You should place the limit switch so that it’s below the build plate but not so far to where the printhead hits the build plate when the endstop is activated.
For more information on this, check out the detailed guide later on in this article.
Method 1: Slicer

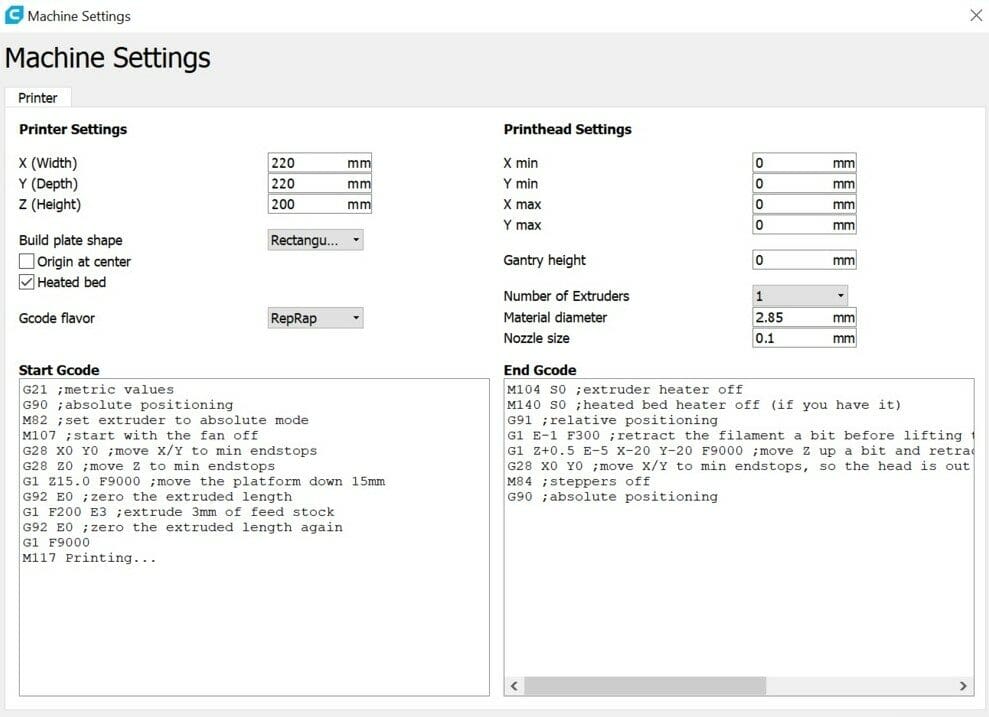
There are a lot of slicers out there, and some, like PrusaSlicer and Simplify3D, have a Z offset function built-in. If the feature isn’t preloaded, you can usually download a plug-in that makes the feature available, like with Cura.
After downloading the plug-in for Cura, adjusting the Z offset is as easy as changing the value. For almost all slicers, a negative value will move the nozzle closer to the bed, while a positive value will shift the nozzle away from it. Nice and easy, right?
Just make sure that, when adjusting the value, the limit switch isn’t hit again. If it is, then the system will be reset, and the Z offset is null and void.
Method 2: G-code
Working with G-code is a more in-depth option. If you’re not experienced with 3D printing G-code, working with the Z offset is a good place to start. Any adjustments to this code will need to be done after the printer has been homed.
You can send G-code commands through a terminal like OctoPrint’s G-code terminal or Pronterface. Alternatively, you can add G-code commands into your sliced print’s G-code scripts.
Here are some useful code examples that can be used:
G28: Homes all axesG28 Z0: Homes the Z-axisG29: Auto-bed leveling (optional if you’ve already attached a leveling device)G1 Z3 F5000: Raises the Z position up 3 mm relative to where it was (G1tells the machine to move,Z3tells it how much to move and along which axis,F5000is the speed of movement)G92 Z0.3: Treats the current position as Z = 0.3 (applying an offset of -0.3 and creating a sort of false home for the Z-axis). Any commands made after this simple code will assume the print bed is lower than what it actually is (to account for any original gap between the nozzle and the print bed). If you want to have the nozzle raised, you’ll have to insert a negative Z value after theG92command.
Method 3: Onboard Display
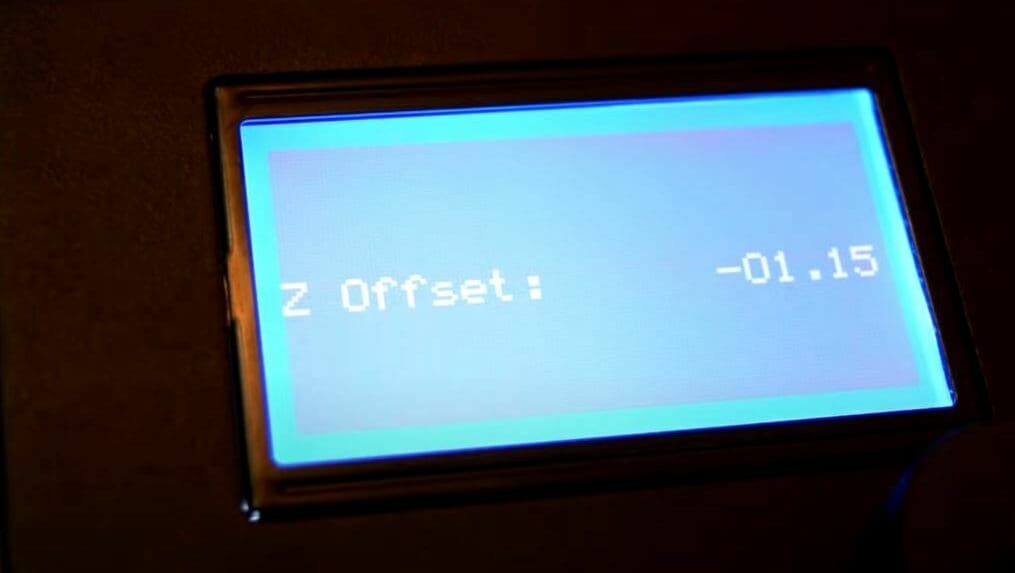
The third way you can adjust the Z offset for your Ender 3 or Pro is by using the machine’s onboard display. Depending on what firmware (e.g. Creality Marlin 1.1.9) your printer’s mainboard is running, you could have a feature in the user interface that allows you to change the Z offset directly from your printer.
Changing the Z offset on through your machine’s display should apply the offset to every print because it will store the value to the printer’s memory. On this note, make sure that once you set the Z offset, you store the value in your printer’s mainboard’s memory (you can do this through the display). To be safe, also make sure that you don’t set an offset through your slicer.
Common configurations or Marlin firmware contain the Z offset adjustment tool in the “Control” section of the LCD interface, but your specific version may store the feature in another location. As this is perhaps the most convenient method to change your printer’s Z offset, you may want to consider flashing a firmware version that has this capability.

More Tips & Tricks
Sometimes, you may experience issues with adjusting and saving the Z offset on your Ender 3 or Ender 3 Pro, especially if you have a BLTouch device. Perhaps the most common problem with Z offset is that when you change the value via the display, the printer can fail to apply the new value when it prints. Let’s go over a few different solutions for this problem.
- Store memory: Make sure when you change your Z offset value, that you don’t forget to click the “Store memory” button on your Ender 3’s screen if it’s running Marlin firmware. If you use a G-code terminal to communicate with your printer, you can do this by sending the commands
M500and thenM501. - Rerun a leveling sequence: If you have a BLTouch, your printer might need to rerun its BLTouch leveling sequence after you change the Z offset value to store them and apply them to future prints. All you have to do is hit the “Level bed” button on your display after changing (and saving) your Z offset.
- Keep your microSD card in: This fix is common with the Ender 3 V2 but may also work with other iterations of the Ender 3. Some users have noticed that the printer saves the new Z offset value to the inserted microSD card, so the new values aren’t applied without it.
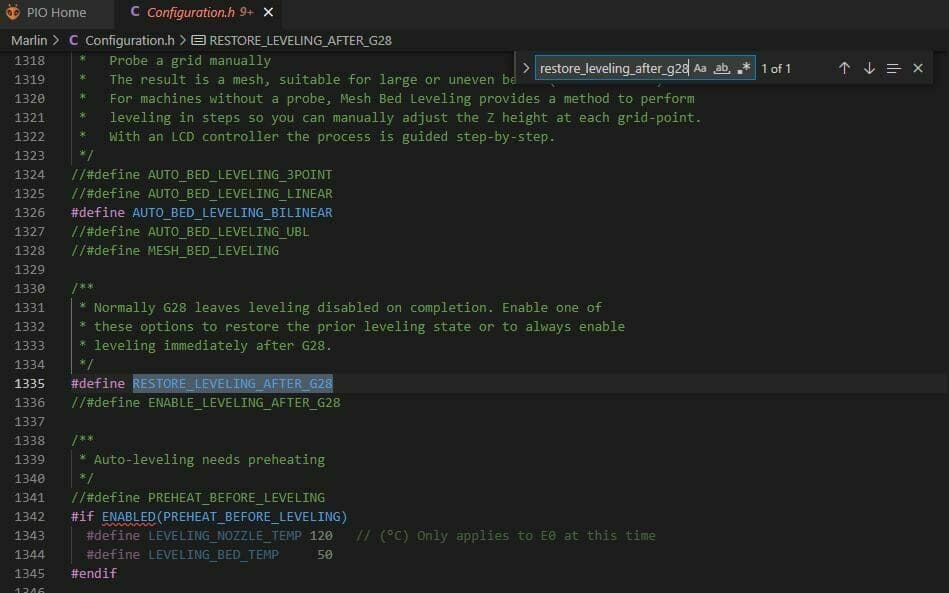
- Change the firmware: If you have a BLTouch, you can change your Marlin firmware to ensure your Z offset is applied. In Marlin, there are a few bug-fixing programming lines for the BLTouch Z offset, and, in unchanged Marlin, these are in pseudocode (“//”). All you have to do is remove the “//” in front of the programming lines below, which can be found in the Configuration.h file, and then rebuild and reinstall your new Ender 3 firmware.
#define RESTORE_LEVELING_AFTER_G28
#define DEBUG_LEVELING_FEATURE
Extra: How to Move the Limit Switch
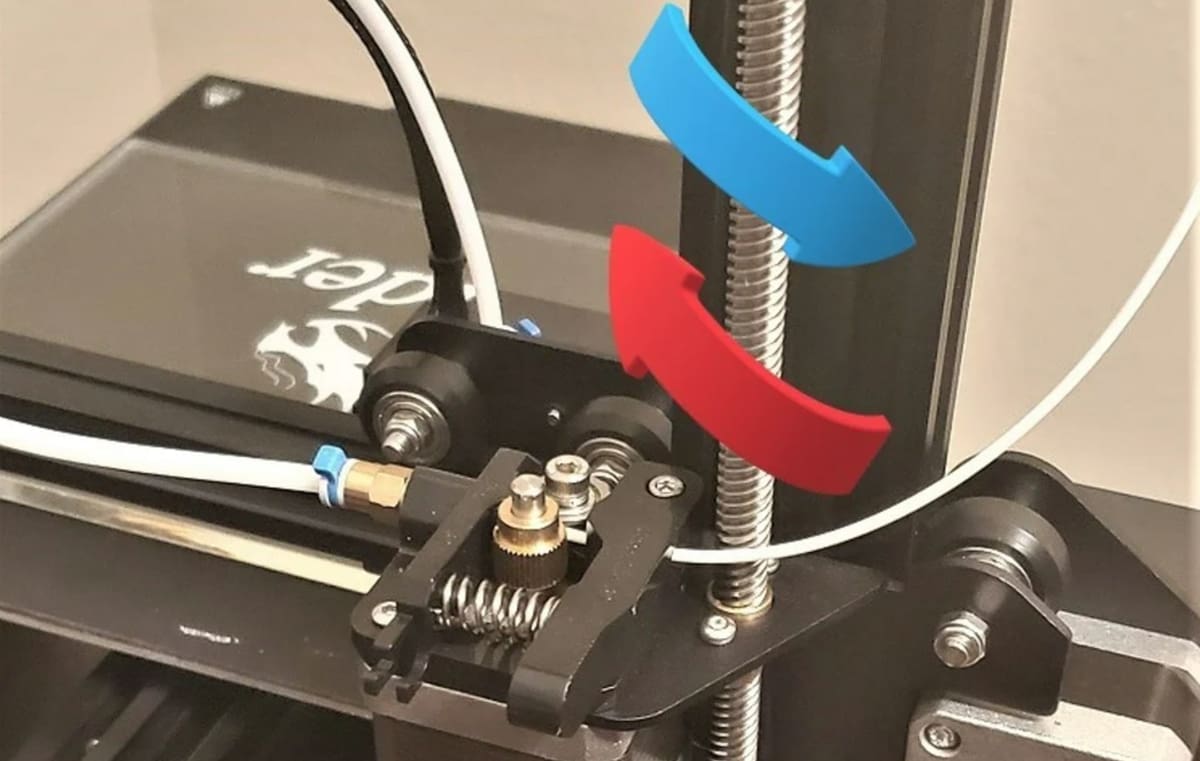
Raising or lowering the Z-axis limit switch is rather easy but will require fine-tuning the leveling knobs. This is done with a few easy steps:
- Loosen the leveling knobs under the bed about halfway so the printing bed can still be adjusted.
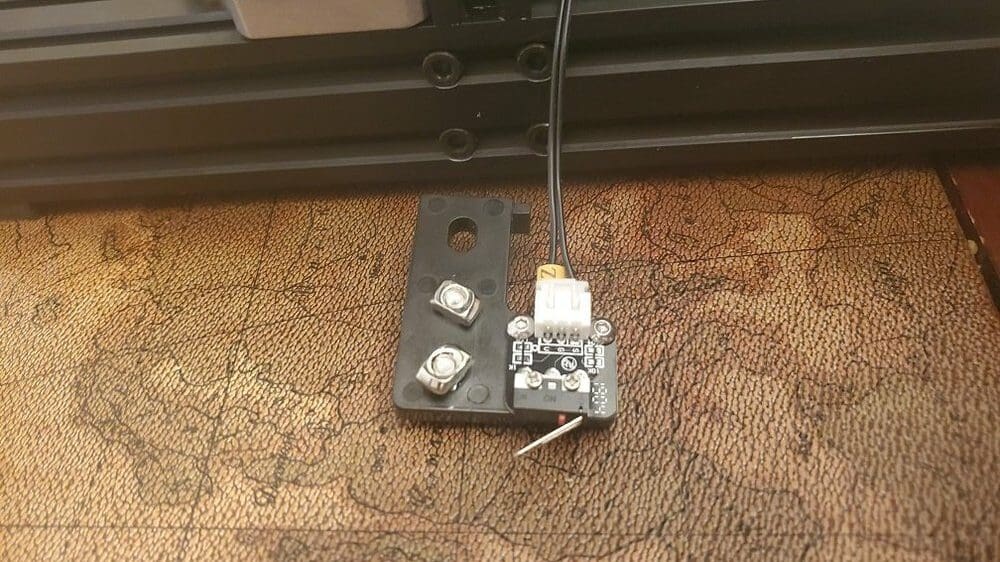
- Loosen the two screws on the plate that the limit switch is attached to.

- Slide the limit switch down the side of the aluminum extruded support bar that it’s usually attached to.
- Lower the nozzle to just above the print surface. (Approximately 1 mm of distance should be fine.)
- Raise the limit switch to the exact point where it clicks, then tighten up the screws.
- Test the configuration by raising and lowering the nozzle by a few millimeters. If you placed the limit switch correctly, it should trigger when the nozzle is just above the print surface. If this isn’t the case, you’ll need to slightly adjust the limit switch’s height as necessary.
Once you’re happy with your limit switch’s location, you can optionally further decrease the gap between the nozzle and the print surface by adjusting the print bed’s height (using all four leveling knobs). On the other hand, if you want, you can increase this gap by adding shims to the bottom of the Z-axis carriage.
License: The text of "Ender 3 (Pro) Z Offset: How to Adjust It" by All3DP is licensed under a Creative Commons Attribution 4.0 International License.