Best Ender 3 (V2/Pro/S1) Retraction Settings to Stop Stringing

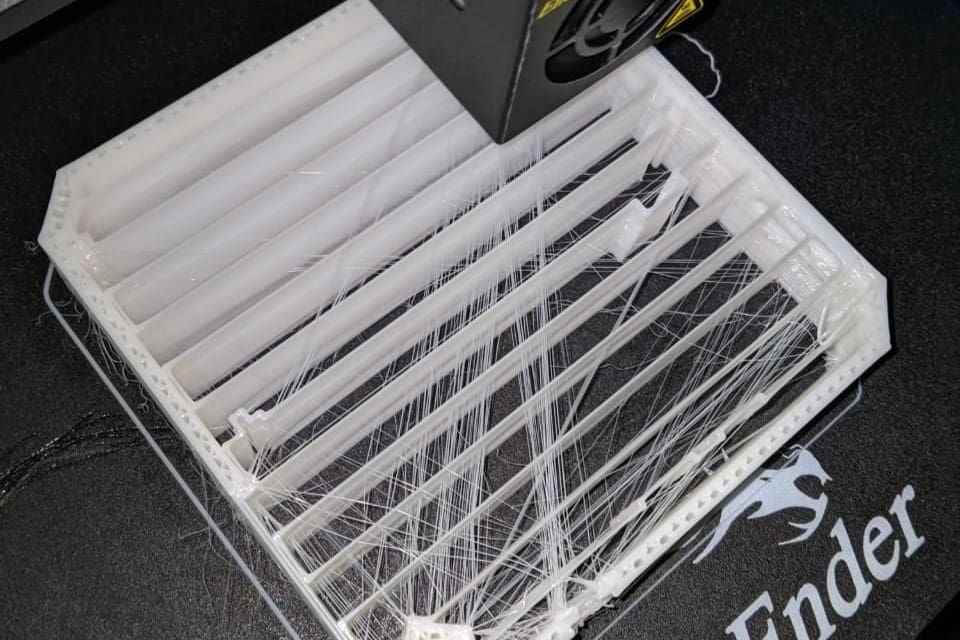
The Ender 3 (V2/Pro/S1) printers are great at pushing filament, but stringing can be a problem. Learn the best Ender 3 retraction settings!
Retraction – that is, pulling filament back during traveling – takes pressure off the nozzle. Every 3D slicing software we know of has retraction settings, and we’ll be going over these to help you get to a “no stringing” zone with all of your prints on an Ender 3, Ender 3 Pro, Ender 3 V2, or Ender 3 S1. These settings should also work for your Ender 3 S1 Pro and Plus.
We’ll focus on settings for your Ender 3 in Cura. Follow along as we activate the relevant settings for retraction (under “Travel”) and review the recommended values for each.
If you don’t see some of these settings in your version of Cura, find the Material section in your settings and click the gear icon. This will bring up the “Setting Visibility” dialogue box. Check all of the boxes and, after hitting “Close”, you’ll be able to see all of the material settings under “Printer Settings”.
Let’s get started!

Enable Retraction

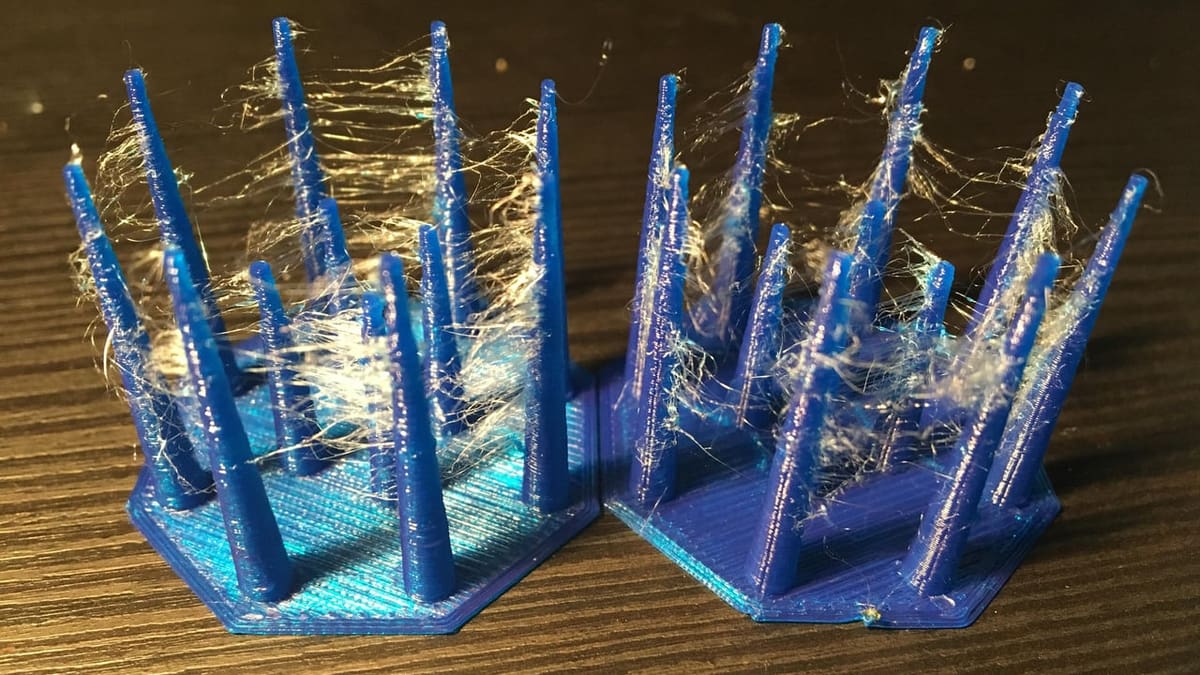
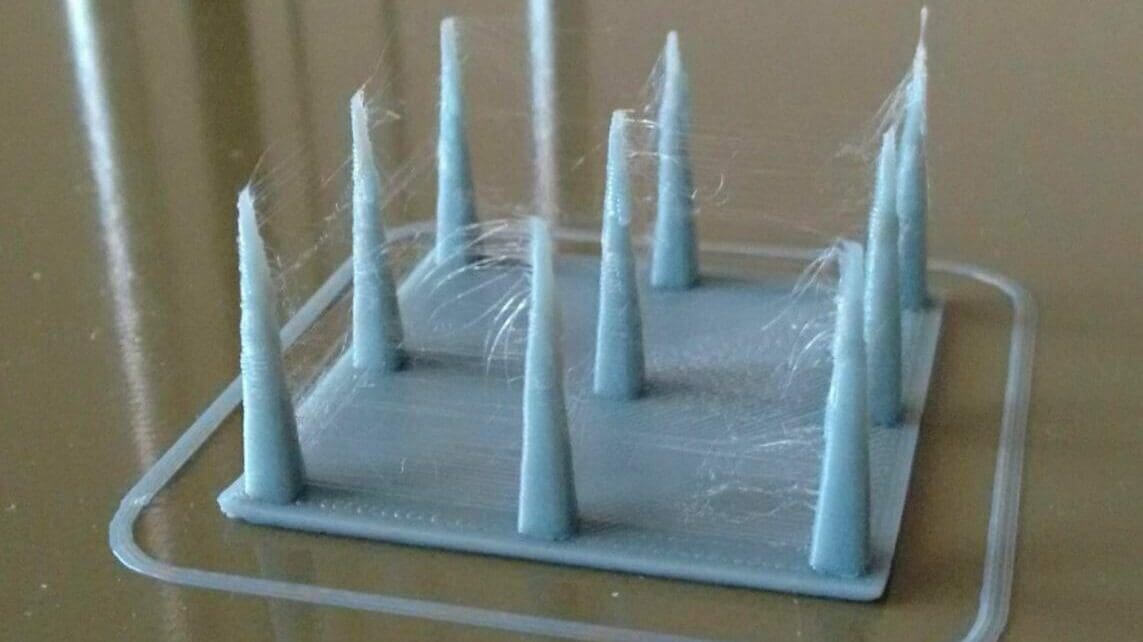
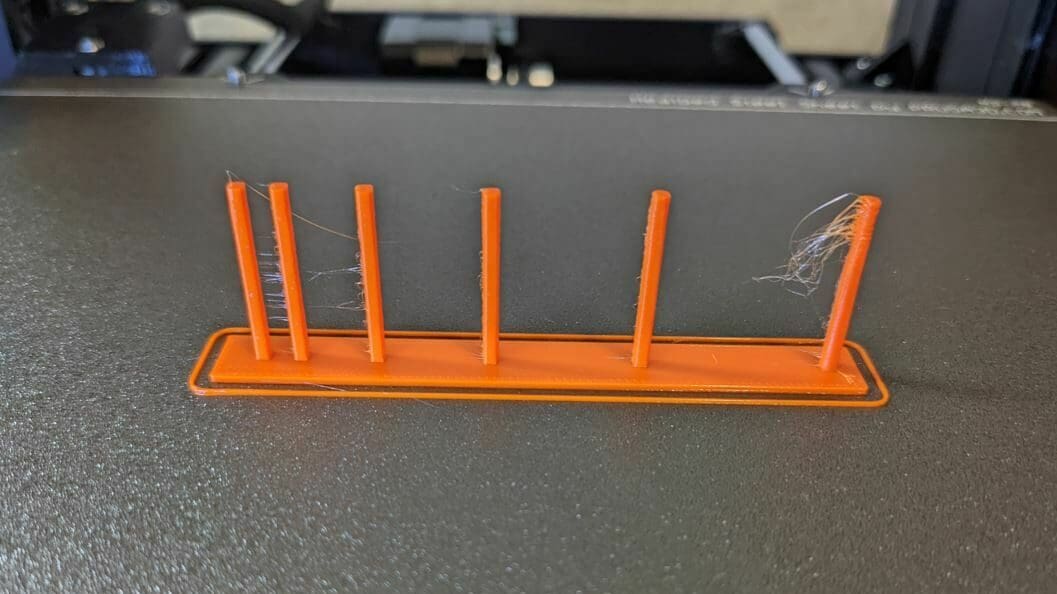
Although the Ender 3s work well right out of the box, you’ll still get stringing without tuned retraction settings.
This is one of the simplest settings available. It’s basically the switch that turns on the ability of the printer to do retraction movements. With it off, there are no other settings for retraction. With it on, you have settings you can adjust to get the best possible print.
- Enable Retraction: Yes
Retraction Distance
Retraction distance is the amount of filament the extruder will retract, or pull back, from the nozzle.
For example, if this setting is set to 7 mm, the extruder will pull 7 mm of filament out of the hot end. When the printer is ready to lay down more filament, it will move the same 7 mm strand of filament back into the hot end; this is known as “priming” and ensures the printer is ready to extrude material again. This momentary relief of pressure caused by retraction helps stop oozing and prevent stringing, hence why retraction settings are so important for achieving high-quality prints.
When setting the retraction distance, the goal is to set the lowest possible number while reducing as much stringing as you can. Too low a number won’t reduce stringing, and too high a number can increase your print time.
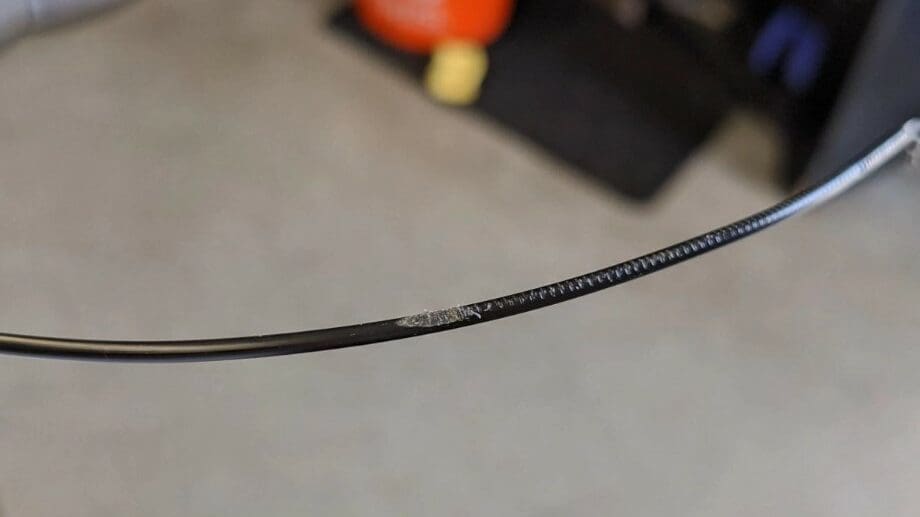
But, more importantly, too high of a retraction distance can damage your filament because of the extruder gears. Moreover, longer retraction moves mean the extruder gear’s teeth bite into the filament for longer, and too much of this can cause the filament to grind or even break mid-print.
For the Ender 3 (V2/Pro), it’s good to start with a setting of 5 mm, as this is normal for Bowden extrusion systems and should hopefully eliminate stringing without damaging your filament. However, you likely will have to adjust this value to fully stop stringing, so we recommend adjusting the setting up or down by 1 mm until you get it just right.
On the other hand, for the Ender 3 S1, you’ll want to start out with a much smaller retraction distance of 0.8 mm and adjust in increments of 0.2 mm since it uses a direct extrusion setup (unlike the other Ender 3 variations). This means the PTFE tube is considerably shorter, making hot end pressure more controllable without retraction.
- Retraction Distance:
- Ender 3 (V2/Pro): Begin with a setting of 5 mm and adjust up or down by 1 mm until all stringing is gone.
- Ender 3 S1: Begin with 0.8 mm and adjust in increments of 0.2 mm to resolve any stringing.
Retraction Speed
Retraction speed is how fast the extruder pulls the filament out of the hot end and nozzle. This is typically in millimeters per second (mm/s). The higher the setting, the faster the movement. The trade-off here is that the faster you go, the more potential damage you could cause to your filament.
In Cura, retraction speed is broken down into two different speeds:
- Retraction Retract Speed is the speed in mm/s at which the extruder pulls the filament out of the hot end and nozzle.
- Retraction Prime Speed is the speed in mm/s at which the extruder pushes the filament into the hot end, priming it for the next layer of filament on your print.
In layman’s terms, these two settings define speed out and speed in, respectively. These settings aren’t essential to change; setting Retraction Speed will cause it to copy that speed into both of these options.
Then why break retraction speed into two components? You may find that your extruder does more damage on priming than retraction, so a lower speed here will help protect your filament.
And, unlike retraction distance, the suggested retraction speed varies much less between Bowden and direct extrusion printers. For the Ender 3 (V2/Pro) and Ender 3 S1, start with a setting of 50 mm/s and 45 mm/s, respectively.
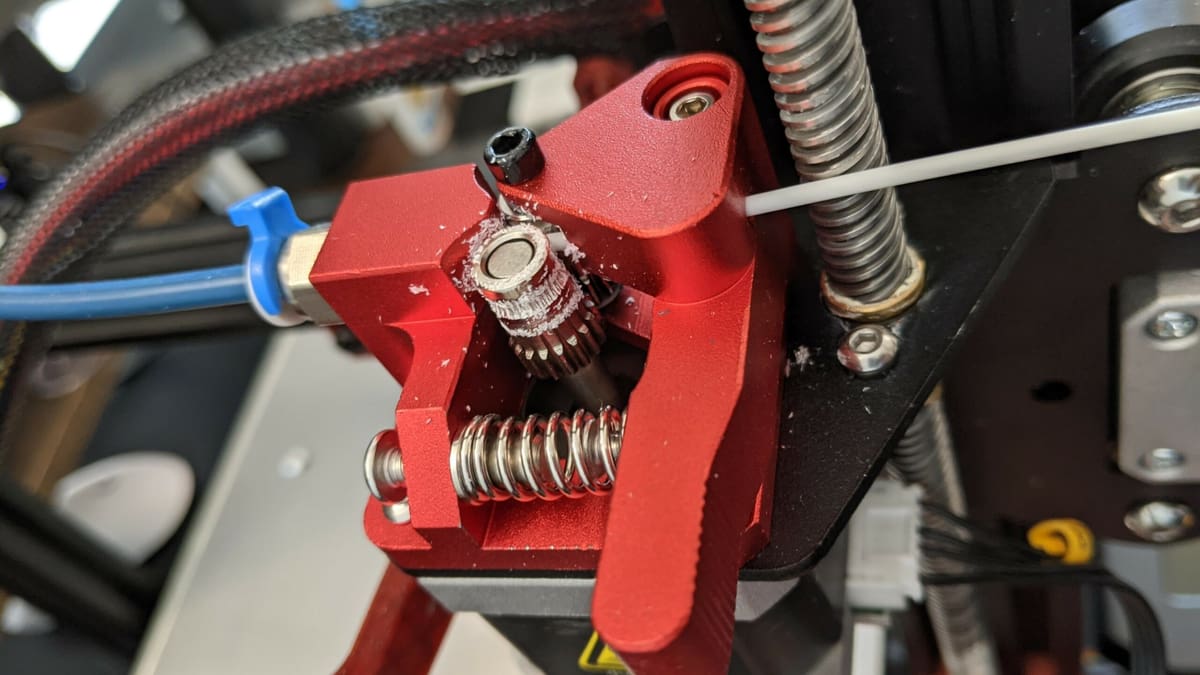
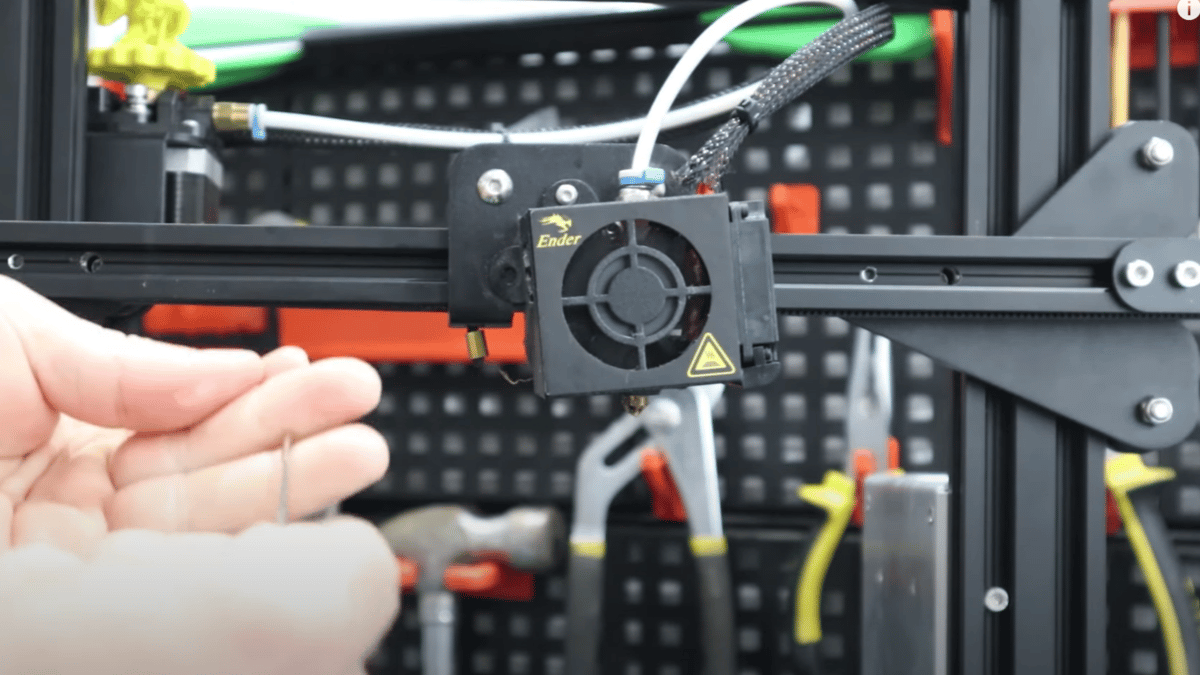
If you notice dust or plastic around the extruder gear, slow it down by 5 mm/s, as this is a sign of filament grinding. Conversely, if you don’t see any dust and want to reduce print time, you can try increasing this value.
- Retraction Speed:
- Ender 3 (V2/Pro): Begin with 50 mm/s and slow down in increments of 5 mm/s if you’re seeing filament damage.
- Ender 3 S1: Use 45 mm/s and adjust in increments of 5 mm/s if necessary.
Retraction Extra Prime Amount
This setting can help you compensate for material lost through oozing. When the printer primes after retraction, it pushes whatever amount is in this setting.
The recommendation here is to work on your retraction distance, getting it to a number that prevents additional material loss, and then you can leave this setting at 0.
- Retraction Extra Prime Amount: Leave at 0, get your retraction distance correct and everything will be fine.
Maximum Retraction Count
This setting adjusts the number of maximum retractions on a specific area of filament. This option protects your filament from damage by retracting and priming too many times. The extruder uses a gear with teeth that dig into the filament to push and pull it. Therefore, the more your extruder retractions occur on one specific piece of filament, the more damage can happen.
The original setting in Cura is 100, which is much too high to protect your filament. A good number to start with is 10. This is low enough to help protect your filament and high enough that the slicer won’t over-enforce it. If the slicer exceeds this amount, it turns off retraction for the length of filament listed in the next setting.
- Maximum Retraction Count: Set to 10 and only adjust if you see filament damage.
Minimum Extrusion Distance Window
The Minimum Extrusion Distance Window allows you to specify the length of filament the Maximum Retraction Count is enforced on. For example, if you set the Maximum Retraction Count to five and the Minimum Extrusion Distance Window to 10 mm, the extruder will only allow five retractions over a 10 mm piece of filament. Any retraction command after that will be ignored.
Rather than try to count up how many retractions you could get over a specific length of filament, we recommend you keep this number close to your Retraction Distance, then work with your Maximum Retraction Count to ensure you don’t damage your filament.
- Minimum Extrusion Distance Window:
- Ender 3 (Pro/V2): Set to retraction distance
- Ender 3 S1: Set to retraction distance (increase if necessary)
Limit Support Retractions
This setting is a checkbox. Enabled, it stops retractions when moving within supports. You’ll still get stringing, but it will only be within the support structure.
Why allow the stringing in your support structure? Remember that retraction is a balance; retraction is good, but too much will increase print time and can damage your filament. The best use of retraction is to protect your print, so don’t worry about the supports.
- Limit Support Retractions: Yes
Combing Mode
Found in “Travel”, combing mode tells the slicer to keep the nozzle within printed areas when moving from point to point. There are four settings for combing mode: Off, All, Not in Skin, and Within Infill.
We recommend going for Within Infill. It will reduce your number of retractions by keeping the nozzle within the infill areas when moving from one point to another. This can increase your print time but will protect your filament.
- Combing Mode: Enable, Within Infill
Nozzle Temperature
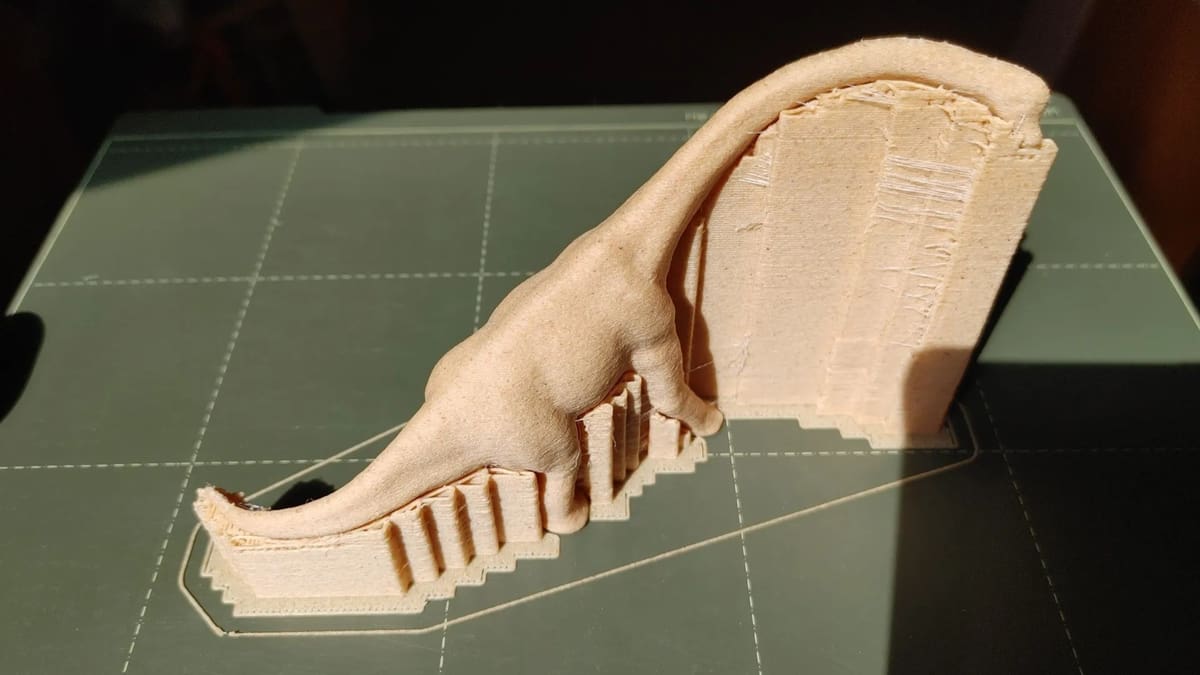
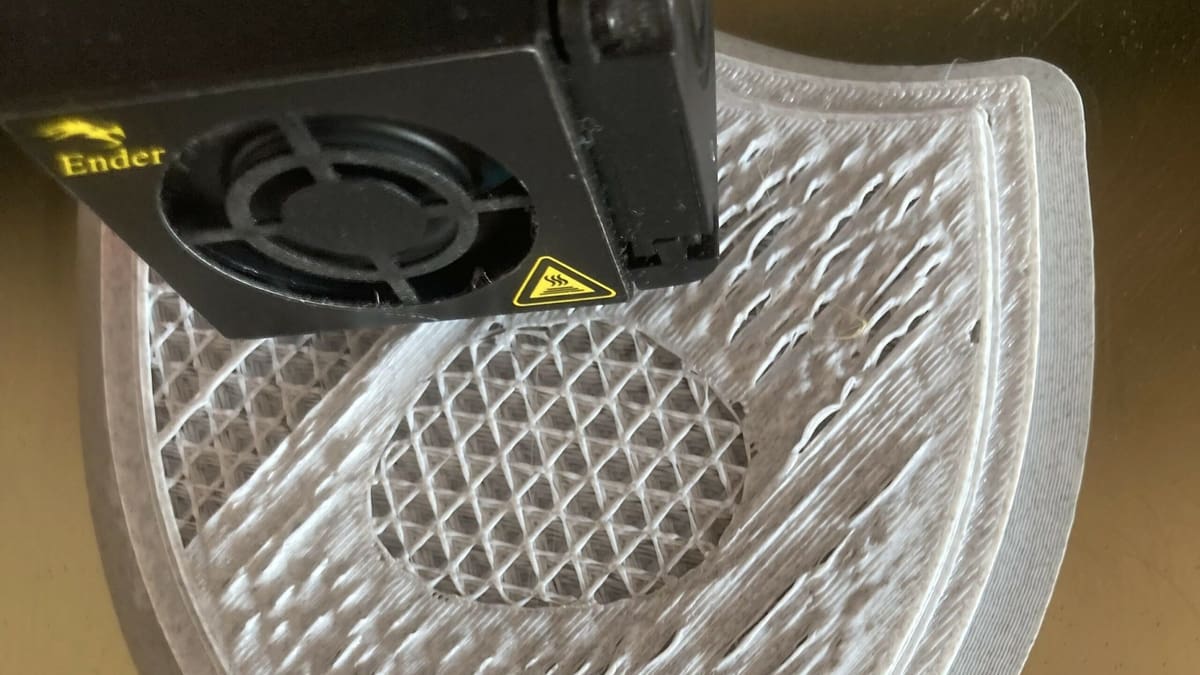
Over-extrusion is one of the most popular 3D printing issues and includes a variety of defects on 3D printed models, like zits and blobs. At its core, stringing is technically a form of over-extrusion as it results in excess and unwanted material being in places where it shouldn’t be. The only difference between stringing and the other forms of over-extrusion is that the latter occurs during print moves, while stringing happens during travel moves.
One of the easiest ways to avoid over-extrusion, including stringing, is to lower your nozzle printing temperature. Lowering the temperature reduces the pressure inside the hot end, thus reducing the amount of excess filament that flows out of the nozzle.
You can adjust your Ender 3’s nozzle temperature in Cura’s “Material” section. If you’re printing PLA as most Ender 3 users are, we suggest using a temperature from 190 to 220 °C, starting at 200 °C and adjusting in increments of 5 °C. You may also want to check the manufacturer-recommended temperature usually found on the side of your filament spool.
- Nozzle temperature: For PLA, begin with a temperature of 200 °C and adjust in increments of 5 °C, going as high as 220 °C and as low as 190 °C.
Nozzle Switching
These settings are used to set retraction distance and speed when the nozzle goes into standby mode, which is used for multi-nozzle printers. Since the Ender 3s only have one nozzle, leave these at the default settings of 16 mm and 20 mm/s, respectively. Cura doesn’t like a setting of 0 in either one of these values.
- Nozzle Switch Retraction Distance: 16 mm
- Nozzle Switch Retraction Speed: 20 mm/s
Quick Guide
As a final summary, here are our condensed recommendations for your Ender 3’s retraction settings:
- Enable retraction: Yes
- Retraction distance:
- Ender 3 (V2/Pro): Begin with a setting of 5 mm and adjust it up or down by 1 mm until all stringing is gone
- Ender 3 S1: Begin with 0.8 mm and adjust in increments of 0.2 mm to resolve any stringing
- Retraction speed:
- Ender 3 (V2/Pro): Begin with 50 mm/s and slow down in increments of 5 mm/s if you’re seeing filament damage
- Ender 3 S1: Use 45 mm/s and adjust in increments of 5 mm/s if necessary
- Nozzle temperature: Begin with a temperature of 200 °C and adjust in increments of 5 °C, going as high as 220 °C and as low as 190 °C
- Retraction extra prime amount: Leave at 0 and focus on Retraction Distance
- Maximum retraction count: Set to 10 and only adjust if you see filament damage
- Minimum extrusion distance window: Set to your Retraction Distance (increase for S1 if necessary)
- Limit support retractions: Yes
- Nozzle switch retraction distance: 16 mm
- Nozzle switch retraction speed: 20 mm/s
- Combing mode: Yes, Within Infill
License: The text of "Best Ender 3 (V2/Pro/S1) Retraction Settings to Stop Stringing" by All3DP is licensed under a Creative Commons Attribution 4.0 International License.