Ender 3 (Pro) Glass Bed Adhesion: 10 Tips & Tricks

An Ender 3 or Pro with a glass bed is a whole new ball game. Learn some tips and tricks to optimize your Ender 3's glass bed adhesion.
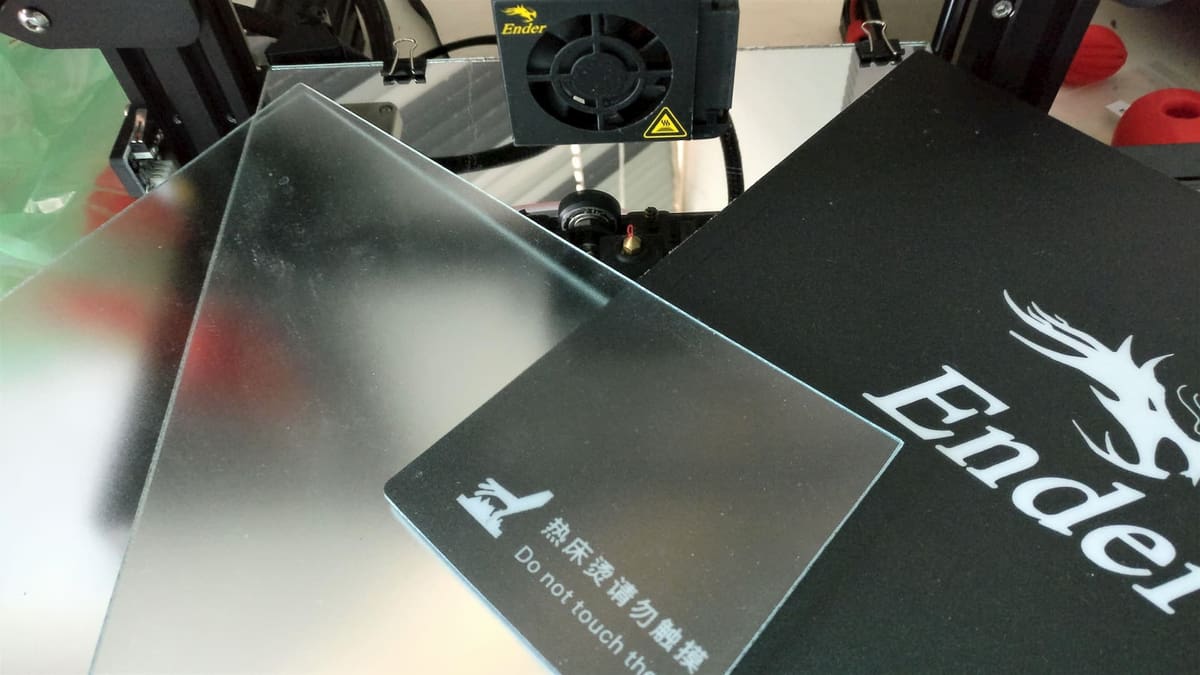
The build platforms on the Ender 3 and the Ender 3 Pro have a BuildTak-like texture that’s typically a joy to use. However, over time, the original build sheets will need to be replaced. One way that many makers have avoided constantly replacing build surfaces is by adding a glass build plate to their Ender 3.
Longevity isn’t the only benefit of using a glass build plate. Many swear by glass’s ability to improve bed adhesion and simplicity of printer operation. However, especially if you’re used to something else, getting prints to stick to the glass build plate on you Ender 3 (Pro) can be a pain.
Let’s take a look at the main considerations for getting prints to stick on glass. After, we’ll give you some tips for your Ender 3 that’ll get you 3D printing like a champ!

Potential Problems
Before we dive into our troubleshooting tips and tricks, let’s consider the three fundamental factors of Ender 3 (Pro) build plate adhesion.
Surface Area
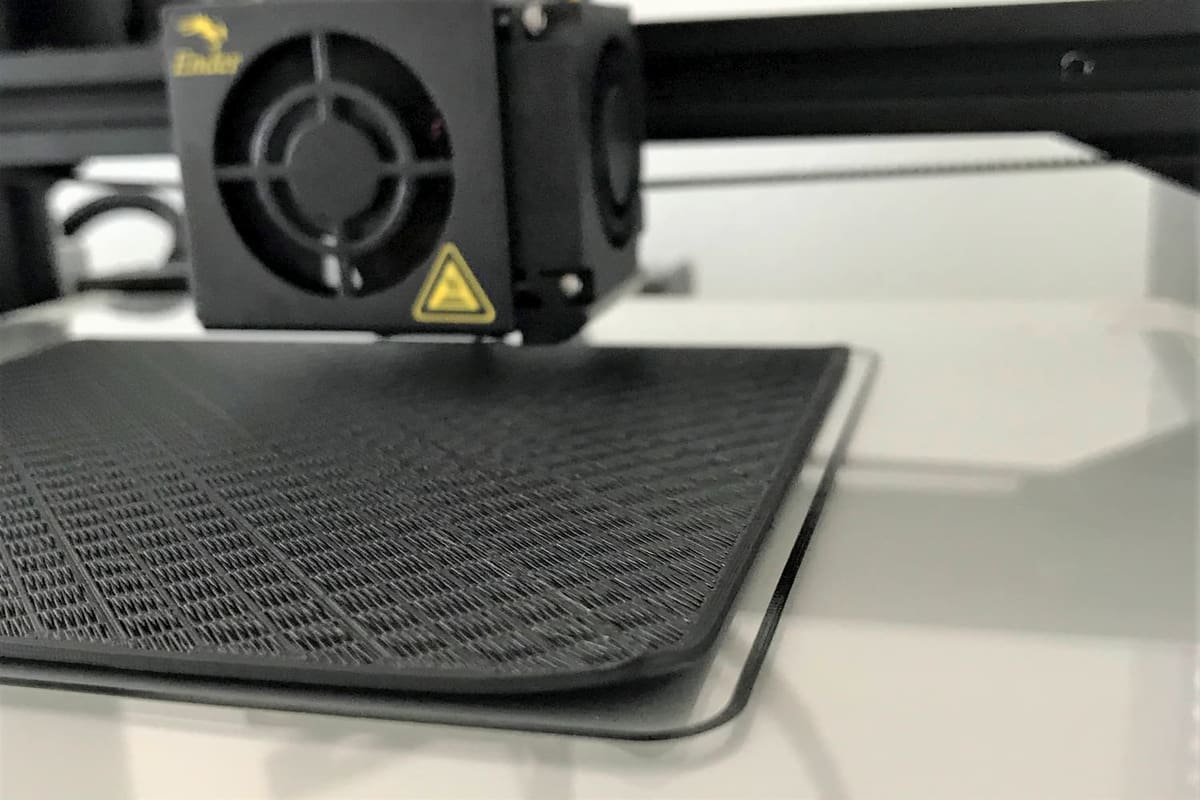
When a thermoplastic material is being printed, it’s melted, pushed through a nozzle, and then out onto the build plate. In liquid form, the plastic should ideally stick to the build platform. The greater the surface area between the molten plastic and the build plate, the greater the adhesion between them.
Many build surfaces, such as the one that comes with the Ender 3 (Pro), have a rough texture that’s supposed to better “grab” the plastic being printed. Taking the opposite approach, glass build plates are flat, smooth, and very rigid. The idea, here, is that even and consistent first layers will optimize their contact with the build surface. By properly adjusting the nozzle height in relation to your glass build plate, you can also improve the plastic’s ability to stick.
Temperature Change
The Ender 3 series of printers come with heated beds that are lifesavers in the context of bed adhesion issues. Without a heated bed, printed layers may cool down too quickly, detach from the build surface, and curl, causing ugly warps in a finished and likely failed print.
Of course, layers must be cool enough to allow for the subsequent layers to adhere smoothly. In other words, properly heating your Ender’s bed is key to excellent bed adhesion.
Bed Leveling
Setting the correct Z offset for your Ender (the distance between the nozzle and the bed) is critical to successful build plate adhesion. However, it’s essentially useless if any part of the build plate is a different distance from the nozzle. That’s why bed leveling is so important.
One of the first things you may have noticed about your Ender 3 is the over-sized bed leveling knobs. These make adjusting the height of the corners of the bed a breeze, however, they do have a tendency to not stay in their adjusted position. A single lead screw can affect the Ender 3’s bed leveling, so remember to handle leveling with the knobs.
That’s it for basic considerations. Let’s now dive into our 10 tips and tricks for Ender 3 (Pro) glass bed adhesion.
The Nitty
The following are some straightforward tips to improve glass build plate adhesion.
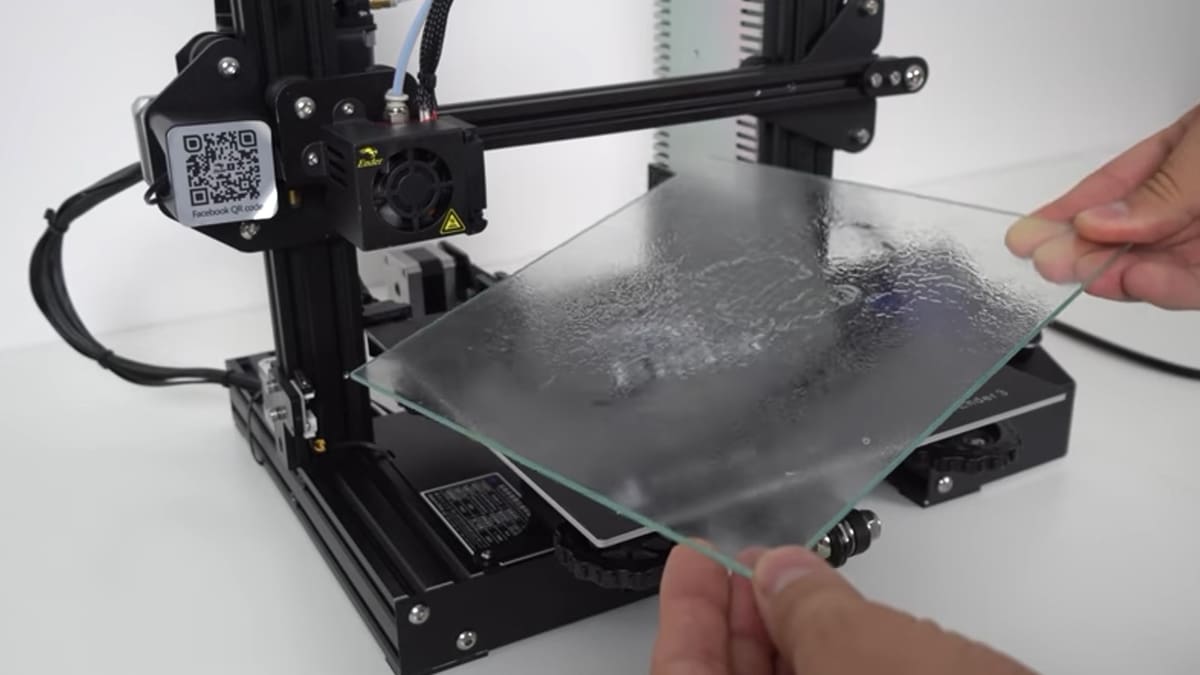
1. Check Glass Flatness
This may sound obvious, but a good build plate must be perfectly and completely flat. Make sure your sheet of glass isn’t warped. A straight ruler can help you determine the flatness of your glass. If your build surface is uneven, regions of your print’s first layer won’t stick, likely causing a failed print.
If you discover that your glass plate needs to be replaced, keep in mind that there’s different matters to consider when choosing which glass bed to buy for your Ender 3.
2. Level the Bed
We’ve gone over this earlier, but leveling your Ender’s bed is critical. It doesn’t matter if one side of your part is layering perfectly; if the other side is too far or too close to the build plate, it’ll cause print damage or failure. By adjusting the knobs beneath the build platform, you can make sure that every point on your build plate is the same distance from the nozzle.
3. Clean the Bed
“Cleanliness is next to godliness” is a maxim to follow at the very least for successful 3D printing. Dust, dirt, and oil seem to be attracted to any place they shouldn’t be, including your Ender 3 (Pro)’s build plate. A pro tip for good glass bed adhesion is to regularly clean your glass print bed. If you have a clean rag and some isopropyl alcohol, you’re good to go.
4. Adjust the Z Offset
Z offset has already come up in our general considerations for bed adhesion, but there’s more to be said on the matter.
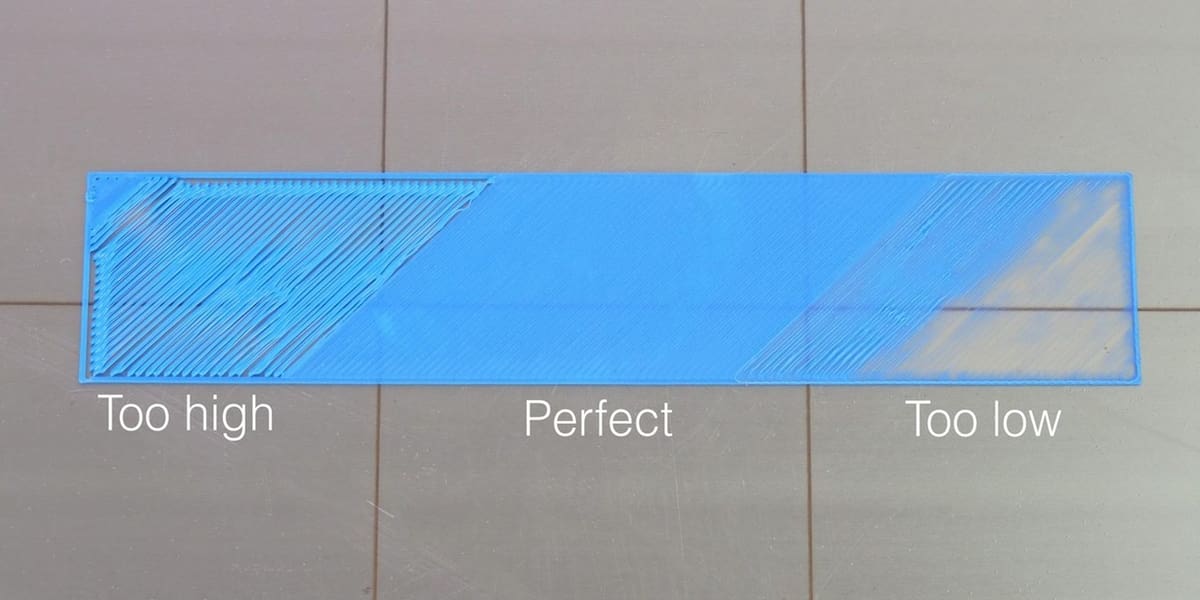
Obviously, establishing a proper distance between the bed and the nozzle is critical for both adhesion and overall success of your print. If the nozzle is too far away from the bed, the extruded plastic will not be able to stick. If the nozzle is too close to the bed, you may damage your bed or your nozzle as well as ruin your first layer, as the plastic may not have room to flow.
A good rule of thumb is that your nozzle should ever-so-slightly squish the extruded plastic onto the platform without inhibiting flow. Z offset can be adjusted either manually or via slicer or firmware settings.
Of course, it’s generally impossible to get a perfect first layer all of the time, but to lessen the effects of bed leveling and Z offset error, consider printing with a slightly higher layer height than the rest of the model. For example, a 0.3-mm layer height is a good starting place for a printer with a 0.4-mm nozzle.
5. Add an Adhesive
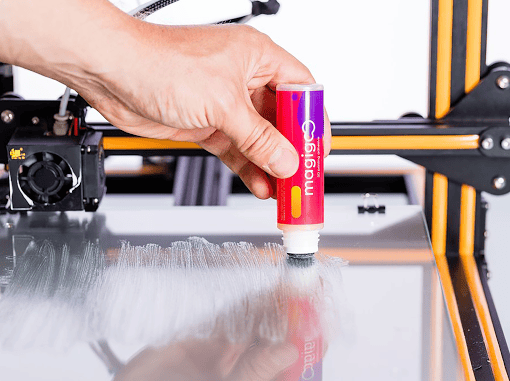
Some are team glue stick, and others, team hairspray. Magigoo or similar 3D printing bed adhesives also have their enthusiasts.
We’d say that most of them are better than nothing. A heated glass platform tends to do a fair job of gripping extruding filament, but sharp corners and small features are always prone to warp or pop off completely. Simply apply a light, even layer of your choice adhesive, and prepare to notice a drastic improvement.
6. Adjust Bed Temperature
If the first layer cools too quickly while it’s being printed, it can contract and not stick to the glass build plate. Lucky for you, your Ender 3 or Ender 3 Pro has a wonderful heated bed.
If you’re experiencing some pesky bed adhesion issues, try increasing the bed temperature in 5-degree increments. Increased bed temperature should also help you avoid parts popping off the build plate mid-print. Keep in mind, however, that for PLA, we wouldn’t advise running your bed above 65 °C because this can cause elephant’s foot, a bulging first layer.
Note that your printer’s bed temperature will also depend on whether you’re printing PLA, PETG, or ABS.

7. Use Printed Bed Adhesion
As you play with your Ender 3’s slicer settings, you may notice a number of settings under “Build Plate Adhesion” or a similar name. This should be where you’ll be able to add brims and rafts, which create a larger surface area of contact between your print and the build plate. These will naturally increase print time, but they can be very useful, especially when that one pesky model with sharp chamfers just won’t stick.
8. Turn Off the Fan
Another pro tip to improve build plate adhesion is to turn off your print fan during the first layer. This will make sure that your first layer doesn’t cool too quickly and warps. This can be easily done in the advanced settings of your slicer. After the first layer is printed, the successive layers will print best with the fan on again.
And the Gritty
We’ve already covered the conventional tips to improve build plate adhesion. If those aren’t helping, try these extra couple of crafty tricks.
9. Rough Up the Glass
Lightly sanding your glass build plate can create a slight texture to help that first layer stick. We recommend using fine-grit sandpaper to gently scratch the glass. You may also want to use it when cleaning difficult globs or spots on your build plate.
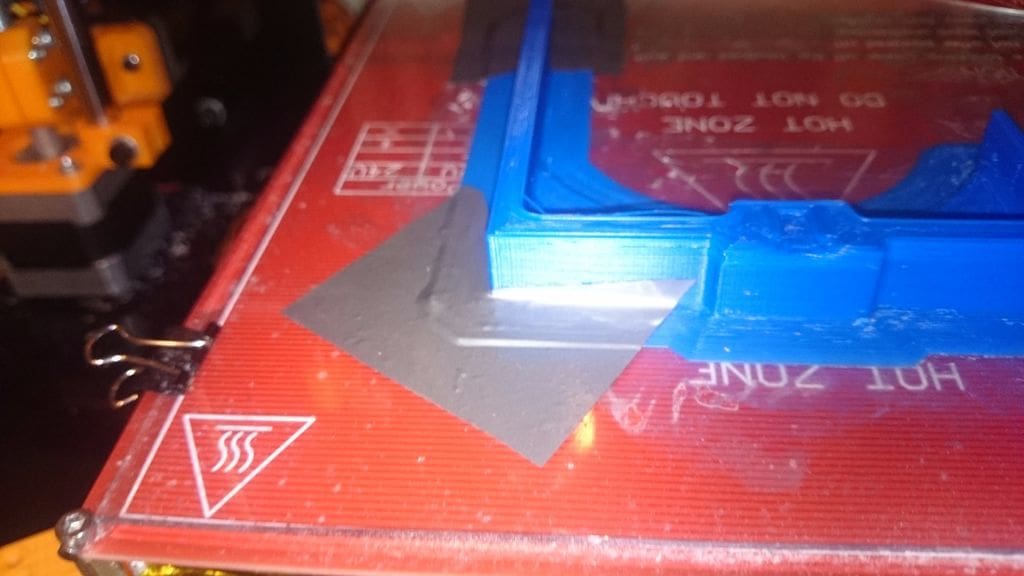
10. Tape Down the Part
Duct tape has made its way into the industries of trade, engineering, and even fashion. So why shouldn’t 3D printing enthusiasts also find it useful?
Pestered by one print always warping, maker jabelone used duct tape to hold down a brim at the trouble spots. This may not be a sustainable solution, but sometimes you’ve got to go with what works.
License: The text of "Ender 3 (Pro) Glass Bed Adhesion: 10 Tips & Tricks" by All3DP is licensed under a Creative Commons Attribution 4.0 International License.