
How to Connect Your Ender 3 (V2/Pro) to PC/USB Port

The Ender 3 Pro has a Mini-USB port, while the Ender 3 V2 has a Micro-USB port. Learn the ways to connect your Ender 3 to a PC!
The Creality Ender 3, Ender 3 Pro, and Ender 3 V2 are some of the most popular 3D printers on the market thanks to their stellar value for money. In addition to an SD card reader, the Ender 3 and the Ender 3 Pro come with a Mini-USB port, while the V2 has a Micro-USB port. At first, this might not sound like a big deal, but in truth, a lot of functionality is unlocked when you know how to use it.
Obviously, the presence of these ports means you can connect the machine to a computer using a USB cable, but let’s take a look at what else you can do with it.
Wireless 3D Printing
Technically, this method isn’t wireless since there’s still a wire involved, but it can be much nicer than the alternative of inserting an SD card into the machine every time you need to print something.
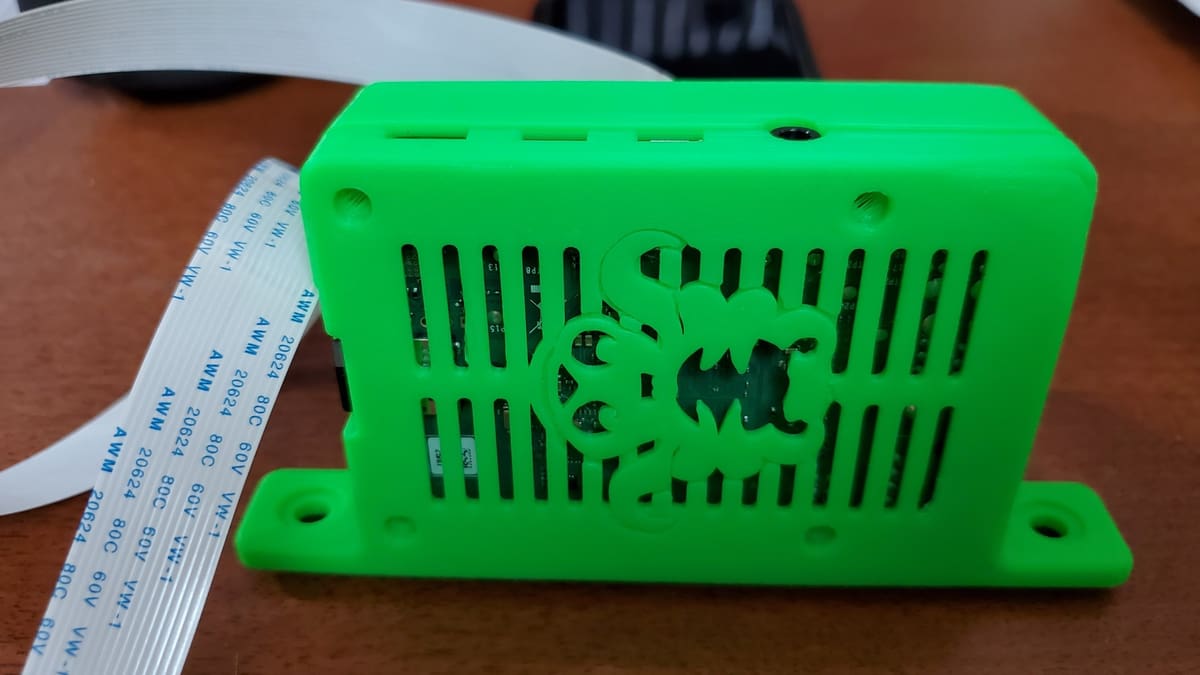
Obviously, we’re talking about OctoPrint. Just connect a Raspberry Pi to your Ender 3 via the Mini- or Micro-USB port and print hassle-free. In addition to remote printer management and monitoring, OctoPrint also has a wealth of plug-ins that report interesting statistics about your machine and improve your 3D printing experience. If you’re serious about productivity and convenience, OctoPrint is for you.
Runaway Upgrade
Let’s face it: 3D printers aren’t cut out for the stovetop life. That’s why you don’t want them catching fire anytime soon, and your Ender 3 is no exception. Good thing there’s a handy feature in Marlin firmware called “Thermal Runaway” protection. This increases the safety of your Ender 3 setup if the manufacturer hadn’t disabled it by default.
Here’s where the USB port comes in handy: It lets you upgrade your firmware to a newer and better version of Marlin. There are a few steps involved, but basically you just have to flash your firmware via the USB port. To help you out, we have a handy guide on installing Marlin on your Ender 3 or Pro or your V2.
If you’re a more visual learner, this YouTube tutorial for the Ender 3 or Pro machines can guide you through the entire process. For Ender 3 V2 owners, it’s even easier.
Direct Computer Control
This may be the most obvious use of the USB port, but people seldom use it: Operating the 3D printer using a computer connected via USB.
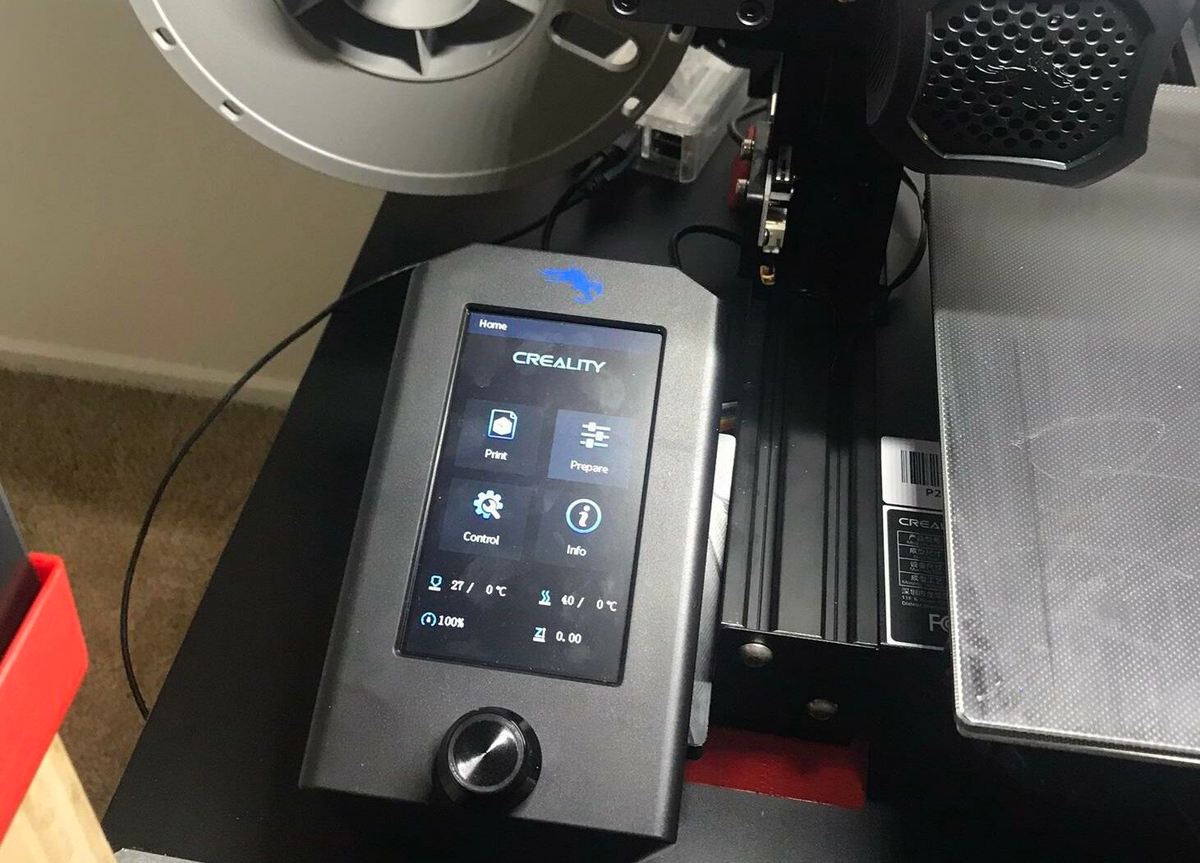
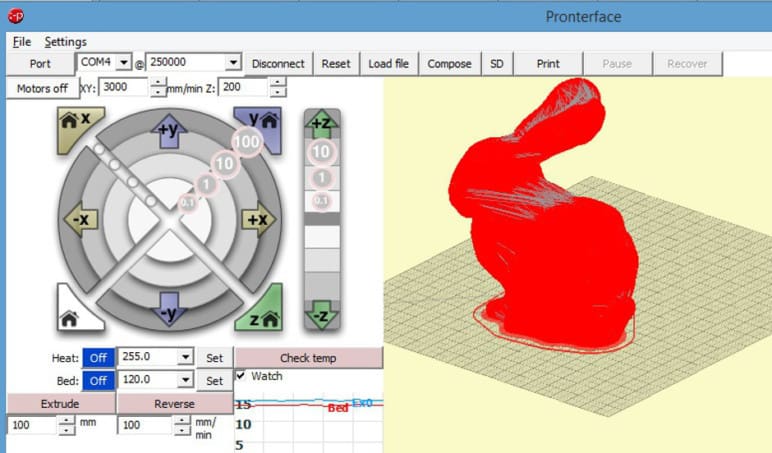
Software like Printrun (Pronterface) and Simplify3D provide a control interface that allows fine control of whichever Ender 3 you have when it’s connected to a computer. For instance, you can monitor temperatures, send custom G-code, manipulate motor speed, and move axes fairly easily. If you’re in a fix and need a solution, try out some control software next time instead of the LCS screen and scroll wheel.
Even the popular Cura slicer provides options to control and print via USB. Under normal circumstances, the software should detect a connected Ender 3 as long as you’ve set up the correct profile and the printer’s already turned on. Just know that you might have to wait a few minutes before the “Monitor” tab changes. If it doesn’t, try turning the printer off, disconnecting it, and closing Cura before turning it on, reconnecting, and reopening Cura.
Another note on printing via USB: Although it can work very well, keep in mind that the slicer is directly feeding G-code to the printer. This means that you’ll need to keep your computer and the slicer running for the duration of the print. Depending on your setup, this may not be possible.
Unrecognized Drivers
Some users have reported issues when trying to connect their Ender 3s to Windows 10 because the Creality drivers aren’t properly installed. This means that Windows doesn’t recognize the printers.
Should you have this issue, there’s no need to panic, replace your OS, or get a different printer.
With the computer and printer connected, if the latter isn’t recognized, you can check what ports are connected in the Device Manager under “Ports (COMM & LPT)”. If the USB port isn’t specified, then the drivers may need to be added.
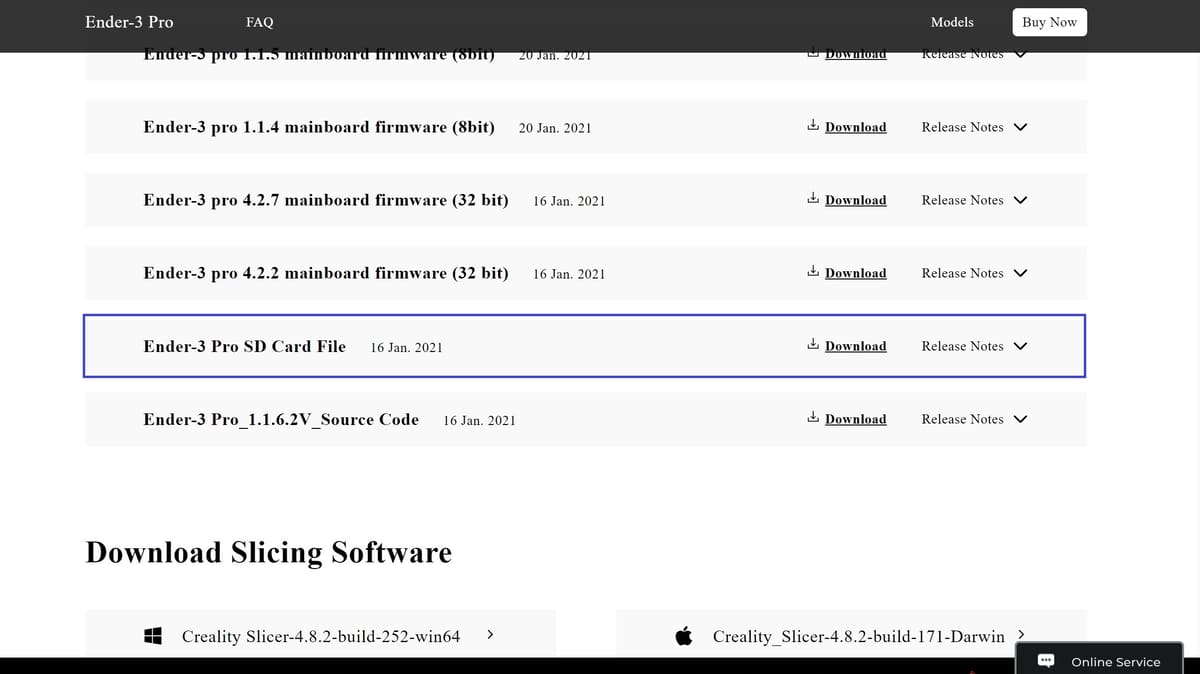
From Creality’s Download Center you can select the model of your 3D printer and, among the firmware options, you’ll find the SD card files in a zip file. After downloading it, follow the path to extract the drivers folder; for example, for the Ender 3 Pro, the path would be “2. Software and USB Driver > software drivers > FTDI USB Drivers”. Once the file’s unzipped, you can save it on your desktop for easy access.
Then, back in the Device Manager, you can update the drivers and there’ll be both an automatic and a manual option to locate the files you’ve just unzipped. You should also be able to access the drivers on the SD card that came with your printer.
If you’re already running a program (like Cura), it may need to be restarted to recognize the printer.
License: The text of "How to Connect Your Ender 3 (V2/Pro) to PC/USB Port" by All3DP is licensed under a Creative Commons Attribution 4.0 International License.