BLTouch Sensor: All You Need to Know

A BLTouch sensor will automate your 3D printer bed leveling. Read on to learn all you need to know about the BLTouch!
Automatic bed leveling is a pretty standard feature in consumer FDM 3D printers. Most machines with auto-leveling use a BLTouch or a similar type of sensor. The BLTouch has several advantages, namely that it’s fairly simple to install, operate, and configure. Plus, they work well with the majority of build plate surfaces.
That might have been the reason why BLTouch sensors first came onto your radar. If you use a non-metal bed but want auto-leveling, these sensors are a great option. You also could have thought about adding one for its accuracy. After all, the original BLTouch readings have one of the lowest standard deviations of all auto-leveling sensor types.
In this article, we’ll break down the BLTouch probe and show you all you need to know about this contact-based auto-leveling sensor. Let’s get started!
What Is It?
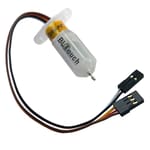
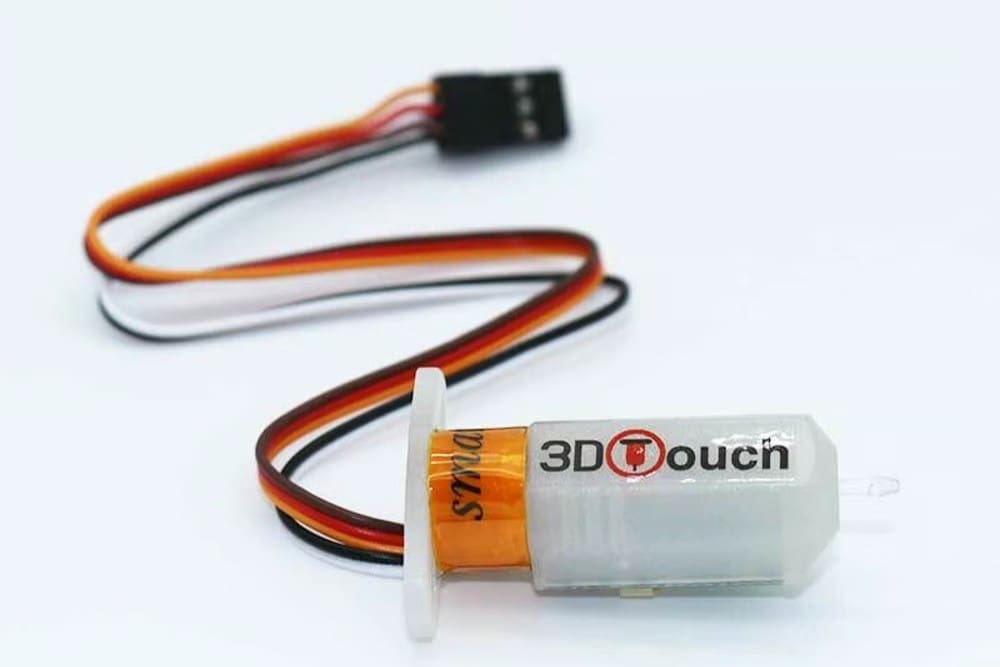
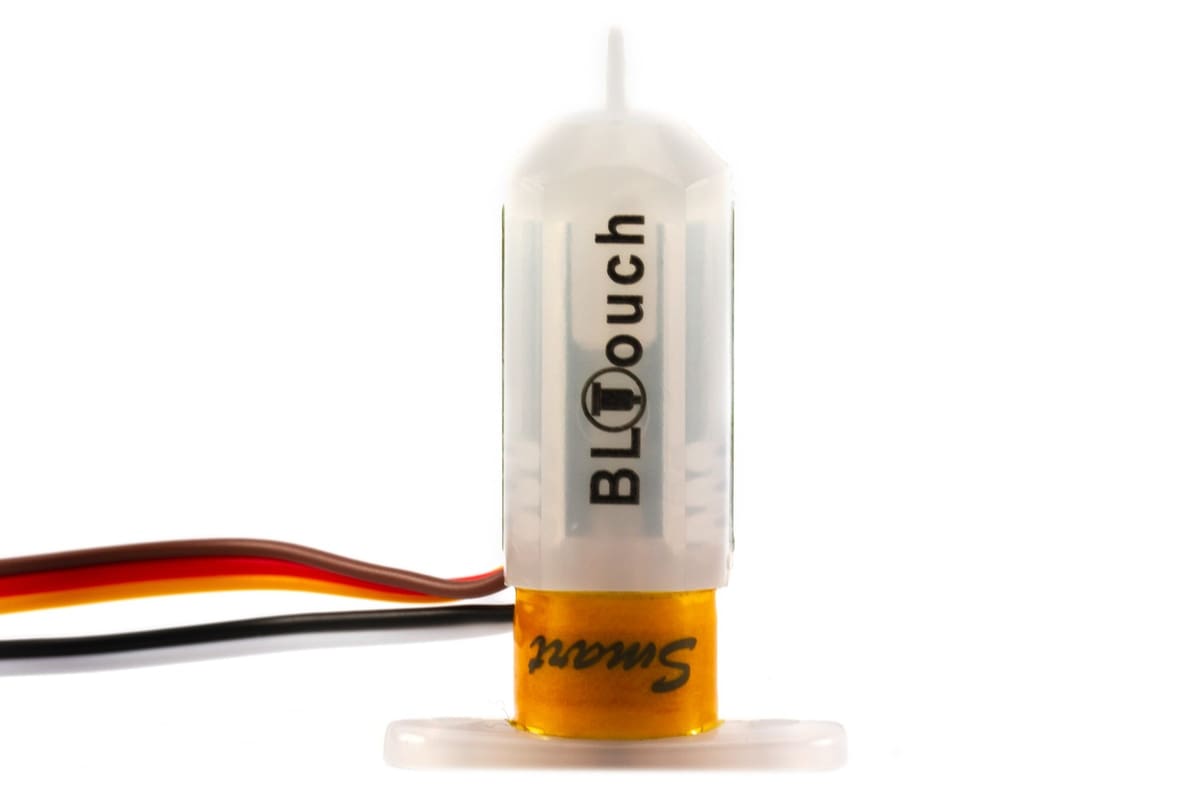
According to Antclabs, the original manufacturer of the probe, “BLTouch is an auto leveling sensor for 3D printers that can precisely measure the tilt of (sic) bed surface.” This sensor works on any type of bed surface, be it metal, glass, wood, or something else entirely.
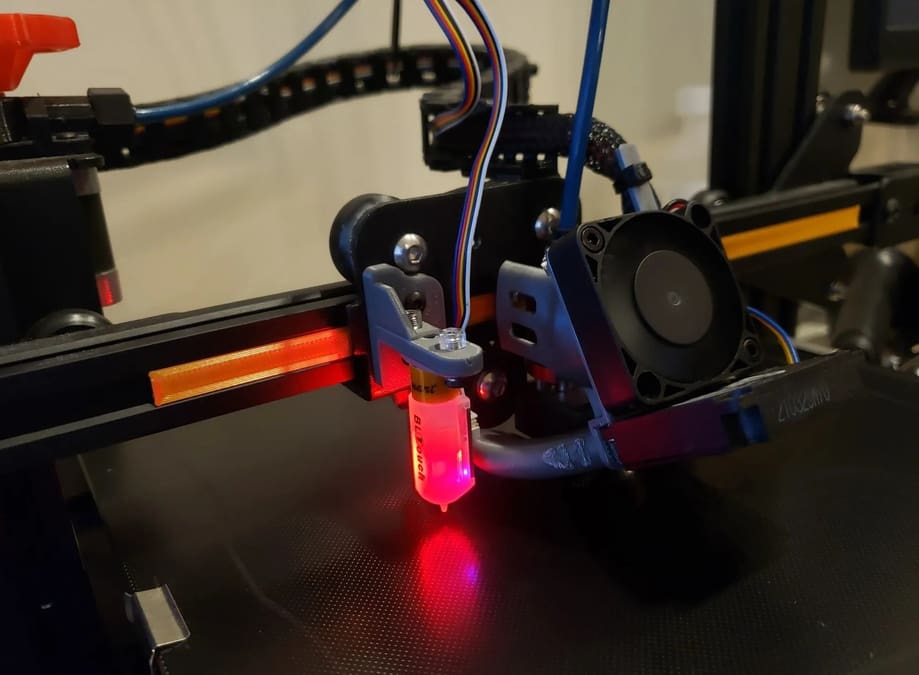
The sensor itself is fairly complex as far as bed sensors go. It consists of a microcontroller, a solenoid switch, and a pushpin probe that comes into contact with the bed. The original BLTouch uses a Hall effect sensor for high accuracy, and this sensor, in conjunction with the physical pushpin, allows it to be used with many bed types.
In a way, this sensor is equivalent to a microswitch, mounted on a servo arm and controlled by a servo motor. When the tool head lowers to “home” the nozzle on the Z-axis, the bed pushes the pushpin slightly upwards, triggering the Hall effect sensor, at which point the pushpin retracts and the tool head raises.
The BLTouch is one of the most accurate and reliable sensors available, so it’s no surprise that a few manufacturers, such as MakerGear and CraftBot, use this device on their high-end machines.
Now that we know exactly what we’re dealing with, let’s take a look at how the BLTouch compares to other types of sensors out there.
Types of Sensors
As we mentioned above, the BLTouch mainly uses Hall-effect sensors, but there are other types of bed leveling sensors and probes that are commonly used on 3D printers. Below, we’ll take a closer look at some of them and also discuss the Hall effect in more detail.
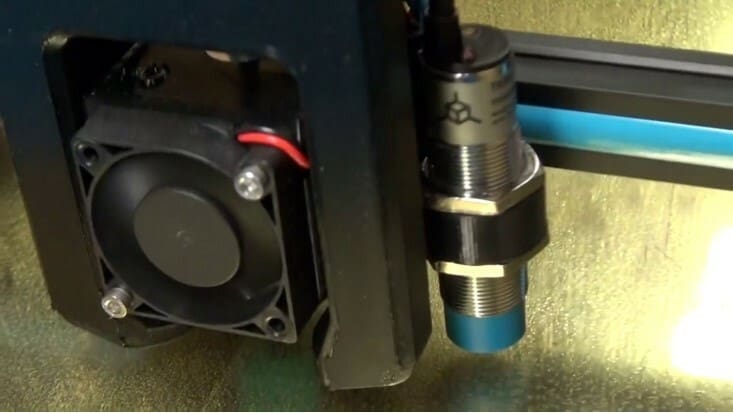
Inductive Probe
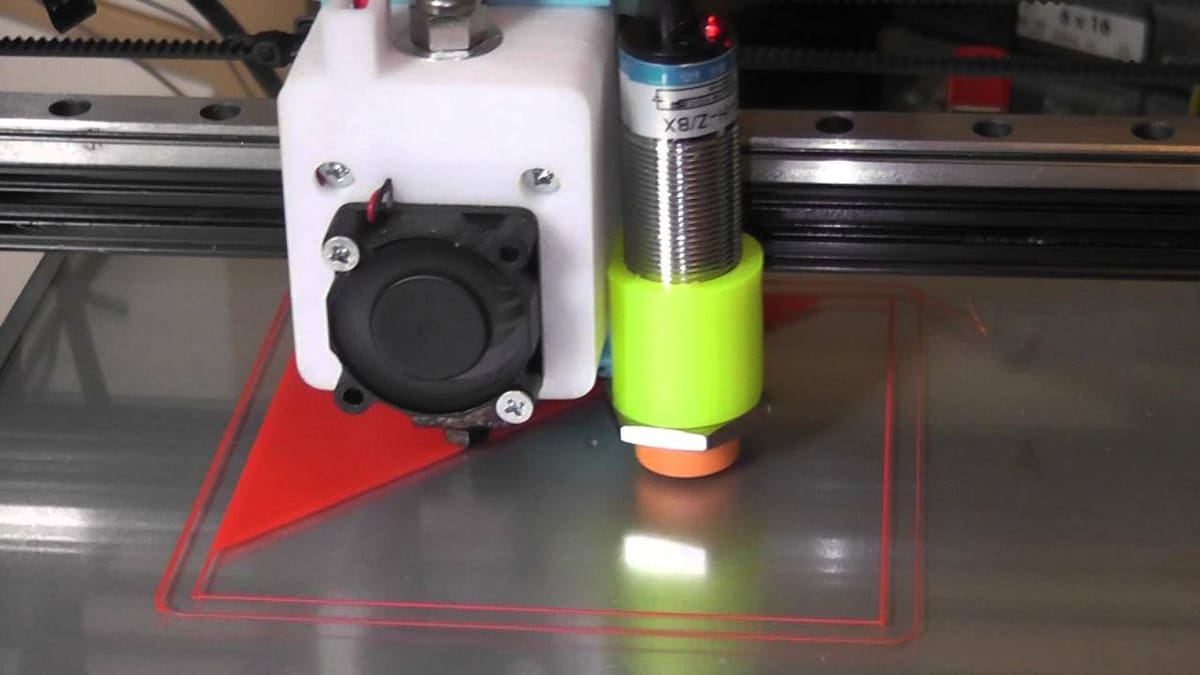
The key difference between an inductive probe and the BLTouch is that the BLTouch sensor physically touches the bed in the leveling process. The inductive probe uses currents induced by magnetic fields to detect metal objects nearby, eliminating the need to physically touch the bed in order to sense it.
But therein lies the problem: Inductive sensors only work on metal beds since they’re triggered when in close proximity to metal. This might be a deal-breaker if glass is your preferred build surface.
Capacitive
Similar to inductive sensors, capacitive sensors are non-contact devices that can detect the presence or absence of virtually any object. However, this type of sensor uses the electrical property of capacitance, detecting the change in electrostatic fields instead of magnetic fields.
A capacitor stores electrical charge, and in the case of the sensor, when it comes close to an object, such as the build plate of your printer, it will detect the difference in the electrical fields. This type of sensor is generally considered to be less accurate than other options.
Microswitch (Physical End Stop)
Let’s not discount the old-fashioned physical microswitch. Compared to the BLTouch, this option is less accurate and possibly less reliable in the long term, as the sensing depends on physical components that can wear over time (at least for the physical switches found on most FDM machines).
However, these physical switches give the other fancier sensors a run for their money when it comes to the cost and ease of configuration. Since physical switches are the simplest and earliest form of Z-homing sensors, they’re easy to obtain and set up.
Infrared
Infrared (IR) sensors use light, typically an LED, to determine the proximity to the print bed. The sensor determines the target height by measuring the light reflected from nearby surfaces.
IR sensors can be used on a number of different print surfaces, including glass. Unlike capacitive and inductive sensors, IR sensors measure the height to the surface of a glass bed, not the distance to a backing plate. A red LED indicates when the print head is at or below target height.
Hall Effect
Hall effect sensors are used for several different applications in a variety of industries. Their basic function is determining an object’s proximity by detecting static magnetic fields.
In 3D printing, auto-bed leveling sensors use Hall effect sensors mechanically. A pin is extended and retracted using magnets, sensing the distance to the print bed. Since Hall effect sensors use magnets, it would be fair to assume that they only work on metal build plates. However, this is not the case. The Hall sensor will work on any type of build surface.
The downside to this sensor is that it takes analog readings that need to be converted to digital in order for the printer to read them. This can lead to some communication errors.
Optical
Optical sensors have been developed to improve the design and capability of Hall effect sensors. They may have a similar look and function to Hall effect sensors, but they typically have better accuracy. Plus, optical sensors are compatible with all types of build surfaces.
The reason for this is that an optical sensor gauges when the probe comes into contact with the bed, providing a digital output. For Hall effect sensors, this output must be converted from analog to digital before the printer can use the data, leading to less accurate readings.
Mounting the Probe
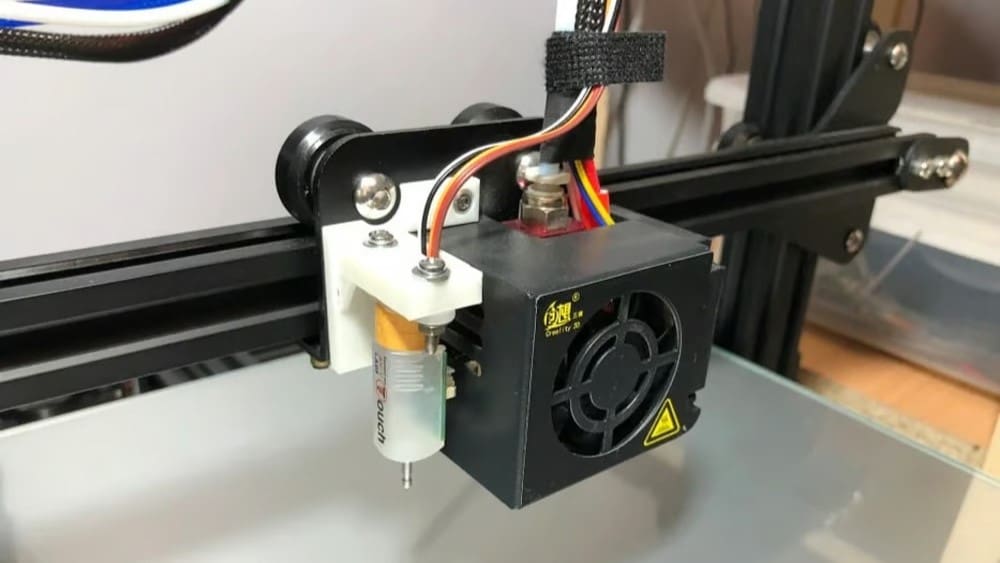
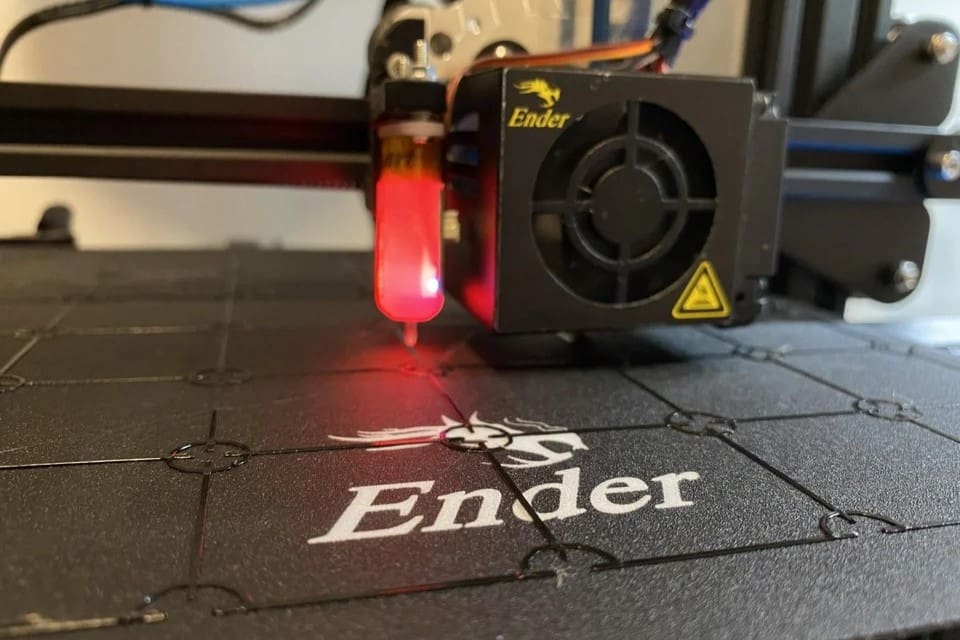
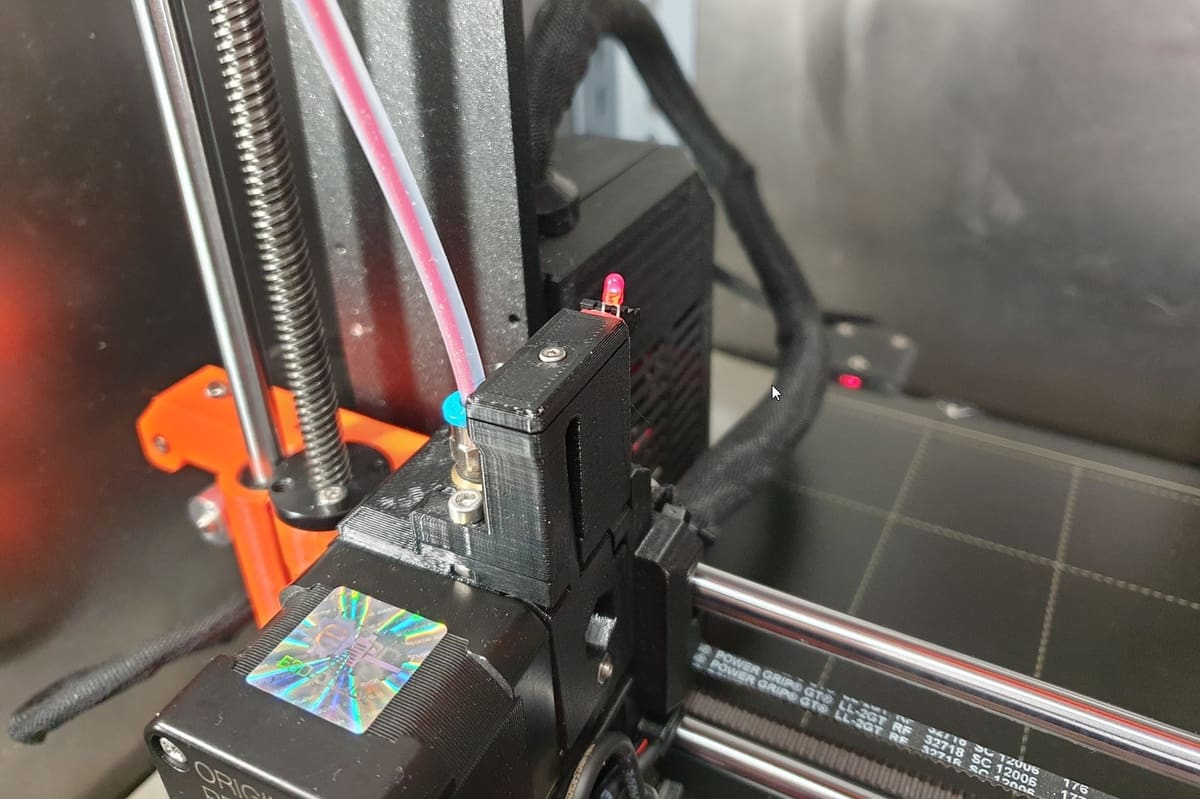
But back to the BLTouch. Before you get started with updating or modifying your firmware for the BLTouch, you need to securely attach the device to your printhead. The BLTouch probe will need to be mounted as close to the printhead as possible. You can find many mount designs available for you to download directly, or if you’re in the mood to design your own, make sure to read the BLTouch documentation to get the correct measurements.
Some users run into an issue where the nozzle digs into the bed on one side and prints perfectly on the other. The reason that this happens is that the BLTouch is mounted at an angle with respect to the nozzle. So, when designing and mounting your hardware, make sure to have the BLTouch mounted perfectly square and aligned with the nozzle.
Once you’ve mounted the probe, make sure to note the distance between the probe of the BLTouch and the center of the nozzle in both the X and Y directions. Depending on your printer, you may also need to adjust the Z-axis endstop switch to allow for the addition of the BLTouch.
Connecting to the Mainboard
An important part of installing the BLTouch sensor is ensuring it’s connected to your printer. The process of connecting the sensor to the printer’s mainboard is fairly simple. It involves safely removing the cover from the mainboard housing, feeding the BLTouch sensor’s wiring through with the other wiring for the extruder, and connecting to the appropriate port on the mainboard. Let’s take a closer look at the steps involved.
Step 1: Safely Remove the Mainboard Cover
First, ensure your printer is turned off and disconnected from the power supply. Locate the screws holding the cover in place, remove them, and put them to one side. In the case of the Ender 3, you may want to remove the fan attached to the cover, but that’s just to make the process more convenient.
Step 2: Feed the Wire Through
There will already be other wires entering the mainboard housing from the hot end setup. These will be the heater element, thermistor, and cooling fans. These wires should already be clustered together, so you can attach or integrate the BLTouch wiring here. It’s then just a case of using the same route to feed the wiring through to the mainboard housing.
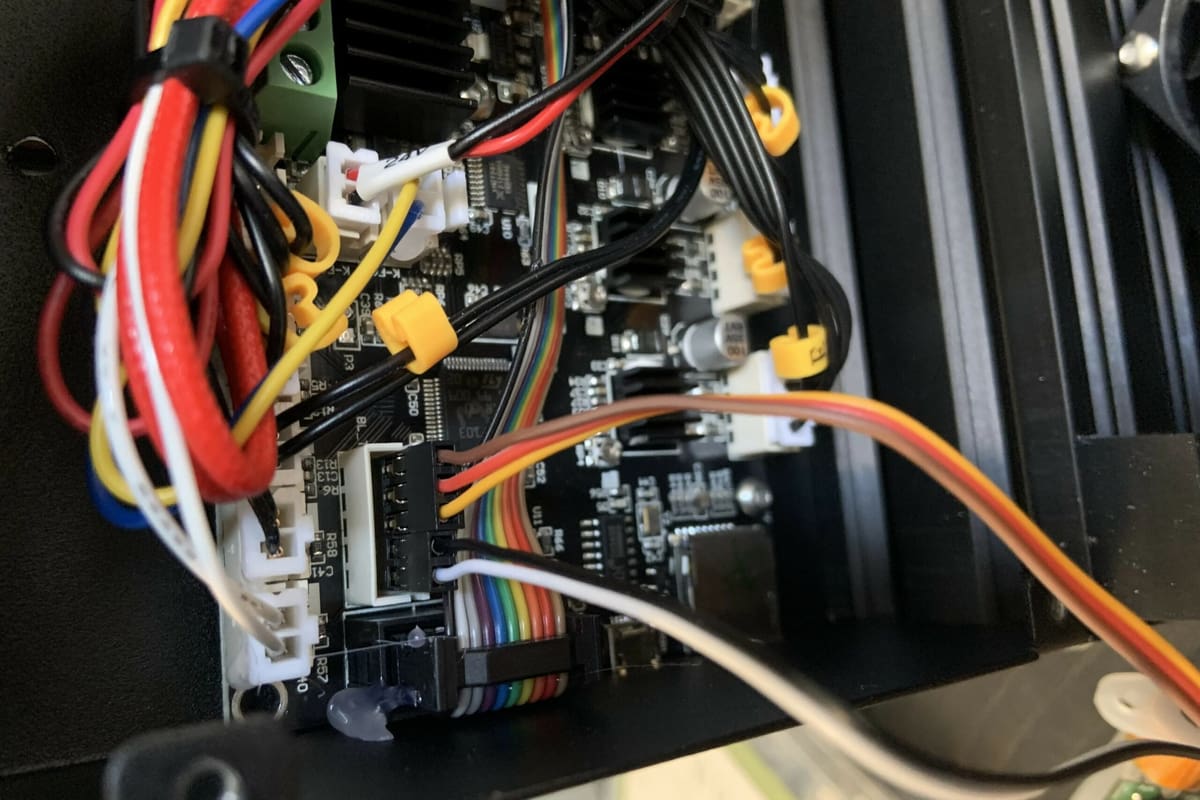
Step 3: Locate the Connection Point on the Mainboard
This point will vary between printer models and versions of the mainboard, so check compatibility beforehand. If compatible, connect the BLTouch via the connector to the appropriate terminal on the mainboard.
However, it’s worth noting that not all printers and mainboards are compatible with the BLTouch, and some won’t have an appropriate connection point. While later versions of the Ender 3, as seen in our example, will have capacity, earlier 8-bit mainboards won’t. Be sure to check whether you can actually connect the BLTouch to your printer before purchasing one and starting the process.
Configuring the Firmware
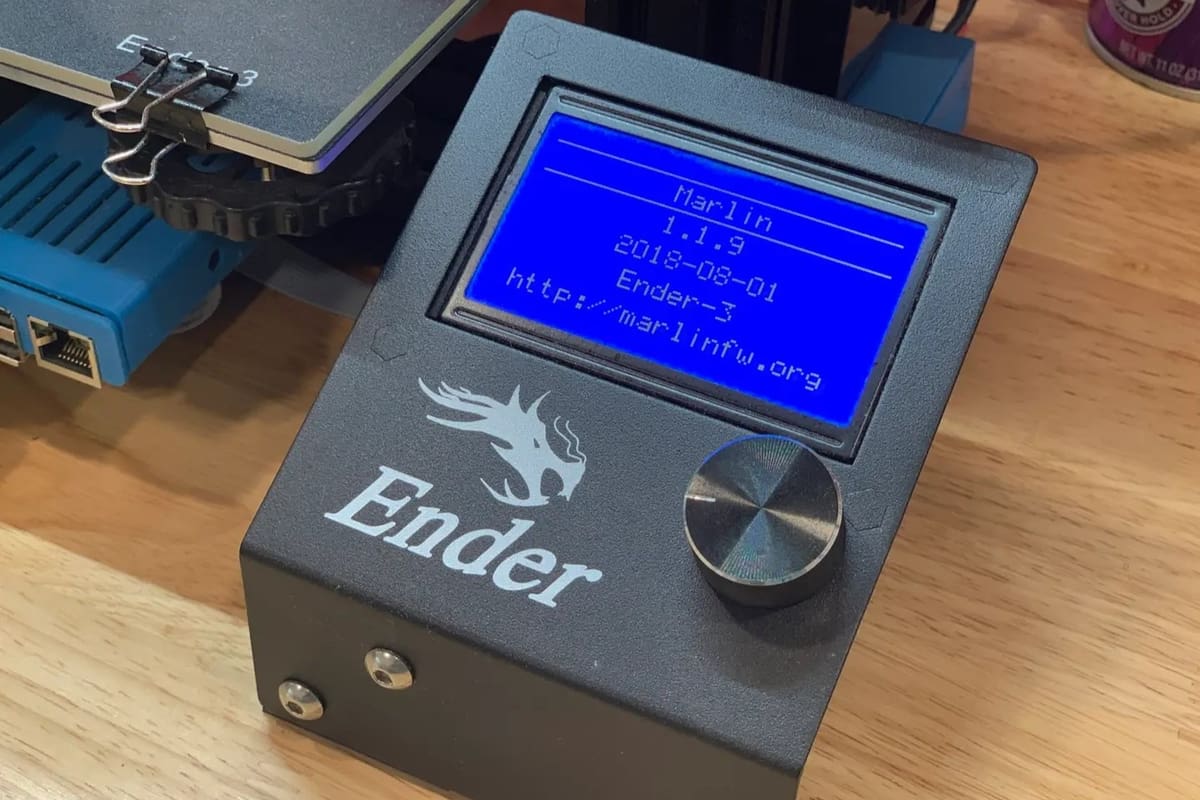
These days, most 3D printer firmware is already configured for the BLTouch. This makes life much easier, because you’ll simply need to update your firmware to the latest version.
However, if your printer doesn’t have firmware configured for use with the BLTouch, you’ll need to complete the process yourself. The majority of 3D printers now use Marlin firmware, which is freely available to download online. The current version of Marlin is 2.1.2.
Once you have Marlin up and running, you’ll need to be able to view and change the code. A good way to do this is to download and open the Marlin package in Visual Studio Code, the integrated development environment (IDE) from Microsoft. Once the marlin.ino file is uploaded to the IDE, navigate to the configuration.h tab.
Step 1: Define BLTouch
The first step is to activate the BLTouch sensor by defining it. Remove the two forward slashes to uncomment the “define” statement as follows:
#define BLTOUCHStep 2: Set the X, Y, & Z Offsets
The next step is to set the offset of the BLTouch using the X and Y distances you should have measured (from the nozzle) while mounting the probe. You also have to set the initial Z offset, which you can find by measuring the height difference between the tip of the fully extended probe and the nozzle. Of course, you can usually adjust this value later from your printer’s display, so if measuring proves a challenge, -2.5 is a safe value to start with.
When you’re sure of your measurements, insert the values into the corresponding lines below:
#define X_PROBE_OFFSET_FROM_EXTRUDER <X measurement>
// X offset: -left +right [of the nozzle]
#define Y_PROBE_OFFSET_FROM_EXTRUDER <Y measurement>
// Y offset: -front +behind
#define Z_PROBE_OFFSET_FROM_EXTRUDER <Z measurement>
// Z offset: -below +above
Although you can adjust the Z offset on most 3D printers directly (depending on the Marlin configuration), the change to your offset isn’t always applied. To fix this, you can uncomment the line below:
#define RESTORE_LEVELING_AFTER_G28Step 3: Choose a Type of Bed Leveling
Once you’re done with the offset, you’ll need to choose the type of bed leveling you want. There are a few different leveling methods that you can choose from, but we’ll be using the Bilinear method because it’s easy to get started with.
To choose an option, uncomment it by removing the slashes. Note that only one option can be left uncommented. Your code should look something like this:
//#define AUTO_BED_LEVELING_3POINT
//#define AUTO_BED_LEVELING_LINEAR
#define AUTO_BED_LEVELING_BILINEAR
//#define AUTO_BED_LEVELING_UBL //#define MESH_BED_LEVELING
You can also set the number of grid points you would like to probe. By default, it’s set to 9 points, which makes a 3 by 3 grid along the X- and Y-axes. The number of points can be increased for more accurate results, but keep in mind that the probing time will also increase as more are added. You can adjust the number of points in the grid in the lines below:
// Set the number of grid points per dimension.
#define GRID_MAX_POINTS_X 3
#define GRID_MAX_POINTS_Y GRID_MAX_POINTS_X
Step 4: Prevent Any Interference
Finally, some users have reported that the BLTouch suffers from interference from the current in the hot end heater wires. As an extra precaution, you can uncomment the relevant line in Marlin to turn off heaters while the sensor probes the bed:
#define PROBING_HEATERS_OFFStep 5: Test
Once the firmware settings are dialed in, you’ll need to check if the BLTouch is working as intended by running a basic test. Once that’s completed, you can get started with adjusting your Z offset if you didn’t do so at step 2. There’s a great video by 3DMakerNoob that takes you through the entire process step-by-step.
Configuring the Slicer
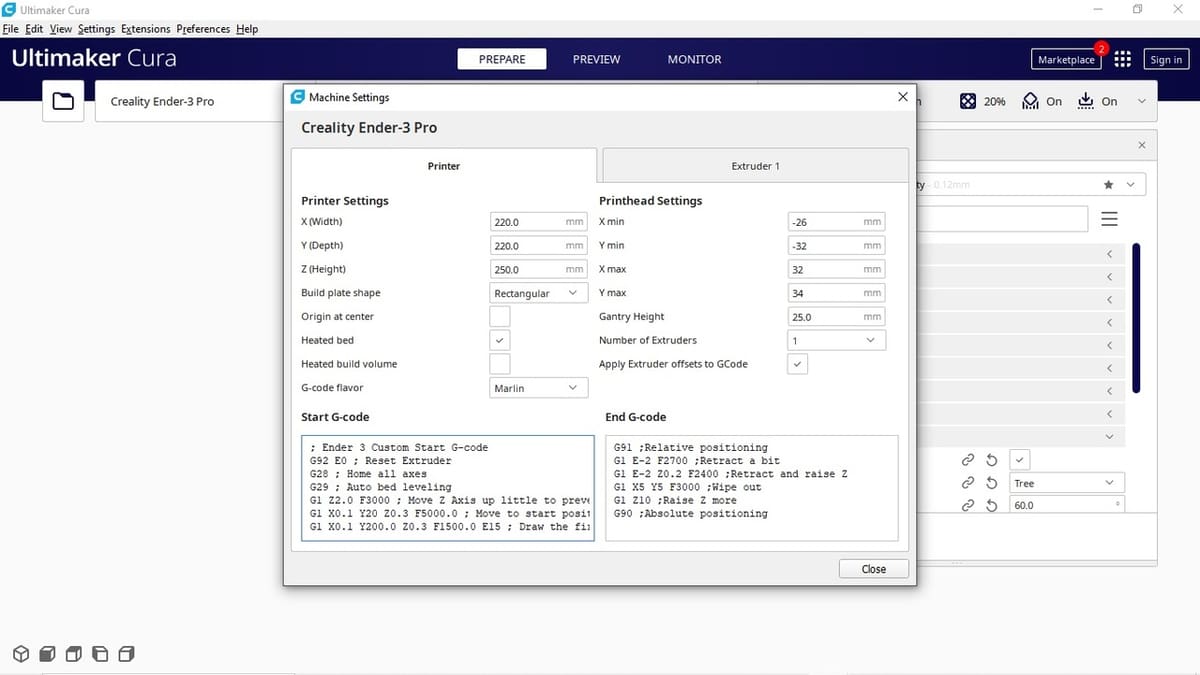
Once you’ve set up the device, you may want to configure your slicer (e.g. Cura) to automatically level your printer’s bed before every print. To do this, you can insert the G29 G-code command into your slicer’s start G-code script after the G28 command, which should already be included.
Adding in the G29 command will tell your printer to conduct an automatic bed leveling sequence before every print. While this may yield a good first layer print-after-print, it also means your print’s starting time will be delayed by a few minutes. If you don’t want to wait, you can delete the G29 command from your starting script and level the bed through your printer’s display when it’s most convenient.
Clones & Potential Issues
As with any successful or innovative product, there are going to be copies of the original. This can be problematic if you think you’re buying an original but instead receive a copy of inferior quality. However, there is a difference between BLTouch alternatives and clones.
BLTouch clones tend to be cheaper than the original, making them more appealing to buyers on a budget. However, buying cheap may not be a good idea if you receive an inferior product. These fakes often claim to be the original version and even display Antclabs’ logos and markings.
It may be difficult for the average buyer to detect these BLTouch wannabes, but there are online forums that point out some ways to determine the difference. Reddit is usually a good source for this type of information, such as this post and the discussion here. We recommend sticking to the original BLTouch, if possible.
Alternatives, as we’ll see later on, aren’t direct clones or fakes. While they have a similar function as the BLTouch, they tend to have different features and designs. Additionally, they’ll also have slightly different sensor technology, which is clearly defined in their product descriptions.
Where to Buy
If you’re looking to buy the original Antclabs version of the BLTouch, your best bet is to purchase one from the vendors below.
Alternatives
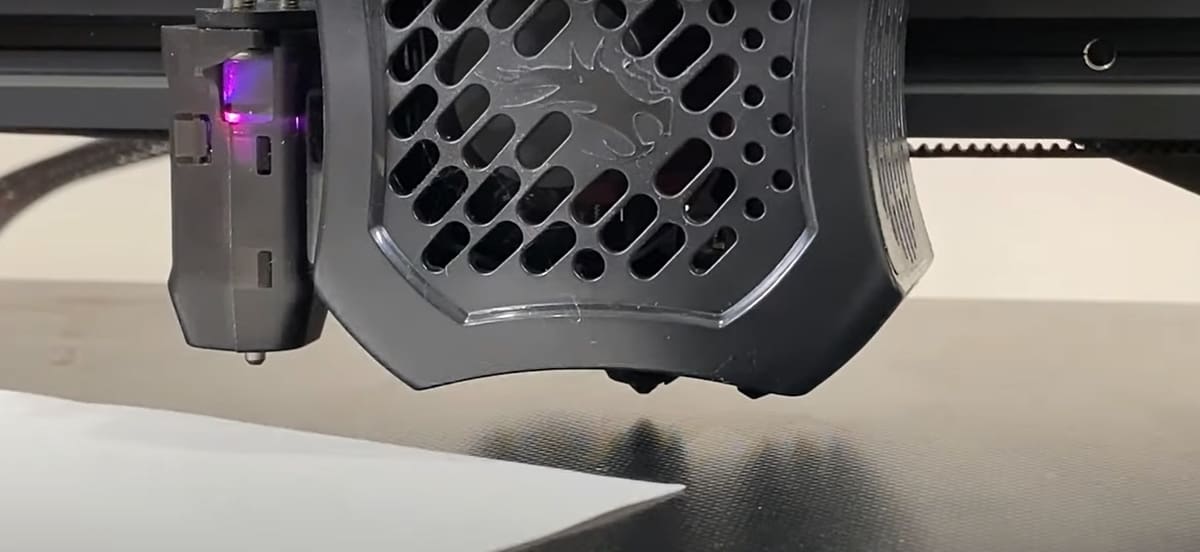
CR Touch
In 2021, Creality started producing their own brand automatic bed leveling sensor, called the CR Touch. It’s now included with most models.
While the CR Touch is similar to the BLTouch, the sensors use different technology. The BLTouch uses a Hall-Effect sensor, as we discussed earlier, whereas the CR Touch uses an optical sensor. In addition, the CR Touch is slightly larger in size and uses a metal retractable probe, while the BLTouch uses a plastic one.
One thing to keep in mind is that since the CR Touch is not as popular, it may not work on as many firmware programs as the BLTouch. However, it may be the best option if you have a Creality printer.
Pinda Probe
The Pinda probe, developed by Prusa Research, is an inductive probe with the addition of a thermistor to account for variations in the bed temperature. The Pinda probe is specifically developed for the Prusa range of 3D printers, which are designed with special calibration points on the bed to help with leveling and skew correction.
The probe is said to be highly accurate for 3D printers, and though we couldn’t find any numbers, the reviews seem positive. This leads us to believe that this may be a good solution as well, at least if you have a metal bed.
Ezabl Pro
The Ezabl Pro is a custom manufactured capacitive sensor. It comes with a connector board that uses an optical isolator to prevent any high voltage damage to your mainboard in case of wiring mistakes.
With regards to precision, it’s been able to measure within a range of a thousandth of a millimeter, which is what 3D printers need. The Ezabl Pro also comes with helpful features like dual shielding, which prevents any interference with other signals.
The main downside with the Ezabl Pro would be the cost, which is about $70. On the bright side, it’ll work on glass beds.
Piezo Sensor
A Piezo sensor makes use of the Piezo-electric effect to capture changes in force, pressure, or strain, and convert these changes into electrical charge. Precision Piezo, a company in the UK, is one of the few companies making Piezo sensors for 3D printers. It has been said that these have close to 7-micron accuracy, which is quite precise for a 3D printer.
The advantage of the Piezo sensor is that the nozzle itself can be used as the sensing device, with no additional components needing to be mounted. Also, the Piezo sensor can be placed on the print head or below the print bed to sense the pressure. As far as price is concerned, it’s pretty much equivalent to the BLTouch.
License: The text of "BLTouch Sensor: All You Need to Know" by All3DP is licensed under a Creative Commons Attribution 4.0 International License.
CERTAIN CONTENT THAT APPEARS ON THIS SITE COMES FROM AMAZON. THIS CONTENT IS PROVIDED ‘AS IS’ AND IS SUBJECT TO CHANGE OR REMOVAL AT ANY TIME.