Blender: 3D Print Toolbox – Simply Explained

Preparing models for 3D printing can sometimes be a tricky job. Read all about Blender's 3D Print Toolbox and how it can help!
Blender is free and open-source graphics software, known for its powerful functionalities like modeling, animation, simulation, video editing, motion tracking, and rendering. Creating models in Blender is based on simple polygons. That means you can create everything from low-poly models to super complex creatures using the tools offered.
Combine such with a 3D printer and you can make all sorts of gadgets, ranging from toys to fully functional industrial parts.
Depending on the model’s topology, whether made by yourself or imported from an external site, there is a chance it can be “broken” or that it’s unsuitable for 3D printing. This can be due to a variety of reasons, like double vertices, flipped normals, and more.
In this article we’ll show you a great built-in tool inside of Blender that will allow you to check and repair models, so that they’re ready to be 3D printed.
3D Print Toolbox

Blender comes with a variety of pre-installed add-ons that can make your life easier while using the software. Some are pre-installed, while others need to be downloaded or purchased.
Luckily for us, the 3D Print Toolbox add-on is in the latest version of Blender (4.1 at time of writing), and all we need to do is enable it. To do this, we’re going to follow these steps:
- From the top bar, click on Edit.
- From the drop-down list, select “Preferences”. The “Blender Preferences” menu will open.
- Click on the “Add-ons” tab on the left side of the menu (purple).
- Click on the search bar at the top right of the menu (green) and type “3D-Print Toolbox” (note that without the hyphen, it won’t come up). Check the “Mesh: 3D-Print Toolbox” option (red).
A Note on Blender Releases
If you can’t find the add-on by default (e.g. you’re running an older version of Blender or 4.3.1), don’t fret! There are a couple of workarounds.
- From the Preferences menu, go to “Get Extensions”.
- Click on “Allow Online Access”.
- Search for “3D Print Toolbox”.
- Click on “Install”.
Alternatively, you can get it from the website by drag-and-dropping it into a Blender project.
Adding It to Your Workspace
Now that we’ve enabled the 3D Print Toolbox, all there’s left to do is:
- Close the Blender Preferences menu.
- Hit the ‘N’ key on your keyboard to open the Information pop-up, which will be displayed on the top right side of the 3D Viewport.
- Locate and click on the “3D-Print” tab present on the right side of the Information pop-up (yellow).
- The 3D-Print Toolbox features will now be displayed!
With the workspace set up, let’s go over exactly what can be found in the 3D Print Toolbox.
Features
There are a variety of features available – it is, after all, a tool box. These are easily organized in subgroups that can be clicked on to expand: Analyze, Clean Up, Transform, and Export.
Analyze
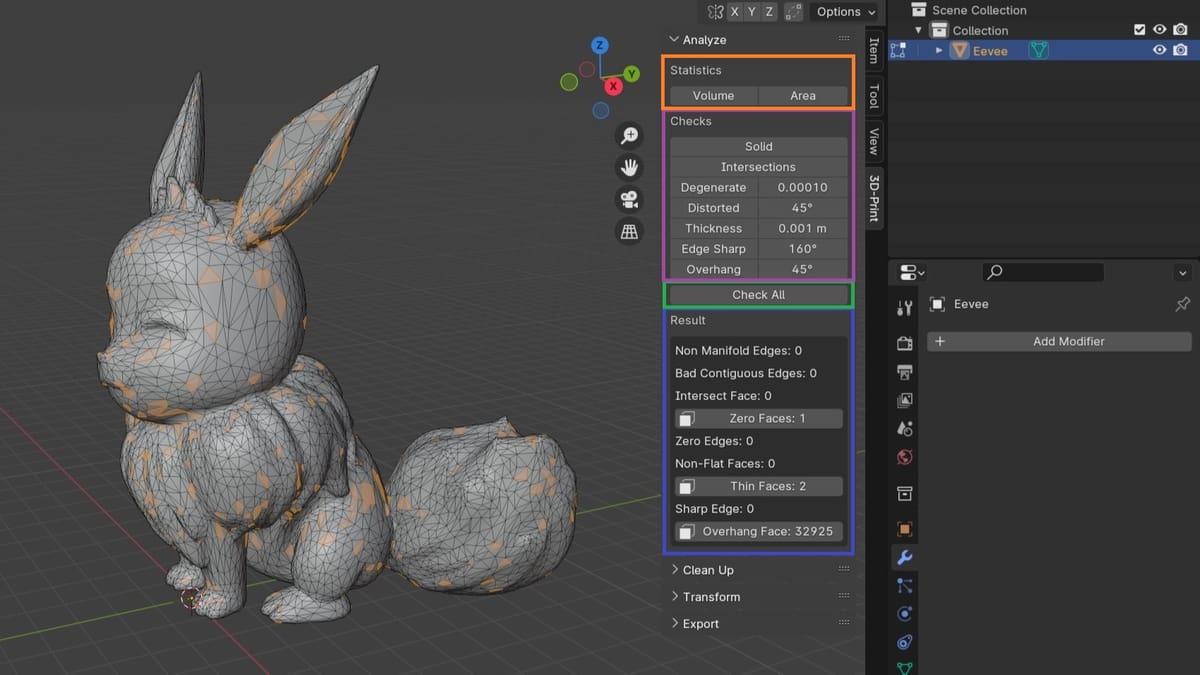
Here we can – you guessed it – analyze certain areas of our selected object, such as Area, Volume, Thickness, Intersections, and a few others. Under Statistics (orange), you’ll find:
- Volume displays the volume of the model in your ViewPort.
- Area displays the material area of the to-be printed model.
Now, the rest of the options are under Checks (purple). Note that by clicking on each of these, it will display additional information and show you on your model if there are any problems.
- Solid shows the number of non-manifold edges in the model and highlights these problematic edges so that you can see and fix them. Non-manifold edges are defined as the edges shared by more than two faces, which can lead to the formation of gaps in the model. As you might imagine, this can prevent it from 3D printing.
- Intersections displays and highlights the number of intersecting faces in the model.
- Degenerate shows and highlights any deformed geometry in the model. You can also adjust the threshold.
- Distorted shows the distorted (or non-flat) faces in the model. You can also adjust the angle that it’s checking for.
- Thickness indicates the number of thin faces in the model. You can set this value as well. Thin faces can make the structure of the model unstable.
- Edge Sharp shows the number of sharp edges in the model, which can be difficult for 3D printers to print. You can adjust the angle, too.
- Overhang indicates the number of overhanging faces in the model. These faces, when printed, will require extra support structures, so these can be fixed manually. It’s also possible to change the angle that will trigger an overhang.
If you click on “Check All” (green), all the above-mentioned items will be displayed at once.
As an example of what can be accomplished, we used a 3D model of the Pokémon Eevee by Marco0511 and, after analyzing it with the add-on, we can see all the results in the menu above (blue). The results displayed will depend on whether you selected a single aspect or use the “Check all” button, which is the fastest and easiest way to check models for any errors.
To further elaborate on how the Toolbox works, we’re going to focus on “Non manifold Edges”, as this is the biggest culprit for models appearing broken in slicers.
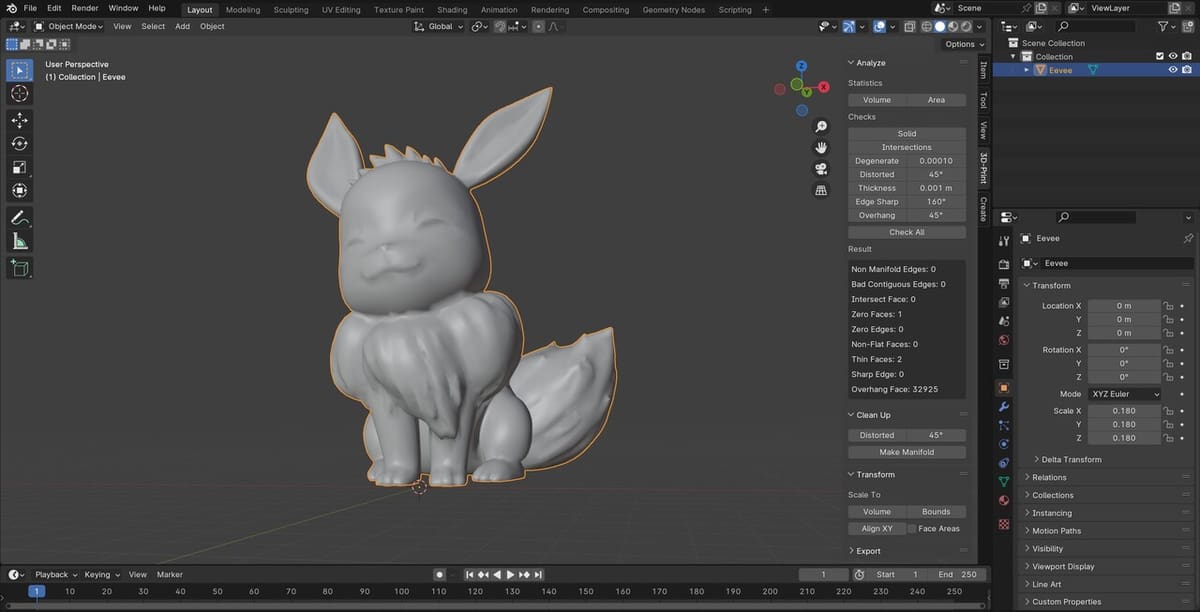
Clean Up
The next section allows us to clean up or repair our selected objects, for which we have three options:
- Isolated highlights edges or vertices that are not part of the model but which are near the mesh
- Distorted fixes any distorted faces in the mesh
- Make manifold repairs the non-manifold edges on the mesh
From our personal experience, we find “Make manifold” to be a bit hit or miss, as depending on how broken the model is, Blender can end up erasing some parts or – worst case scenario – turn it into a complete mess. Therefore, while “Make manifold” can be a great, straightforward solution when the model is rather simple or if the mesh doesn’t have too many errors, we suggest taking a look at our STL Repair article. Here, we show better options to clean up and fix 3D models for printing.
We encourage you to give it a try yourself by importing any 3D model you may have and checking if it has any errors or missing surfaces. For those of you feeling adventurous, we suggest taking a look at photo-scanned models, as these will usually require a cleanup before printing – making them great candidates to try out the different tools.
Transform

These options allow us to scale our model into a set volume, bounds, or to align the object’s faces with the X or Y planes. Make sure you are in Edit mode for these to work, though.
As a small example of how these would work, lets say we want our Eevee model to have a total volume of no more than 30 cm3, or its largest size to be greater than 10 cm. We would either set its volume, or size, accordingly, and the Toolbox will scale our model to ensure it stays within that limit.
It may also be worth noting that when exporting, 1 meter in Blender doesn’t translate to 1 meter in real life – instead, this converts to 1 mm. Therefore, you’ll need to scale your models while exporting or later inside the slicer. Most slicers allow you to scale objects anyway, but it can be a good habit to ensure that models are scaled appropriately before exporting them. This can also save time and avoid confusion if other users are going to import your models.
Export
Lastly, we have the Export section, which is a simplified UI for Blender’s exporting window and offers a few options:
- Export Path refers to the directory file path you want to save your exported model to.
- Format is the file type you want to export your model as (STL, OBJ, PLY, X3D).
- Apply Scale applies the scene scale setting on the exported object.
- Copy Textures includes the textures on the exported model, only for formats that support it.
- Data Layers exports normals, UVs, vertex colors, and materials for formats that support it, significantly increasing file size.
Preparing a Model
Following up from what we have learned from the previous section, we’ll now go ahead and prepare a model ready to be exported into a slicer. As you go ahead, keep the following in mind for best results:
- Ensure that the model has no missing/non-manifold edges.
- Scale the model accordingly.
- Apply all modifiers. Sometimes when working with modifiers, we forget to apply them, resulting in a different exported model to what we originally were working with.
- In case you’re unfamiliar with modifiers, these are “operations” inside of Blender that allow us to alter objects without affecting the original mesh. Blender automatically applies them when exporting, but it’s always better to do so ourselves in the correct order as this can prevent issues.
By applying these, you’ve hopefully reduced the possibility of any issues in your mesh for the next step, which is exporting the file from Blender and importing it into a slicer.
Exporting to a Slicer
With our model prepared and ready to go, next up is to export it as an STL file. To do this:
- Make sure that the model you want to export is selected and nothing else.
- Head over to “File > Export > Stl”.
- Choose the output location you want Blender to store the exported file into.
- Ensure “Selection Only” and “Scene unit” checkboxes are selected, which are located on the top right of the export window.
- Click on the “Export STL” button.
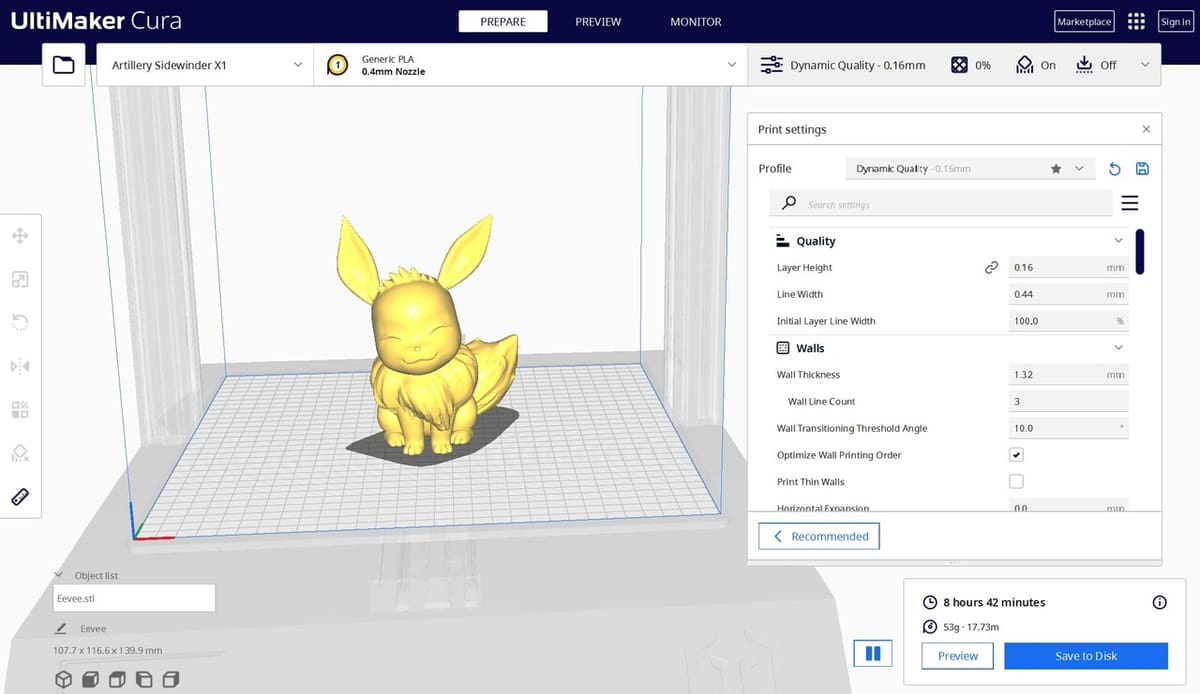
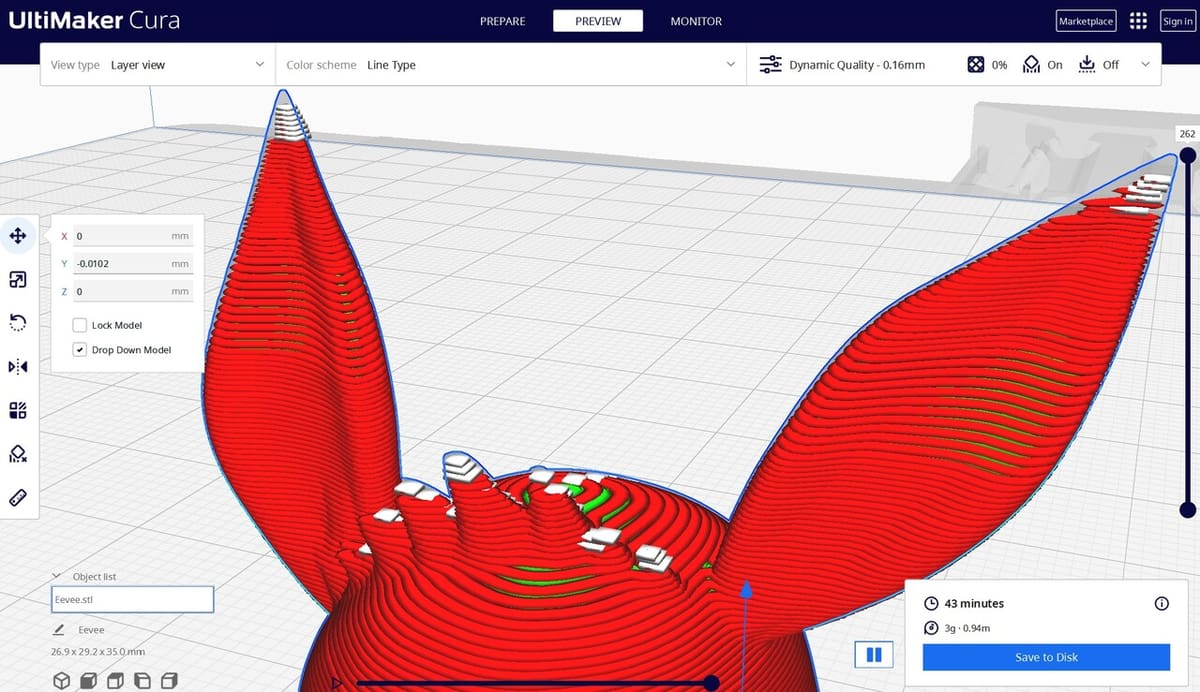
If everything went well, you should now see your exported model at the specified location in your computer. All that will be left to do is to import your model into your slicer of choice and voilà!
Tips & Tricks
Using Blender to repair or improve the quality of a model that’s meant for 3D printing is pretty easy. There are, however, a few tips and tricks that can make the process even smoother depending on your project’s characteristics.
- Exporting using the Toolbox: Another way to export your models is using the 3D Print Toolbox itself. This option does lack a few features, as the export section is quite simple, but it can be convenient when exporting several models to the same path as you don’t have to constantly be opening up the export window via the traditional method.
- Visualizing overhangs: If you’re worried about overhangs, simply go into Edit mode by clicking the “Tab” key, then clicking on the previously mentioned “Overhang” inside the 3D Print Toolbox. This should prompt a result with the number of overhang faces and clicking on it will then highlight the faces for you. As stated earlier, you can change the overhang angle to be displayed on the Toolbox itself, which by default is set to 45°.
- Avoid small parts: This last tip applies to any model in general, especially those being printed on FDM printers given that these struggle the most printing tiny details. Make sure that your model doesn’t contain any areas that may be smaller than what your printer is capable of printing, as otherwise the slicer will struggle to slice those areas, causing issues or missing parts.
License: The text of "Blender: 3D Print Toolbox – Simply Explained" by All3DP is licensed under a Creative Commons Attribution 4.0 International License.