The Main AutoCAD Commands & Shortcuts

AutoCAD is a great tool. Check out our list of the most important AutoCAD commands and shortcuts to make the most of it!
AutoCAD in Short
It’s impossible to imagine the architectural and engineering wonders of recent memory being created without CAD software. Nearly everything is designed with CAD software these days, and AutoCAD is one of the most widely used programs among architects and designers. Offering features and functions that surpass its competition, AutoCAD has revolutionized the design and engineering fields, and can be applied to almost any industry.
Like many other things, the software is only as good as the hands that operate it. So, for beginners to get the most out of AutoCAD, it’s necessary to know how to use it efficiently. Learning the most useful shortcuts and commands is a step in that direction.
Shortcuts vs. Commands
Shortcuts and commands are two different things but are also interconnected. Shortcuts are the keyboard combos and the function key toggles. These enable you to execute an action or a function in AutoCAD without having to type anything. You just need to press the keys in the correct combination, and the function is executed.
Commands are groups of words that execute a particular function. Unlike a shortcut, you need to type the command in whole to execute it. They’re almost always named after the function they’re going to execute. So, this makes it easier to use than shortcuts, as you don’t need to remember specific combinations.
Uses
The main purpose of using commands and shortcuts in AutoCAD boils down to increased productivity. They allow you to execute functions more quickly, as you don’t need to search through the entire AutoCAD interface for the right tool. You can just type the command, and the function window appears.
There are over 150 unique shortcuts and commands in AutoCAD, and it can quickly get overwhelming just seeing the sheer number of them. So, we’ve compiled a list of some of the most important ones that beginners should learn. Unlike other articles on the web that cover line, circle, and other very basic commands, we’ll be looking at some unique commands that are really helpful in the design process. Let’s get started!

Shortcuts
The most important shortcuts that you should know are the keyboard combinations. These combos improve productivity and help you navigate AutoCAD’s interface with ease. They also take away the repetitive action of using the mouse for your actions. Let’s look at the major ones.
Key Combos

- CTRL + 0 saves you from any distractions as you’re viewing your drawing. It gives you more screen space by hiding away all the pallets and tabs. You should use this to view your drawings if you have limited screen real estate.
- CTRL + N opens new drawings in AutoCAD. It can be used at any point in the drawing to open up a new project. This shortcut comes in handy when you have to work on many drawings or models within the same project but want different windows for each one.
- CTRL + S should be used as frequently as possible. It’s a lifesaver (in this case, drawing saver). Nobody wants to lose hours of drawing efforts to an impromptu system update or any other mishap. Saving the drawing after a few steps is a good habit to get into.
- CTRL + O opens drawings you’ve already saved. It’ll save you time by quickly displaying drawings on your computer.
- CTRL + SHIFT + C is a special copy shortcut. Unlike the normal copy command that allows you to copy elements of your drawing within a single project, this shortcut lets you copy drawings, blocks, and models across projects.
- CTRL + P accesses your print settings. You can use it in any views on any drawings, and it’ll direct you towards the Plot Dialog box. It’s mostly used in the end stages of the project when you have loads of drawings to print.
- CTRL + Q exits from all the drawings you’ve created in AutoCAD. Instead of manually closing each tab, this shortcut lets you exit directly to your desktop. It’s especially useful when you have loads of drawings open in various tabs, and you want to wind up your work.
- CTRL + A selects all the elements of your drawing at once. You should use it if you’re moving your drawing, copying it elsewhere, or applying settings throughout the drawing.
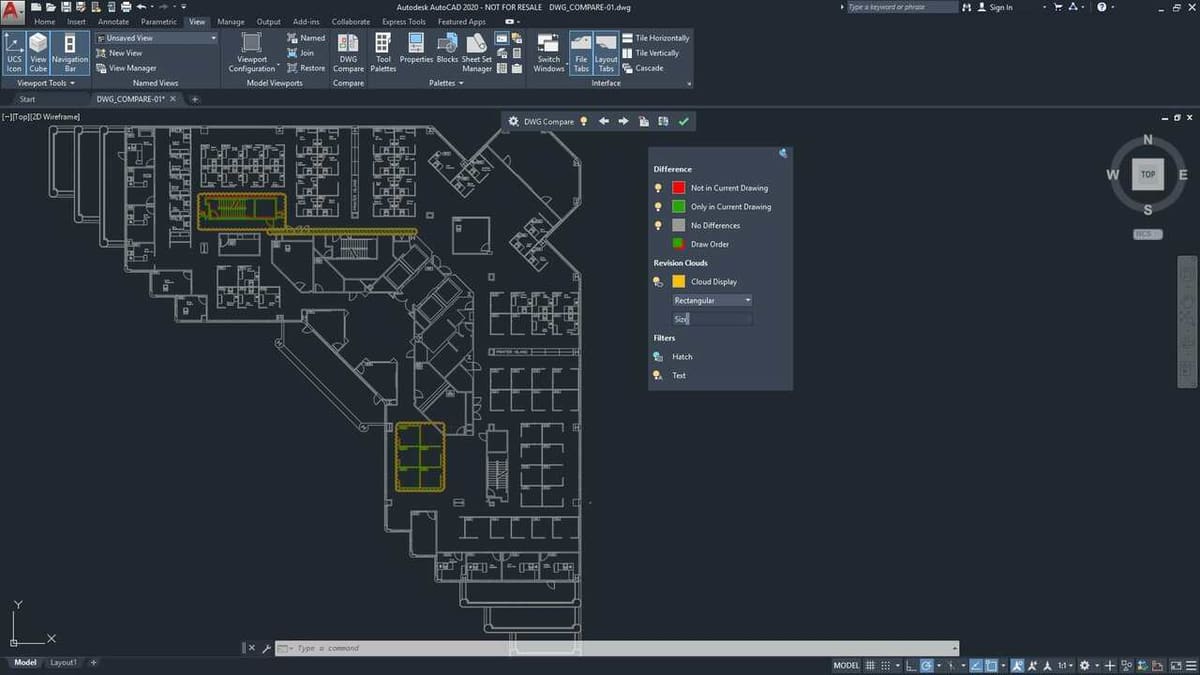
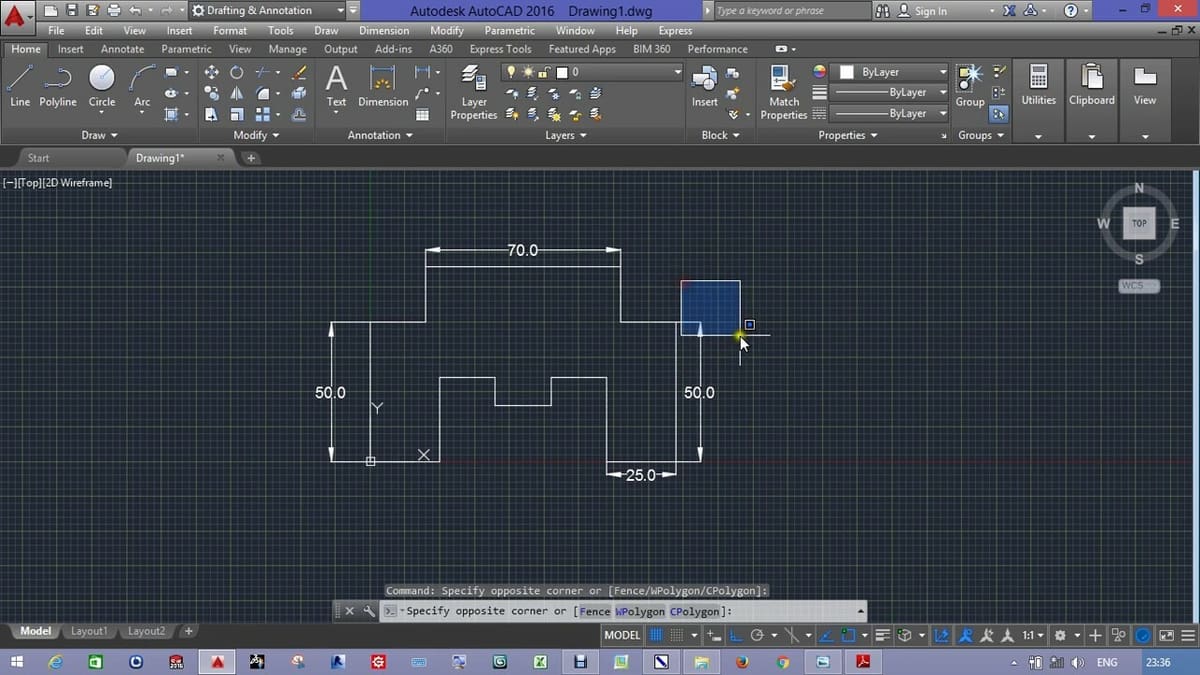
Commands
Commands are to be entered in the command bar at the bottom of the screen. As you type in characters, AutoCAD suggests similar commands that might start with the same characters. Let’s start by looking at a few basic commands that’ll help you in the AutoCAD drawing interface.
Basic
- AUDIT: Auditing your drawings regularly helps you avoid any unnecessary errors that may later pop up and corrupt your drawings. You should use this command at regular intervals to review any errors and correct them instantly.
- CLOSEALL: This command closes all the tabs and windows that are open in your AutoCAD workflow. Unlike the earlier shortcut, this doesn’t exit directly to the desktop but takes you to the main interface of the AutoCAD.
- COPY: There’s no need to tell you how useful this command can be in all your drawings. Whenever you have to copy objects, use this one.
- DIST: It’s not always possible to dimension everything that’s in your drawing. So, using this command, you can quickly find the distance between two points in your drawing.
- ARCTEXT: This command lets you write in an arc shape. It adds text onto an existing arc or for quirky appearances. You should give this one a try!
- CAL: It’s practically impossible to sketch any drawing without performing some basic arithmetic in the drawing. Many times, the measurements that you have are not enough to sketch out a perfect drawing. So, AutoCAD lets you do these, without having to use a calculator or exiting to another window. Just type this command, and you can perform the basic operations in the command line itself.

- OOPS: We’ve all been in the situation where we’ve accidentally deleted an entire drawing and performed various actions over it. We can use the UNDO command, but it also reverses only a certain number of actions. Instead, the OOPS command comes in handy to recover the entire drawing in an instant.
- PREVIEW: It’s always good to know how your drawing is going to be represented once it’s finished. Previewing it is a good way to analyze the outcome. It gives you a look ahead, and based on that, you can alter any elements you’d like to in the drawing.
- RECOVERALL: This command’s functionality is similar to the AUDIT command, as it lets you recover the file and any other external references (xrefs) that are included in your drawing. It’s a handy command to use for fixing any errors and recovering your drawing.
- SAVEALL: It’s always a good habit to save your ongoing work. But it’s tiresome to switch tabs and save every drawing. Hence, to save (pun intended) you the additional hassle, this command saves all the drawings and tabs in a project. This way, you can be assured that all your work is saved, and you don’t have to think about it.
- SPELL: We frequently use text in AutoCAD to annotate dimensions, objects, images, among other things. While text is an informative way to let the reader know about the specifics in a drawing, nobody enjoys spelling errors. So, when you use this command, it performs a spell check on the selected text and flags any errors.
- TIME: This command informs you about the time that you’ve spent working on a drawing. It shows all the details about the drawing right from when it was started to when it was last edited. It’s a good tool to gather information about your performance in AutoCAD. This is also very useful when you want to quote a time frame for projects.
- LIST: This command provides you with information about the various properties of a drawing element, displaying details such as the length, radius, area, and center point of an element.
Modifications
The next set of commands will help you be more productive as you’re drawing. They’ll assist you in editing elements of your drawings quickly. Instead of manually going to each element in the pallets and selecting it, you simply type a command to execute the action.
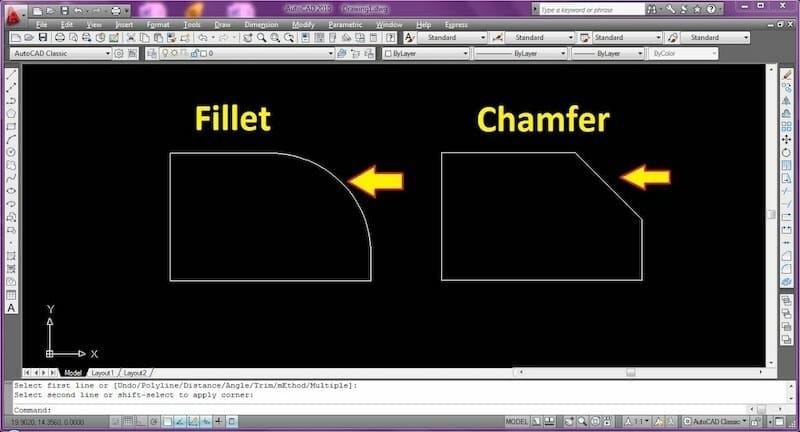
- CHAMFER: Chamfer is one of the most commonly used features in AutoCAD drawings. It’s used to sketch an angled edge in the drawing, giving an aesthetic appearance while also eliminating any sharp edges in the model. We can use this command in 2D and 3D drawings.
- FILLET: Whenever you need a rounder corner in a drawing, use the fillet command. This lets you quickly add a fillet to any edges of your selection.
- SCALE: Scale is one of the underrated but still heavily used features in AutoCAD. You’re always required to scale your drawings, xrefs, PDFs, and many other things in AutoCAD for various purposes.
- ALIGN: Another overlooked feature, ALIGN will, instead of selecting and moving the object manually to a point, quickly align the surfaces of two selected objects. A good example of this command is when you want to align a sofa chair to the edge of the wall.
- BREAK: Whenever you need to cut off a specific portion of a section from a line, use this command. It lets you choose the breakpoints on a line. So, instead of having to delete the entire line, BREAK deletes only the selected portion from it.
- ERASE: To draw an element then erase it is more common than you might think. This time-saving command lets you erase entire elements in the drawings in a single move.
- EXTEND: If you want to connect the edges of one line to the edge of another line, now you don’t need to drag the endpoint of a line to meet with another. Simply select the two lines, and they’re automatically connected. The main benefit is that you can extend multiple lines at the same time to meet a surface.
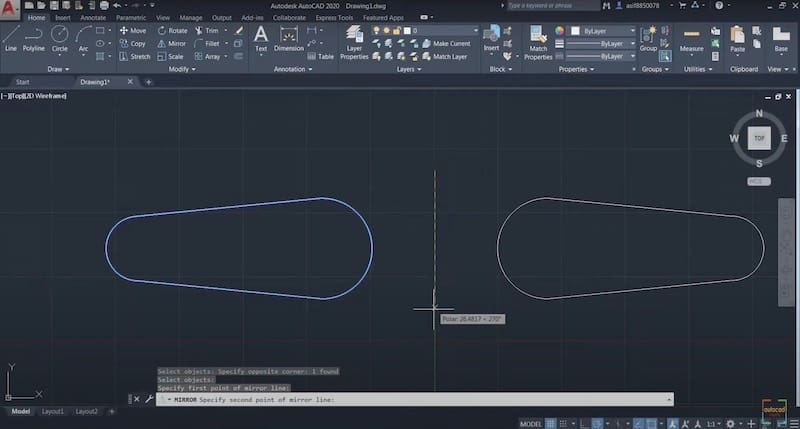
- MIRROR: This is useful in symmetrical drawings. You can just draw one half, then mirror the other half, saving a lot of time and ensuring accuracy!
- SCALETEXT: Unlike the regular SCALE command, which scales entire drawings and objects, this command is used to scale only the text in a drawing. It’s always good to match the scale of your text to the scale of your drawing.
- GROUP: There are times when you need to copy, move, or edit only certain elements of the drawing regularly. By grouping them all, you can work on them all at once, saving you from selecting each element every time.
- TEXTFIT: This command auto-scales your text to fit inside a space. You don’t need to change scales and look whether or not the text fits a box. Simply use this command, and it’ll fit your text within the selected boundaries.
- TRIM: This command shortens a line or any unwanted edges. It’s widely used to trim off any protruding lines and to maintain the boundaries of the drawing. When you execute this command, the entire line will be trimmed up to the nearest edge in a drawing.
- PURGE: As you’re working in AutoCAD, you may end up inserting many elements and objects that you’ve not used in the drawing. These elements may cause unnecessary errors and also increase the overall file size. This command lets you delete all these elements at once.
- OVERKILL: It’s easy to get many lines on top of each other. This isn’t beneficial and may lead to errors in the final output of the drawing. If you go selecting and deleting each overlapping line manually, it may lead to more errors and will take a lot of time. This command lets you delete any overlapping elements in your drawing and informs you about the lines it has deleted.
- LAYER: Layers in AutoCAD are one of its many defining features. They basically allow designers to carry out a drawing across various levels. For example, one might create a layer for dimensions, a layer for furniture, a floor plan layer, and so on. Managing layers effectively is a must, and this command lets you access the Layer Properties Manager easily.
Dimensions

After navigation and drawing, now we move on to the dimensioning commands. We all know the importance of dimensioning in a drawing. So, let’s make it easier and cut down our efforts with these amazing commands.
- QUICKCALC: While dimensioning, the need often arises to add, subtract, or multiply the units. In situations like this, the calculator is the most useful tool for any designer. So, when you use this command, a built-in calculator opens up in a new window within AutoCAD.
- DIMSTYLE: This command basically allows you to customize how you want the dimensions in your drawing to appear.
- DIMALIGNED: This command aligns a dimension with the origin points of a line. So, for an inclined line, you’re able to dimension the inclined height of the line instead of a vertical height.
- DIMANGULAR: Whenever you need to insert angular dimensions in a drawing, you need to use this command. It lets you choose the vertex and the edges of an angle, then denotes the dimension of the selected angle.
- DIMARC: Similar to the earlier commands, this one lets you know the dimensions of an arc or a polyline. It’s specifically used to denote the arc length of an arc in the drawing.
- DIMDIAMETER: Well, you might’ve guessed it by now. This command lets you assign dimensions to any circle in the drawing, specifically the diameter of the selected circle.
- DIMEDIT: You can edit the existing dimensions using this command, including the position and orientation of dimensions that you’ve assigned to an element. This comes in pretty handy for last-minute corrections.
3D Drawing
Although AutoCAD isn’t used that often for 3D modeling, for those of you who do use it for such purposes, knowing some of these 3D drawing commands would be beneficial.
- EXTRUDE literally extrudes any 2D drawings in one go. If you’re going to be 3D modeling in AutoCAD, chances are you’ll probably use this function the most.
- INTERSECT generates a model based on the intersection between two objects. If you have two intersecting cubes, for example, applying this command would result in the shape defined by the intersecting portion between the two cubes.
- REVOLVE will revolve a drawn shape around an axis. It’s useful for drawing circular objects, such as cylinders, vases, rims, and the like.
- RENDER gives you a real-life representation of the model you’ve sketched. It’s the 3D equivalent of previewing a print of a 2D drawing and is useful for getting an idea of the final output of the 3D model.
- SECTION lets you view a cross-section of a specifically defined part of a model. It’s useful for getting an inside view of a specific section.
- SLICE allows you to slice an object along a vertical plane. A line is drawn on the XY-plane, and it raises the slice plane along the Z-axis. This lets you delete the section on one side of the slice plane.
- MASSPROP is an informatics tool. Using this command in a 3D space, you can quickly find the mass properties of a 3D model. Once you’ve applied the material to the model, you can find out the object’s mass, volume, center of gravity, and many other properties.
- SOLIDEDIT edits the properties of a solid 3D object. There are a variety of options including the ability to hollow out an object, which is useful when you’re modeling containers. Instead of drawing and matching each surface individually, you can create a whole solid, then hollow it out with a wall thickness.
- SURFPATCH closes any open surfaces on a 3D model. For example, if you have a cylinder with an open face, applying this command closes the open surface. You also have the choice of applying a flat face or even a rounded face to the model.
- SURFTRIM lets you subtract an area from a surface or region. It’s helpful to think of sheet metal. If you want to trim a specific area from your sheet, this command allows you to choose which part of the surface stays and which part is deleted.
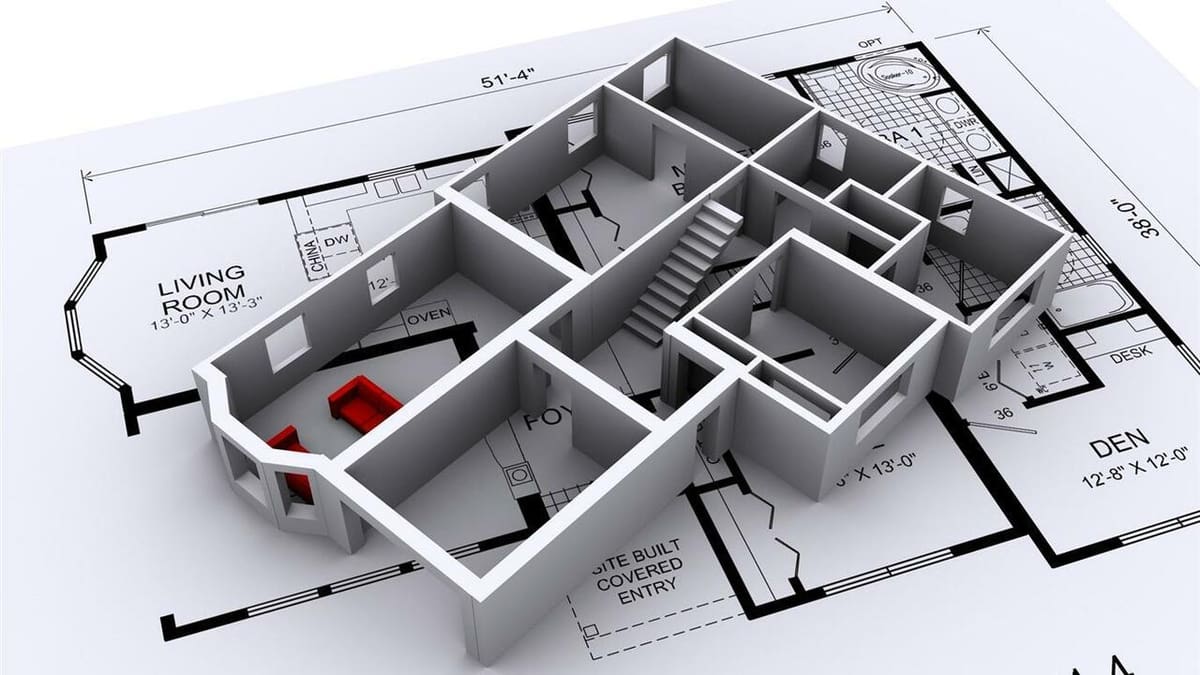
Lead image source: APKPure
License: The text of "The Main AutoCAD Commands & Shortcuts" by All3DP is licensed under a Creative Commons Attribution 4.0 International License.