3D Printing Skirt – When Should You Use It

A lot can go wrong when finally filament starts to flow. A good way to keep those early issues away from your precious 3D print is to use a skirt. Keep reading to find out how what exactly a skirt is and why it can help!
What is a 3D Printing Skirt?
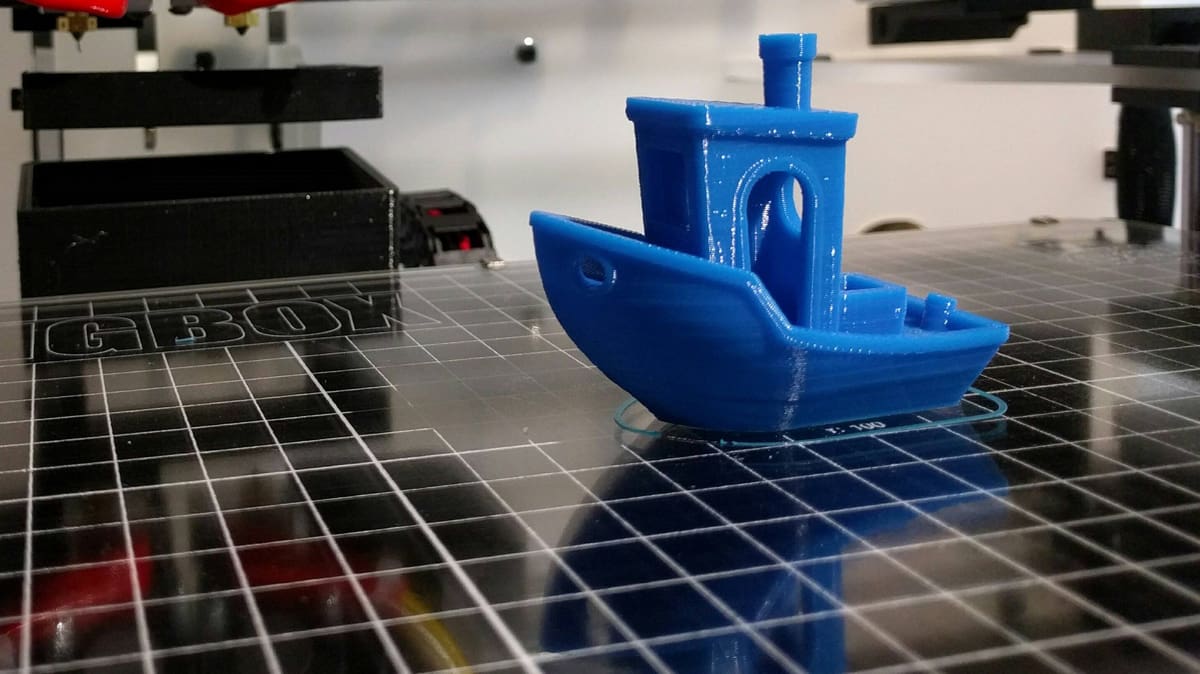
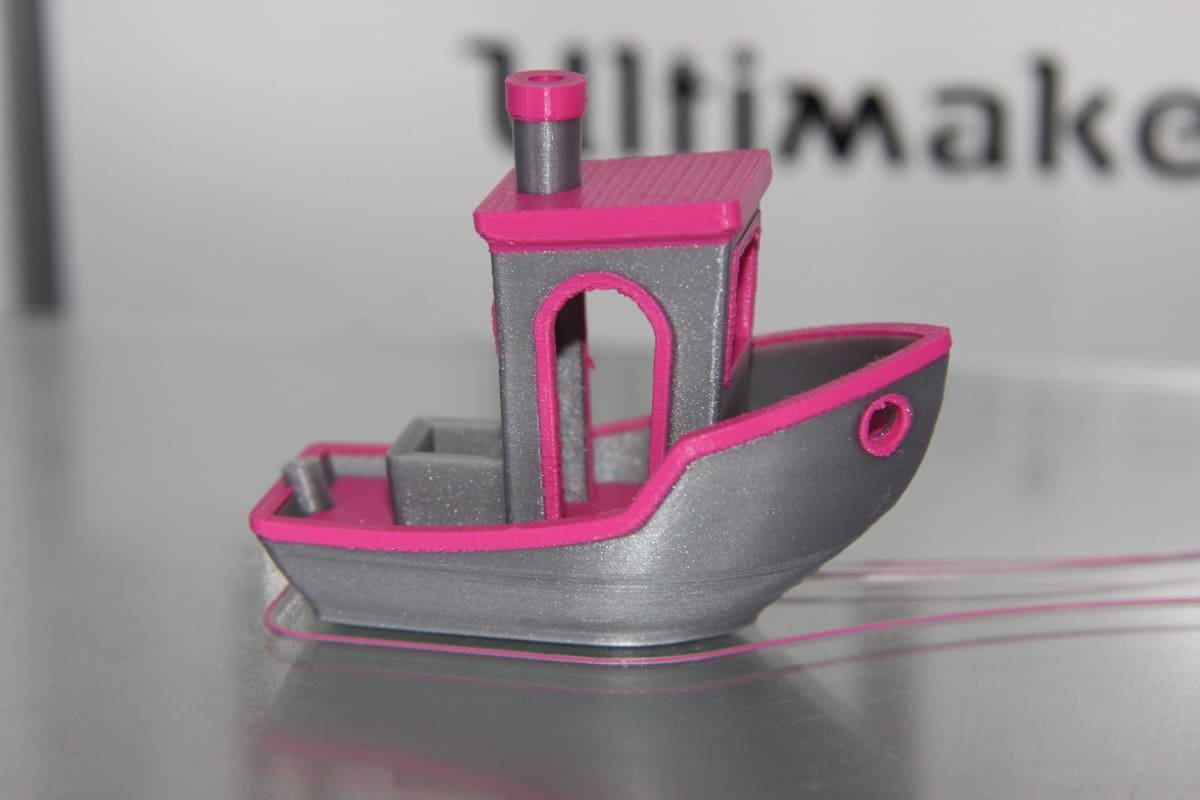
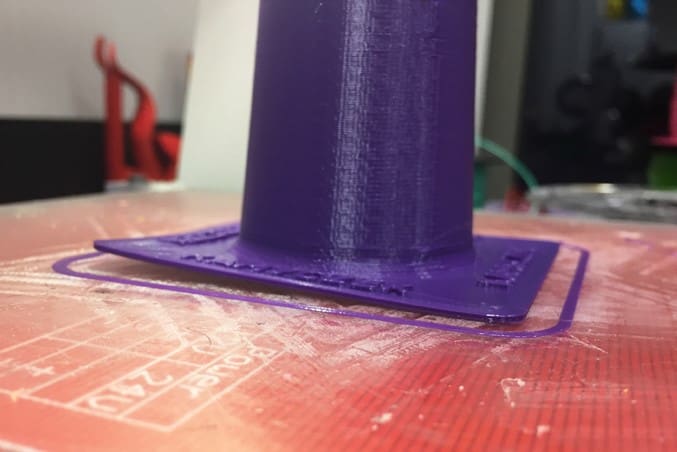
A 3D printing skirt is a layer of material laid down on the print bed around and apart from the 3D print. Often it is only one line in thickeness but can be adjusted to be wider.
A skirt is not guaranteed to prevent a print from failing, but it is a great tool to aid proactive safeguarding. It tells the user a number of things about the material, the first layer and the flow, all of which can determine the final quality of the print. If the signs are accurately identified by the user, the print can be stopped early and settings can be readjusted for the next trial.
When to Use a Skirt
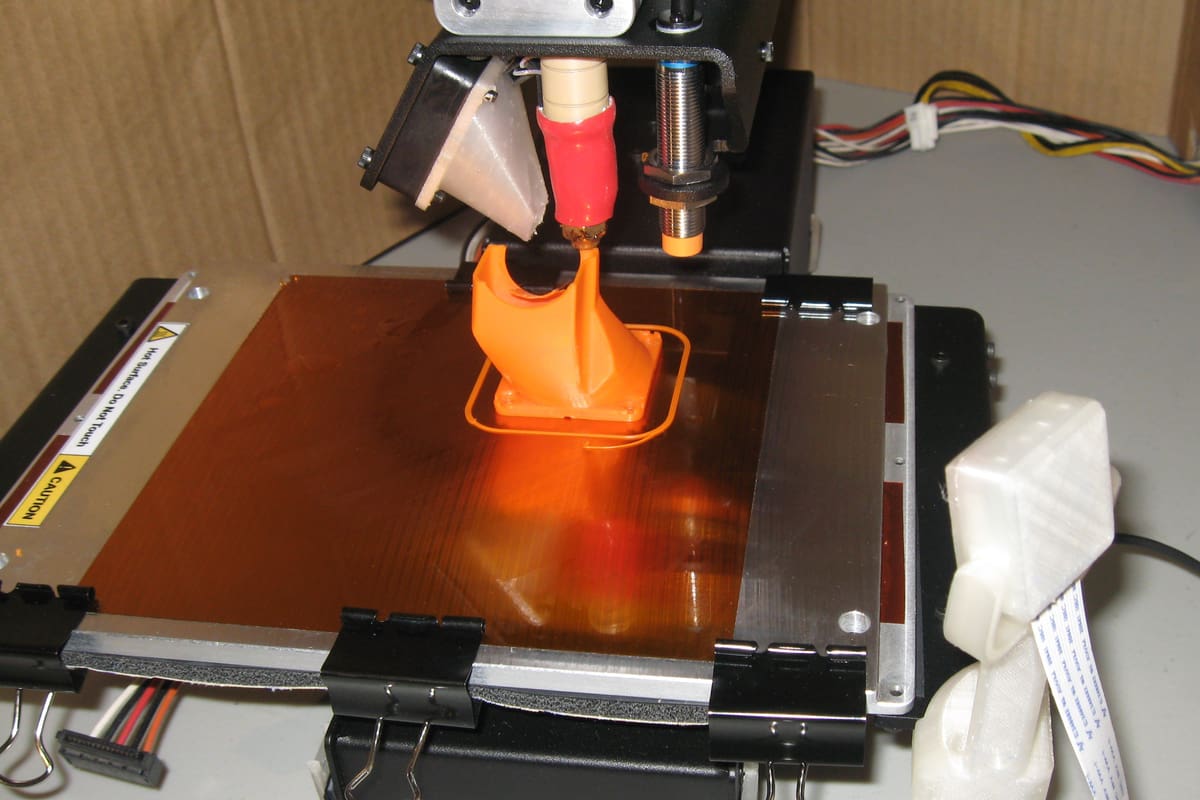
- Poor Material Flow: At the start of a print, material sometimes flows inconsistently out of the nozzle. This is generally due to incomplete melting or an excess of melted filament prior to the start. If a print starts under such conditions, print quality will certainly be affected. A 3D prinitng skirt is therefore recommended to normalize the flow of the material.
- Unlevel Bed: While printing a skirt, any issues with bed leveling can also be detected and this can help in proactively correcting the problems.
- Poor Layer Adhesion: One of the most common problems faced by 3D printing enthusiasts is layer adhesion. The first layer can define the success of the print. A skirt will tell you well beforehand that the material is or isn’t sticking to the bed. Appropriate measures can then be taken to change settings like the bed temperature, flow rate, and distance between nozzle and bed.
Irrespective of the design, the material or even the conditions to be checked, it is advisable to use a skirt on every single print. It serves some useful functions of priming the extruder and detecting any printing issues before the actual print starts and saves time, effort and money.
Pros & Cons of 3D Printing a Skirt
Like every technique, a 3D printing skirt also has a few pros and cons.
Pros
- Helps prime the extruder
- Helps detect common issues like layer adhesion, flow, and bed leveling
- Can save time, effort and money
- Uses less material compared to a brim or a raft
- Helps define the print area
- Does not touch the print, so there is no issue of removal affecting the surface finish of the print
Cons
- Produces a small amount of waste material
- Requires one to take an extra step
- Takes extra space on the build plate, which can limit the size or number of simultaneous prints
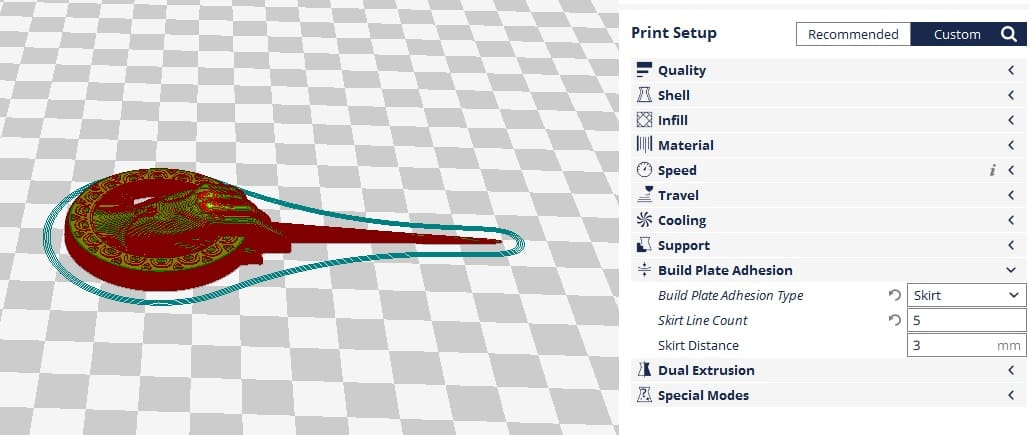
Slicer Settings for 3D Printing a Skirt
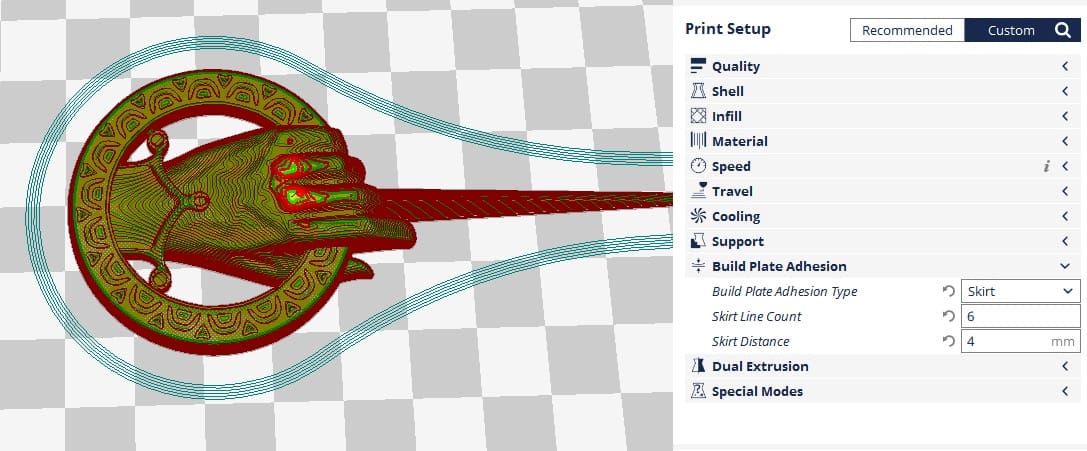
The two important settings to control a skirt are skirt line count and skirt distance. The skirt line count defines the number of lines that outline the print while the skirt distance defines the distance between the print and the skirt.
Generally, even a single skirt line is sufficient. If, however, the print area is small, appropriate priming may not occur, in which case 3 lines are ideal.
Summary
Though a 3D printing skirt does not support the print in any way, unlike a raft or a brim, it’s very useful to understand the flow of material, the bed leveling, the layer adhesion and other layer properties set in the slicer. It’s therefore advisable and recommended to use a skirt on every single print.