3D Printing Raft: When Should You Use It?

If you're having problems with warping or bed adhesion, there's a solution! Learn what a 3D printing raft is and when and how to use it.
A lot of 3D printer users have issues with getting the first layer right. It can be that the layer doesn’t stick, is uneven, has a poor finish, or if printed with materials like ABS, warps.
All of these problems are quite demotivating, but they can be avoided (if not eliminated) with a simple fix: a raft. A 3D printing raft is a horizontal mesh of filament deposited directly onto the build platform. The first layer of the print is then deposited onto the raft. This is a handy way to get the first layer right and also keep the print grounded to the bed.
Rafts are generally used while working with ABS filament, as it has higher chances of warping or printing with elephant’s foot. While rafts can be used in FDM 3D printing and resin printing, in this article we will focus on the former. 3D printing rafts are not only important for avoiding warping but also to increase bed adhesion.
However, keep in mind that the first step is ensuring that your printer is properly set up. If your bed is leveled correctly and your first layer height is on point, you probably won’t need a raft.
In this article, we’ll be going over when to use a raft, why you might or might not choose to do so, and what settings you’ll want to pay attention to. Let’s set sail!

When to Use It
Although a raft can be used for many different reasons, the following three are the most important:
- Warping: ABS, along with many other filaments, is prone to warping issues. One way to reduce them is to use a heated bed and spread a sludge of acetone and ABS filament pieces on the bed. But even then, warping can occur. Adding a raft to your 3D model can eliminate the warping issue completely.
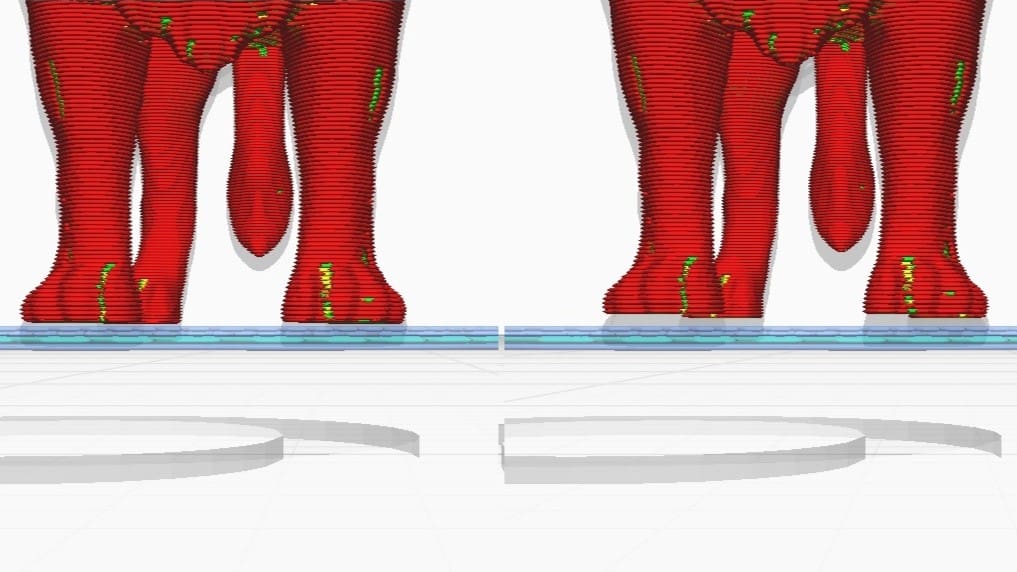
- Poor bed adhesion: Because the model is printed on top of it, the raft forms the first layer(s) of the complete print. And where a model may not always have a completely flat base sticking to the build platform, a raft is a flat mesh on the build platform. This gives the entire piece added surface area, which increases bed adhesion. 3D printing a raft also acts as a precaution against a possible failure.
- Low surface area: Some prints have tiny features at their base. In such cases, these parts may not have the strength to carry the load of the rest of the print. Here, increasing the contact area of those features can help them bear the load of the complete print. In such instances, it’s recommended that a raft is added as a safety precaution against the print falling over or collapsing.
Pros & Cons
Like every technique, a 3D printing raft also has a few pros and cons.
Pros
- Fewer warping issues with stubborn materials like ABS
- Improved bed adhesion leading to higher chances of a successful print
- Consistent print output
- Stronger first layer
Cons
- Rough finish on the bottom layer of the model
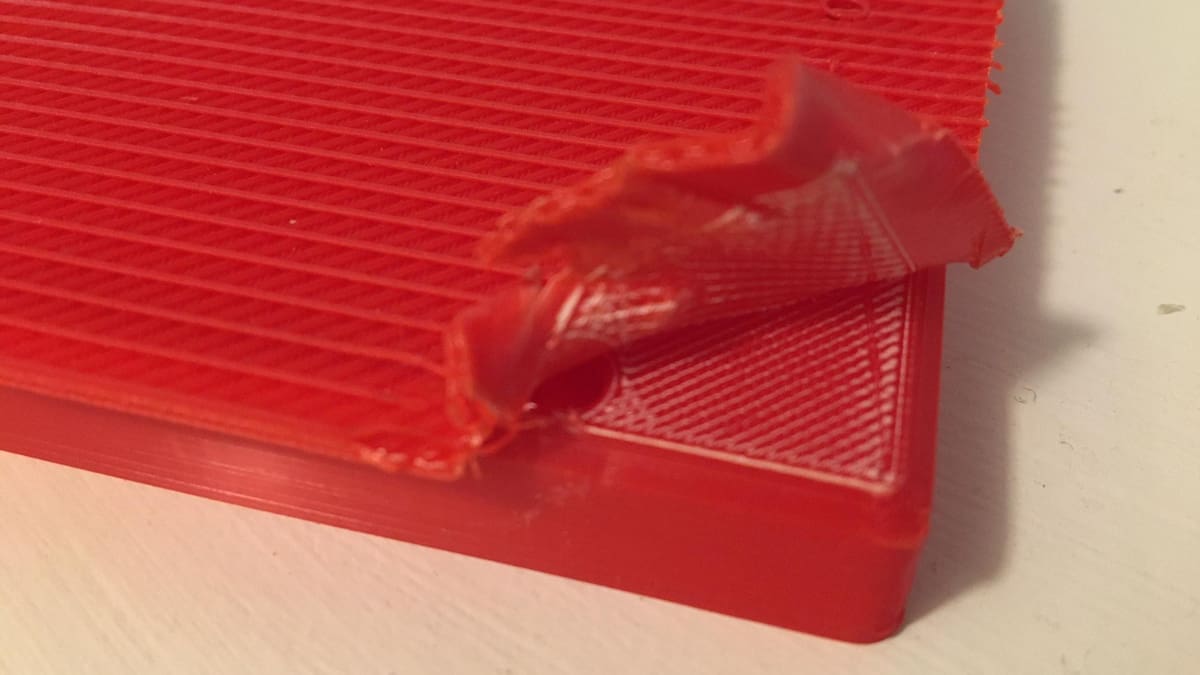
- Difficult to separate from model, especially with a denser raft
- Extra waste material
- Possibility of breaking the part while removing the raft, especially with tiny model components
As you might imagine, it’s important to take precautions when removing the raft as you can potentially hurt yourself and your model!
Before We Begin
Now that we know why we might want to add a raft, let’s turn to what settings we have to work with. When tweaking anything, it’s helpful to keep track of your results. Subtle changes in settings, whether increasing or decreasing values, should be done incrementally. This will help you check the progress (or regression) in a gradual way, allowing you to easily fine-tune your ideal settings.
These settings are dependent on your 3D printer, what filament you’re using, the ambient temperature in the room, and even the build platform. As such, one setting may not suit all purposes and you’ll likely go through some trial and error before you find what works best given your setup. With that, let’s take a closer look!
Separation Distance
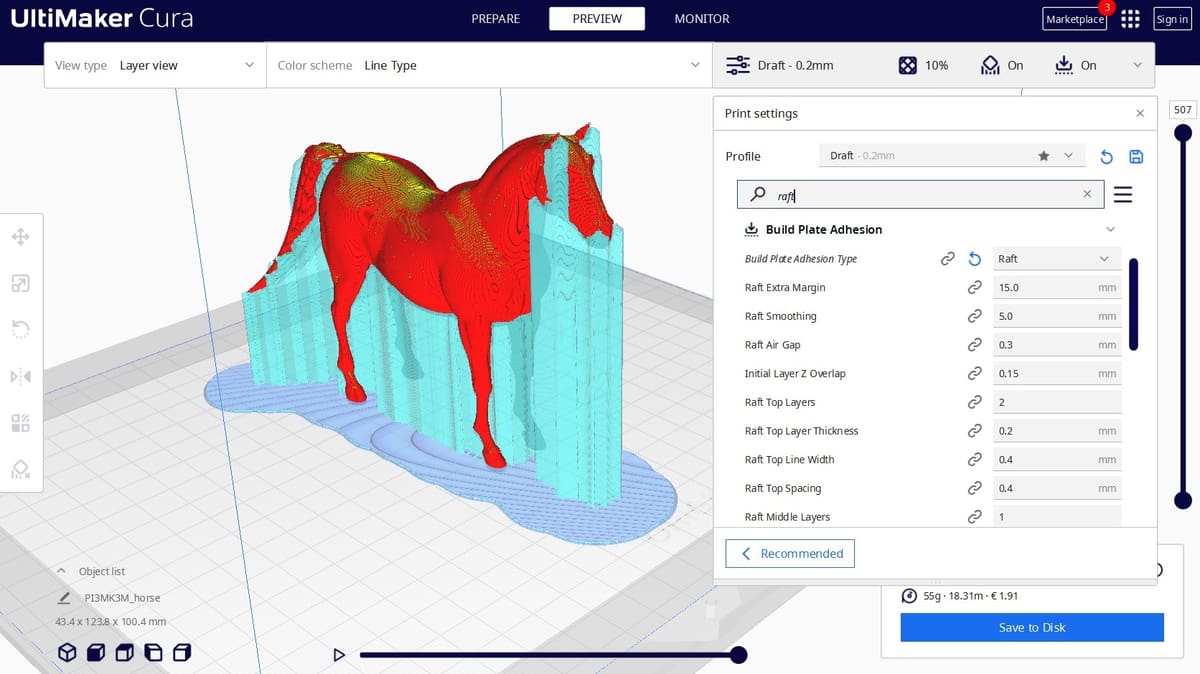
The separation distance (in Cura, it’s called the “Raft Air Gap”) is the height of the space between the raft and the first layer of the print. In other words, the distance between the mating layers of the raft and the model. This is arguably the most important setting for a raft.
A tighter separation distance will make it hard to separate the raft and the model. For starters, try a separation distance equal to half of your nozzle diameter. Therefore, if you have a nozzle diameter of 0.4 mm, try printing a raft with a 0.2-mm separation distance. You can then move up or down from there, depending on the results.
According to a number of experienced users, the ideal separation distance is 0.1 mm. If the distance is increased, then the print is easier to remove from the raft but the first layer of the print has a poor surface finish. And if the gap is too wide, then the print won’t be held onto the raft at all, almost guaranteeing a print failure.
Raft Layers & Offset
You can also drill down into settings for different layers of the raft structure. These are some of the most important as can be found on Cura, and different slicers may have them under similar names or may have other ones, so it’s worth checking out and doing some testing to see what’ll lead to the best results.
Bottom Layer
In Cura, this is the “Raft Base Thickness”. This is the very first layer deposited on the build platform. Therefore it’s recommended that it be printed at a slow speed to help achieve the best bed adhesion. You obviously don’t want a raft with poor bed adhesion, so be generous and keep a thick layer.
According to a number of experienced users, the ideal raft bottom layer thickness is 0.3 mm. If the thickness is increased, it can become difficult to separate the raft from the print, and it also wastes material.
Top Layer
The top layer of the raft will mate with the first layer of the print. Since this layer will determine the surface finish of the bottom layer of the print, it’s recommended that you should use at least two to three layers to achieve a smooth surface. It’s easy to find in Cura, as it’s named “Raft Top Layers”.
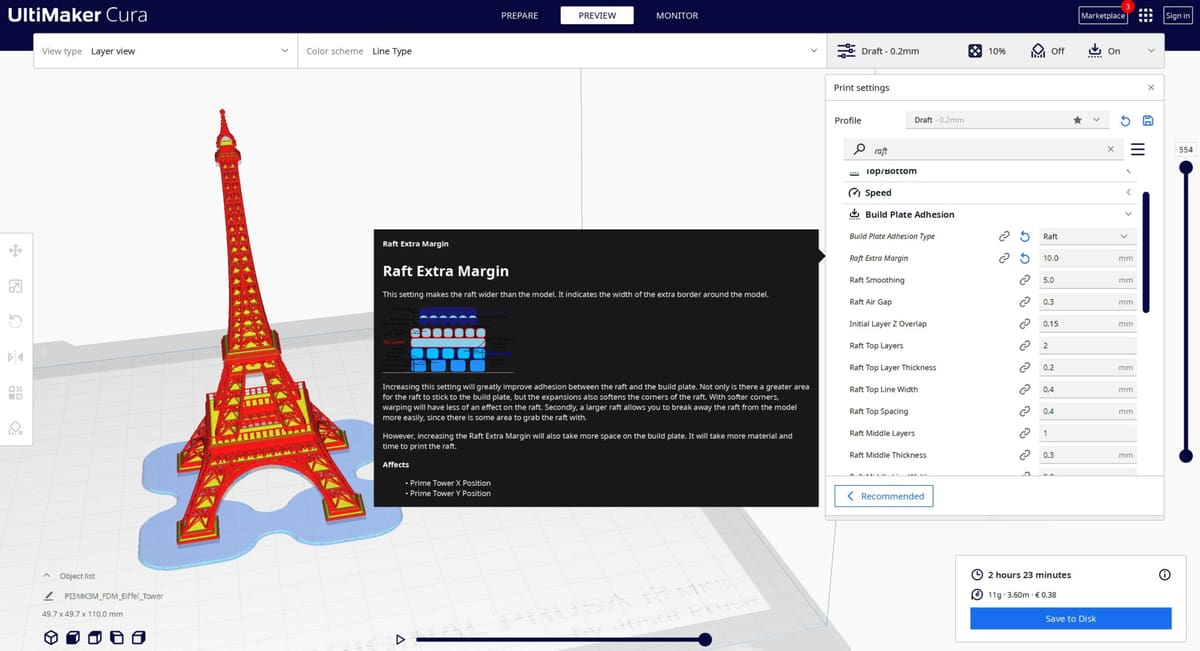
Offset
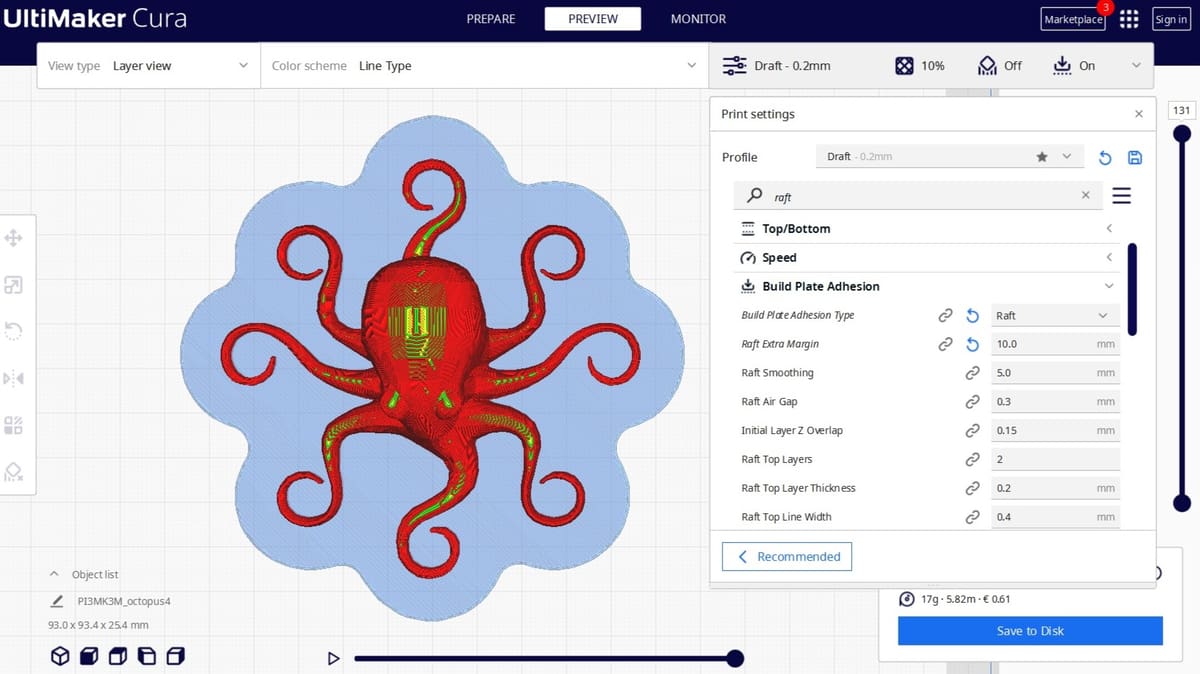
Some slicers have a setting that determines the distance the raft will extend beyond the edges of the print, and in Cura, it’s known as “Raft Extra Margin”. Keep it slightly outside the print but not too extended, given that too much material may be unnecessarily wasted. Cura’s default for this setting is 15 mm, but you can decrease it to save some filament or if you’re printing a large object.
Print Speed
Another setting that can be specified for the raft is the print speed. In Cura, this can be set for the top, middle, and base parts, under “Raft Print Speed”. It’s generally recommended that the raft be printed at a slower speed than the rest of the model, as this will give it more time and temperature to adhere to the bed and to harden, offering a more resilient base. The downside is that overall print time will increase.
Different Materials
As you can see, a 3D printing raft has significant power to impact any print, but only with careful control.
3D printers with a single extruder will of course 3D print rafts with the same material as the print, but a dual extruder printer can be programmed to 3D print a raft in a different material. Common support materials such as HIPS and PVA, if used for rafts, can be extremely beneficial. For example, printing ABS with HIPS or PLA with PVA is common practice.
HIPS and PVA are soluble in D-limonene and water, respectively. As such, if rafts are printed with either of these support materials, they can be easily dissolved in the appropriate solution, removing the excess material. This can also help when working with a tighter separation distance.

License: The text of "3D Printing Raft: When Should You Use It?" by All3DP is licensed under a Creative Commons Attribution 4.0 International License.