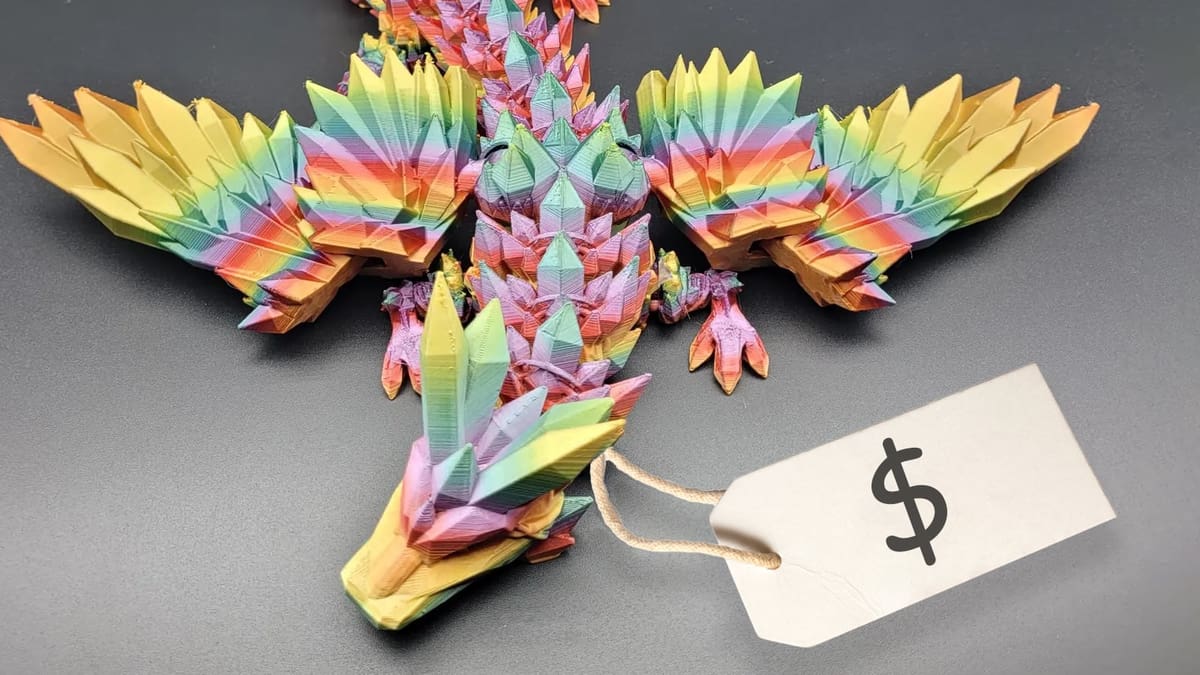
How to Price Your 3D Prints Without Selling Yourself Short

Turning a hobby into occasional sales raises a surprisingly hard question: what should you actually charge for things you 3D print and sell?
You probably didn’t get into 3D printing because you wanted to start a manufacturing business. You bought a printer to make things, experiment with designs, or simply because turning a digital model into a physical object is fun.
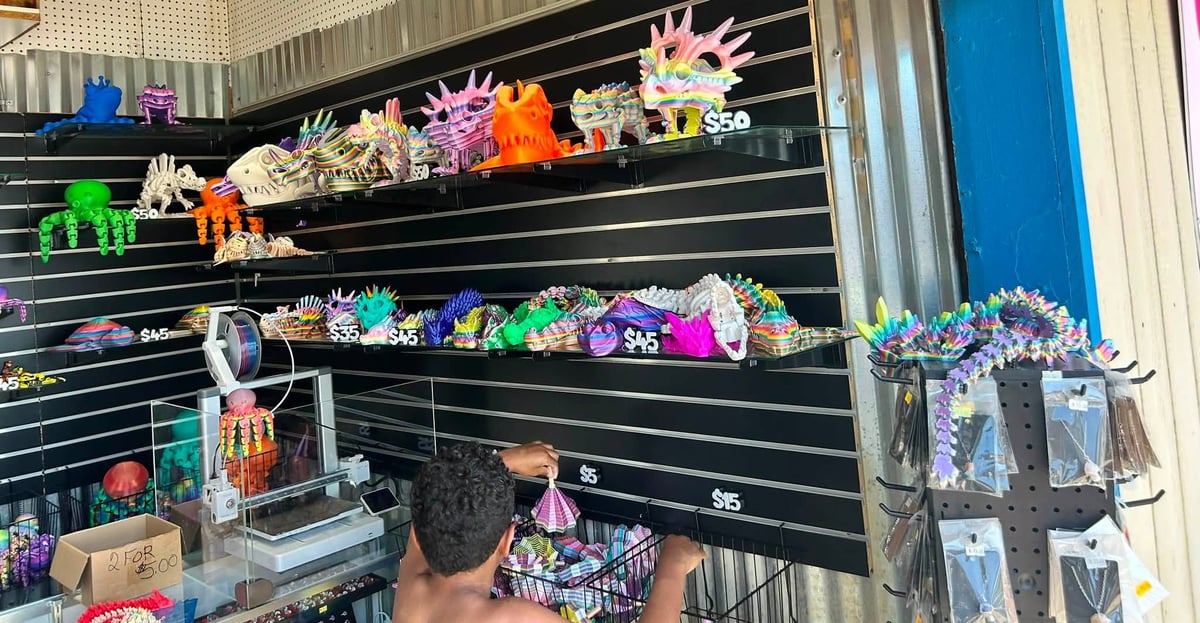
But as the hobby has grown, it’s increasingly common to start selling a few prints on the side, whether that’s through an online marketplace, at craft fairs, or by taking commissions from friends and local customers.
That can make pricing surprisingly awkward. Unlike a conventional business, you may not have bought your printer with a carefully calculated return on investment in mind. You might already have filament on the shelf, regard your design time as part of the hobby, or be perfectly happy letting a printer run overnight while you do something else. So working out what a print actually “costs” you – and what you should charge for it – is hardly straightforward.
There are countless 3D print cost calculator apps and even full-blown print-farm management software suits we’ve covered before that make tracking your costs and pricing prints easier, but you first need to understand what you’re actually being asked to calculate and why, which is what we cover below. Plus, automated calculators don’t cover everything you need to consider.
For example, the most visible cost – the plastic in the finished object – is only one part of the equation. Your printer needs consumables and replacement parts. Prints sometimes fail. Finished parts may need sanding, painting, washing, curing, or assembly. Packaging costs money, marketplaces charge fees, and custom designs can take considerably longer to create than they do to print.
At a minimum, your prices should cover basic costs, compensate you for some of your time, contribute toward maintenance and new equipment, and perhaps even make the hobby pay for itself.

The good news is that you don’t need to turn your hobby into an accounting exercise or let the “hustle” part ruin your enjoyment of 3D printing.
Start with the costs you can measure easily, then add the less obvious ones according to how seriously you’re treating your selling operation, which is a personal decision not an equation. The aim isn’t to discover one universal “price per gram”, but to work out a sensible cost floor and decide what, if anything, you want to earn above it.
If your 3D printing side hustle starts turning into a real business, then you’ll need to track things like expenses, inventory, equipment depreciation, shipping, and taxes. That’s a much bigger small-business bookkeeping topic, though, and beyond what we’re covering here.
Start With Material Costs, But Don't Stop There
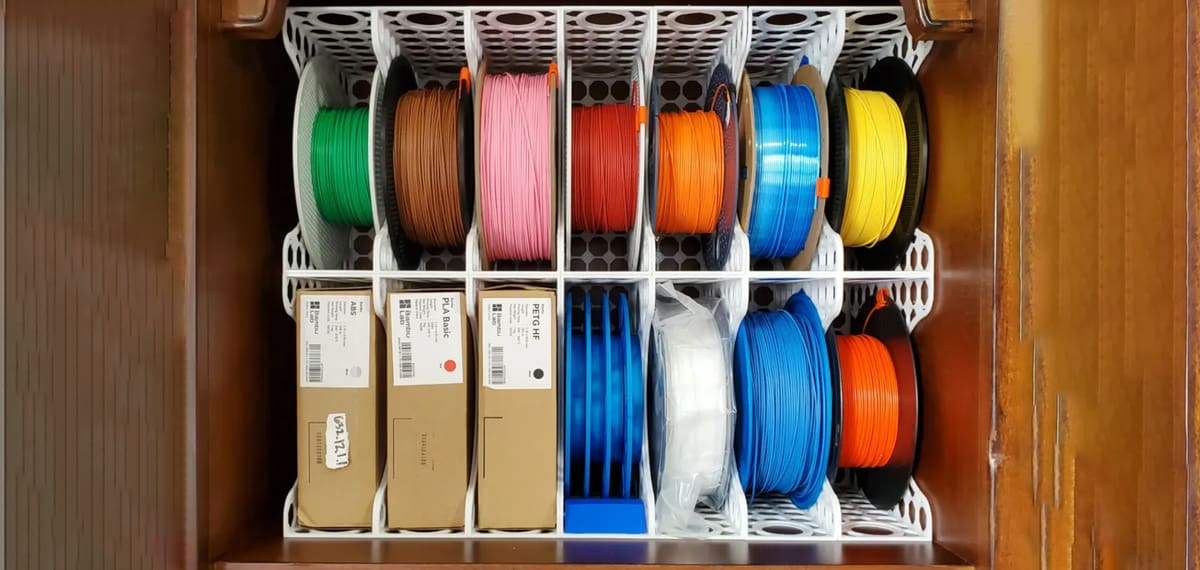
Material is the obvious place to begin because it is usually the easiest cost to calculate.
Material cost = material used × cost per gram
If a 1,000-g spool costs $24 and your slicer estimates that a job will use 150 g:
- 150 × ($24 / 1,000) = $3.60
That calculation should use the total amount consumed, not just the weight of the finished object. Supports, brims, rafts, purge towers, and filament flushed during color changes all cost money even though they end up in the trash.
Use the price you actually pay for your filament where possible. If a spool regularly costs you $30 once shipping is included, basing your calculation on a manufacturer’s $25 suggested price is only fooling yourself. And if you print with multiple colors or materials, don’t underestimate waste. A 120-g model can potentially consume far more than 120 g of filament if the printer performs frequent purges.
Give Your Printer a Small Hourly Cost
An unattended print isn’t the same as paid labor. If your printer spends eight hours making a part while you’re at work or asleep, you haven’t personally worked eight hours on it.
But those eight hours aren’t completely free either.
The printer is occupied, its components are accumulating wear, and it will eventually require replacement parts or replacement altogether. For someone selling occasionally, you don’t need an elaborate depreciation calculation. A small machine-hour allowance is often enough.
One simple approach is:
Machine-hour cost = printer investment / expected useful printing hours
For example, imagine your printer and the accessories needed to run it cost $600. If you roughly expect 3,000 productive hours from that investment before major repairs or replacement:
- $600 / 3,000 = $0.20 per hour
A seven-hour print would therefore carry $1.40 of machine cost.
Don’t get hung up on whether 3,000 hours is exactly right. Nobody knows precisely how long a printer will last, and individual components have very different service lives. The point is to recognize that continually selling prints while assigning your equipment a value of zero makes it harder for those sales to fund future repairs or upgrades.
If you’re just selling the occasional print to fund another spool of filament, you might decide not to recover the printer’s purchase price at all. That’s a perfectly valid choice. Just make it a choice rather than an unnoticed omission.
Electricity Is Usually the Easy Bit
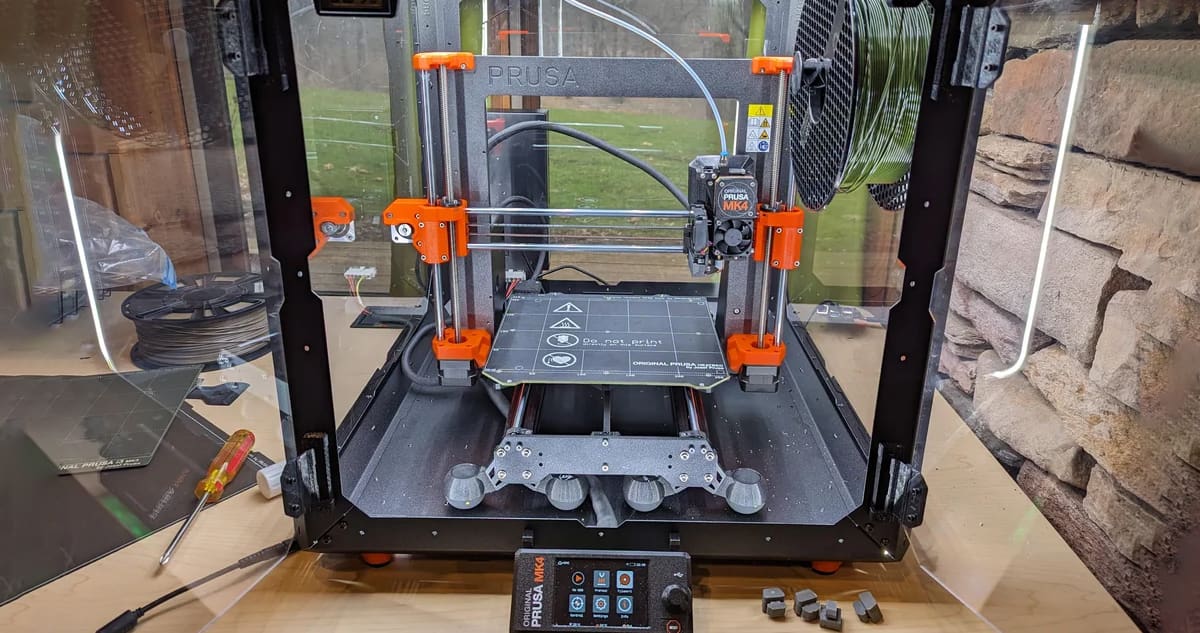
A ten- or twenty-hour print sounds as though it must use a lot of electricity, but on many desktop printers the resulting cost is modest compared with material or labor.
The calculation itself is simple:
Electricity cost = average power in kW × print time × electricity price per kWh
Imagine a printer averaging 100 W, or 0.1 kW, during a seven-hour print. It would consume around 0.7 kWh.
At an assumed electricity rate of $0.20 per kWh:
- 0.7 × $0.20 = $0.14
Your own figure will depend on the printer, material, bed and nozzle temperatures, enclosure or chamber heating, local electricity rate, and other factors. If you want a better number, a plug-in electricity meter can measure the actual consumption of your machine.
For most hobby sellers, though, electricity probably isn’t the number that will make or break the quote. Spending half an hour finishing a print can easily cost more than running the machine for many hours.
Decide What Your Time Is Worth
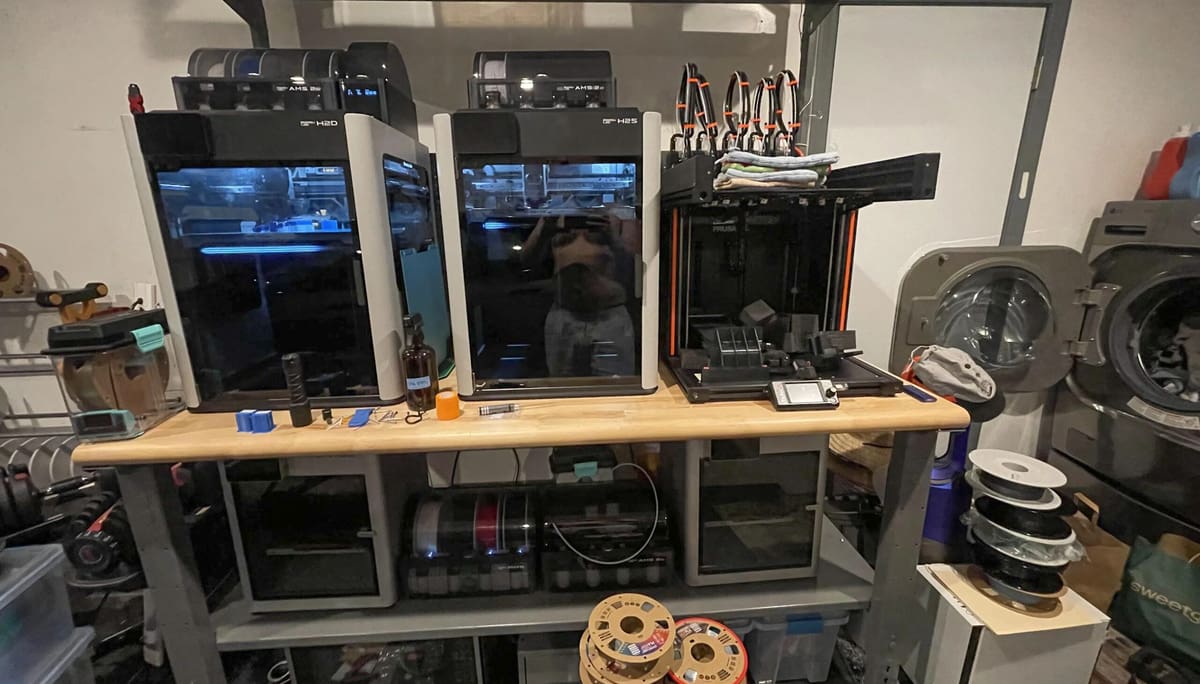
This is probably the most subjective part of pricing a hobby.
How much should you charge for spending 15 minutes removing supports? What about half an hour sanding a part? Or an evening modifying a model in CAD?
There isn’t one correct answer.
If you’re printing for fun and selling the occasional item to friends, you might be happy to count some of that time as hobby time. If orders are eating into your evenings every week, you may feel very differently.
The important thing is to separate machine time from hands-on time.
Hands-on labor can include:
- Preparing, repairing, or modifying the file
- Slicing and checking settings
- Loading materials and setting up the printer
- Removing supports
- Sanding, filling, priming, or painting
- Installing magnets, inserts, screws, or electronics
- Assembling multiple printed parts
- Inspecting the finished product
- Packing an order
- Handling customer communication for a custom job
Then choose an hourly rate you’re comfortable with.
Labor cost = hands-on time × hourly rate
Suppose you spend 20 minutes actually working on a product and decide that $15 per hour is a reasonable rate for that time:
- 0.33 × $15 ≈ $5
Another seller might choose $25 per hour. Someone else may deliberately enter $0 because removing supports is something they’d happily be doing anyway.
All three can use the same pricing calculation. The difference is that they know which decision they’ve made.
Don't Forget Design Labor
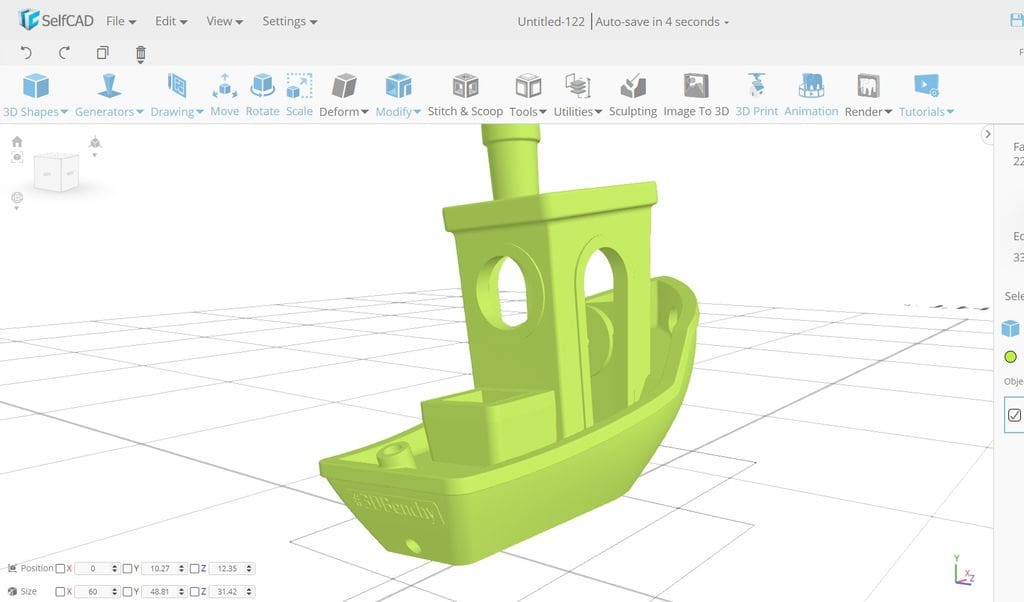
Downloading a ready-to-print model and creating a product from scratch are very different jobs.
Imagine a customer asks you to recreate a broken plastic bracket. The final part might contain 20 cents of filament and take 30 minutes to print, but measuring the original, modeling the replacement, making a test print, adjusting tolerances, and printing it again could consume hours.
For one-off custom jobs, design work is usually easiest to treat as its own charge:
Design charge = design time × design rate
That also makes a quote easier to explain. The customer isn’t paying $50 for “20 cents of plastic”; they’re paying for someone to create a solution and then manufacture it.
Original products that you intend to sell repeatedly are slightly different. In that case, you can spread the development cost across several expected sales.
Suppose you spend two hours designing an item and value that time at $20 per hour. You’ve invested $40 in the design.
If you reasonably expect to sell 20:
- $40 / 20 = $2 design cost per item
There’s no requirement to do this. You might regard the design process as entertainment and be perfectly happy not to recover it. But if you’re spending hours developing products specifically to sell them, accounting for that effort gives you a much better picture of whether they’re actually worthwhile.
The crucial word above is reasonably. Dividing 10 hours of design work across 1,000 imaginary future sales makes the per-unit cost look tiny, but it won’t help if you eventually sell seven.
Consider Taking a Deposit for Custom Work
If you’re designing something specifically for a customer, it’s perfectly reasonable to ask for a deposit — or, for smaller jobs, full payment in advance.
That’s common in other kinds of bespoke work too. Carpenters and contractors may take deposits before buying materials, while designers, photographers, and tattoo artists often ask for money upfront before committing time to a custom job.
The same logic applies to 3D printing. If you spend two hours designing a one-off replacement part and the customer then changes their mind, you can’t recover that time.
One simple approach is to split the job into two stages:
- Design fee → paid before design work begins
- Printing fee → paid once the design is approved
For small commissions, charging the whole amount upfront may be simpler.
Whatever you choose, make the terms clear before starting — including what the payment covers, how many revisions are included, and whether any part of it is refundable.
What Failed Prints Actually Cost You
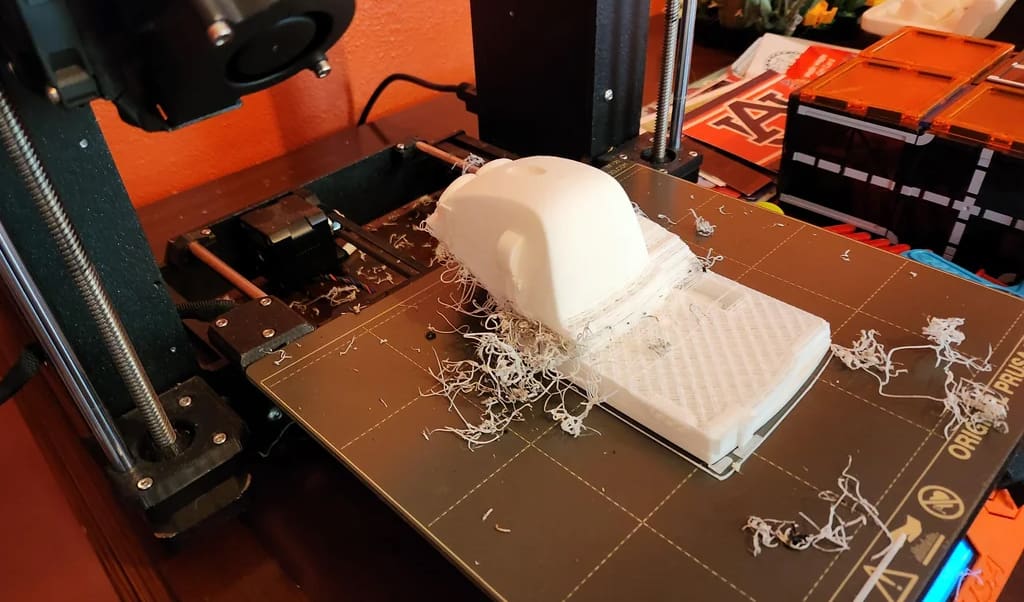
Your customer pays for one successful print. Unfortunately, that doesn’t guarantee you only had to print it once.
Every seller eventually gets spaghetti, a detached support, layer shift, clogged nozzle, power interruption, or part that simply isn’t good enough to send.
Failures consume material and machine time, and failures discovered late in a print can consume a lot of both.
This isn’t just a hobby-printing annoyance. Research into additive-manufacturing economics has specifically identified process failures and rejected parts as factors that realistic cost models need to account for.
If you’re only starting out, a simple allowance is sufficient. Once you’ve sold enough prints, your own records become much more useful.
For example, if roughly 5 out of every 100 comparable prints need to be completely redone, you have an observed failure rate of about 5%.
For costs that are incurred again every time you retry the print, an expected-cost calculation is:
Adjusted cost = cost per attempt / (1 − failure rate)
If the material, electricity, and machine time for each attempt total $5:
- $5 / 0.95 ≈ $5.26
You’re effectively spending around 26 cents extra per successful print because some attempts fail.
You don’t necessarily need that formula in your everyday spreadsheet. Adding a small percentage allowance is often close enough for a hobby seller. What’s more important is recognizing that a 200-g failed print didn’t somehow become free just because the customer never saw it.
What is Overhead Anyway?
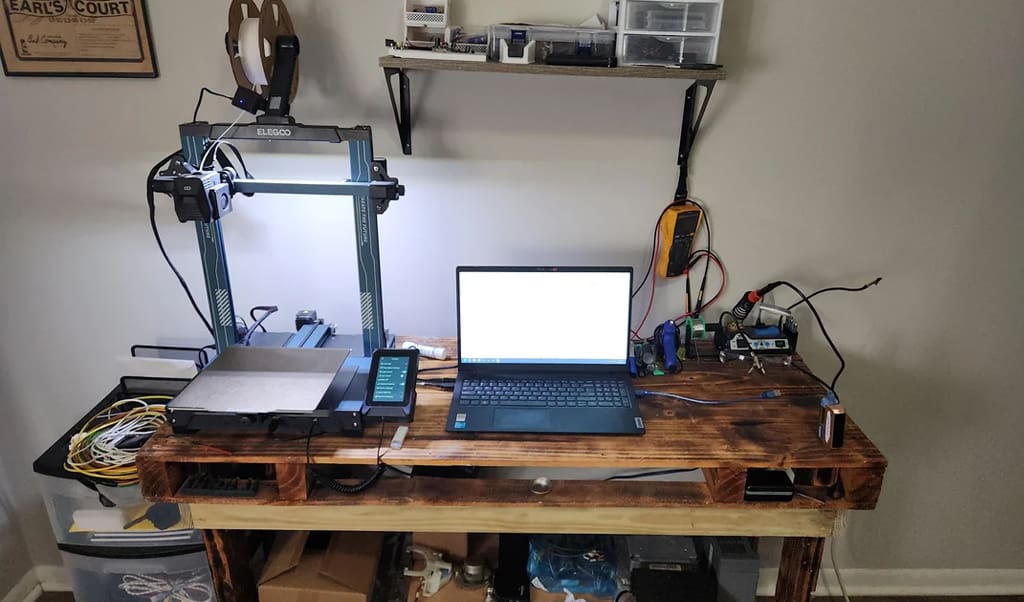
If you’re running one printer on a desk at home, the word “overhead” can sound unnecessarily corporate.
But you may already have costs that aren’t tied neatly to one print.
Perhaps you pay for a CAD software subscription or cloud storage. Maybe you’ve bought calipers, deburring tools, shelving, a filament dryer, spare build plates, photography lights, or storage boxes specifically because you sell prints. You may pay a recurring commercial-model license or subscription. If your side hustle grows, website hosting, advertising, bookkeeping, insurance, and dedicated workspace might eventually enter the picture too.
You don’t need to allocate every household expense to your 3D printing hobby. Instead, ask a simpler question: What am I paying for because I sell prints?
If those expenses total $20 a month and you sell around 20 products, allocating roughly $1 per product is at least a reasonable starting point.
This is the same basic distinction businesses make between variable expenses associated with producing an individual unit and fixed costs that exist regardless of how many units are made. The U.S. Small Business Administration uses those categories in its break-even guidance.
For the occasional hobby sale, this section may barely matter. As selling grows, it tends to matter more.
Packaging and Shipping Count Too
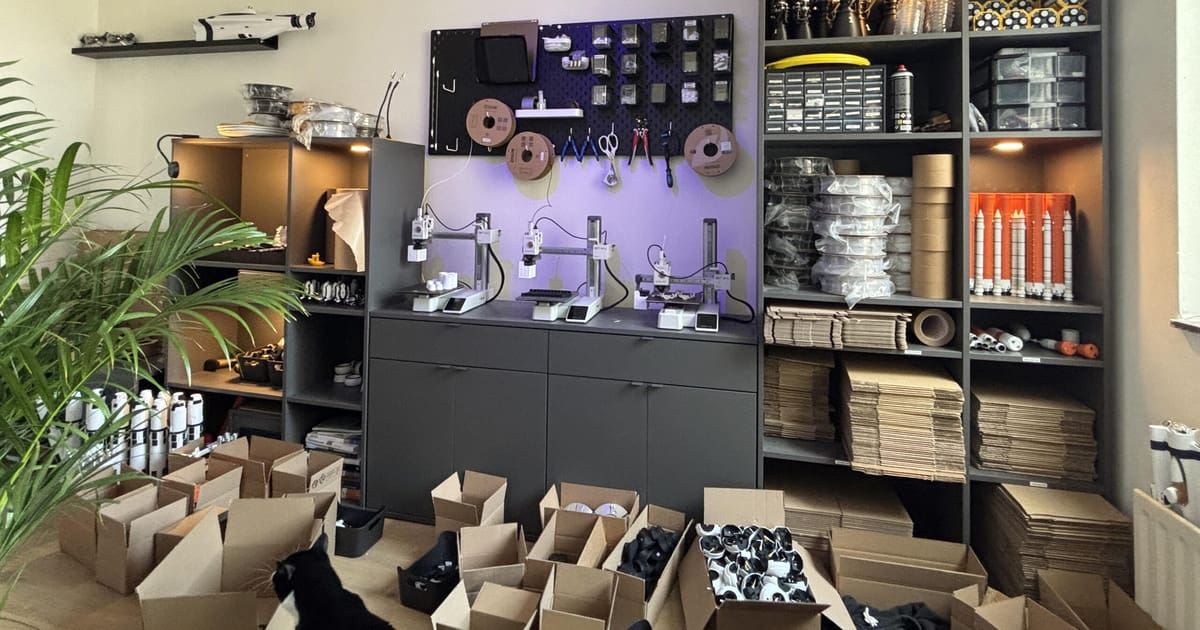
The part is finished, but it still has to reach the customer.
Boxes, envelopes, labels, tape, bubble wrap, packing paper, and postage are all real expenses. Even if you charge shipping separately, check that the amount you’re collecting actually covers what shipping costs you.
And don’t forget the time spent packing the order.
A five-minute packing job isn’t worth building an elaborate calculation around when you’re sending one parcel a month. When you’re sending 30, those five-minute jobs add up to two and a half hours.
Local sales can have costs too. If you regularly drive somewhere to deliver or hand over orders, free delivery isn’t actually free to you.
Marketplaces Want Their Cut
If you sell through an online marketplace, the amount the customer pays is not necessarily the amount you receive.
Fee structures vary between platforms and countries and can include listing fees, transaction fees, payment processing, advertising fees, currency conversion, or combinations of these.
Etsy, for example, currently charges a 6.5% transaction fee on the total order amount, while Etsy Payments processing charges are separate and vary by the seller’s country. Its transaction fee can also apply to shipping and gift wrapping charged to the customer.
That makes marketplace fees something worth checking before setting your price, rather than discovering afterwards that an apparently profitable order barely covered its costs.
Don’t assume one percentage works everywhere. Use the current fees for the service, country, payment method, and selling setup you actually use.
This can also mean the same product makes sense at different prices in different places. Selling directly to someone locally doesn’t have the same cost structure as selling through an online marketplace.

Markup and Margin Aren't the Same Thing
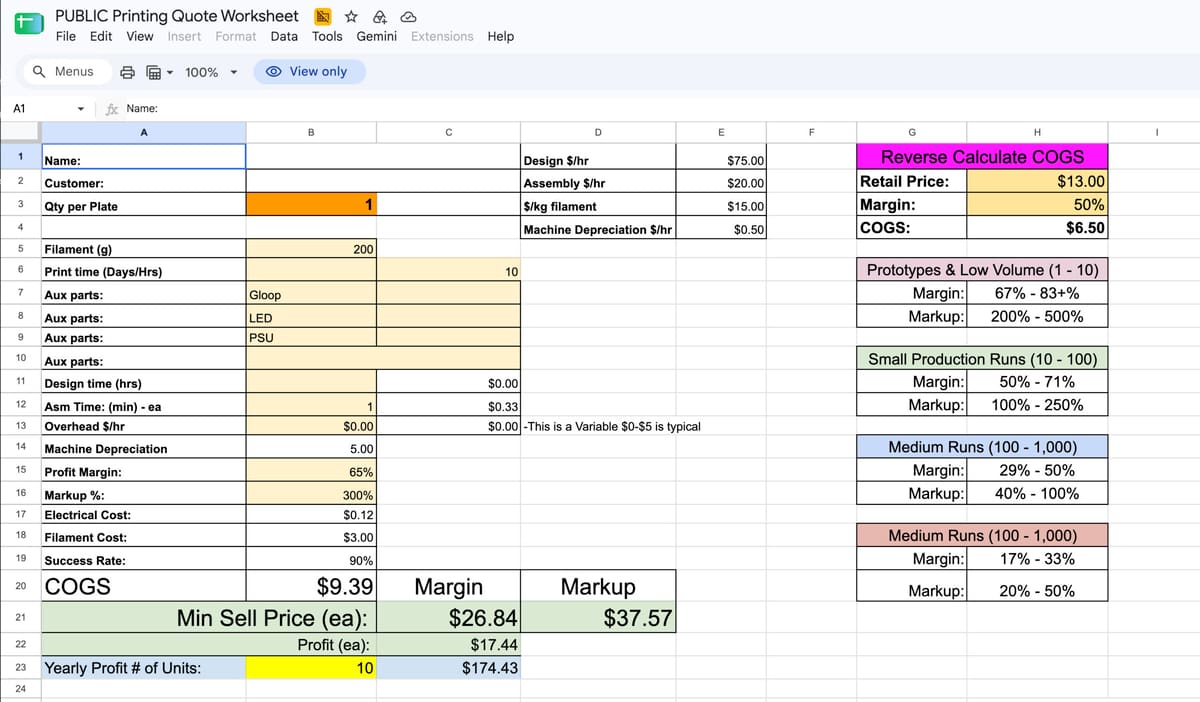
Once you know what the print costs you, you can decide whether you want to make anything on top.
This is where two similar-sounding terms appear: markup and margin.
They’re not interchangeable.
Suppose a product costs you $20 in total.
A 30% markup means:
- $20 × 1.30 = $26 selling price
You make $6.
But that $6 is only about 23% of the $26 selling price.
If you wanted a true 30% margin, the calculation would instead be:
Selling price = cost / (1 − desired margin)
So: $20 / 0.70 ≈ $28.57
Shopify’s pricing guidance makes the same distinction: markup measures the increase relative to your cost, while margin measures profit as a percentage of the selling price.
Do you need to aim for a particular margin as a hobby seller? Not necessarily.
Maybe you’d be delighted simply to have customers cover your filament and fund your next printer. That’s different from someone trying to generate meaningful side income.
But knowing the distinction stops you from accidentally thinking you’re making a 30% margin when you’re not.
Wholesale Pricing is Tricky with 3D Prints
If a local shop wants to resell your prints, the “standard” wholesale price is 50% retail may not add up. Retailers commonly expect enough room to achieve around a 50% gross margin, but your wholesale price still needs to cover your material, printer time, labor, and an acceptable return. Calculate the lowest wholesale price that works for you first, then check whether doubling it produces a realistic retail price. If it doesn’t, that particular print may not be suitable for wholesale. Products that can be produced efficiently in batches are much better candidates.
Pricing, a Full Example

Let’s put the pieces together.
Imagine you’re selling a 150-g PLA product that takes seven hours to print.
Your filament costs $24/kg, and we’re going to assume the printer averages 100 W during this particular job with electricity costing $0.20/kWh.
The unavoidable costsPrice Smarter, Not Cheaper
Start with the things you’re actually spending money on to produce and send the part:
At roughly $5.44, you’ve reached something close to the immediate cash cost of supplying the print under these assumptions.
Selling it for $6 might technically put a few cents back in your pocket, but there’s an obvious problem: you haven’t paid yourself anything, allowed anything for the printer, or recovered any design work.
Making the hobby contribute to itself
Now suppose you add:
- $1.40 for seven hours of machine use at $0.20/hour
- $5 for 20 minutes of hands-on work at $15/hour
- $2.50 as the product’s share of your original design work
- $0.75 toward general selling-related expenses
Your cost becomes: $15.09
That doesn’t mean $15.09 is the objectively correct cost of this print.
Perhaps you don’t want to charge for your design time. Remove $2.50.
Maybe you regard those 20 minutes of finishing as part of the hobby. Remove the $5.
Maybe your goal is specifically to have sales fund your next machine, in which case keeping the machine allowance makes plenty of sense.
The spreadsheet gives you levers rather than rules.
Adding selling fees and profit
Now imagine you’re selling somewhere that, purely for this example, costs the equivalent of 10% of the selling price plus $0.30 per order, and you’d like around 20% of the final selling price left as profit after the costs we’ve listed.
One way to calculate that is:
- Selling price = (cost + fixed fee) / (1 − percentage fee − desired margin)
So:
- ($15.09 + $0.30) / (1 − 0.10 − 0.20) ≈ $21.99
A price around $22 would therefore meet those assumptions.
Change the assumptions and the answer changes.
If you don’t charge for your hobby time, the required price falls. If the part takes an hour to sand and paint, it rises. If you’re selling locally with no marketplace fee, it falls again.
That’s the point of doing the calculation.
You’re not trying to discover what every 150-g print should cost. You’re figuring out what this 150-g print costs you.
More Pricing Tips Calculators Don’t Include

Set a Minimum Price for Tiny Jobs
Per-gram pricing falls apart particularly badly with small prints.
Imagine somebody asks you to print a tiny replacement clip using 3 g of filament. The material might cost seven cents.
But you could still spend ten minutes checking the model, five minutes communicating with the customer, several minutes preparing and removing the print, and another five minutes arranging collection.
Charging 20 cents would obviously make no sense.
A minimum order or minimum job charge compensates you for the handling and admin that occurs whether you’re printing 3 g or 300 g.
Don’t Automatically Discount Multiple Copies
“How much for ten?” is a question you’ll probably hear sooner or later.
A larger order can absolutely reduce your cost per item. You only need to discuss the job with the customer once. Setup and packaging may become more efficient. Several parts may fit on one build plate. Some post-processing tasks are quicker when performed as a batch.
But not every cost disappears.
Ten copies still consume roughly ten copies’ worth of material. Your printer still needs enough capacity to make them. Filling an entire build plate can also increase the amount at risk if something goes wrong.
So instead of automatically giving 10%, 20%, or some other arbitrary quantity discount, ask what actually becomes cheaper when you make more than one.
Pass some of that saving on if you want to. Don’t discount costs that never went away.
Your Cost Sets the Floor, Not the Value
After all these calculations, there’s another reason two prints with identical material costs might sell for very different prices.
Customers aren’t buying grams of PLA, they’re buying a particular object.
A replacement part that saves someone from throwing away a $300 appliance might be worth substantially more to that customer than a decorative object containing twice as much plastic.
An original model unavailable elsewhere may command more than something hundreds of other sellers offer. A fully sanded and painted prop is a different product from the same geometry straight off the build plate. Personalization, unusual materials, rapid turnaround, design expertise, and finishing quality can all affect what someone is willing to pay.
This is why your calculated cost should usually be treated as a floor, not an automatic selling price.
Once you know where that floor is, look at the market.
- What are comparable products selling for?
- What level of finish are buyers getting at that price? Is your product genuinely comparable?
- Is there something distinctive about yours?
You may discover that the market comfortably supports a price above your calculation or you may also discover the opposite.
If comparable items sell for $12 but your realistic cost is $18, you haven’t necessarily calculated incorrectly. You may simply have found a product that doesn’t make economic sense for you to sell, at least not using your current process.
Start Simple, Then Use Your Own Numbers
None of these numbers needs to be perfect when you sell your first print.
Your slicer can give you material usage and print time. Your electricity rate is on your bill. You know what you paid for the spool. From there, estimate your machine allowance and decide whether you’re charging anything for your time.
Then start recording what actually happens.
- How often do your prints fail?
- How long does support removal really take?
- How much packaging do you use?
- Which products generate repeat sales?
- Which ones result in endless customer messages?
- Did the model you expected to sell 50 times actually sell four?
- Your own data will eventually be far more useful than somebody else’s generic “charge X cents per gram” formula.
A simple spreadsheet might ultimately contain:
Material + electricity + machine allowance + consumables + failure allowance + labor + design allocation + packaging + selling expenses = your cost
From there, account for marketplace fees and add whatever markup or margin fits your goal and your market.
And if that sounds unnecessarily serious for someone who only wants to sell the occasional print, simplify it.
At the very least, know what material went into the part, what you spent getting it to the customer, and how much of your own time you’re giving away. That alone will put you ahead of pricing based on guesswork.
You don’t need your hobby to become a business.
But if other people are going to pay you for what comes off your build plate, there’s nothing wrong with making sure those sales buy the next spool – or perhaps, eventually, the next printer.
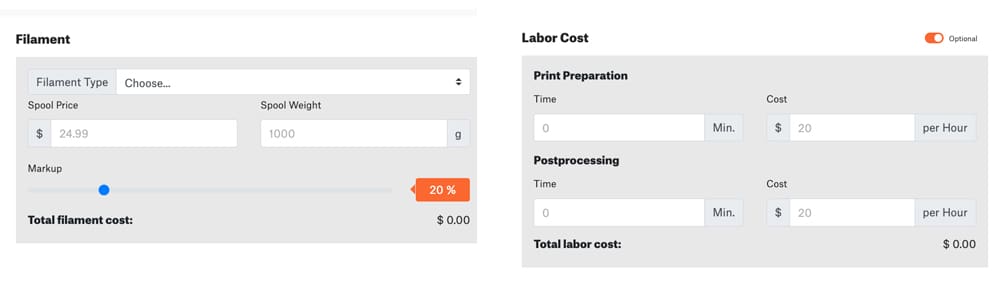
Some Handy 3D Print Part Pricing Calculators
You May Also Like:

License: The text of "How to Price Your 3D Prints Without Selling Yourself Short" by All3DP is licensed under a Creative Commons Attribution 4.0 International License.