In a new video, the Swedish YouTuber RCLifeOn presents a way for you to 3D print your favorite custom designs directly onto clothing fabric.
In the past, we’ve covered a large number of instances where 3D printing technology and fashion meet in an innovative collision. From $1,500 3D printed jackets to breathtaking student projects, this emerging technology has undoubtedly infiltrated the world of clothing and garments. But what about those of us who want to use our desktop printers to 3D print onto our own fabric?
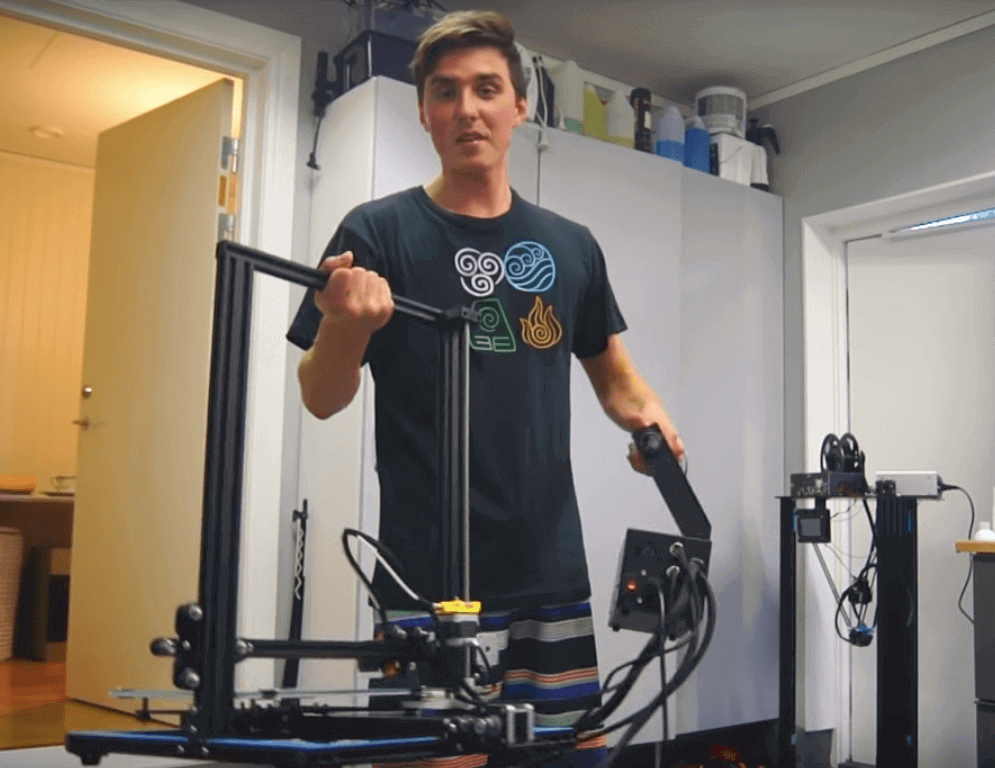
It might seem like a farfetched idea, but a Swedish YouTuber named RCLifeOn is here to help prime your 3D printer for the catwalk. With 116k subscribers, his videos involve everything from 3D printer reviews to Wolverine glove designs. In his latest video, he used a 3D printer to print thermoplastic onto fabric, resulting in shirts that are much more impressive than you might expect.
The way he did this was to attach a t-shirt to his print build platform. Then, he was able to 3D print whichever image he liked onto the fabric. He adds:
“This is one of those projects were only your imagination limits you, and I think that’s awesome because it will inspire and challenge you to become more creative.”
Although the YouTuber initially used PLA, he found that this was not able to survive the washing machine without creating a mess. The alternative was to simply never wash the shirt…
Instead, RCLifeOn moved forward and decided to try out NinjaFlex filament. He found that this worked much better when inside of the washing machine. However, another problem arose in terms of getting the NinjaFlex material to properly stick to the t-shirt.
But, this didn’t stop him from continuing to tweak the print until it turned out both durable and looking great. Although this option is not the cheapest way to make shirts, if you want to customize different shapes and patterns, it’s definitely worth considering.
3D Print Your Own T-Shirt Design
RCLifeOn starts the process off with Adobe Illustrator, which he taught himself to use the same day he started the project. He exports his design to CAD software, using Fusion 360. You can find his designs on Thingiverse.
The reason for using Fusion is that it enables the maker to export the design into an .STL file for the slicer to recognize. He extrudes the fabric designs at .4mm and uses a layer height of 0.2mm. You won’t need too much material to undertake this project, as each design only contains two layers.
After exporting the design into the 3D printable file format, RCLifeOn heads over to the slicer Simplify3D. Due to the thin amount of layers, the print only takes 12 minutes to complete. After a quick print on the Anycubic i3 3D printer, RCLifeOn throws the shirt into the washing machine, resulting in a slightly dismorphed design.
However, if you’d like to do this project yourself, there are other ways to become a 3D printed fashion guru. For example, suggestions include placing a piece of baking paper on top of the print. By doing this, it’d be easier to iron the design onto a shirt, but this method definitely isn’t as fun and exciting as printing directly onto fabric.
Source: Hackaday
License: The text of "RCLifeOn 3D Prints Custom Designs onto Fabric (And You Can Too!)" by All3DP is licensed under a Creative Commons Attribution 4.0 International License.