The Best Voron Upgrades & Mods

Vorons are some of the most exciting DIY printers out there. Check out 10 Voron upgrades and mods that will take your Voron to the next level!
One could say that a Voron without mods is no Voron at all. Since Voron is a DIY and open-source project, its printer designs are intended to be a starting point for making it into your own printer. The idea is to make your Voron, not a Voron, through your choice of anything from hardware to software.
Voron is unique due to its extensive community and continual support despite being open source. There are community-created mods as well as official Voron Design mods. The most popular mods have often been adopted by the Voron team as an official design choice. Voron’s Discord and Reddit both have complete sub-threads dedicated to mods.
This list intends to familiarize you with some of the more popular Vorons out there. Enjoy!

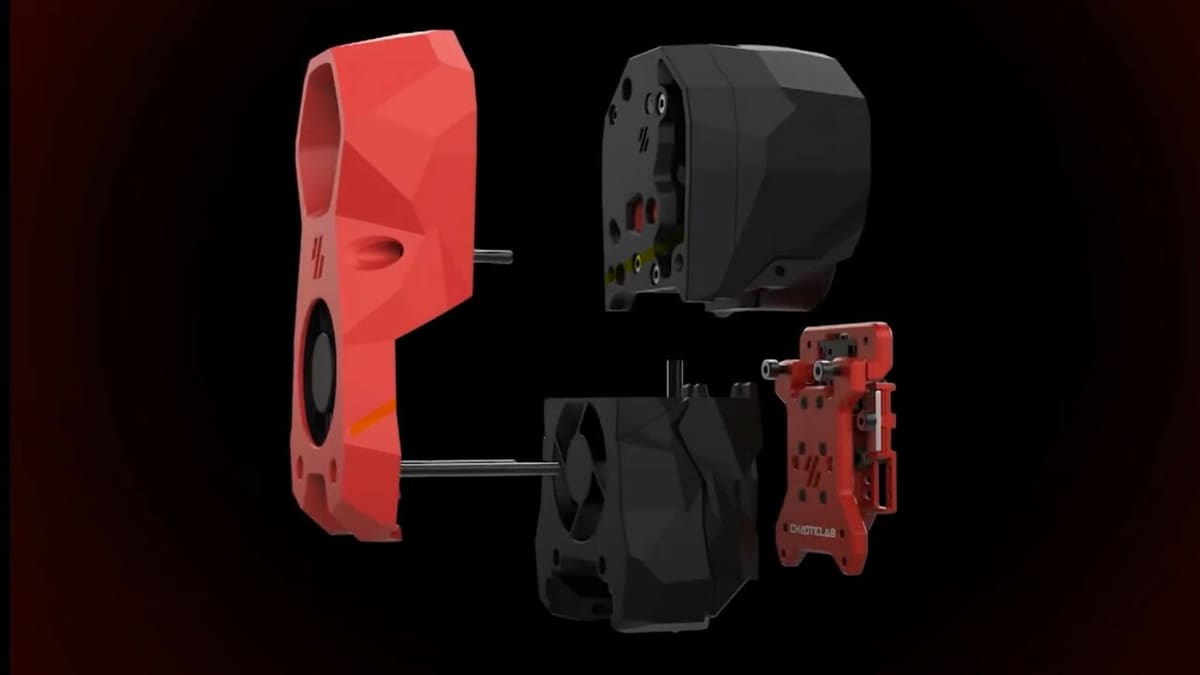
Stealthburner

The Voron Stealthburner toolhead is a highly sought-after upgrade, surpassing the original Afterburner toolhead in several aspects. The Stealthburner is comprised of printed-parts, two fans, (typically) a PCB, extruder gears, and a few small fasteners.
Most “stock” Voron kits typically come with an inductive probe, but using a Stealthburner enables compatibility with more capable probes, like Klicky and Voron Tap (a nozzle probe). Using a Stealthburner also enables the use of CAN bus, which simplifies the wiring process and eliminates components like drag chains.
Thanks to some crafty printed part design, the Stealthburner has better part cooling than the Afterburner, allowing it to print at slightly higher speeds. The newer toolhead design has tighter tolerances than its counterpart, so nailing print quality on the printed-parts is essential.
There’s two different extruder gearing setups for the Stealthburner, known respectively as Clock Work 1 (CW1) and Clock Work 2 (CW2). CW2 is slightly lighter than CW1 and is better at printing flexible filaments, but CW1 has a bit more torque. It’s important to use high quality gears – like Bondtech BMG – for the extruder, which help prevent uneven filament deposition along the Z-axis.
Two other interesting toolhead modifications you might see out in the Voron community are the Dragonburner and Mantis Dual.
- What does it improve? The toolhead (i.e. print speed, print quality, and expanded capabilities)
- What does it cost? ~$85 if you’re sourcing all the parts
- Who designed it? Voron Design
- Where to find it? Voron Design
Enraged Rabbit Carrot Feeder
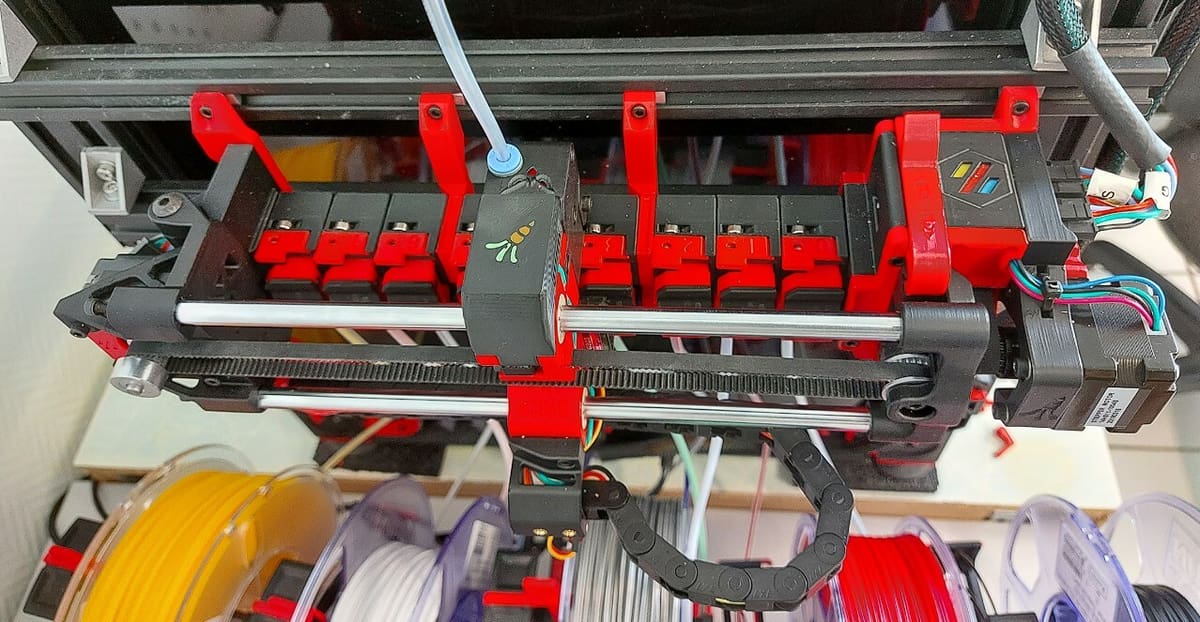
The Enraged Rabbit Carrot Feeder (ERCF) is a community-based design to give Vorons multi-material printing with a single direct drive toolhead. It enables multi-material printing in increments of three (i.e. 3, 6, 9, 12). The ERCF has been tested with up to nine materials by the creator, and some Voron owners have gone even higher.
This multi-material system is inspired by the Prusa MMU2 and SMuFF. It feeds one filament at a time into the extruder using the ERCF gearing motion system, which is based on the Voron Design M4 extruder – an extruder that was used prior to the Afterburner.
The system uses a combination of printed parts, a lead screw, steppers, and gears to perform multi-material printing. The approximate cost for this setup is around $150, and it’s typically assembled by the builder.
To control the system, a dedicated control board is typically used, and there’s an optional community-created PCB available. The system requires controlling two stepper motors, one 5-V servo motor, one mechanical switch, one IR sensor, and one filament detector.
One downside of the ERCF is that it needs to use a purge block or wipe block, which results in longer print times and more material wastage.
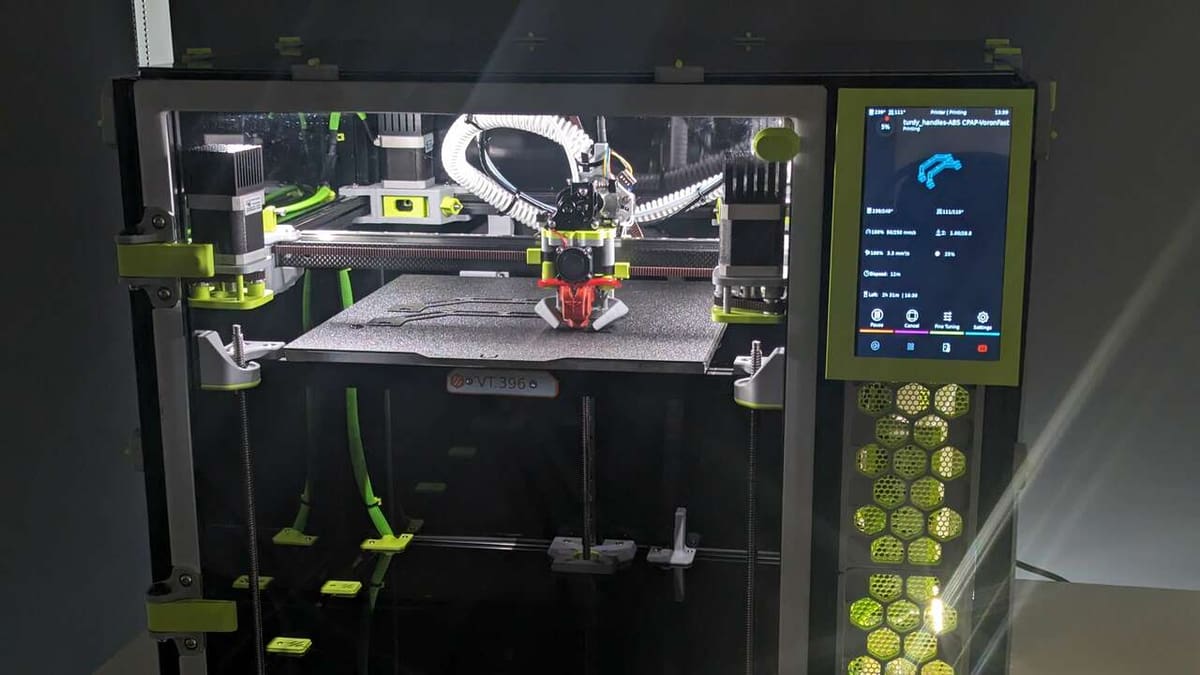
KlipperScreen
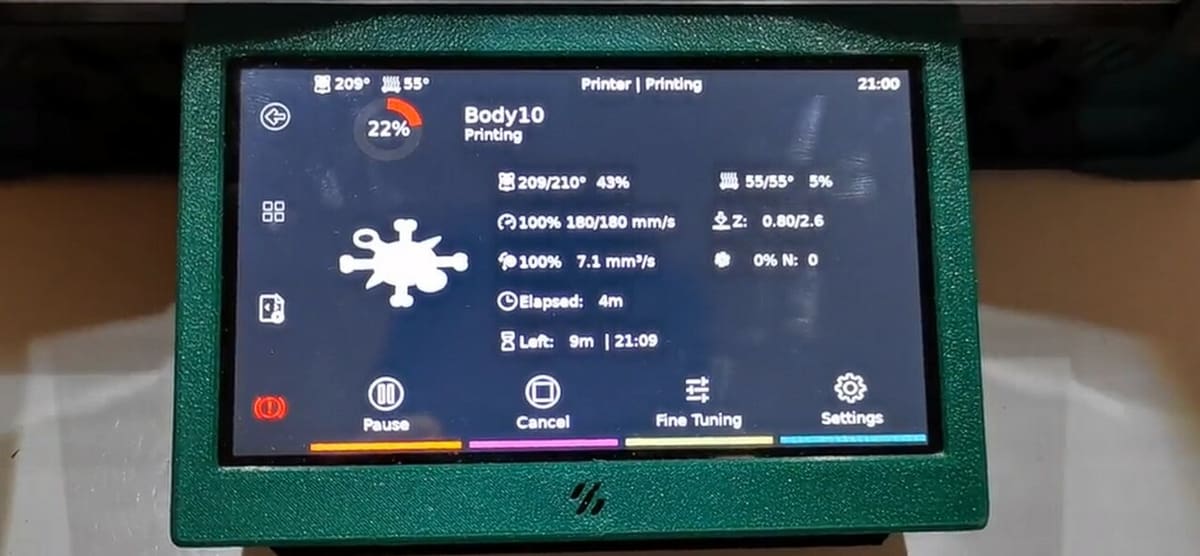
KlipperScreen is a touchscreen graphical user interface (GUI) created by Jordan Ruthe and Alfredo Monclus. It was inspired by OctoScreen and designed to work natively with Klipper and Moonraker. The main purpose of this GUI is to provide an intuitive and user-friendly interface for interacting with Klipper firmware through Moonraker.
One of the significant features of KlipperScreen is its ability to connect to various printers from a single location, even if they’re not running on the same host. This means users can switch between multiple printers and access them remotely by configuring the IP address on a separate device.
The GUI is designed to be compatible with different touchscreens that can be connected to a host, such as a Raspberry Pi, PC, or tablet. However, direct connections to the printer’s MCU board are not supported. The minimum supported resolution for these touchscreens is 480 x 320, and it generally works with devices that can display a GNU with Linux added desktop.
While there are no specific recommended screens, KlipperScreen has been successfully tested on hardware that costs around $50, such as BTT Pi TFT50 v2.1, BTT HDMI5/7, Raspberry Pi 7″ touchscreen, and Hyperpixel 4.
- What does it improve? User interface
- What does it cost? ~$50
- Who designed it? Jordan Ruthe and Alfredo Monclus
- Where to find it? KlipperScreen
Klipper Input Shaper Tool Kit
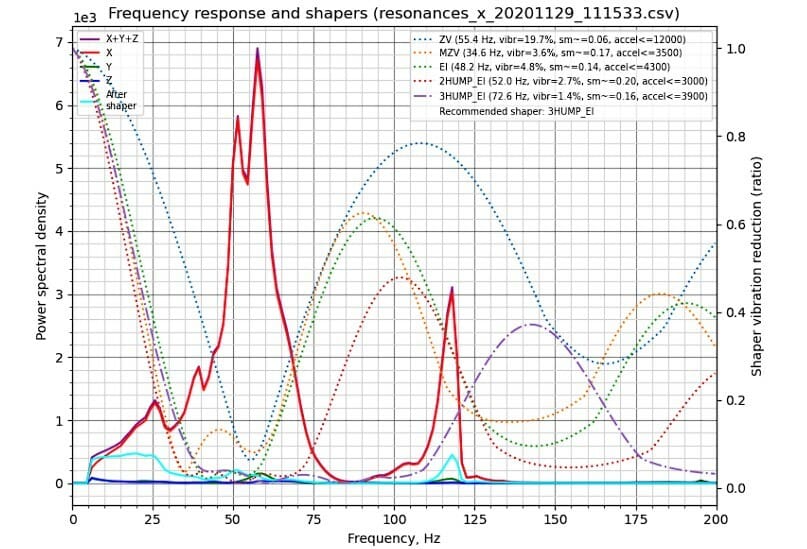
A Klipper Input Shaper is an accelerometer that temporarily attaches to the toolhead. It reduces ringing, a surface defect in 3D prints caused by mechanical vibrations that often occur during sudden changes in direction.
By creating a command signal that cancels its own vibrations, the Input Shaper improves print quality. However, it requires tuning and measurements before enabling. Once tuned, it reduces vibrations and ringing, enhancing print reliability and quality. However, addressing mechanical issues like loose or overly tightened belts and misaligned parts is essential before using the Input Shaper.
The Input Shaper costs around $15, utilizing an accelerometer connected to a Raspberry Pi via an FFC ribbon cable. Overall, it’s a cost-effective solution that significantly improves the performance of Voron 3D printers and reduces artifacts caused by mechanical vibrations during high-speed printing.
- What does it improve? Print quality
- What does it cost? ~$15
- Who designed it? Klipper
- Where to find it? West3D
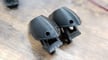
RockNRoll
The RockNRoll was created by Voron Mod’s user RockNLol, and it’s intended to make accessing the electronics compartment easier and more convenient. It adds rockers to the vertical extrusions in the back so that the printer can be rolled on its back without causing harm to critical components.
The mod was designed and tested with a 350-mm V2.4 printer. It may work with a V1 or Trident model, but additional feet higher up might be necessary for these models due to their higher center of gravity. The design is very straightforward and comprised of printed parts, heat set inserts, and a few fasteners.
The mod tackles several challenges faced by Voron 2.4 users who try to access the electronics area beneath the printer. Flipping the printer upside down or laying it on its side can risk damaging printed parts, and there might not be an ideal spot for hand placement. If the HEPA filter upgrade is on the back, laying the printer on its backside can potentially damage the filter parts. This design considers the HEPA filter placement and ensures that weight distribution won’t cause damage.
- What does it improve? Makes accessing electronics beneath the printer easier
- What does it cost? Less than $5
- Who designed it? RockNLol
- Where to find it? Voron Mods
Filters
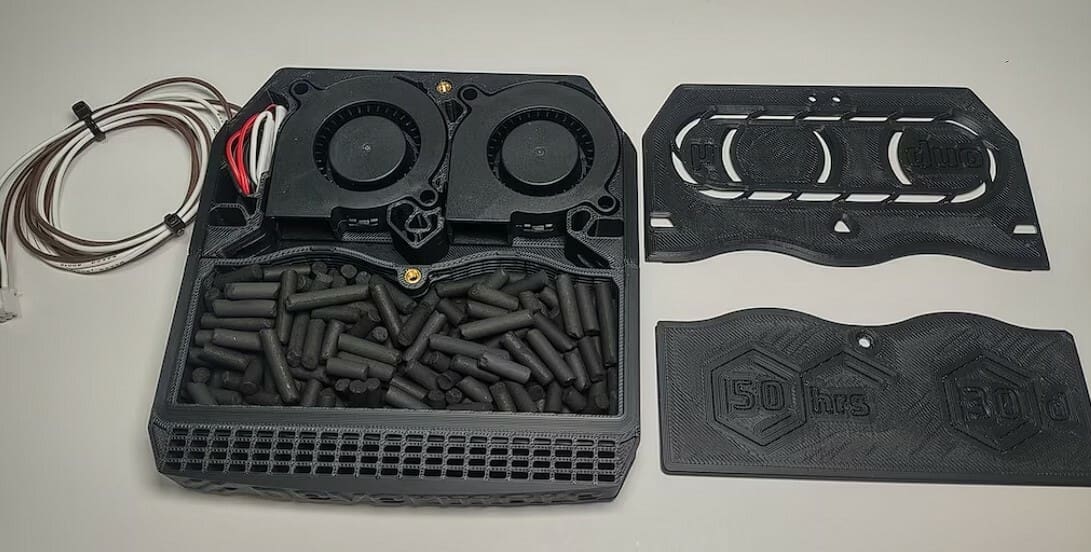
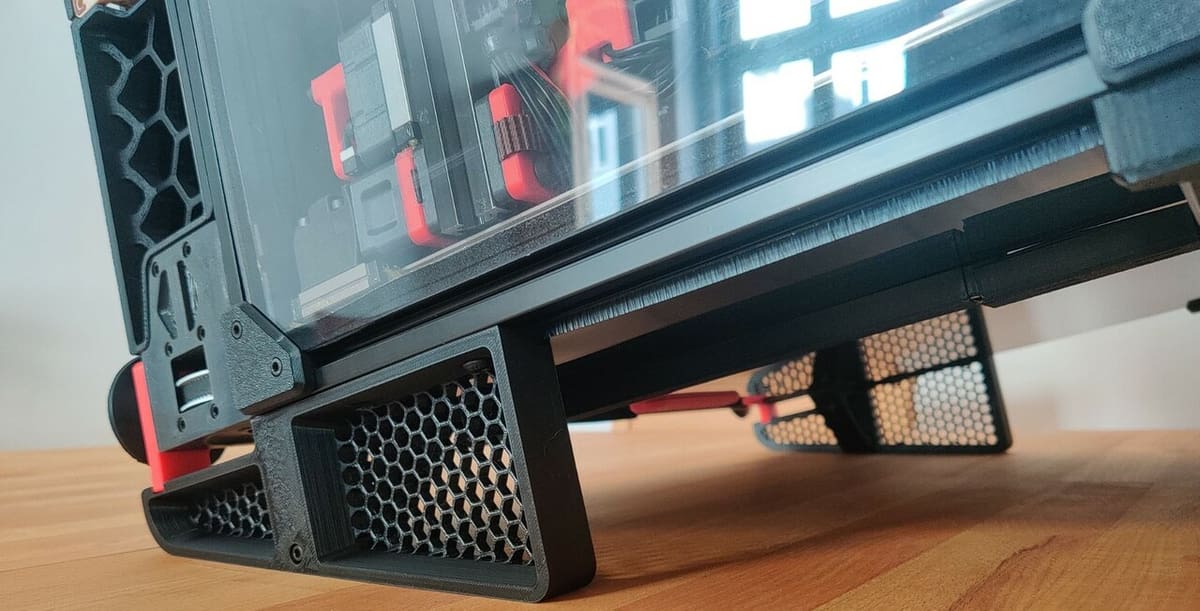
Nevermore is a community-created design for a recirculating active-carbon filtration system that captures volatile organic compounds (VOCs) generated during 3D printing. This filtration system is designed to sit inside the 3D printer’s build chamber, where it recirculates the air, passing it through activated carbon to effectively remove VOCs at the source. Its design prioritizes efficiency by requiring relatively low airflow to achieve optimal VOC reduction. However, users must ensure their build chamber is properly sealed to prevent unfiltered air from diffusing outside.
The Nevermore consists of printed parts, heat-set inserts, fasteners, fans, and carbon air filter pellets. Unlike many commercial offerings, Nevermore offers the convenience of easily refilling with bulk-activated carbon, avoiding the need for proprietary pre-packed filters. The choice of carbon is critical, and for the best results, steam-activated, non-acid-washed carbon with high microporosity sourced from virgin coconut is recommended.
While it doesn’t address larger particles, combining it with a HEPA filter can enhance overall filtration efficiency. Adding a HEPA filter can also help prevent air inside of the chamber from leaking out because it provides a negative pressure system. Together, these filters deliver a safer, more sustainable Voron experience.
- What does it improve? Filters harmful VOCs for a safer printing experience
- What does it cost? ~$25 for V5 Duo (larger size); $15 per 25 oz for replacement carbon
- Who designed it? Nevermore Activated Carbon Filters
- Where to find it? Nevermore, Fabreeko for replacement carbon
Klicky Probe
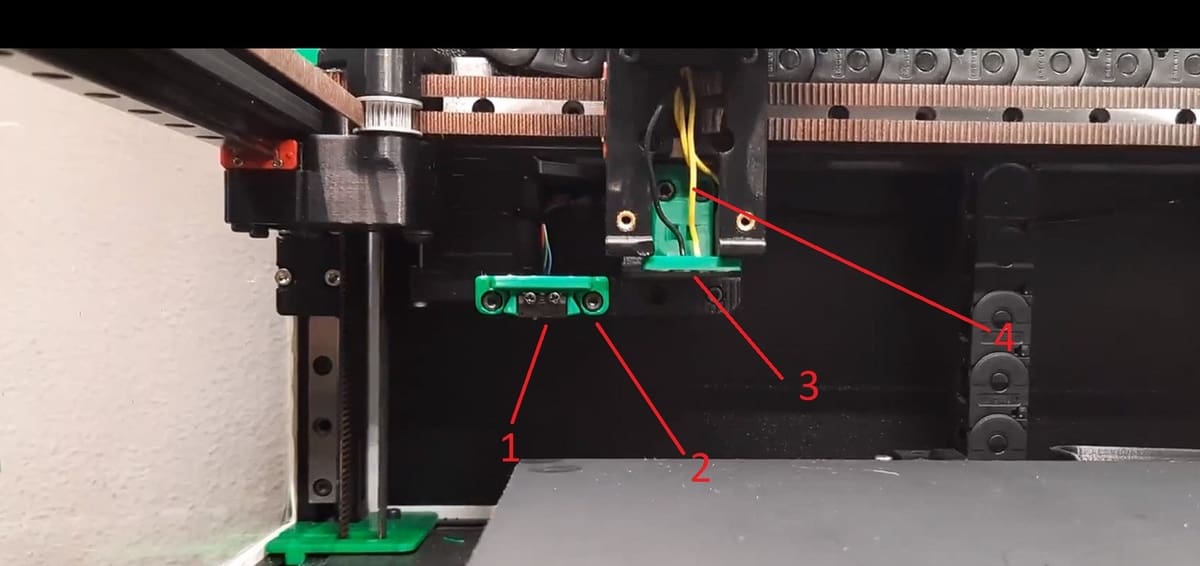
Klicky is a microswitch-based probe that physically probes the bed, replacing the more standard inductive probe. The Klicky eliminates heat drift issues and potential melting problems associated with the inductive probe, especially when using high-temperature materials.
Unlike the fixed inductive probe, the Klicky can be detached before each print, using magnets for secure mounting and electrical connections. It boasts impressive accuracy with a range difference of 0.025 mm and a standard deviation of 0.01 mm.
Building the Klicky can be a bit more tricky than just rolling with an inductive probe, but there are plenty of helpful sources out there to guide you through it. A Klicky probe is composed of printed parts, magnets, a microswitch, and a few fasteners. Fully built versions are available from Voron kit suppliers.
More often than not, Klicky is used with Klipper. Compatible with all Voron models, the Klicky has macros for easy docking and undocking, along with support for bed mesh, leveling, offsets, and quad gantry leveling for the 2.4. With direct contact with the build plate, the Klicky is versatile and suitable for any build surface, making it an intriguing upgrade option.
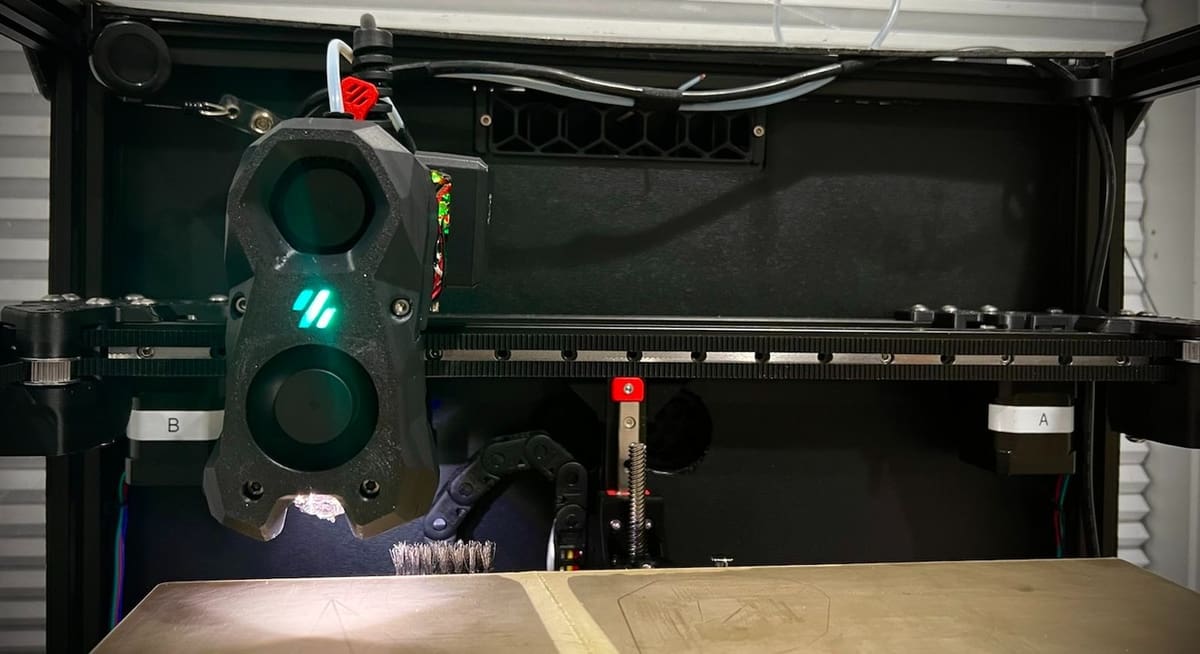
Tap Nozzle Probe
The Tap is an advanced nozzle-based Z-probe for Stealthburner toolheads. It uses an optical switch for precise measurements with extreme accuracy, up to 0.4 µm (0.0004 mm). This makes it ideal for maintaining and using your printer effectively. The Tap can work with any securely mounted build surface, such as glass, Garolite, adhesive PEI sheets, and more. It’s not affected by magnetic fluctuations in the bed.
With an optical sensor probe, the Tap is durable and can handle high-temperature operations up to 100 °C without degrading over time. Setting up the Tap is straightforward using a single activate_gcode macro; no docking or undocking moves are needed.
The Tap eliminates the need for a separate Z endstop and holds the configured offset without appreciable drift. It also provides crash protection, safeguarding the nozzle and bed from minor collisions and potential damage.
- What does it improve? Probing
- What does it cost? ~$30
- Who designed it? Voron Design
- Where to find it? GitHub
CAN Bus
CAN bus stands for Controller Area Network bus. It’s a communication protocol used primarily in automotive and industrial applications to allow microcontrollers and devices to communicate with each other without the need for a central computer.
For this application, CAN bus can simplify the wiring from the toolhead running down to the controller beneath the Voron. It turns all of the toolhead wiring into four wires that run in a cable directly to the microcontroller. It should take some slight weight off the gantry and eliminate the use of drag chains.
- What does it improve? Simplifies wiring
- What does it cost? ~$85
- Who designed it? Varies
- Where to find it? KB3D
Different Frames & Printed Parts
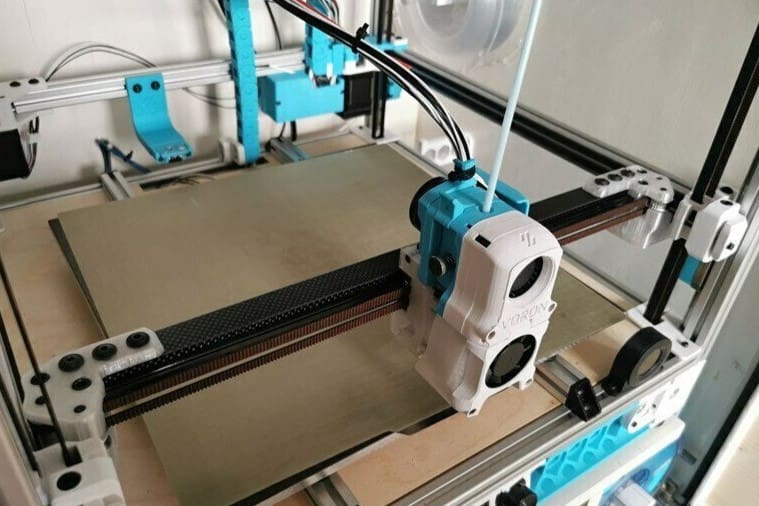
When it comes to Voron, printed parts are an essential part of the design. Using a Voron 2.4 as an example, there are around 200 parts throughout the build. To print all of those parts will take a Prusa i3 MK3+ about 205 hours and will require about 2 kg of ABS.
Although ABS is far and away the most popular printed-part material for Vorons, there are other options out there. Other options include CNC-machined aluminum, carbon fiber, and sometimes high-temperature nylons. Depending on the application or how heavily modified a Voron may be, having more rigid or temperature-resistant printed parts could be the best option.
Carbon fiber is incredibly rigid compared to ABS as well as much more resistant to thermal degradation. So, for high-speed and high-temperature Voron designs, making a gantry from carbon fiber can be a great option.
Another upgrade could be to shed some weight on your gantry to help increase print speed by opting for titanium fasteners – which weigh about half of their steel counterparts.
- What does it improve? Increases rigidity and resistance to thermal degradation
- What does it cost? ~$360 for CNC-machined aluminum, ~$150 for a carbon fiber gantry
- Who designed it? Varies
- Where to find it? Voron kit suppliers
License: The text of "The Best Voron Upgrades & Mods" by All3DP is licensed under a Creative Commons Attribution 4.0 International License.