Resin/SLA Printing Tips: How to Get Perfect Prints

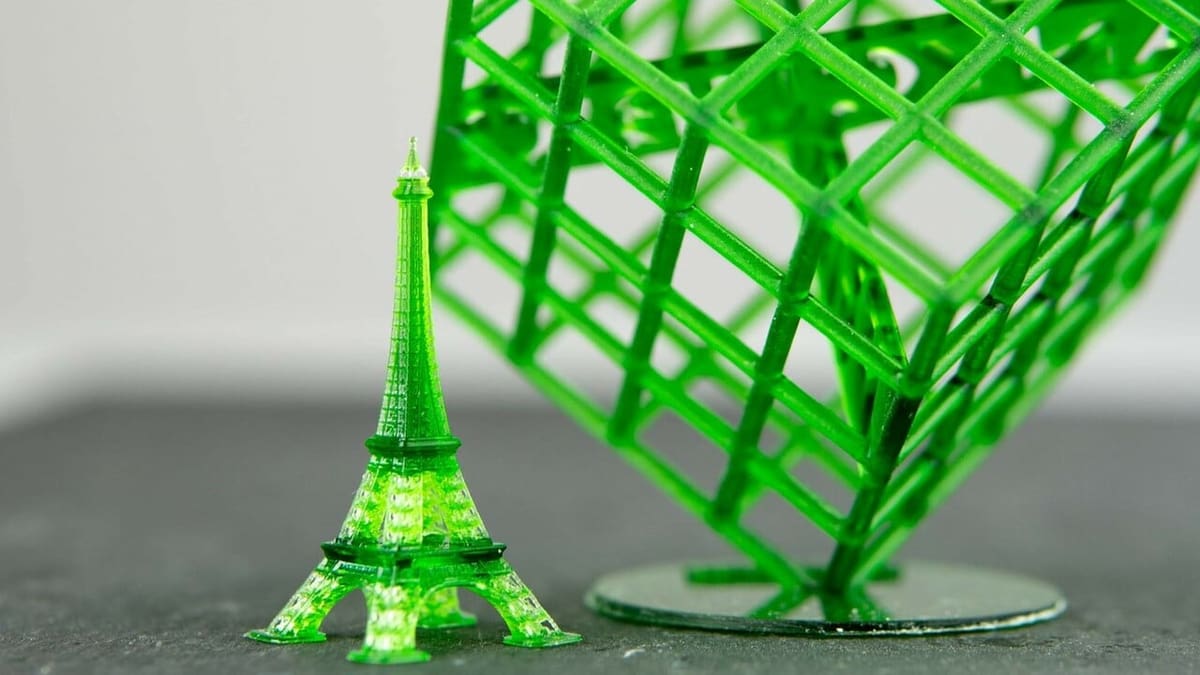
Resin printing allows for extremely smooth and incredibly precise 3D prints. Check out our resin printing tips for the best results!
Resin printing was the first form of additive manufacturing ever invented. Since its first appearance in the 90s, the technology has come a long way, with some machines using a laser redirected by mirrors, and others using a projector or an LCD masking screen. We can print precise yet complex models with relatively cheap and easy-to-operate desktop machines.
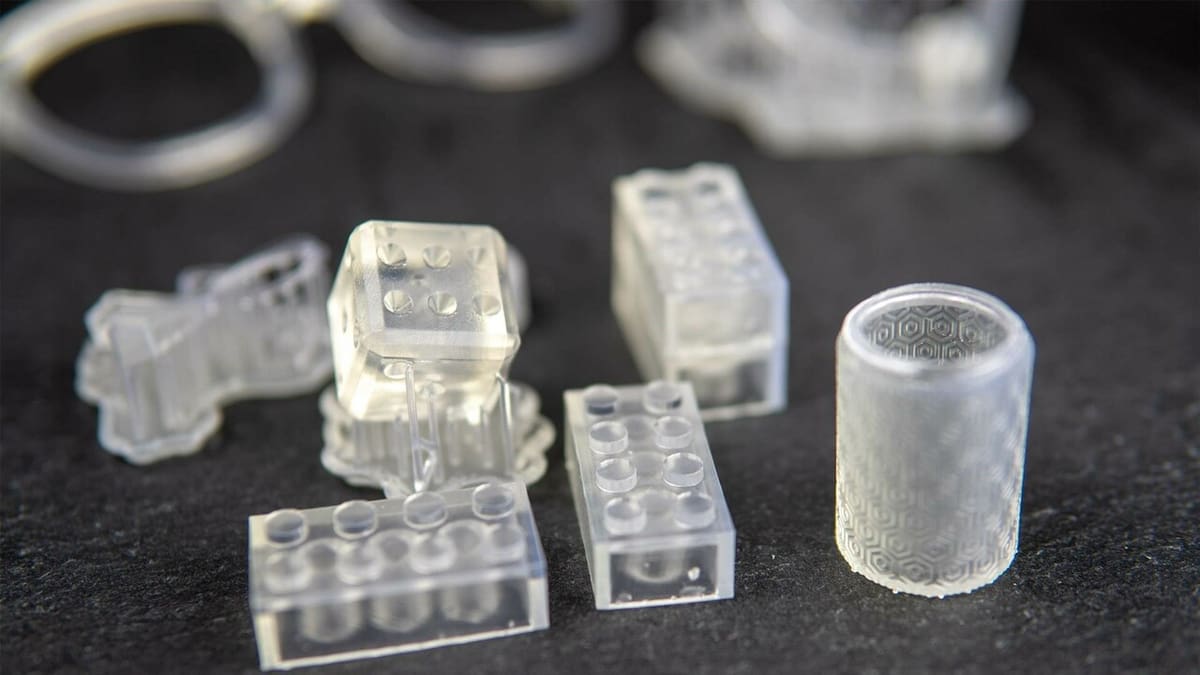
Resin printing offers an edge over FDM printers in terms of accuracy and the quality of details. Meanwhile, calibrating and operating resin printers is easier, and they usually require less maintenance.
The technology is often used in the medical and dental fields for prosthesis production and in various engineering fields for rapid prototyping. In recent times, the advent of cheaper LCD-based printers has allowed many hobbyists to start dipping their toes into the resin-based tech.
Yet, while it offers unrivaled detail and tight tolerances, resin printing is far from being effortless. In this article, we’ll go over a few tips and tricks on how to model and set up a print, handle print failures, and post-process a part to ensure the best result possible. But first, let’s see what the most common failures look like.

Background
Operating a 3D printer can be a source of joy as well as frustration. Resin printing is no different and has its own weaknesses. But how can you identify the possible outcomes? Here’s a brief summary:
- Layer delamination is really easy to diagnose: the printed layers are split apart instead of bonded together.
- Support failure happens when the support structure intended to keep the print anchored to the build plate fails to do so. This often results in other issues.
- Layers sticking to the FEP sheet will block light from passing through and prevent curing successive layers. This is often the result of support failure.
- Non-adherence to the build plate shares the same result of support failure but usually happens on the first few layers only.
- Rashing is a surface defect that results in walls being rough to the touch and with a harsh or uneven appearance.
These are only the most common issues that can be encountered, and they can apply to many resin processes (especially SLA, DLP, and MSLA). Reasons include poor part design, unsuitable slicer settings, and excessive suction force to the FEP sheet during printing.
Next we’ll go over the general stages of 3D printing with resin, and we’ll present other issues and solutions that may come up, so stick around to learn how to get the most out of your resin printer.
Planning
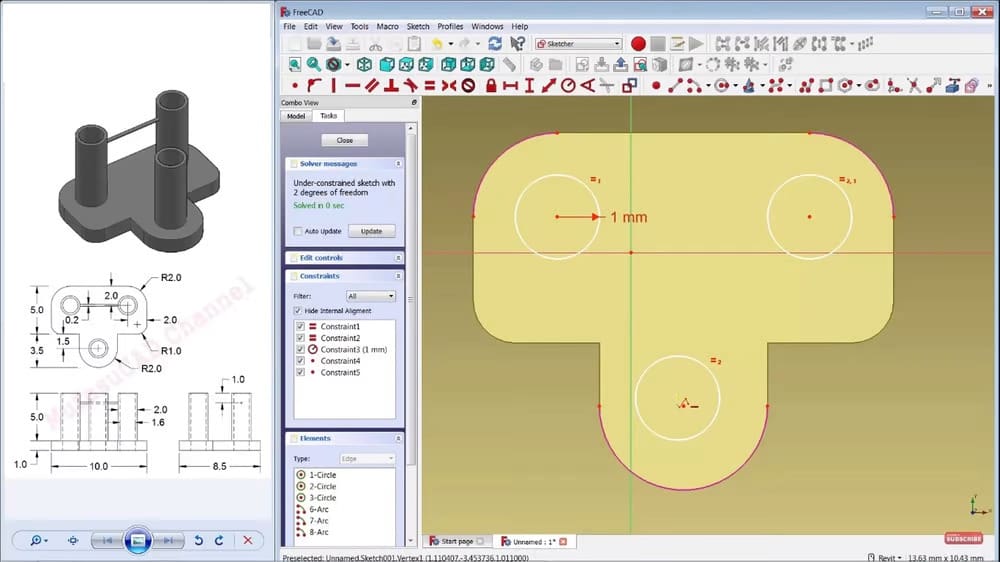
A vital part of the 3D printing community is sharing models with other members. But when the files you need are nowhere to be found, the only option is to design them yourself.
We won’t go over the design process itself (for that you can check out our article on getting started with modeling in Fusion). Instead, we’ll provide additional tips to adapt your design skills to this technology.
While it would be faster to follow arbitrary tolerances and dimensional values, they can also limit or surpass the capabilities of some machines. That’s because different resin printers have different accuracies, tolerances, and design requirements. For example, when printing a part on an LCD printer, the print’s tolerances will vary. This is due to the fact that light bleeds through the contours of the image on the screen, making each wall slightly bigger in all directions. But this doesn’t happen with DLP or SLA (which have different requirements and drawbacks, too).
So how can you design something that accounts for all of this?
The answer is quite straightforward: Design for the printer you have. Run a few tolerance tests to determine how low you can safely go and how thin you can print, then use that information in your project. Of course, the final part intended for an LCD printer won’t differ that much from one intended for an SLA machine. But since you can’t design a one-size-fits-all model and expect excellent performance from all machines, to achieve the best result possible, you have to narrow down the field.
But how can you do that in practice? It’s said that a part is designed three times: first in the CAD program, then in the slicer, and then in post-processing. Each one of these steps will affect the final result. Let’s start with the first one.
Designing
When designing models to be printed out of resin, you can follow these simple yet effective tips:
- Angles are crucial: All overhangs over 45° will require some support. If the models can’t be adapted to follow this rule, the more complicated approach is to tilt and rotate the model in a position where most steep angles are taken care of, and then continue modeling.
- Create a single, continuous surface: Don’t leave objects floating or separated from the main model. This will decrease the need for support, and subsequently, increase the chances of success on the first try.
- Consider whether the model should be hollow: Larger models will benefit from hollowing to reduce the cross-sectional area and prevent failures, plus it saves on material.
- Consider splitting the model: You won’t be limited by the size of the printer if you split the STL file, and this approach minimizes costs in case of a failed print.
- Repair the model: When sculpting something in a freeform software like Blender, the final result is sometimes full of broken polygons, open meshes, and non-continuous planes. Most slicers offer repair tools (and plenty of online and offline ones are available), and it’s good practice to repair the mesh before prepping the model. This will ensure the model is watertight and ready for hollowing.
If it’s too challenging to achieve in CAD, some of these steps can be accounted for while slicing.
Slicing
While major changes can be made only in CAD, the slicer offers many tools to manipulate the object. The main goal is to prepare the part for printing by rotating, adding supports, hollowing, and adding drainage holes. Additionally, many advanced slicers like Lychee and Formware3D include mesh manipulation tools to achieve great tolerances without the need to rework the original file.
Most printers run on CBD-tech motherboards and are therefore by default compatible with the Chitubox slicer. Still, these and other printers will also work with Lychee. Outside of these two main options, there are manufacturers with their own slicers, notably Anycubic, but many recommend moving away from proprietary slicers into other options.
Let’s start with the most common operations that you need to know to slice a model for printing.
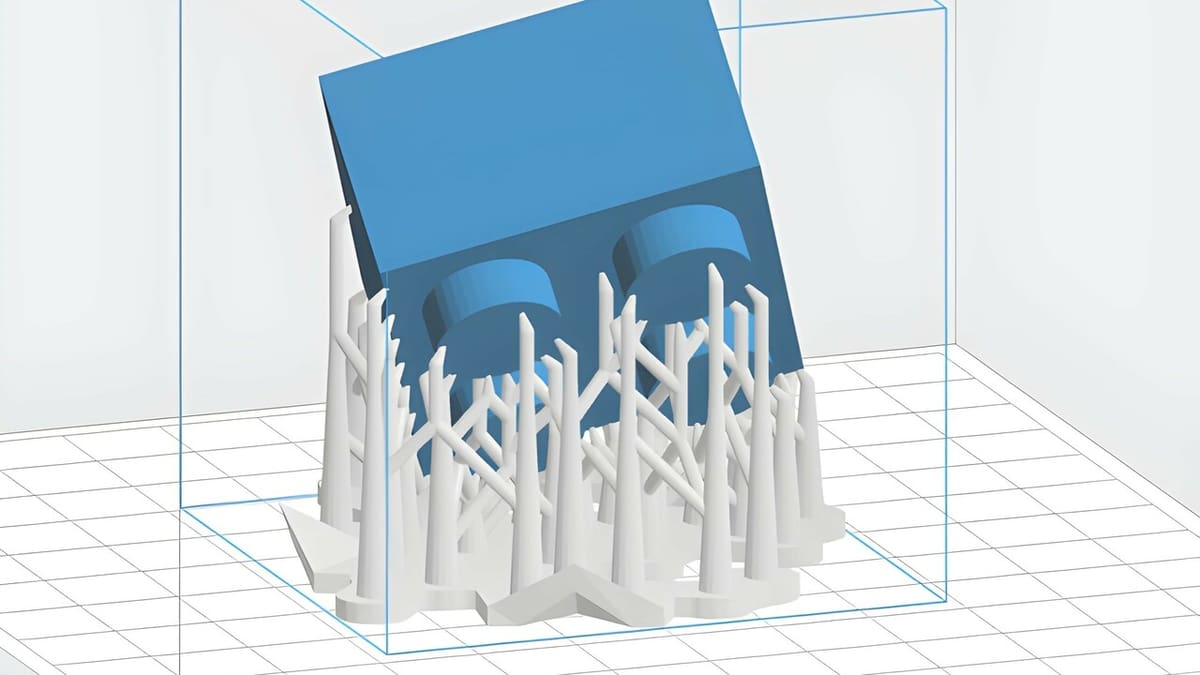
Orientation
This is key when it comes to slicing. You can prioritize three things when orienting a part:
- Fewer supports: Orienting the model correctly will reduce the number of steep angles and therefore the need for supports.
- Reduced print time: The closer to the platform the part is, the fewer number of layers and the faster the print.
- Smaller cross-sectional area: Depending on the orientation, each layer will have a different area exposed to the resin. The bigger it is, the stronger the peeling force on the FEP sheet will be. An excessive force can cause the layer to stick to the sheet, detaching the print or delaminating subsequent layers.
Auto-orientation (if provided by your slicer) can be helpful and is definitely faster compared to manually doing it, but it isn’t perfect. Always double-check the results before continuing.
Auto-supports & Rafts
The temptation to click on the auto-generate button without checking can be strong. Granted, the auto-supports algorithms have become great at adding support where needed, but they’re not infallible. Always check for islands (unsupported pieces of the model that might detach during printing) and manually add the supports where needed. If the previous print failed due to insufficient support, increase the density or the dimensions of the structures (if feasible, lattices are a great idea).
On the other hand, rafts are easy to activate and are a great way of increasing the surface area in contact with the build plate to avoid non-adherence.
Hollowing
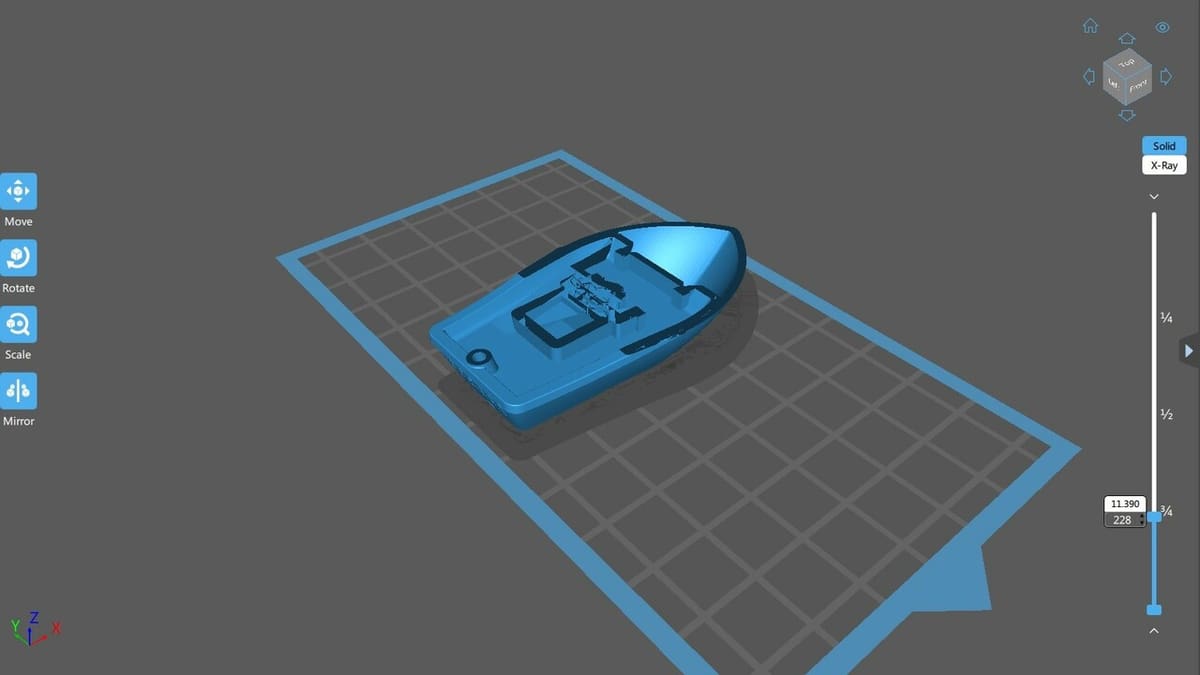
Doing this can save resin where not needed, but it will always require drainage in the form of small holes. You can place the holes where you want, as long as all of the hollow pockets (some models might have more than one) have at least one. The dimensions are arbitrary: They should be big enough to be printed and allow for the resin and air to escape but small (and well-located) enough to not impact the print’s look.
Scaling
This operation can help tremendously with dimensional accuracy. Resins often shrink when fully cured, resulting in a final model several percentage points smaller. You can scale up the model to compensate for this. Non-uniform scaling can also help with compensating light bleeding by applying an offset on the XY-plane. Different slicers have different names for this function.
Anti-aliasing
This softens up the borders of the print, which might be a pro if you’re looking for a more uniform texture. In some cases, it adds up to the pre-existing light bleed and results in a less dimensionally accurate part.
Layer Settings
The most important layer settings to know for resin printing are layer height, exposure time, and lift speed. These three settings may have to be adjusted when you switch resin types, so be sure to check the manufacturer’s recommended settings for your machine. You can also tune these settings to reduce print time, but it may come at a sacrifice to print quality and a higher risk of print failure.
Generally, larger layer heights mean lower part resolution but faster print times. Exposure time sets how long each layer gets exposed to UV light. Higher exposure times can be used for functional parts or pieces with protruding features, where overcuring could be beneficial. Lower exposure times should be used for prints when capturing negative details (such as crevices or engraved features in a miniature) is essential. The lift speed is how fast the build plate rises from the resin vat after each cured layer and should be slowed down if adhesion to the print bed is an issue.

Printer & Resin Preparation
Prepping for a resin print is really easy and, while most procedures look the same, we suggest you follow your machine’s user manual. Still, here’s a good checklist to think about before starting:
- Check the plate: Properly level the plate (which is often the culprit for many issues) relative to the bottom of the tank and make sure that the first layer isn’t too squeezed.
- Check the vat: Verify that there are no tears, dents, or non-transparent spots in the FEP sheet.
- Check the resin: Control the resin’s temperature and follow the manufacturer’s recommended specs. Most resins require a room temperature of around 20-25 °C to cure and adhere properly. Very cold ambient temperatures can lead to layer delamination, adhesion issues, and the aforementioned rashes. If you’re constantly printing in a cold environment, consider warming up the enclosure of the printer. Never print with resin that contains cured chunks as this can damage the FEP.
Regarding calibration, the most important setting to get right is the exposure times. An incorrect value won’t solidify resin properly or over-cure it. In both cases, delamination is a very probable outcome.
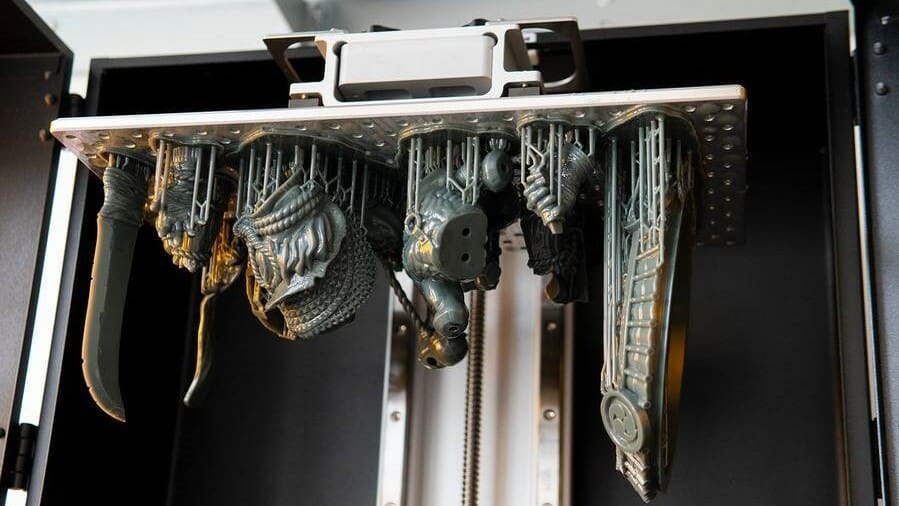
Post-Processing
Post-processing the prints is probably the most time-consuming operation and what many will call the downside of resin printing. In reality, there are a lot of ways to simplify or even partially automate the process.
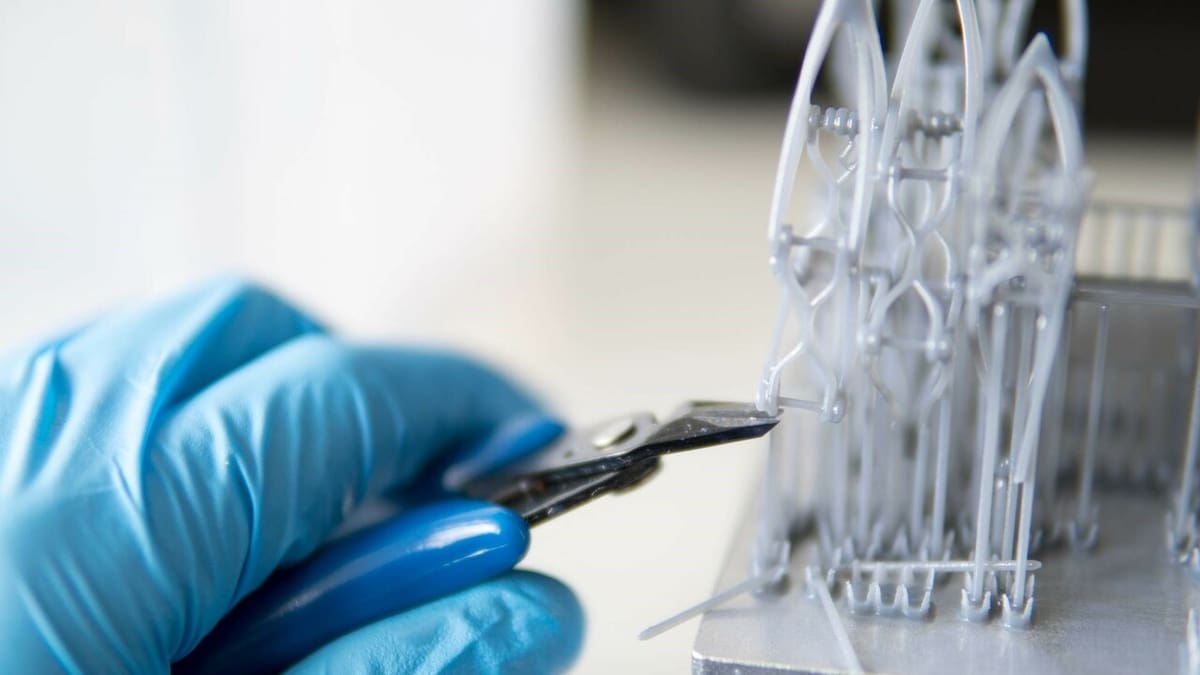
Support Removal
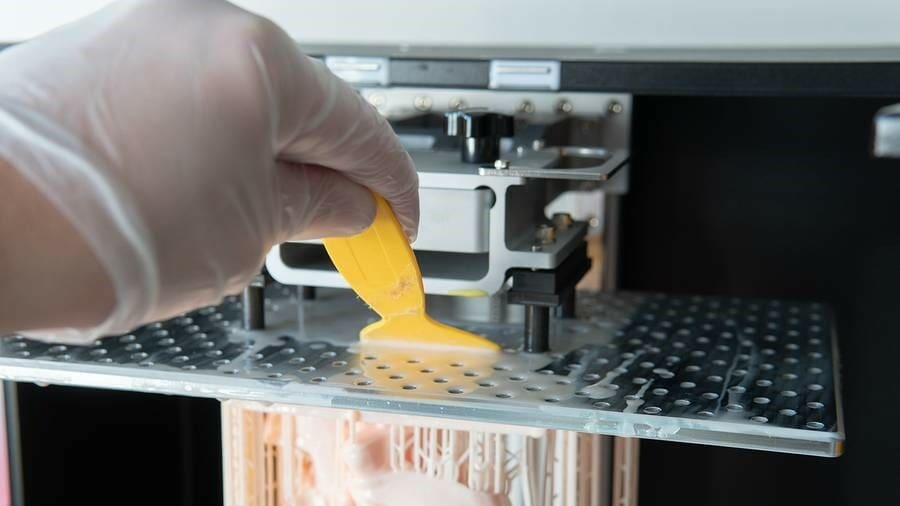
When removing and cleaning your model, use nitrile gloves to protect your hands from resin and a face mask to avoid breathing in the off-gasses. A set of #17 and #18 X-Acto knives may work better than a spatula to remove the print from the build platform, but work slowly to avoid chipping the model, and always aim away from your body. You can allow excess resin (including resin inside of hollow models) to drain back into the resin tank. Scooping the excess resin off the build platform works well with a squeegee, and you can then dispose of the leftover resin.
All of that said, support removal is still, unfortunately, very much just handiwork. Nevertheless, it’s important to remove the supports before curing the print further, paying attention to any flexible and brittle bits. Using your hands to remove them might result in pointy bits of supports piercing through the glove, so a pair of clippers and eye protection (to block objects flying after being snipped away) is recommended.
There are plenty of other removal tips, but their efficacy isn’t certain. One that is quite popular and widespread is submerging the model in hot water to easily remove the supports. It tends to work because most UV-sensitive photopolymers are sensitive to temperature changes until they’re fully cured. Unfortunately, it softens the whole print, deforming small features (like spikes, hair, swords, and so on), so care is needed. We encourage experimenting and trying out different techniques to find what works best for you.
Cleaning
Standard cleaning practice is to rinse the model in isopropyl alcohol (IPA). If the model is hollow and has drainage holes, allow the alcohol to partially fill the model, cover the drain holes, and then gently shake the model to rinse the inside. The longer you leave the model in the alcohol, the duller it will become, so it’s best to keep the rinse duration very brief – never more than 10 minutes. You can hold the model in the alcohol and use a toothbrush to clean off any excess resin, then allow the model to drain. The resulting part should be smooth and not stick when touched.
Since IPA is hard to come by in many parts of the world (and can’t be used for ultrasonic cleaning), many companies have developed their own cleaning solutions. Among the best-known ones are the Formfutura EasyClean, Moiin’s Smart Clean solution, and PhotoCentric3D’s Resin Cleaner 30. While IPA remains the best, some resins might benefit from a wash in a specific agent. Alternatively, switching to water-washable resin can be useful.
If you’re looking for a more advanced rinsing solution, you might consider a magnetic stirrer. This tool uses a rotating magnetic field to cause magnetic capsules immersed in the isopropyl alcohol to stir the alcohol while rinsing the part. Alternatively, there are 2-in-1 washing and curing stations that aim at simplifying the process while minimizing the mess and the need for manual intervention. We’ll look more into these next.

Curing
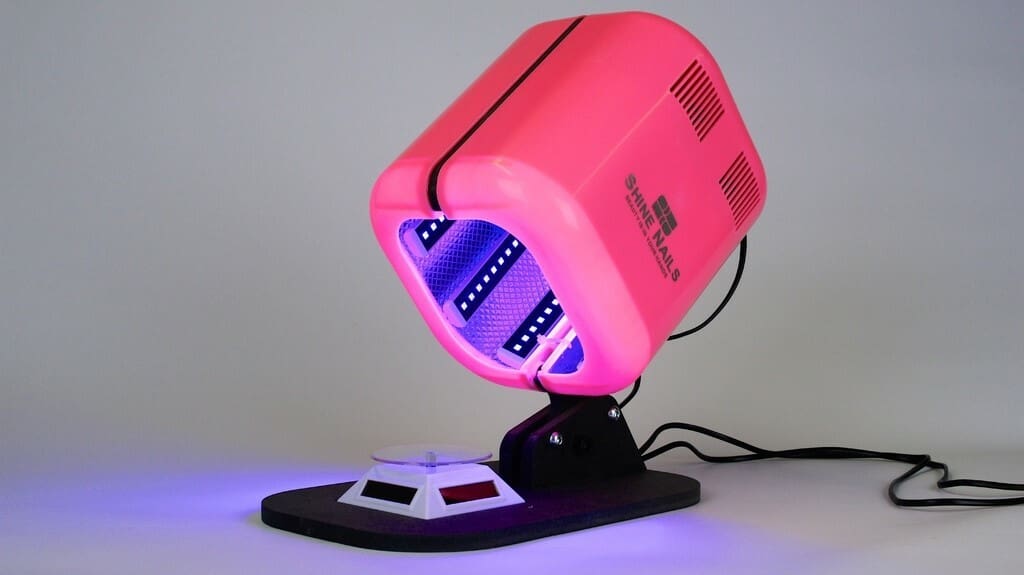
Curing is an essential step in the post-processing of a resin print. After the excess resin is washed off the surfaces, the models have to be cured and solidified under a UV light. A UV lamp has to be on the same wavelength as the resin used (which is usually 385-405 nm). Alternatively, if it’s a sunny day, it’s possible to expose the print to sunlight for a slightly longer period of time, turning it every so often to evenly expose all surfaces.
A DIY UV booth made out of a cardboard box, tin foil, and UV LEDs will achieve great results, but sometimes a jump to the next level is worth it to streamline the post-processing. Washing and curing kits are usually made out of a single unit that doubles as an isopropyl bath and a UV lamp booth. They tend to be of the same size as the printer they’re meant for, as they usually allow for the entire build plate to be dipped and rinsed.
After cleaning, a UV turntable will rotate and illuminate the part to let it fully cure. Many models offer timed cycles to get consistent results. Many resin printer manufacturers sell a washing and curing station for each of their machines or lineups of printers.
And once you’ve got the print ready for use or display, dealing correctly with the leftover resin and IPA is very important as these are hazardous materials. Here’s a few tips to keep in mind:
- Do not throw away uncured resin in the sink, but dispose of it according to your local guidelines for hazardous products.
- Fully cure supports and other waste contaminated with resin before throwing them in the trash. Unused resin can also be fully cured and then disposed of in the household waste.
- Collect all the wastewater or IPA used in the washing and cleaning process. Dispose of them according to local guidelines.
- No matter the situation, do not disperse byproducts or waste of any origin into the environment.

License: The text of "Resin/SLA Printing Tips: How to Get Perfect Prints" by All3DP is licensed under a Creative Commons Attribution 4.0 International License.