
Resin Print Not Sticking to Build Plate: 6 Simple Solutions

Is your resin print not sticking to the build plate? Don't give up hope! Check out these six solutions for perfect adhesion!
After every single layer, a resin 3D printed part peels off the printer’s FEP Sheet. You can imagine that something can easily go wrong with this process, causing chaos and requiring cleanup. There are, however, things you can do to make sure this doesn’t happen to you.
In this article, we’ve listed six solutions to make sure the print sticks to the build plate. In general, all of the solutions aim to increase the adhesion of the UV-exposed resin layer to the build plate or to strengthen the adhesion of the resin to itself.
The solutions are sorted by how easy they are to implement, so it’s recommended to proceed one after the other. Let’s get started!
Solution 1: Build Plate Leveling
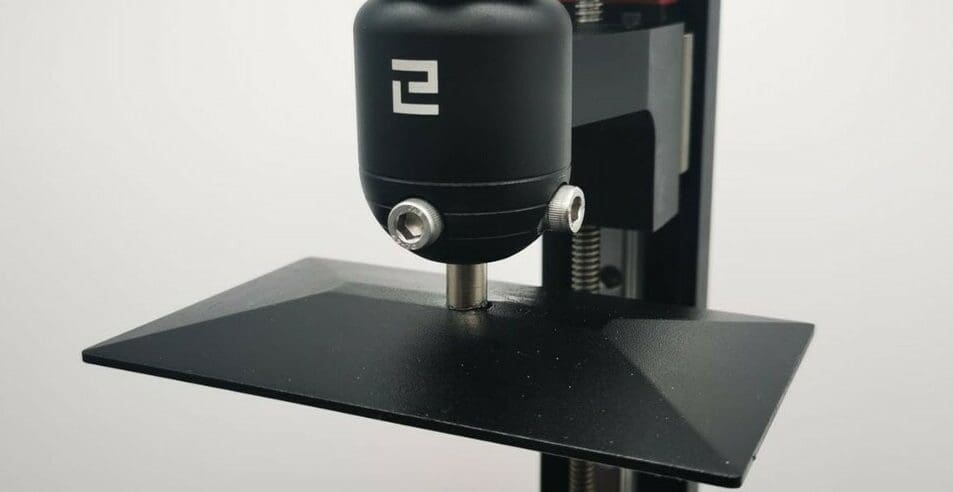
The first thing to check is your build plate to ensure it’s absolutely parallel to the FEP sheet. If not, you can easily adjust it with the screws on the mount of the build platform.
- Clean the build plate.
- Mount the build plate to the printer.
- Loosen the screws lightly and ensure that the build plate can freely rotate.
- Make sure the FEP sheet is clean with no residue on it.
- Manually or automatically lower the build plate all the way down.
- Re-tighten the screws to lock the build plate in place.
It’s also a good idea to check if the build platform can reach the bottom of the resin tank. Sometimes, a faulty end switch can limit the platform from traveling all the way down.
Solution 2: Exposure Settings
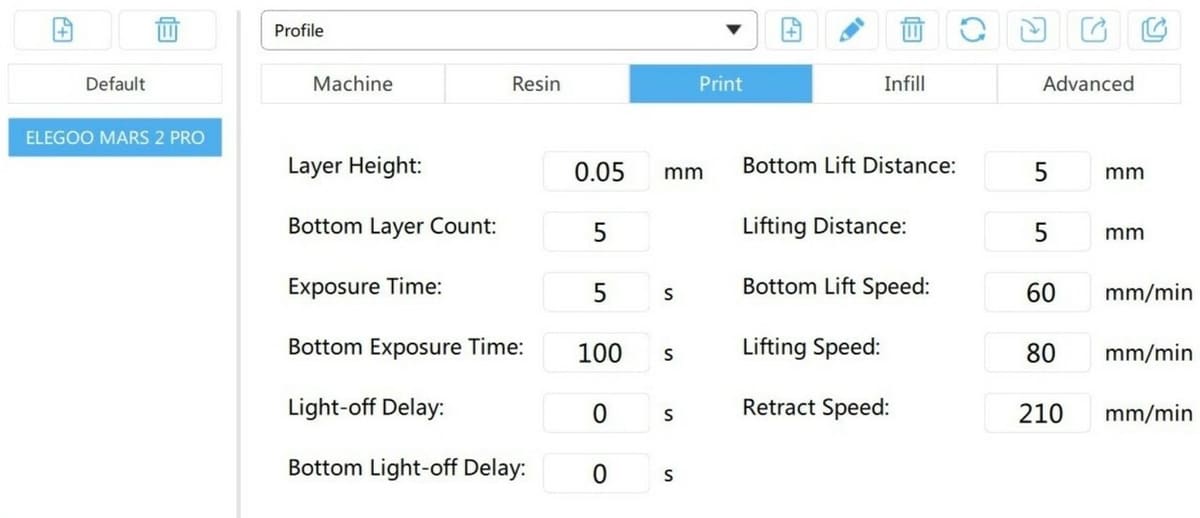
The ultimate goal for all photosensitive resin is to sufficiently bond to the build plate. The resin’s adhesion to the build plate must be stronger than the adhesion to the FEP sheet. When the plate is level but your resin keeps sticking to the FEP sheet, you should head over to your slicer and check the parameters for exposure – especially the bottom layer count and bottom exposure time settings.
The exposure time for the first layer depends on the resin and the model of the printer. Tables for specific exposure times can be found on the internet. Especially trustworthy, though, is information from the printer manufacturer and the resin manufacturer. If there are no exact values, check on an experimental basis if increasing the first layer exposure time makes a difference. (These values can be 10 times or more than the normal exposure time.)
If the first layer doesn’t adhere at all or the print comes off after only a few layers, you can also try adding a few additional bottom layers. If the problem persists, you can perform a light exposure test. This determines the optimal exposure times for the respective printer-resin combination. A special test vial is loaded, and the printer firmware is temporarily changed. The first layer is partially illuminated. With the finished test print, the best exposure time can be determined.

Solution 3: Lift Settings
Distance
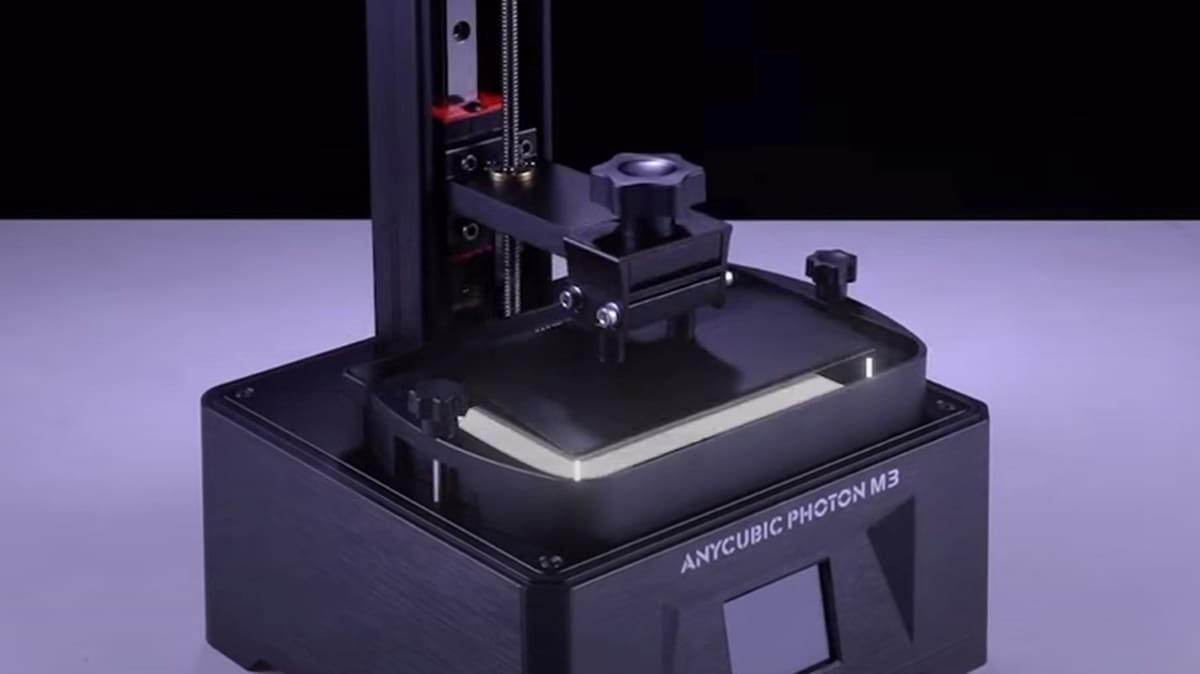
After each exposure phase, the print is peeled from the FEP sheet. During this process, the build platform rises a few millimeters or centimeters, depending on the material. The FEP sheet is flexible and should be able to stretch slightly. Normally, the print detaches completely from the sheet, and new resin flows in before the build platform is lowered again.
However, if the lifting distance isn’t large enough, the print won’t detach completely from the sheet. Since no fresh resin can flow into these areas, the same area continues to harden. Eventually, the print will break at the weakest point and settle on the bottom of the resin tank.
Usually, there are good presets for the lifting distance settings. Reference values can be taken from the manufacturer’s data. Keep in mind, though, that the lifting distance must be set higher for elastic materials than for rigid resins. Elastic materials are more likely to stretch as the build plate lifts.
Speed
The lifting speed should also be taken into consideration. Depending on the speed setting, different forces have an adverse effect on the printing process. Cavities within the print (so-called “suction cups”) and the high viscosity of the resin can increase the load on the print.
As the FEP sheet is elastic, it stretches to different degrees depending on how fast the build plate is lifted. Lifting too quickly increases the stress on the print as well as the risk of it detaching from the build plate.
In contrast, lifting the build plate too slowly is also counterproductive. The FEP sheet then has more time to stretch. To compensate, the lifting distance must be increased to ensure that the print detaches from the FEP sheet. A significantly longer printing time is the result.
As with lifting distance, manufacturers’ data provide guidance on the optimal lifting speed settings for specific resin-printer combinations.

Solution 4: Model Settings
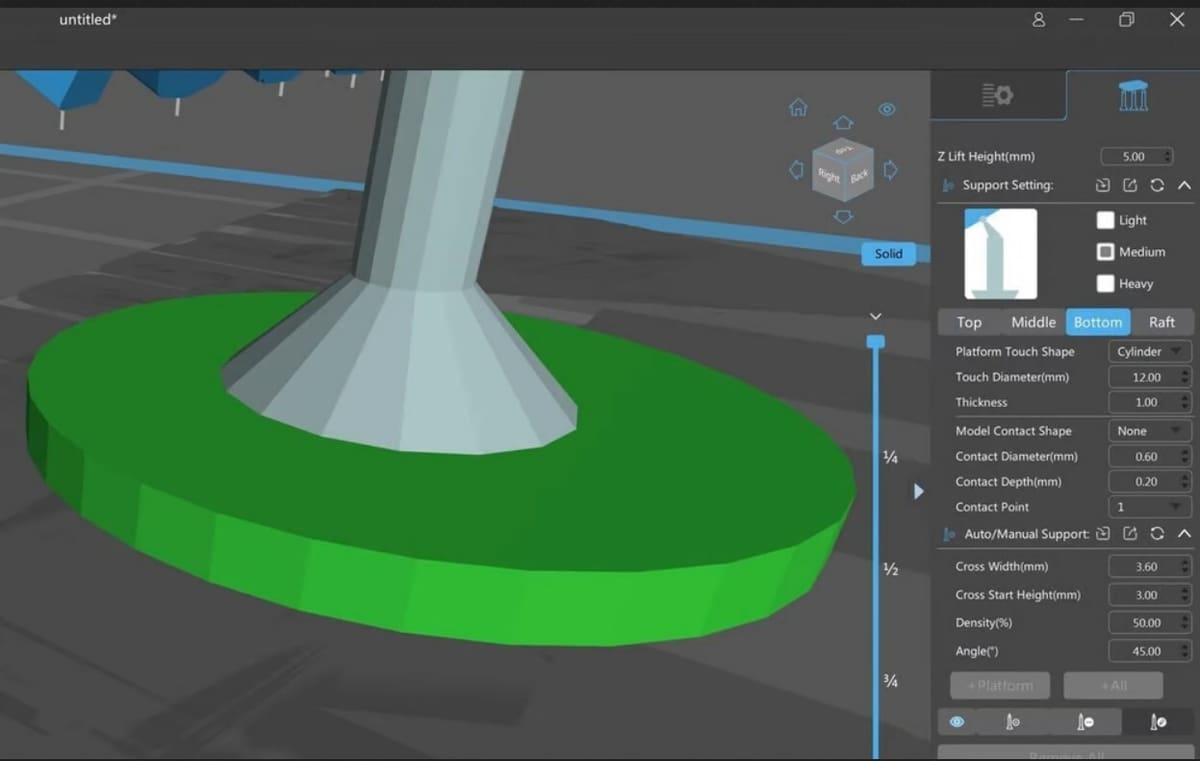
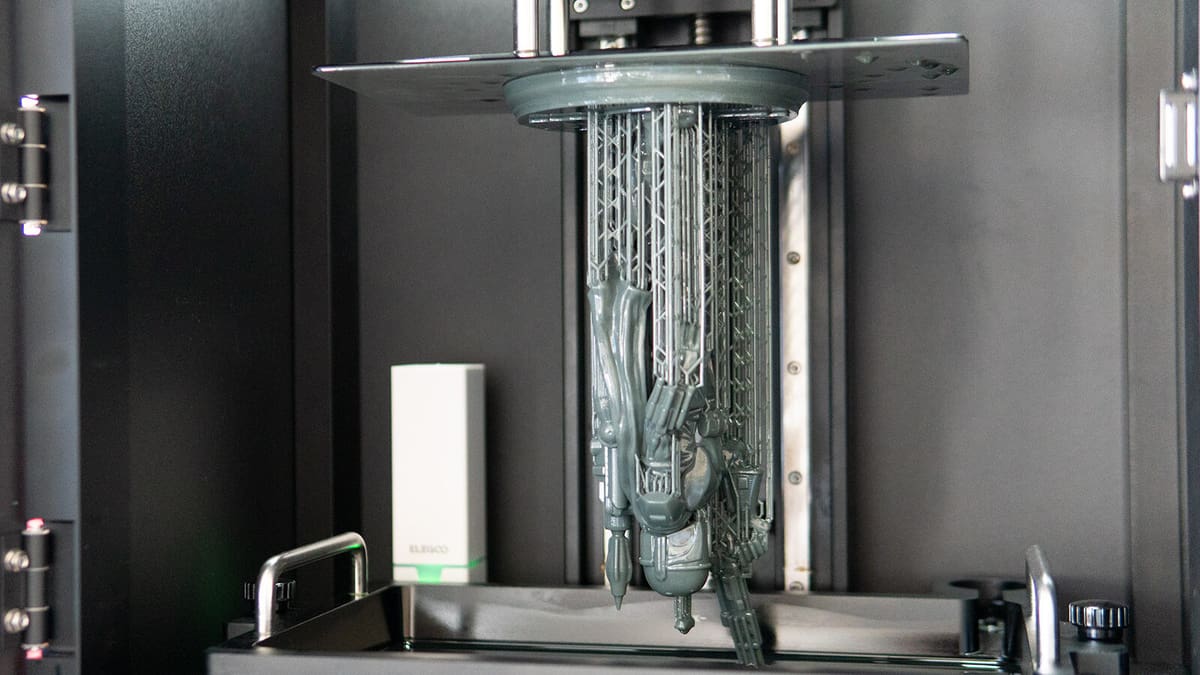
If the print still doesn’t hold after trying the previous solutions, the problem may be due to the build plate adhesion settings. A model should have enough contact with the build plate to adhere sufficiently. If only a few small areas of the model have indirect or direct contact with it, this is a possible reason why your print isn’t sticking to the build plate.
The solution is to increase the area of the model that has contact with the build plate. Similar to FDM printing, there are rafts in resin 3D printing. They increase the contact area between the model and the build plate. In addition to rafts, it’s also worth taking a look at your support settings.
If a raft or more supports aren’t possible, you also have another, though limited, option to achieve better printability: the model’s alignment. Rotate the object so that a large flat surface has contact with the build plate. This raises the chance of a successful print.
Be on the lookout, however, for bowl-shaped suction cups. Liquid resin can be trapped between the print and the FEP sheet. In such cases, the force needed to peel the print off the sheet is significantly larger.

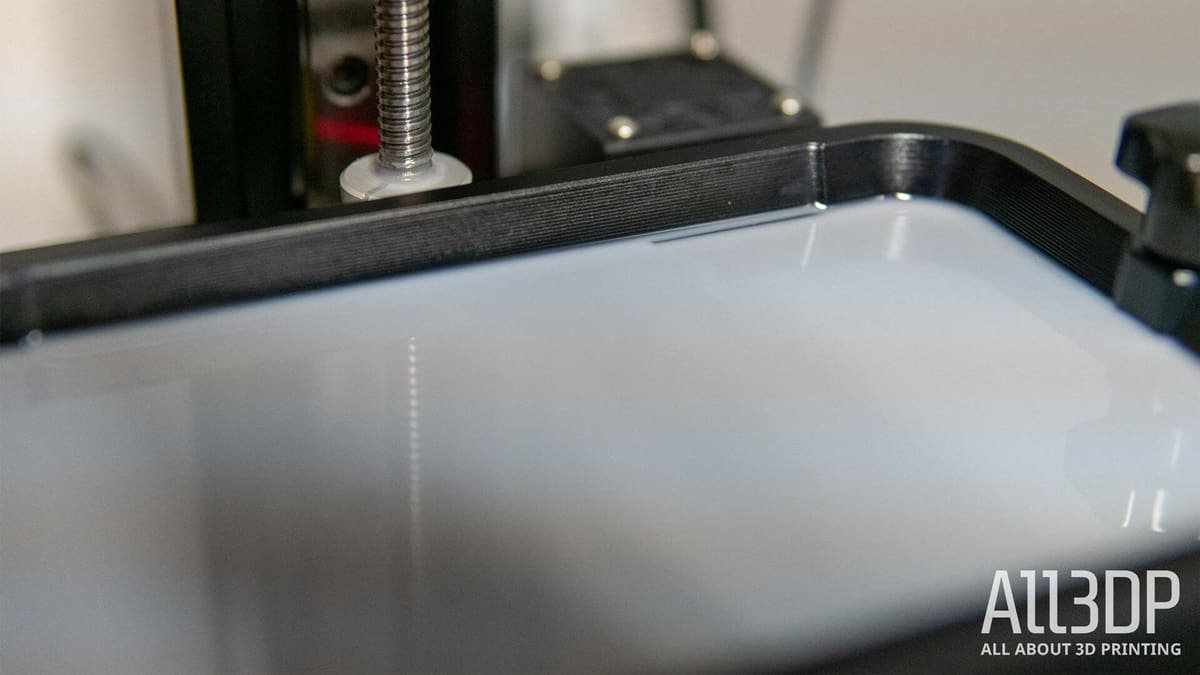
Solution 5: FEP Sheet Tension
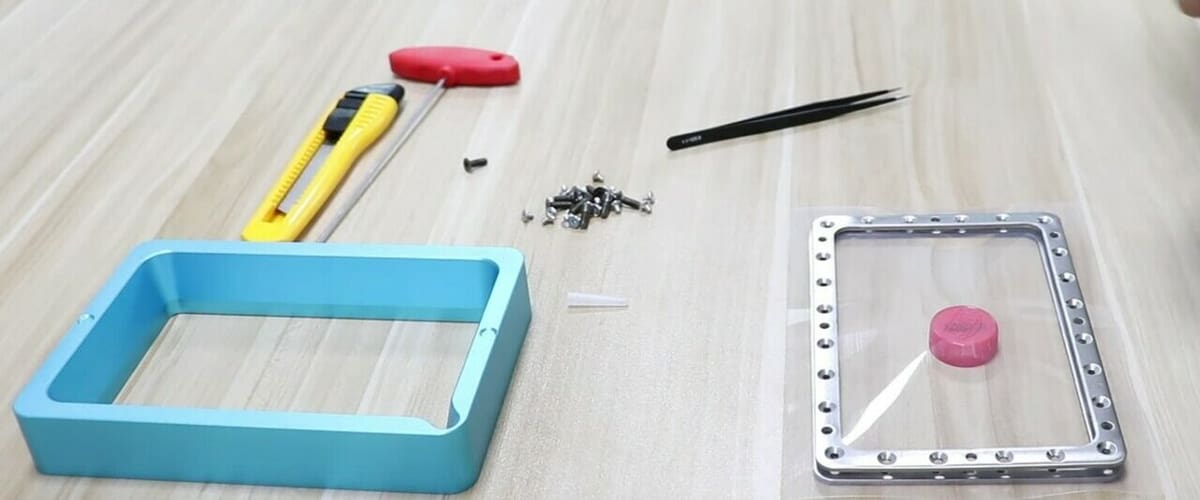
Since the freshly cured resin is peeled from the FEP sheet after each exposure’s completion, the tension of the sheet plays a crucial role. A sheet that isn’t sufficiently taut will increase the likelihood that the print sticks to the sheet, while a sheet that is too tight has a negative effect on the service life of the sheet.
As you can see, you’ve got to find the sweet spot. To see how it’s done, check out our article on installing an FEP sheet on an Anycubic Photon Zero.
Solution 6: Build Plate Grip
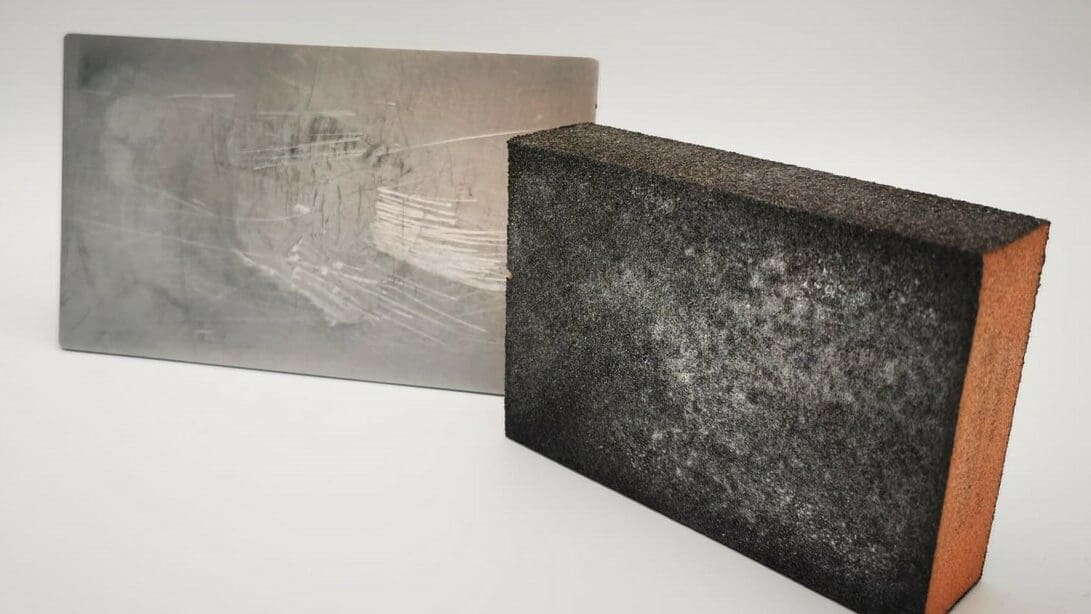
The surface of the build plate is an essential factor for the adhesion of the resin. A very smooth surface adheres poorly, so adding light scores and scratches with sandpaper makes the surface rougher and significantly increases adhesion. But beware, this step isn’t reversible!
If you suspect the surface of the build plate is your issue but would prefer the surface scratches to develop with time (as they inevitably do), try brushing the build plate surface with some resin right before you start your print. This can prevent air bubbles from getting trapped by ensuring the resin in the vat completely wets the build plate surface on its first dip.
Preventive Measures: Take Care of Your Resin
Avoiding adhesion issues in the first place means ensuring your resin is in the best possible shape. After all, resin curing is a chemical reaction and therefore requires certain conditions to occur.
Try to avoid leaving resin in the vat for too long. Pigments and other additives in resin tend to settle after resting for even a day, so be sure to give the resin in the vat a stir before starting a print. (Be careful not to damage the FEP sheet, though!) However, after several weeks of resin sitting in the vat, it can become partially cured or less active, which may cause adhesion issues.
Resin also needs to be at a suitable temperature to cure as intended. Ideally, you want to shoot for 25-30 °C, although this may vary slightly by resin type and manufacturer. Phrozen recommends increasing exposure time if operating slightly below the ideal temperature range. However, if ambient temperatures around your printer regularly drop below 18 °C, you may want to consider a heater, like the one from ChiTu Systems. Alternatively, you can warm up the build plate with a hair dryer or heat gun prior to printing.
License: The text of "Resin Print Not Sticking to Build Plate: 6 Simple Solutions" by All3DP is licensed under a Creative Commons Attribution 4.0 International License.