PrusaSlicer & Klipper: How to Make Them Work Together

Unleash the potential of your 3D printer with the empowering duo of PrusaSlicer and Klipper! Read on for all you need to know to get started.
PrusaSlicer is powerful and popular slicing software developed and maintained by Prusa Research. On the other hand, Klipper is relatively new and less popular 3D printer firmware, compared to the tried-and-true option that is Marlin. However, Klipper is quickly catching on within the community. It offers advanced control over the printer and allows for very high performance, including handy features like Input Shaping.
The combination of the powerful PrusaSlicer and advanced firmware such as Klipper can allow for unparalleled performance by a printer. Although, with Klipper being the underdog, there are tips and pitfalls to be aware of.
Let’s see how to get these two tools working together, how to avoid common issues, and how to get the most out of this compelling combination!

Understanding the Slicer
The first step to this combination is getting PrusaSlicer to speak Klipper’s language. 3D printer firmware executes G-code commands to form prints, but not all G-code “flavors” are created equal. Similar to a dialect of a real-world language, G-code flavors may share the same underlying commands but have different ways of referring to more advanced features.
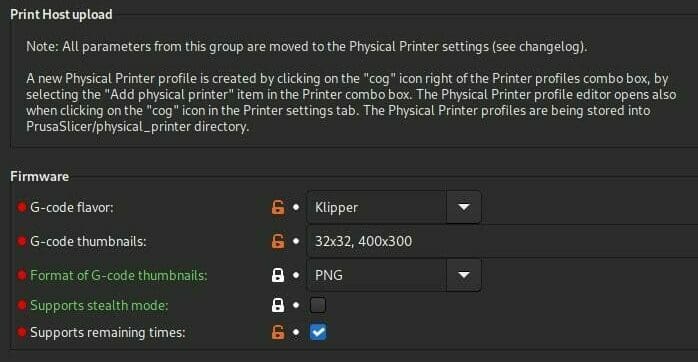
Klipper is no different in this regard, so we have to tell PursaSlicer that it needs to read Klipper’s language. To do so, the Klipper G-code flavor should be selected in “Printer Settings > General > Firmware” to ensure Klipper can understand the slicer.
Keep in mind that the Klipper flavor selection has just recently become available with the PrusaSlicer 2.6 release. Older versions of PrusaSlicer don’t support the Klipper G-code flavor, yet both the “Marlin (legacy)” and “Smoothie” flavor options should be mostly compatible with Klipper.
Streamlining the Process
Connecting Klipper with PrusaSlicer means no more shuttling files back a forth from your computer to your printer with an SD card. To transfer your G-code files from PrusaSlicer to Klipper directly from your computer, you’ll want to use the slicer’s built-in “Upload to printer host” feature.
PrusaSlicer allows uploading to the most common printer interfaces directly from the slicer. Most Klipper-specific interfaces, such as Mainsail and Fluidd, use Moonraker to communicate over a network, which includes sending G-code files directly to the printer! Alternatively, OctoPrint is a popular and well-documented choice that you can check out in our PrusaSlicer and OctoPrint guide.
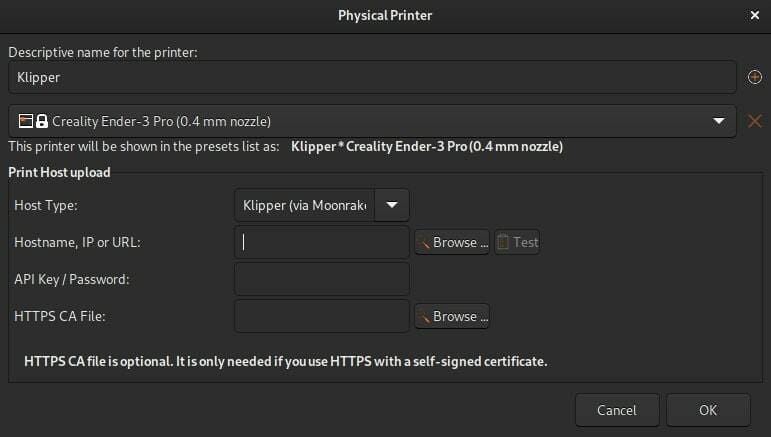
To get PrusaSlicer communicating with Klipper, you have to set up a “Physical Printer” within the slicer. Here’s how to tackle that task:
- Identify the IP/URL of your printer. This is the same one you use to access your printer’s web interface in a browser.
- In PrusaSlicer, navigate to “Printer Settings” and click on the cog icon in the header bar that opens the “Physical Printer” settings.
- Add a name for your printer and select your model from the list of presets.
- Make sure “Klipper (via Moonraker)” is selected as the “Host Type” and paste your printer’s URL into the “Hostname, IP or URL” field.
- Use the “Test” button to ensure a good connection to Moonraker. Simple as that!
Now, after you slice a model using the new “Physical Printer” that PrusaSlicer has created, a button will appear next to the “Export G-code” button which will upload the G-code directly to the printer. You’ll even have the option to automatically start a print job right from your computer!
What Am I Printing?
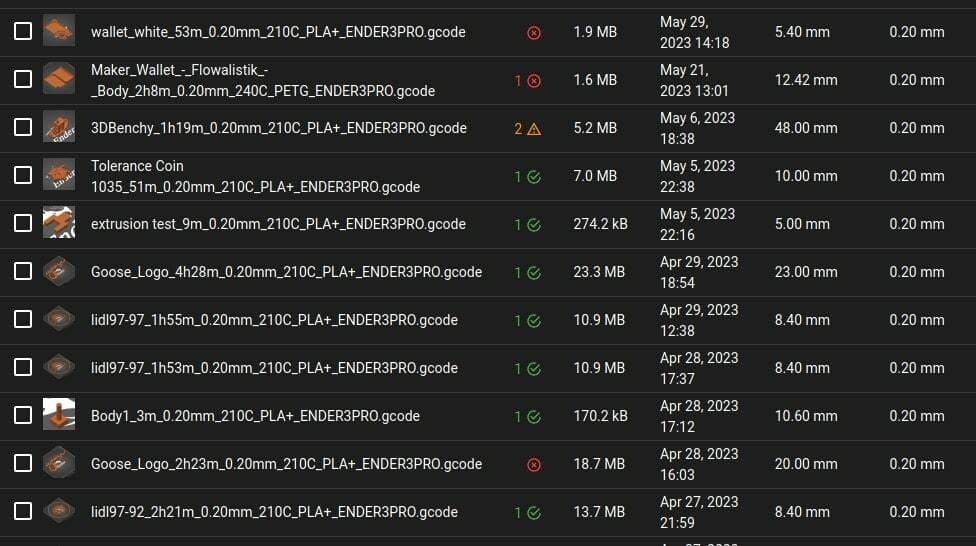
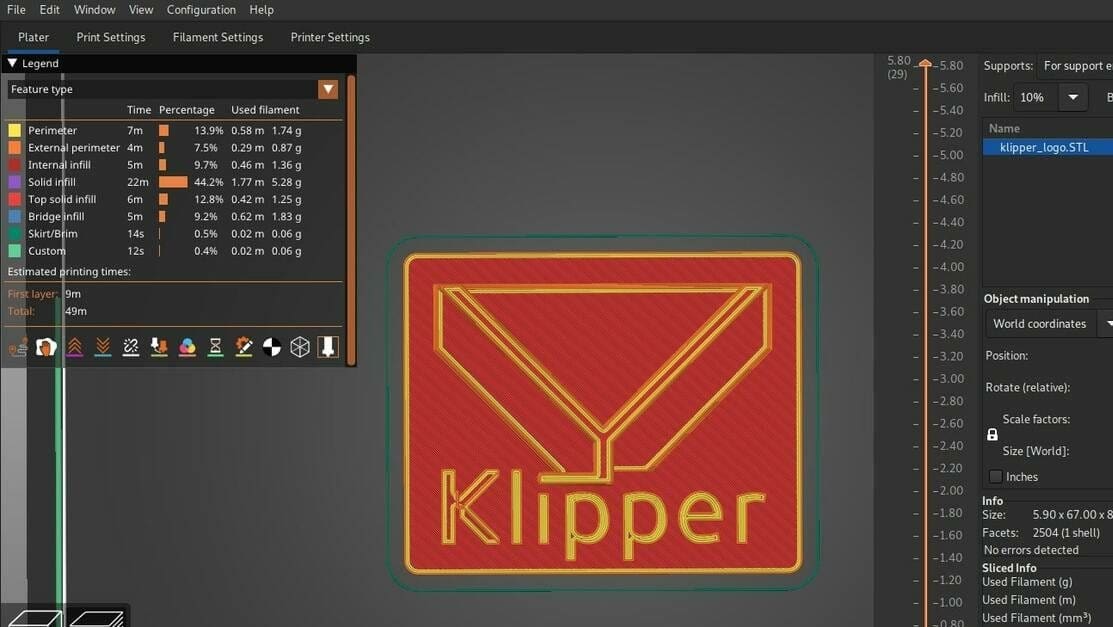
If you store many G-code files on your printer’s web interface, it may be difficult to see which ones print what, especially if they have long and confusing names! No need to worry, PrusaSlicer also has a feature to help with this. Each file can include a thumbnail preview of the model with a few easy steps. But first, make sure you are in “Expert mode”, which can be found in the upper right corner of the slicer.
All you have to do is navigate to “Printer Settings > General > Firmware” to find the “G-code thumbnail” option. For Mainsail, enter “32×32, 400×300” and set the “Format of G-code thumbnails” to PNG.
And that’s it! Thumbnails should now automatically appear in your interface after this change.
Slicer Settings
At this point, Klipper may work with PrusaSlicer, but there are still a few key points to be aware of.
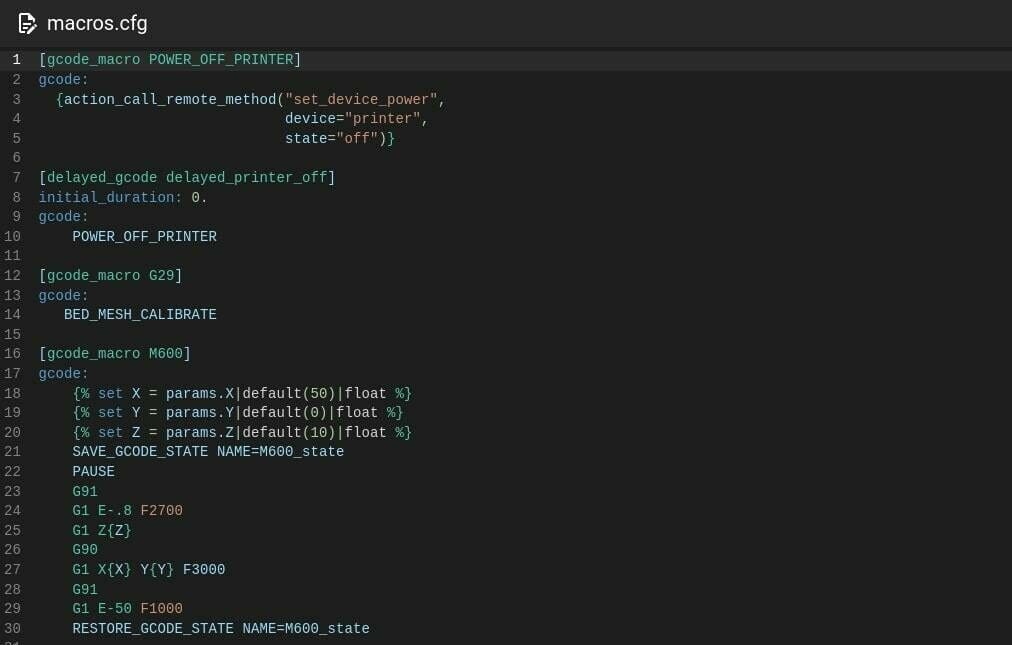
Macros
PrusaSlicer allows for user-defined G-code that runs at various stages of the print. In contrast, Klipper utilizes macros that can be called by PrusaSlicer at various stages of the print. This means that the special commands, like a start G-code sequence, defined within a macro, can be modified within Klipper and the changes will be applied even to previously sliced prints, thus removing the need to slice them again.
Once these macros have been created, they can be added to PrusaSlicer in the “Custom G-code” section under “Printer Settings”.
Retractions
Klipper itself defines the maximum speed and acceleration values of retraction moves based on your printer model. The default values should work in most cases, but if you’re using retractions larger than 5 mm, then issues may begin to occur.
Klipper has a great pressure advance feature that can be used to help lower retraction values overall. However, if there are still issues occurring around retraction, the configuration values can be manually overridden.
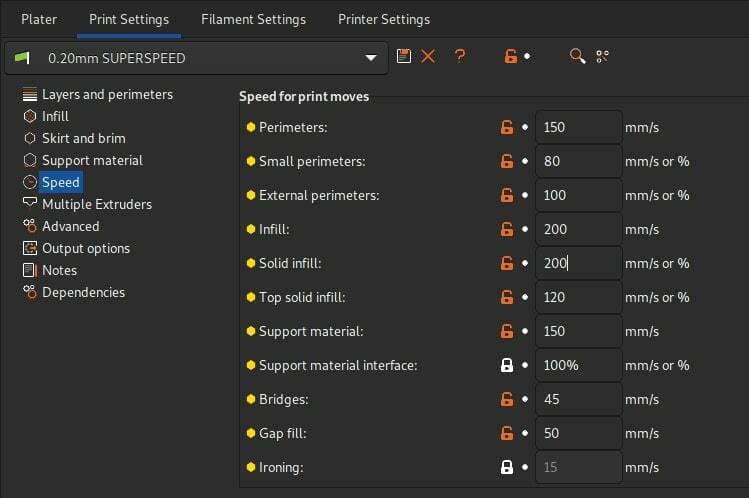
Speed
Klipper allows for faster acceleration and print speeds using features like input shaping, so why not take advantage of them? Try increasing print speeds in the “Print Settings” section and see what happens. Your printer may be capable of more than you think with the power of Klipper.
Ensuring Compatibility
Klipper and PrusaSlicer can still have a few sore spots at the end of the day. Here are some important pitfalls to watch out for to ensure great compatibility between the two!
Passing Slicer Parameters to Macros
Sometimes you may want to pass PrusaSlicer variables into a Klipper macro, such as temperatures with a starting macro.
The syntax {first_layer_temperature[0]} and {first_layer_bed_temperature[0]} within PrusaSlicer can be used to accomplish this. So, an example START_PRINT macro could be:
START_PRINT EXTRUDER_TEMP={first_layer_temperature[0]} BED_TEMP={first_layer_bed_temperature[0]}
Start G-code Options
The “Emit temperature commands automatically” under “Printer Settings > Custom G-code > Start G-code options” should be disabled. Otherwise, PrusaSlicer will emit its own heating commands in addition to your macro, which is typically undesirable.
Complications with Pressure Advance
“Pressure Advance” should be used in addition to retractions and wiping within PrusaSlicer. The combination of a small retract, a wipe value in the slicer, and a well-tuned pressure advance within Klipper can allow for cleaner prints. These values can be found in “Printer settings > Extruder > Retraction”.
Interface-Specific Features
Some interfaces, namely Mainsail, have features that they would like enabled. We’ve already covered most of them in this article but a couple of other minor ones include Label objects (located in Output options within Print Settings) and custom G-code required to enable layer count within the interface.
License: The text of "PrusaSlicer & Klipper: How to Make Them Work Together" by All3DP is licensed under a Creative Commons Attribution 4.0 International License.