Smoothing PLA 3D Prints Without Sandpaper

Learn how to smooth PLA 3D prints without sandpaper or other labor-intensive smoothing techniques! Check out these smooth methods!
When 3D printing, we’re always aiming for a perfect-looking final result. This may not be so important with functional parts or tools for example, but it certainly is for models that will be on display.
Some of the faults or blemishes that may ruin the look of your model are visible layer lines, ringing or ghosting effects, and marks left behind by supports. Of course, it’s possible to avoid all of these, and others, by having your printer perfectly calibrated. However, experience will tell most of us that this is an almost unattainable dream! Therefore, post-processing is an inevitable consequence of the pursuit of a perfect finish.
A constant that’s commonly found in most surface smoothing methods for PLA is sandpaper. You can gradually move through a variety of different grit sizes to obtain a smoother surface. It will get the job done, but repeatedly grinding down your print with sandpaper can be a timely and exhausting exercise that may still leave visible marks.
In this article, we’re going to look at alternative methods for smoothing PLA without sandpaper to save you some elbow grease! But before diving in, there’s some work to do to prepare your model.
Getting Prepared
Before carrying out any repair, finishing job, or even painting of a 3D model, there’s always some preparation needed. This will ensure that you’re starting on a clean slate, literally, and will give you better end results. Remember the five “P”s: Proper Preparation Prevents Poor Performance!
Here are a few things that may be necessary to make your smoothing time easier:
- Remove any dust or debris: This would include anything like supports or fragmented filament that may still be attached to the model.
- Apply heat: A heat gun may help remove any superfluous filament or stringing that may be present. Caution should be taken so as not to damage the model.
- Wipe clean: Cleaning first with a slightly damp, and then with a dry cloth, is the best way to ensure the model is free of unwanted residue.
After seeing to these easy and helpful tasks, it’s time to decide which method works best for your model, materials, and setup.
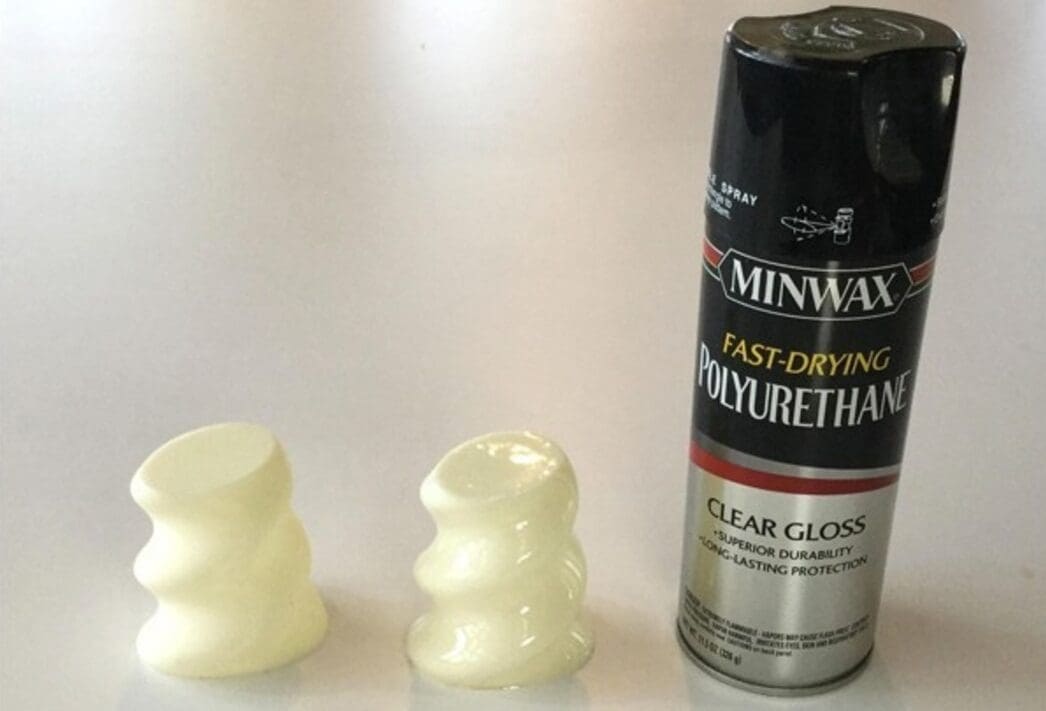
Method #1: Spray Fill
This technique works great on models with layer lines that you want to remove. While it does produce good results, if the layer lines are particularly defined, it may take some time to get the look you’re going for. However, this will be almost entirely comprised of drying time, during which you can continue with your other day-to-day tasks or even print more 3D models!
So, to look at this in more detail, let’s go through the step by step.
What You’ll Need
- Spray paint: Use one that matches your filament color, or pick a new color for your model. Just make sure it bonds well with plastic.
- Polyurethane spray: This works best if you use a fast-drying, clear satin variety. You could also try brush painting on liquid polyurethane, but it may be difficult to avoid blobs and clumps.
- Protective gear: For both you (gloves, goggles, and mask) as well as your space (covering your floor).
- Fan: This can help you speed up the drying, though it’s not essential.
- Well-ventilated area: Ideally, you would do this outdoors, but if you’re in a workshop or garage, having at the very least an open window helps.
Steps
Safety warning: Never use spray paint or polyurethane in an enclosed space. Wear gloves, protective eye gear, and a suitable mask (not just a medical one) because accidents can happen regardless of your level of experience.
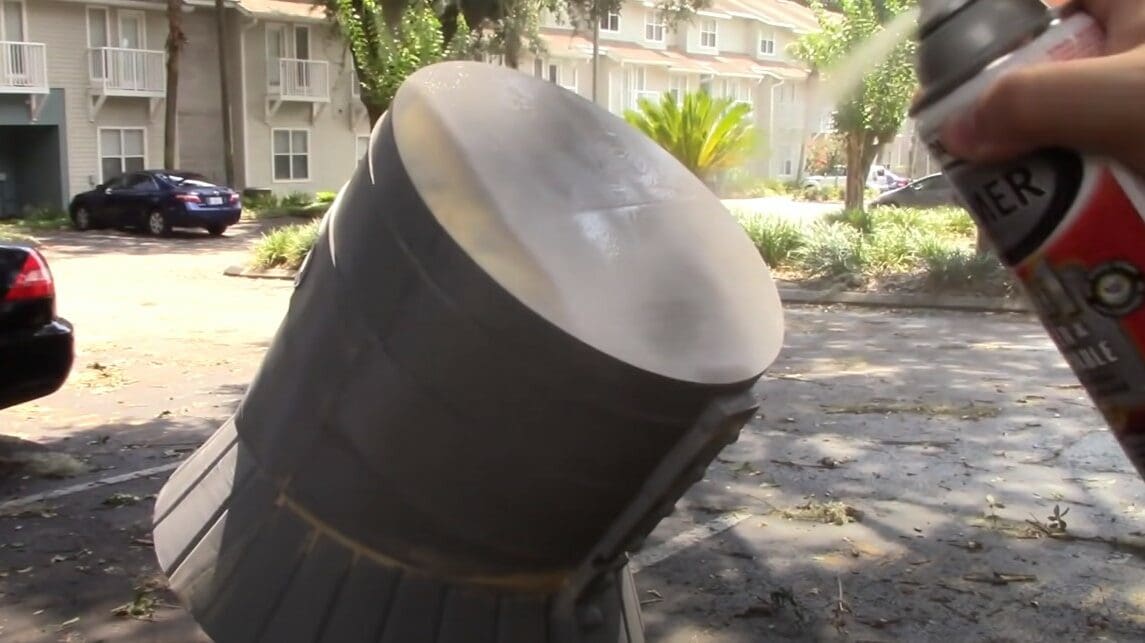
- Spray paint: Coat your model over the entirety of its surface using your choice of spray paint. Be careful not to spray too much in a particular area as this may create lumps. Aim for as thin a coat as possible but still maintain a full, even coverage.
- Polyurethane: While the first coat of spray paint is still wet, apply a coat of polyurethane. Again, you should aim for full coverage of a thin, even layer.
- Quick dry: Simply place the model under the fan and leave it to dry fully. During this process, the paint and polyurethane will mix and find their natural resting place within the layers, holes, and any flaws that you’re trying to cover.
- Wait: It’s advisable to wait at least 20 minutes between the application of each layer to prevent defects like bubbles or drips. It will depend on your setup, but if you want to play it safe, you could leave each layer overnight.
- Repeat: You’ll need to do as many layers as it takes to get your desired result. Depending on the severity of your surface texture, this may be a few or many, so don’t give up if you haven’t got there straight away.
- Final coat: Apply a final coat of only spray paint to finish the process. Obviously, you’ll again need to allow this to dry, but the use of the fan isn’t essential.
Once finished, you should end up with a smooth surface free of layer lines or any flaws that may have occurred during printing. If you plan on doing this to your part before it’s even printed, you may be able to get away with thicker layers to cut down on printing time.
Just be careful since you may lose some of the detail or definition of the model when printing with thick layers, and note that coating many spray paint-polyurethane layers may also cause some losses in that regard. The simple message is, don’t overdo it.
- Difficulty level: Intermediate
- Price/expected cost: Spray paint ~$15; polyurethane $5-$10
- Additional tools: Electric fan, gloves, eye protection, mask, work surface protection
Next, let’s check out some alternative methods of smoothing PLA prints without sandpaper.
Method #2: Epoxy Coating

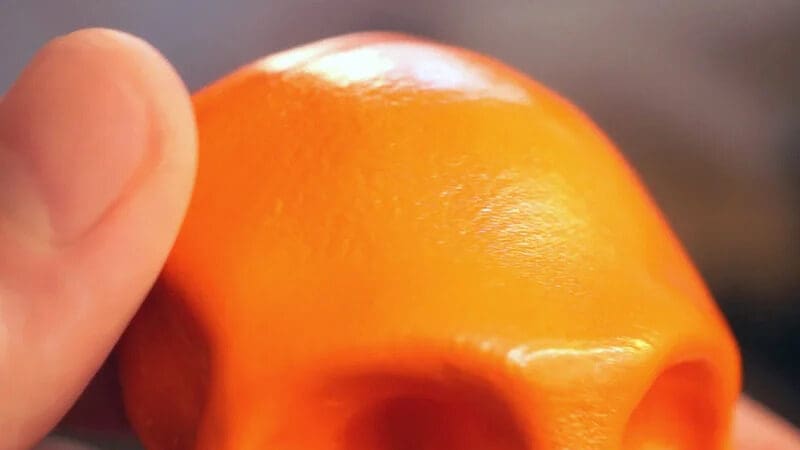
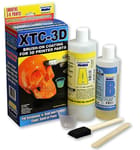
There are a few brands of epoxy coating out there, one of the most popular being XTC-3D. While it’s not the most exciting name for a product, your excitement level may change once you see the results it can achieve. The product itself is a clear two-part resin, specifically designed to smooth and seal your 3D prints.
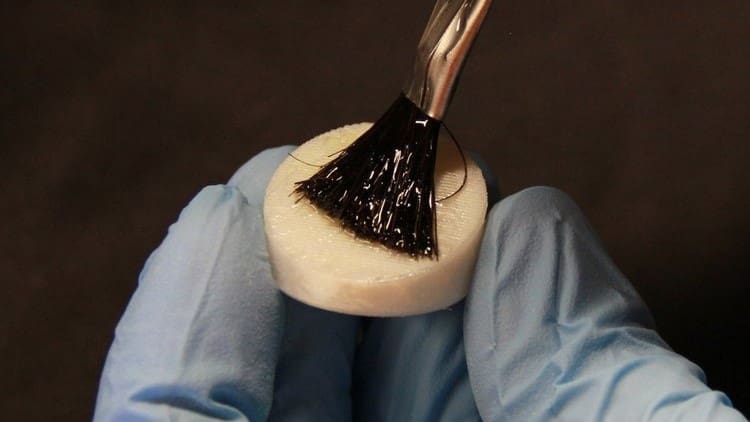
Full instructions on how to use it are provided with the product, but to give a quick run-down, you begin by mixing the two parts of the epoxy together. You can then apply the mixture to your model with a brush. Let it dry, and it will harden into a completely smooth, clear coating, making your print as shiny as if it were injection molded.
Being an epoxy resin, it can be tricky to clean up if you get it on anything other than your print, so you should also break out your protective equipment for this method. XTC-3D can also be mixed with dyes, tints, and coloring to “paint” your parts, as well as add effects like glitter or a metallic coating.
- Difficulty level: Easy
- Price/expected cost: ~$38 (larger sizes are available at additional cost)
- Additional tools: Paintbrush, electric fan, gloves, eye protection, mask, work surface protection
Method #3: 3D Gloop!
In comparison to our previous offering, 3D Gloop! has a much more satisfying name, if you’re into that kind of stuff. There are a variety of formulae specific to each of the main types of 3D printing filaments, and aside from smoothing 3D printed models, it can also be used as a bed adhesive and glue.
3D Gloop! is premixed, so it’s ready to use and can be applied with a paintbrush in the same way as XTC-3D. The resultant finish dries to a smooth, hard surface, albeit it’s not quite as shiny as the XTC-3D method. Having a good quality brush will help you apply a thin layer quickly and improve the final look.
A word of warning: 3D Gloop! dries very fast after application, so if you don’t have a quick brush hand, you could end up with gummy coating. The chemicals that make up this product act to dissolve PLA, which can be very helpful to remove layer lines, but you can easily go too far. On a similar note, some of the chemicals involved in 3D Gloop! are toxic, so ensure you’re working in a well-ventilated workspace.
- Difficulty level: Intermediate
- Price/expected cost: $8-$25 (larger sizes are available at additional cost)
- Additional tools: Paintbrush, gloves, eye protection, respirator mask, work surface protection
Method #4: Solvent
A solvent is essentially something that can dissolve a material. While 3D Gloop! contains some amount of solvent, as well as some other ingredients that make it a well-rounded tool, you could also go straight to the source and try directly using a solvent. And while you need to be very careful while applying 3D Gloop!, even more precautions need to be taken both safety-wise and for an effective application when working with solvent.
There are a few options out there that can get the job done, many of which are much more aggressive (and toxic) than necessary. A better option may be ethyl acetate, often found in glues and nail polish, for example. It’s perfectly capable of dissolving and smoothing PLA and is relatively safer to work with compared to the alternative solvents.
You can apply ethyl acetate all over or spot clean with a brush or cloth. Again, working quickly with small amounts of solvent at a time will prevent unintended damage. You could also try diluting the ethyl acetate with isopropyl alcohol and applying the solution with a spray bottle (only in a well-ventilated area with a respirator mask as the fumes can cause irritation to the eyes and throat).
- Difficulty level: Advanced
- Price/expected cost: ~$4 for a 100-ml bottle
- Additional tools: Small brush, gloves, eye protection, respirator mask, work surface protection
License: The text of "Smoothing PLA 3D Prints Without Sandpaper" by All3DP is licensed under a Creative Commons Attribution 4.0 International License.
CERTAIN CONTENT THAT APPEARS ON THIS SITE COMES FROM AMAZON. THIS CONTENT IS PROVIDED ‘AS IS’ AND IS SUBJECT TO CHANGE OR REMOVAL AT ANY TIME.