Laser Engraving a Logo: 3 Easy Steps

Laser engraving a logo is a fun and permanent way to represent your brand or fandom. Read on to learn how to do it in just three steps!
Engraving, marking, etching: call it what you want, but this technology is great for imprinting images onto a surface. It’s a permanent mark that simply can’t wear off.
In this sense, laser engraving a logo is an awesome way to stamp an emblem on a product or packaging. Be it for a small business or simply for fun, this is something worth knowing.
In this article, we’ll go about the steps required for laser engraving a logo. First, let’s talk about some hardware and software requirements.
Hardware Requirements
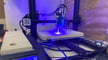
Well, first and foremost, we need a laser engraving machine. While there are different types of lasers, CO₂ and diode lasers are the most common technologies found in desktop machines. CO₂ is by far the most powerful, and also the most expensive, while diode modules are cheap in comparison and can even be retrofitted into a 3D printer.
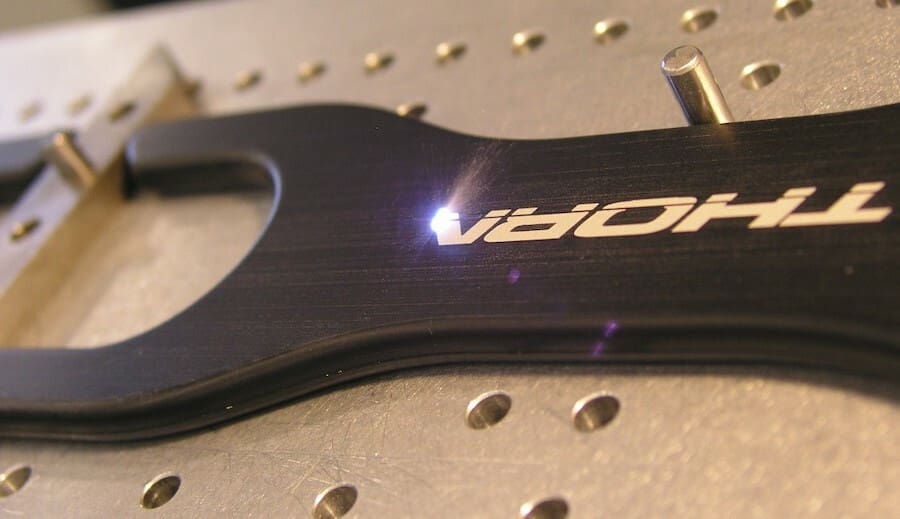
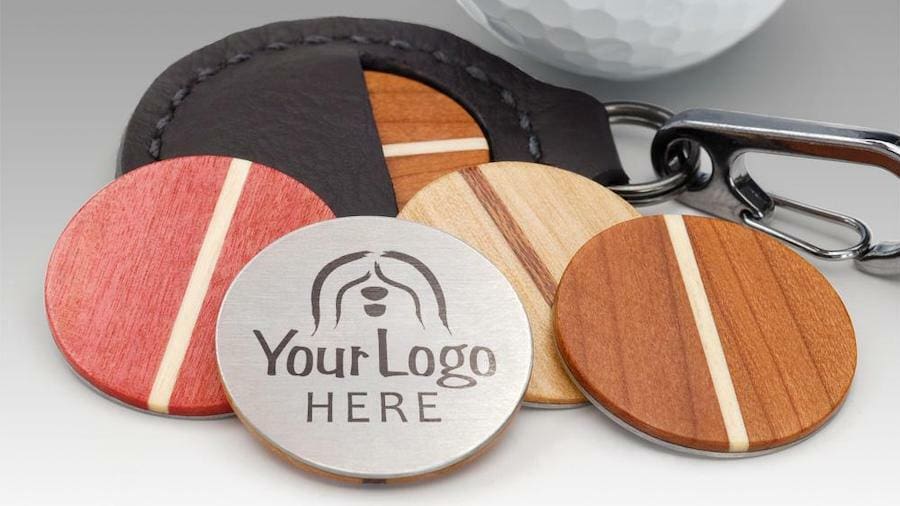
Generally speaking, the output laser power (in Watts) determine which materials can be engraved. For example, engraving metals require a minimum of 60 W, while other materials like wood, fabric, and leather can be marked with as little as 500 mW.
Other factors influence engraving, like wavelength for example, so be sure to check with the laser manufacturer what the specific model can engrave. Also, keep all the safety requirements in mind, like proper eyeglasses and well-ventilated areas.
Other Requirements
Besides having the right hardware for the job, using good engraving software with proper file preparation goes a long way.
Most laser machines come with proprietary software for engraving and sometimes cutting. Third-party software like LaserWeb, LaserGRBL, and LightBurn are usually the ones used for DIY machines, and they’re also a great alternative to proprietary software.
As for the logo image, there are really no strict requirements for its format since it’s possible to engrave using both raster (JPG, PNG, BMP) and vector (SVG, EPS, AI) files.
Logos are usually in a vectorized format, and engraving this kind of file is very straightforward. If any editing is required prior to engraving, it must be done in software like CorelDRAW, Inkscape, and Illustrator.
For raster files, however, you’re better off with high-resolution images. In addition, for best results, the logo image should be in black-and-white and stripped of any shaded areas. Editing raster files is easier, but purpose-built software like GIMP and Photoshop might still be required.
Engraving the Logo
Now, let’s briefly go through the steps of engraving a logo. For this guide, we’ll engrave our own logo from a raster file.
Step 1: Prepare the Image
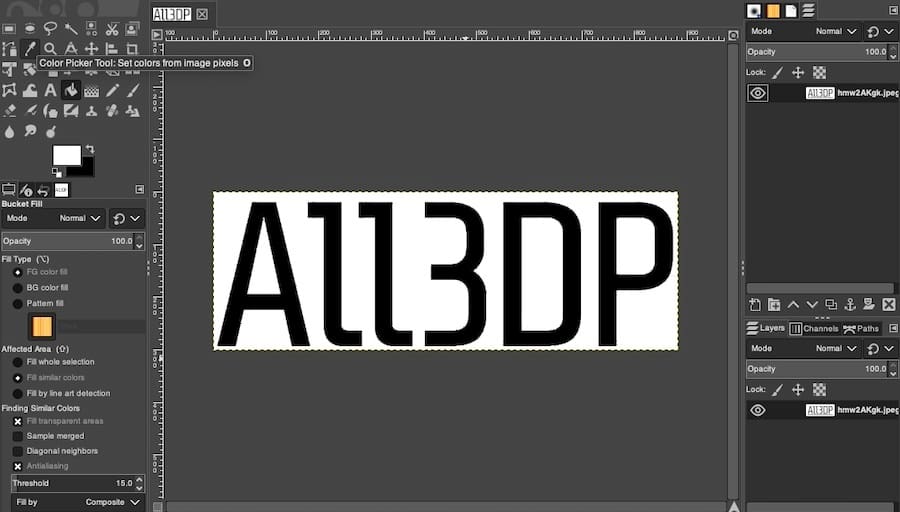
Since we’re working with a JPG, we’ll use the free software GIMP to prepare the image for engraving. We’re starting with a square All3DP logo with white text on a blue background.
- First off, since we only want the “All3DP” written logo, let’s crop it out from the original image. You can do that using the Crop Tool located on the left panel or by using the “Shift + C” shortcut.
- Now we need to work on the colors. Go to “Image > Mode > Grayscale”, which should remove all the color from the image. In our logo, this turns the blue background gray while the text remains white.
- To make the text black, go to “Colors > Invert”. Now the white text has turned black, but the background is still gray.
- Use the Bucket Fill Tool (Shift + B) to make these areas white.
Now you should have an image just like the one above. All that’s left is exporting the image as a JPG. Don’t worry about its size now as we’ll scale it with the engraving software.
Step 2: Set Up the Job
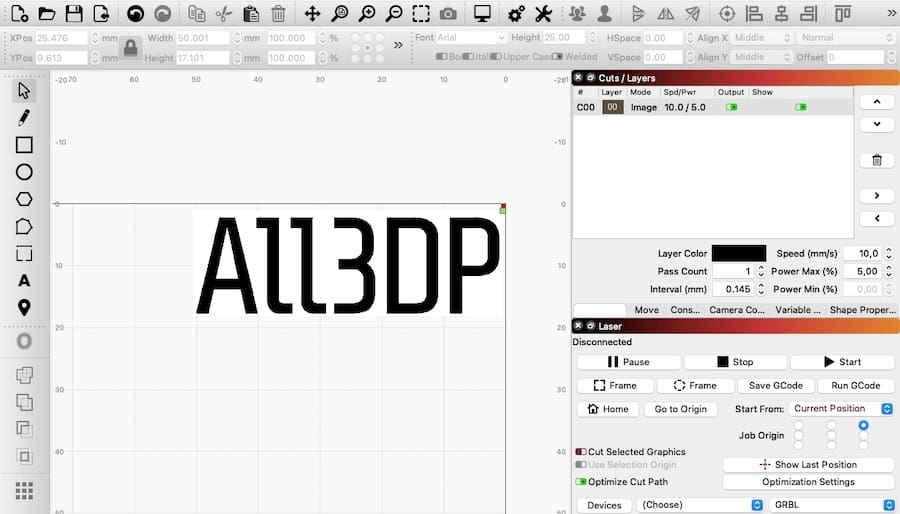
We’re almost ready to fire up our engraver, but first we need to set some parameters. We’ll use LightBurn for preparing and sending the job to the machine, but feel free to use your own machine software.
- Drag-and-drop the exported file from the previous step to Lightburn’s workspace.
- Scale the image according to your needs. You can either use the resizing handles or type the dimensions into the top toolbar. In our case, we want to engrave our logo to be 50 mm in width.
- In the “Cuts/Layers” panel, double-click the first layer “C00” and adjust the engraving settings like speed and laser max power. This will depend on the material to be engraved and the laser itself.
- Note that LightBurn automatically recognized a raster file (JPG) and had already turned the Mode to “Image”. Click “OK” to close the window once finished.
- Let’s preview the job by clicking on the monitor icon at the top toolbar. If everything looks right, we’re ready for engraving.
Step 3: Engrave!
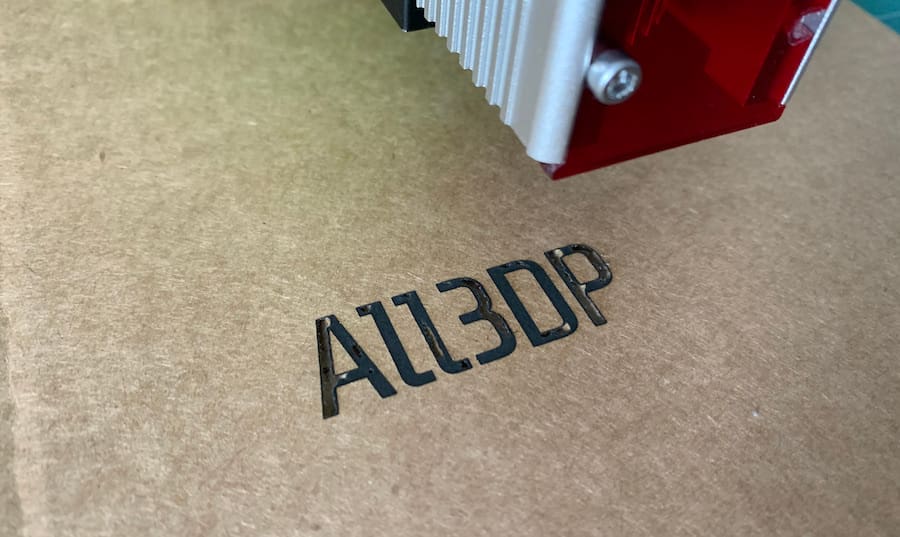
We’re all set for engraving. Gather the materials, connect your machine, and make sure all safety requirements are met. And let the fun begin!

License: The text of "Laser Engraving a Logo: 3 Easy Steps" by All3DP is licensed under a Creative Commons Attribution 4.0 International License.