Kiri:Moto (Web-Based Slicer): All You Need to Know

This slicer flexes browser-based computing for your 3D printing needs... And more! Read on for everything you need to know about Kiri:Moto.
Kiri:Moto is one of many slicers available for free nowadays. Just like the others, it translates a 3D model file – STL, 3MF or OBJ – into G-code instructions your printer will execute to print an object. How then does Kiri:Moto stand out?
Unlike other slicers, Kiri:Moto is entirely browser-based: No software or app to install here. Since its creation in 2013, makers everywhere have been able to access it from any web-enabled device to prepare files for 3D printing.
In this article, we’ll take a look at Kiri:Moto and its most significant features, including capacities completely unrelated to 3D printing that will surprise you. We’ll also touch on the available support for Kiri:Moto users and how this slicer compares with three other very popular programs: Bambu Studio, Cura, and PrusaSlicer.

Access Requirements

As we mentioned earlier, Kiri:Moto is entirely accessible through your favorite web browser. That and a connection to the Internet are pretty much the only requirements included in Kiri:Moto’s documentation. That means once you access Kiri:Moto, you’re ready to start slicing files with the latest version available.
Although Kiri:Moto is a web-based application, 3D models are not processed on remote servers. Instead, they’re processed directly on your own computer, in a secured browser session called a “sandbox”. This is great news for privacy-conscious users. Your computer and files are safe because Kiri:Moto cannot access or modify them without your authorization.
UI & Layout
On first access, Kiri:Moto will present you with a pop-up linking to the documentation, community support through forums and a Discord server, and a donation page. Click anywhere, and you can start exploring the minimalistic but complete interface curated by the Kiri:Moto team.
Let’s take a look at the main screen together.
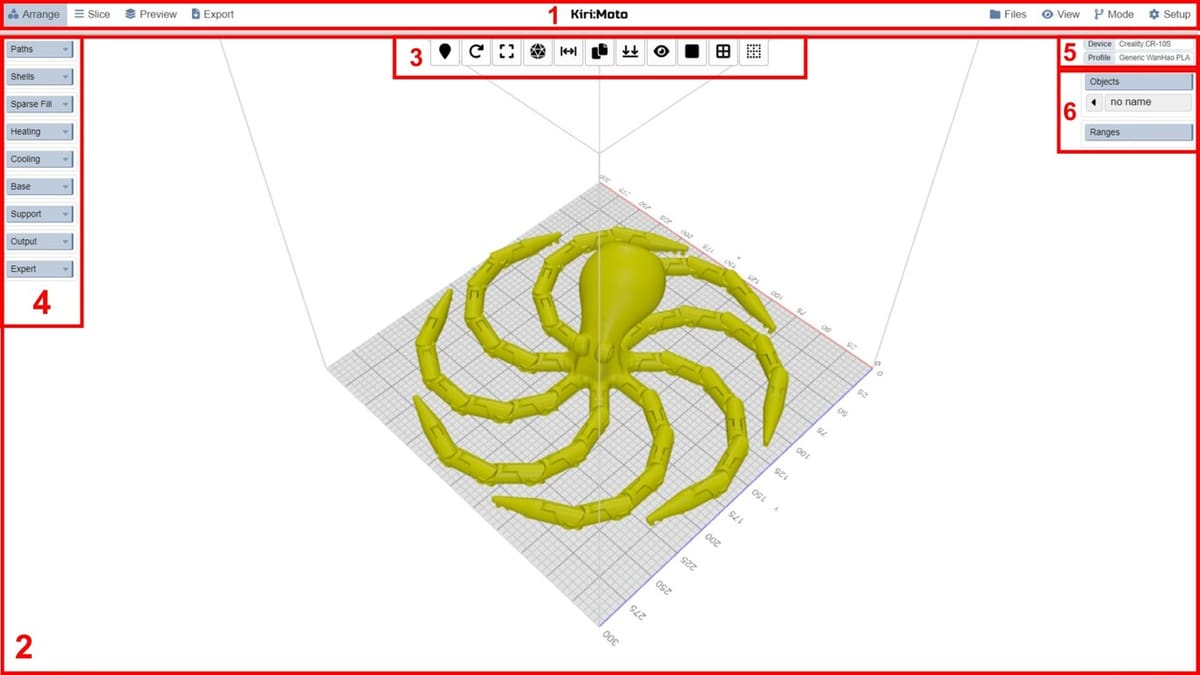
(1) App Menu Bar
The App Menu Bar is split into two halves at the top of the Kiri:Moto interface. Let’s start with the right half of the screen, where all the global Kiri:Moto settings live:
- The Files icon lets you import and export files as well as settings to and from the slicer.
- The View icon lets you switch between views in one click or switch to a full screen window.
- The Mode drop-down menu lets you pick the kind of machine you’re working with. The options include FDM or SLA 3D printers as well other maker tools such as laser cutters or CNC routers. We’ll focus on FDM 3D printers for this introduction, but you should explore the possibilities these different modes offer when you have the time.
- The Setup icon allows you to pick an existing device profile or create your own, as well as set language and application preferences.
On the far left side of the App Menu Bar, we find four tabs:
- Arrange is the default active screen, where we will lay out our 3D models.
- Slice will process our files and display the resulting slice.
- Preview lets us examine the printing process in detail.
- Export lets us save the corresponding G-code for printing.
Lastly, there’s a semi-hidden feature on the App Menu Bar. Clicking on the Kiri:Moto title in the middle of the bar brings back the pop-up screen that welcomed us. There, you can pick a different version of Kiri:Moto if you need it.
(2) Viewport
This is where we interact with our print plate and 3D models. The view will update as we import and modify models. We can navigate with our mouse and mouse buttons:
- Left click and dragging to orbit around the plate.
- Right click and dragging will pan across the plate.
- Finally, scrolling the mouse wheel or clicking it and dragging will zoom in or zoom out.
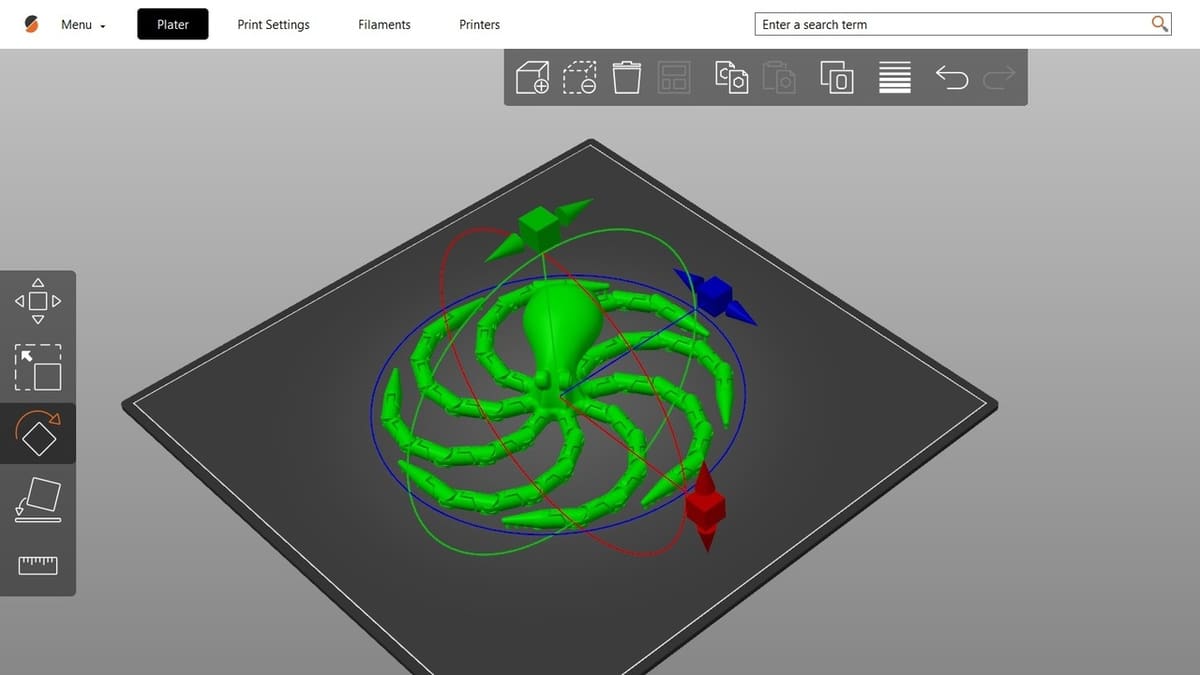
(3) Toolbar
At the top center of the viewport is a Toolbar with a series of quick-access tools. The available tools change depending on the machine you select in the Mode menu. With “FDM” selected, we find the following:
- The Extruder tool lets us assign extruders to objects if available. If your printer has more than one extruder, this is where we can assign them to specific objects.
- The Rotate tool rotates objects in the same way that similar tools in other slicers work. Just type in your rotation value and click the corresponding axis.
- The Scale or Resize tool let us adjust the scale of a model as well as its actual measurements for more precision – and saves us from going back to 3D modeling software.
- The Export tool is a handy shortcut that allows you to export a selected object as an STL or OBJ file to your computer. This is especially convenient when we’ve made changes to objects – for example, with the Scale or Resize tool.
- The Mirror tool lets us flip our object along the width of the printing plate.
- The Duplicate tool will make an identical copy of the selected object.
- The Place tool lets us pick a face on our object and put it in contact with your print plate. Think of it as a more precise version of the Lay Flat tool found in other slicers.
- The Eye icon lets us pick the focal and rotation point of the Viewport.
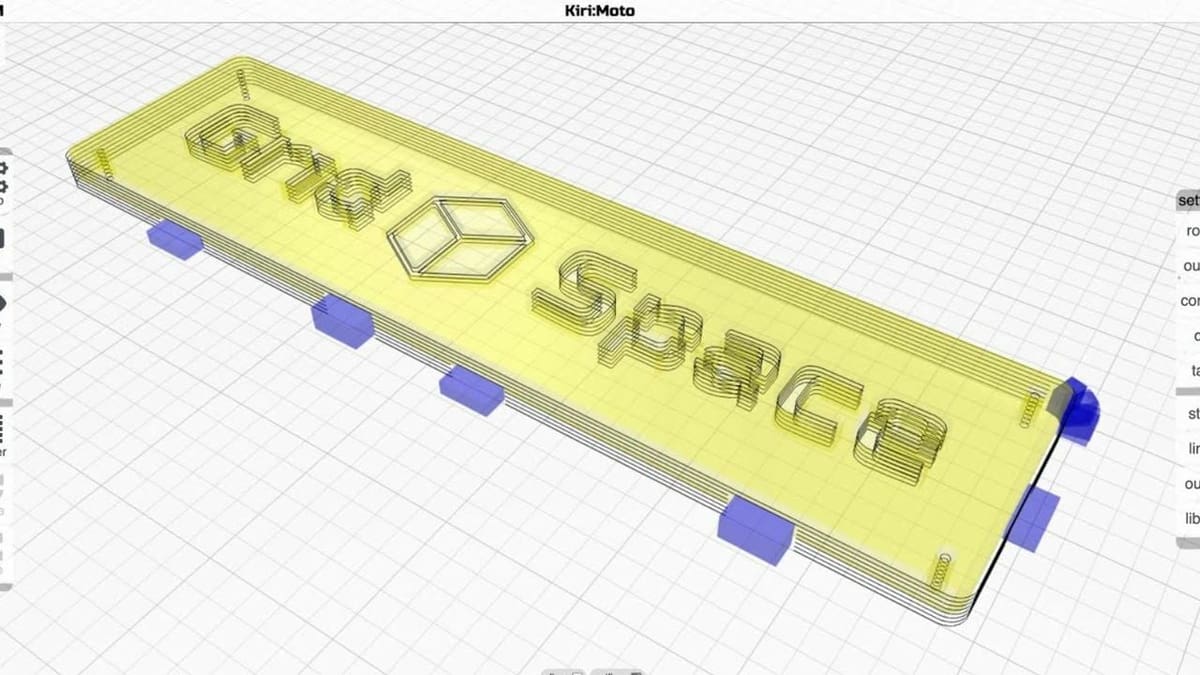
- The three Render icons of the toolbar let us pick how to show our objects: as solids, as wireframes, or transparent.
(4) Settings Menus
On the left side of the Viewport, we find the slicing settings. There are less options here than we might be used to from other slicers. The Kiri:Moto team curated the available options to minimize overlapping or conflicting settings.
The categories are pretty intuitive:
- Paths defines the height of each layer, along with the number of top and base (or bottom) layers.
- Shells controls the amount of solid walls around the print, their width, and printing order.
- Sparse Fill controls our infill settings, including infill density and pattern.
- Heating controls the temperature of our print head and our print bed.
- Cooling lets us control our fan speed and activity.
- Base lets us tweak the settings for the oh-so-important first layer, including temperature, speed, number of skirts or rafts.
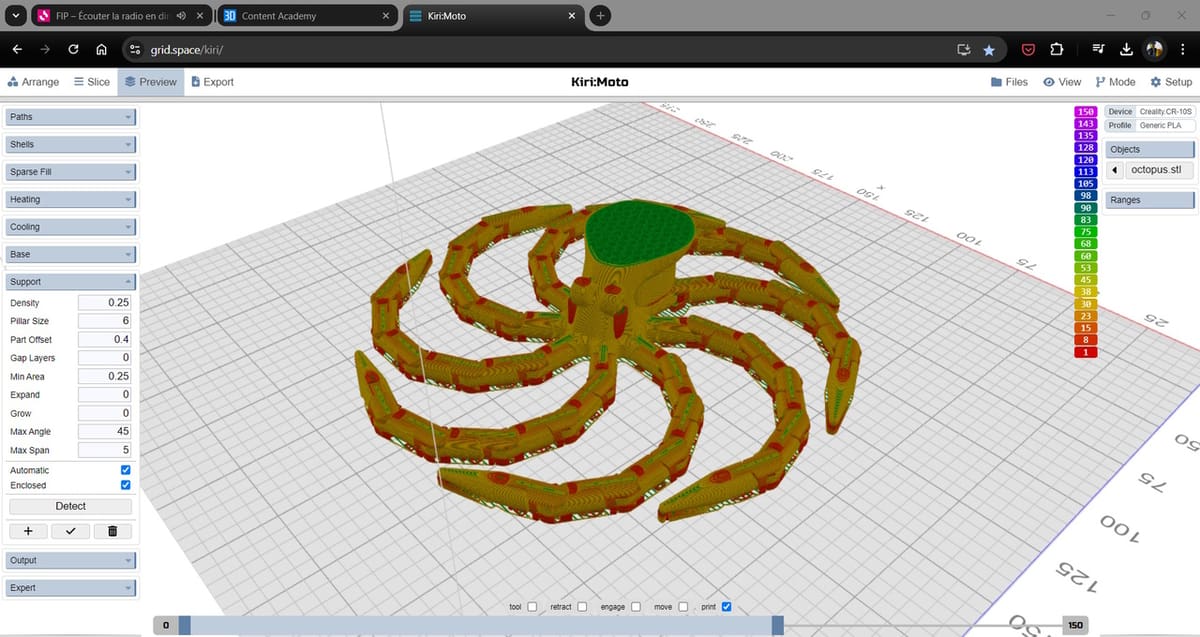
- Support controls the settings for our model’s supports.
- Output allows us to set the print speed, retraction, as well as a few other settings.
- Some additional settings for advanced users are available under the Expert section.
Note that if some of these settings don’t make sense to you, you don’t have to touch them to get a working print. Kiri:Moto will slice your models with default settings defined by your device and material profiles, which we’ll discuss next.
(5) Device & Material Profiles Stack
These two menus on the right side of our screen allow us to select devices and materials profiles. Here, we can also quickly switch profiles as well as edit or save them.
(6) Objects Stack
Just under the Device and Profile menus, the Objects stack hosts the list of the objects currently loaded on the printing plate. By clicking on the arrow icon next each object, we have the option to rename it, replace it with another model, disable printing, or delete it.
Features & Functions
Every slicer has the opportunity to bring its own outstanding features to the table, and Kiri:Moto is no exception. Here are a few standout features we love!
Simplicity
When we first start a new slicer, it’s easy to get lost in the face of so many options we might not know how to read yet. There’s none of that here! The Kiri:Moto team pared back the settings to a minimalistic core, which makes the interface approachable to new and experienced users alike – all without sacrificing customization options.
Customization & Sharing
Slicers work hard to optimize our printing experience, sometimes at the cost of being able to customize or override some printing profiles.
Kiri:Moto comes with over 40 profiles for 3D printers running either Klipper or Marlin firmware. They cover popular hobbyist printers like Creality’s CR or Ender series, semi-industrial printers from Ultimaker, or even belt printers. All of these profiles can be easily modified or entirely reinvented. Advanced users will be able to customize their machines further with custom G-code instructions – a great opportunity to put our 3D Printer G-code commands primer to work.
Creating custom profiles for unlisted printers is as easy as clicking the Customize button at the top right of the Device pop-up window. The profiles for printing materials can be customized by adjusting the settings in the Settings Menus, then saving them in the Profile pop-up window.
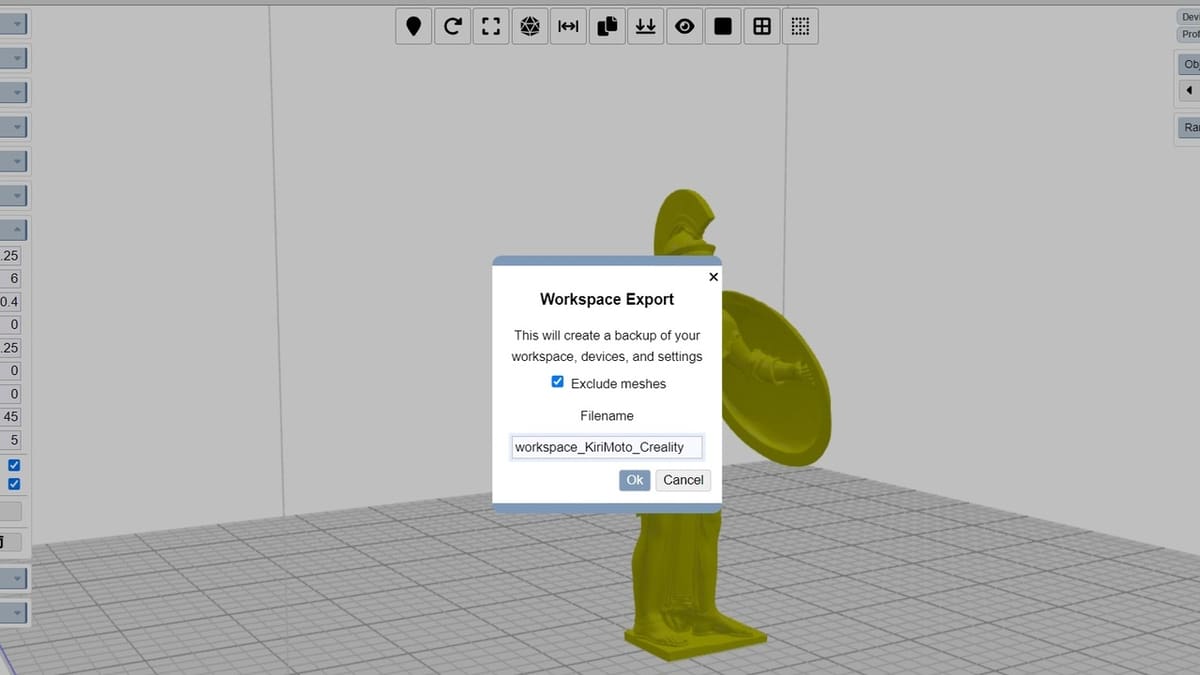
Finally, all these custom device and material profiles can easily be shared with the Export tool available under the Files icon in the App Menu Bar. The resulting .KMZ file is all you need.
Supports Detection
Generating supports is always delicate. Too many, and we’ll waste material and risk spending more time than needed in post-processing. Too little, and we risk a failed print.
Kiri:Moto’s Support menu features all you would expect from a regular slicer in this field, plus a Detect tool that will only generate supports instead of slicing the whole model. This saves time and computing power. You can, then, tweak the supports as needed before slicing.
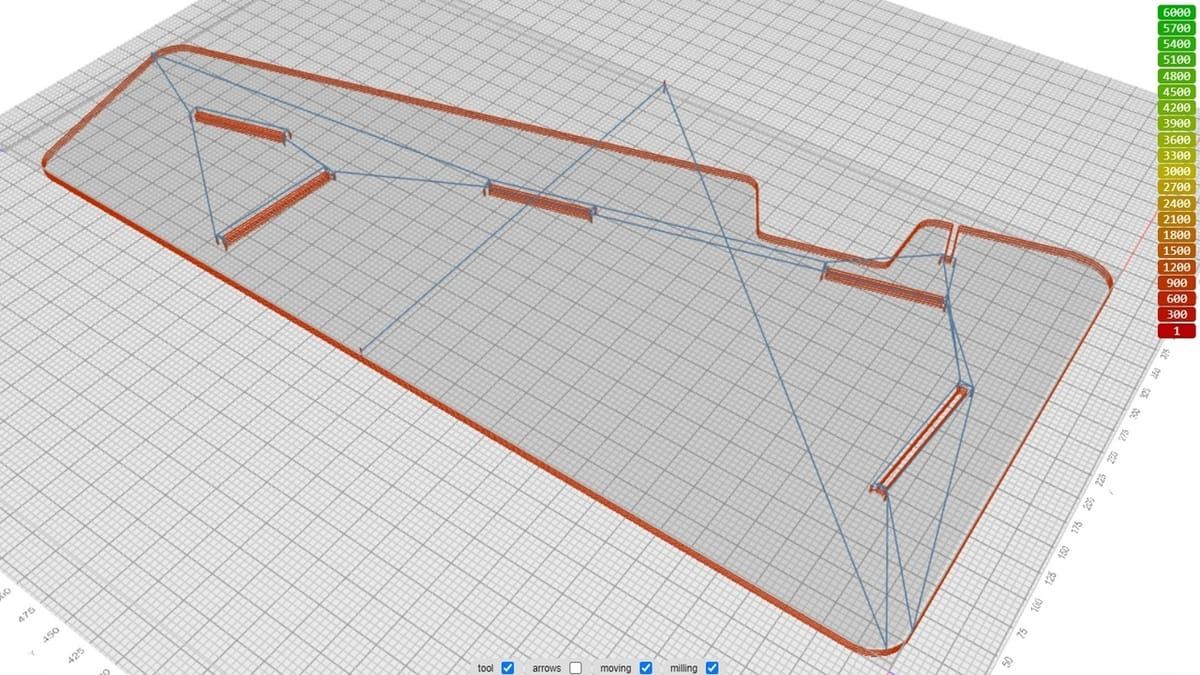
Beyond 3D Printing
Finally, one of the most powerful features of Kiri:Moto is the ability to generate G-code for other types of machines, including CNC routers, laser engravers, and more. These can be selected in the Mode drop-down menu we saw during our tour of the interface. This is especially helpful when you’re away from your regular computer and shop, or if you’re creating projects for a machine that doesn’t have dedicated software yet. Just like for 3D printers, new machine profiles can easily be imported if the one you need is not already available.
Use Cases & Applications
Why experiment with a web-based slicer when you could just install a desktop slicer? There are several use cases when Kiri:Moto makes more sense than the competition.
For starters, hobbyists with compatible FDM and resin printers will appreciate the ability to use one slicer for all their equipment without the hassle of installing and updating software. No need to hop from one proprietary program to another, you can take care of all your slicing needs for all your machines from your browser.
Kiri:Moto will also find its place in the workflow of any 3D modeling enthusiast who relies on web-based tools such as Tinkercad, OnShape, or Shapr3D to create model. Again, everything can be done directly from your web browser, including sending files to your printer through Octoprint‘s Web interface.
It’s also a great option for anybody looking to support less experienced hobbyists remotely or in person. Download a couple files from Thingiverse or Printables, load them in Kiri:Moto, and walk your friends or family through the basics of slicing. Thanks to the Profiles Export feature, you could even send them a pre-configured plate with a model ready to slice, then they’re good to go.
User Experience
Thanks to its focus on efficiency and reliability, Kiri:Moto starts very quickly and does a great job of guiding users and processing files.
Finding our way around any new software can be difficult. Kiri:Moto provides explanation bubbles for every menu to guide us. We did stumble across a couple that were incorrect, but overall, Kiri:Moto does a great job of guiding the user to success.
3D models load and slice very quickly, often competing with desktop software. Of course, being on an equal footing with desktop slicers also means running into the same challenges. Very complex designs with many parts (such as large articulated designs) will slow down Kiri:Moto at best or crash it at worst.
Finally, while most of the Kiri:Moto experience translates to mobile devices, it’s not all perfect yet – especially where it matters most. For example, while an iPad might have the computing power required to slice files, its web browser or memory management might prevent you from processing or exporting files. While updates are on the way to address these issues, your mileage will vary with devices and models in the meantime.
Community & Company Support
Kiri:Moto is not as well known as other slicing tools, but it doesn’t mean we are out of luck if we need help. For starters, Kiri:Moto has an official wiki, a forum, and Discord server. Users can look up problems and solutions there, as well as reach out for help through these same channels. If you need help beyond what the community can offer, you might have to reach out to the development team directly through their Github page.
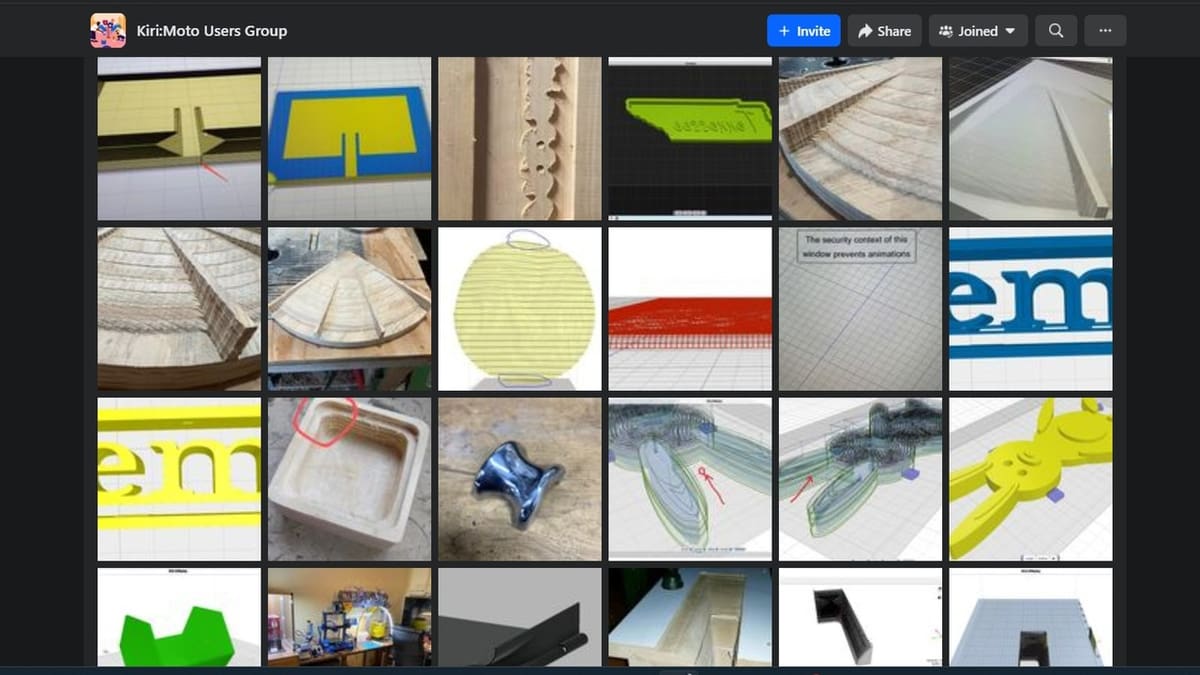
While there are online communities around Kiri:Moto on Facebook and Reddit, they’re relatively small – a few hundred members on Facebook members and less than a hundred on Reddit – and quiet. By contrast, the official Discord sees activity almost every day with the Kiri:Moto development team participating in the discussion, announcing new features, answering questions, and offering troubleshooting suggestions when possible.
Those of us who prefer video tutorials will enjoy the GridSpace YouTube channel. It features dedicated playlists for Kiri:Moto that cover basic 3D printing setup and operation as well more complex tools and of course. You’ll also find tutorials on how to use the other modes and maker tools available. It’s important to note, though, that the tutorials are slightly outdated, even though you can easily roll back to an earlier version of Kiri:Moto from the main screen.
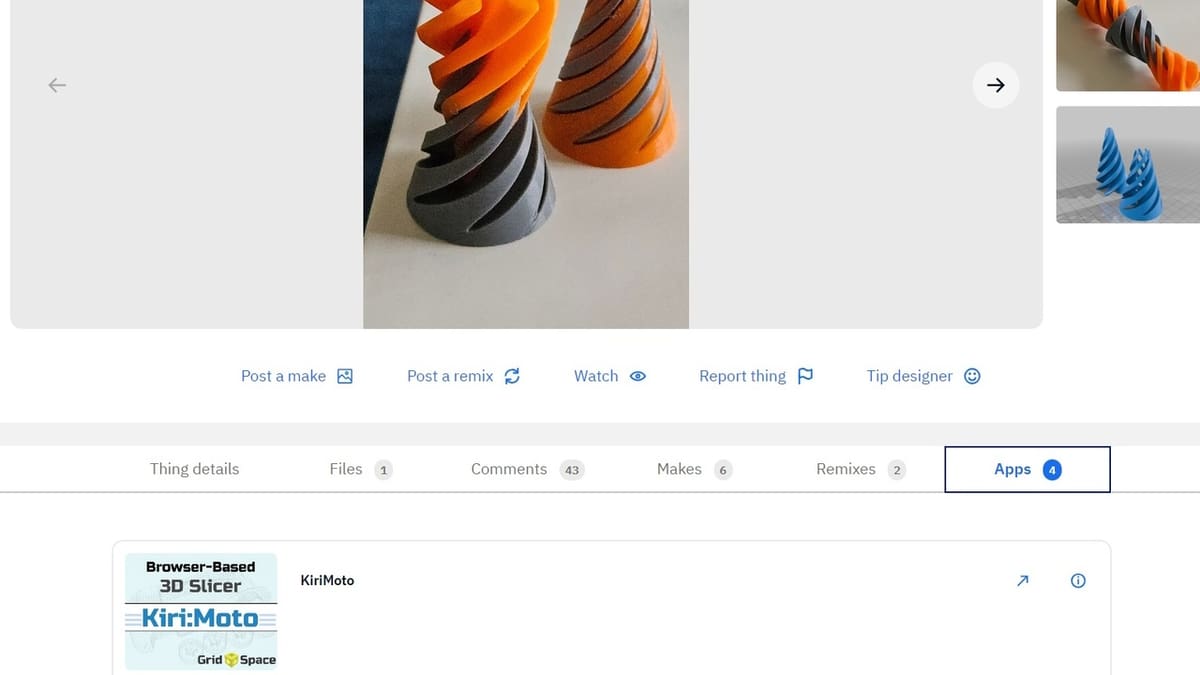
Kiri:Moto has also been integrated into both Thingiverse and Onshape as a plug-in, potentially taking you from a 3D model to G-code script in a few clicks. While this functionality doesn’t always work depending on 3D model compatibility or changes to these services, recognition from these major 3D printing industry actors has helped increase the reach of this web-based slicer that could.
Alternatives
Now that we more about Kiri:Moto works, let’s took a look at other popular slicers and how they compare.
- Bambu Studio: This is Bambu Lab’s 3D slicer offering. While it’s designed for Bambu Lab printers, Bambu Studio is also compatible with other printers but at the cost of some functionality. It offers a project-oriented workflow that stands out against other slicers and is very approachable for beginner hobbyists. For any user looking for a little more power and who doesn’t mind processing their files on remote servers, it’s a great slicer.
- Cura: This free, open-source slicer from Ultimaker is compatible with many third-party 3D printer brands. This often makes it the first slicer new hobbyists encounter. Easy to learn and easy to use, Cura has heavy community support. It’s a great step up from Kiri:Moto, thanks to its extensions and plug-ins.
- PrusaSlicer: Based on Slic3r, PrusaSlicer is Prusa’s free and open-source slicer offering. This software is famous for its steep learning curve, but recent updates make it more approachable to new users. We still recommend checking out our comprehensive guide to PrusaSlicer to get the best possible start, and there’s also extensive official documentation available to help users make the most of PrusaSlicer’s powerful features.
License: The text of "Kiri:Moto (Web-Based Slicer): All You Need to Know" by All3DP is licensed under a Creative Commons Attribution 4.0 International License.