How to Install Jyers Firmware on Ender 3 V2

A Jyers firmware upgrade can unlock new software features on the Ender 3 V2. Get started on all the possibilities with this tutorial!
The Ender 3 V2 is one of the most popular FDM 3D printers of all time. Following in the steps of the successful Ender 3, the V2 brings new advancements both in terms of hardware and software.
However, 3D printing enthusiasts love to create mods and tweaks on their own, which isn’t always feasible for some machines. It’s not that the Ender 3 V2 is a flawed machine, but there are numerous enhancements and customizations that can improve one’s experience with it.
A 3D printer’s firmware can be considered the machine’s soul since it bridges the G-code inputs with the printer’s hardware. Without it, the 3D printer is merely a collection of motors, belts, heaters, and electronics.
Therefore, if we want to make any major changes to the software or hardware, we’ll need to make sure the firmware can handle it. This is why many users choose to upgrade their firmware.
In this article, we’ll go over the steps required to upgrade your Ender 3 V2 using pre-configured firmware from Jyers.
It’s worth noting, though, that this firmware has been abandoned since around November 2022. That said, there are users who still opt for it, even if it won’t be updated, because it suits their needs, so it’ll be up to you and your requirements whether Jyers firmware is worth installing and running.
What Is Jyers Firmware?
So, what is Jyers firmware? Basically, it’s a Marlin fork, which is firmware based on the official Marlin firmware but with some changes. While the stock firmware by Creality is also a Marlin fork, it was configured in a way that many users feel is… unsatisfactory.
For instance, the stock Ender 3 V2 firmware only shows the first 16 characters of the files in the display, so identifying long-named files can be troublesome. The Jyers firmware, on the other hand, was configured to display the full filenames.
The core 3D printing functionalities remain the same, such as reading and interpreting G-code. Jyers firmware enables additional features that can change the user experience entirely.
And while using the official Marlin release is always an option, it needs to be configured and compiled correctly to work with the Ender 3 V2. Jyers firmware, on the other hand, is pre-compiled already and comes with useful features, such as the following:
- Filament change during printing: The M600 G-code command is enabled to allow for a 3D printing job with multiple filaments.
- Internal memory: The machine settings are saved to the mainboard (EEPROM) rather than to the printer’s MicroSD card.
- Temperature calibration: A PID auto-tune feature allows for quick and precise calibration of the heating element’s temperature control.
- Fine-tuning Z offset: Use the live adjustment tool via the Ender’s display for fine-tuning the distance between the nozzle and bed performed.
- UI customization: Features for the display, including color swapping and disabling beeper sounds, can be adjusted to your liking.
Set Your Goals
Before we jump into the actual tutorial, you need to consider the reasons for wanting to update the firmware on your Ender 3 V2. Whether you installed a new piece of hardware that requires a relevant adjustment or simply want additional software features unlocked by Jyers firmware, this will define which configuration to go with.
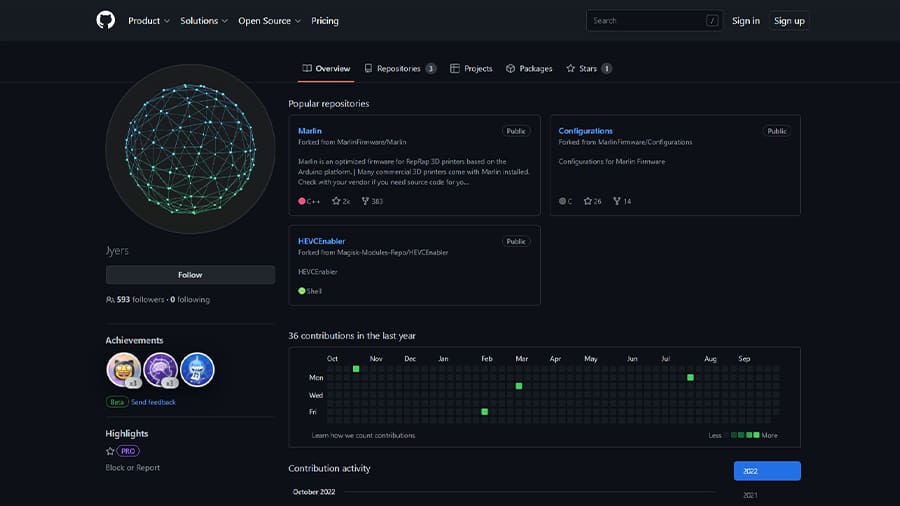
If you access the release page of Jyers GitHub, you’ll find the latest firmware right on top. At the moment of writing, the options are based on Marlin v2.0.1, and you’ll find a number of different “Assets” – or firmware configurations – to download from.
You’ll note that all of them are for Ender 3 V2 (“E3V2”), but after that, they all differ. If you simply want the additional features mentioned in the previous sections, without the new bed leveling feature, then you should go with either the “E3V2-Default-v4.2.2.bin” or the “E3V2-Default-v4.2.7.bin”.
The only difference is which version of motherboard is in your 3D printer. We’ll describe how to find that out soon enough. Now, if you want to implement a new bed leveling procedure, either via a leveling sensor or manually, things get a bit more complicated.
Bed Leveling Options
Jyers firmware contains a few different bed leveling procedures in its firmware configurations. Each firmware version follows a naming convention that describes its bed leveling procedure in detail.
E3V2-[Bed leveling procedure]-[Mesh size]-[Motherboard version]-[Marlin version].bin
So, for instance, the “E3V2-BLTouch-5×5-V4.2.2-v2.0.1.bin” version is firmware with a BLTouch auto-leveling sensor probing a five-by-five grid (25 points in total) that is specific for an Ender 3 V2’s motherboard V4.2.2 and based on Marlin’s v2.0.1. Phew!
Suppose your Ender 3 V2 doesn’t have a BLTouch sensor. In that case, Jyers offers two options for manual bed leveling: the “ManualMesh” using the mesh bed leveling procedure, and the “UBL-NoProbe”, which is a similar procedure but using Marlin’s unified bed leveling system.
Some BLTouch firmware also has “HS” and “UBL” versions. The first stands for High-Speed, in which the BLTouch doesn’t completely retract when measuring each individual point, resulting in faster bed leveling. The UBL version uses the data gathered by the sensor in the UBL system instead of the default Bilinear system.
Before downloading the firmware file, we must identify which motherboard version our Ender 3 V2 is packing. And for that, let’s finally start our tutorial!
Step 1: Check the Mainboard
By default, the Ender 3 V2 is shipped with the mainboard V4.2.2. However, Creality has released an upgraded version of this board, known as the V4.2.7 Silent Board.
Even if you have never touched your Ender’s mainboard, it’s probably best to make sure which version your mainboard is, especially if you bought a used machine. It only takes four screws to remove the mainboard cover, as we’ll see.
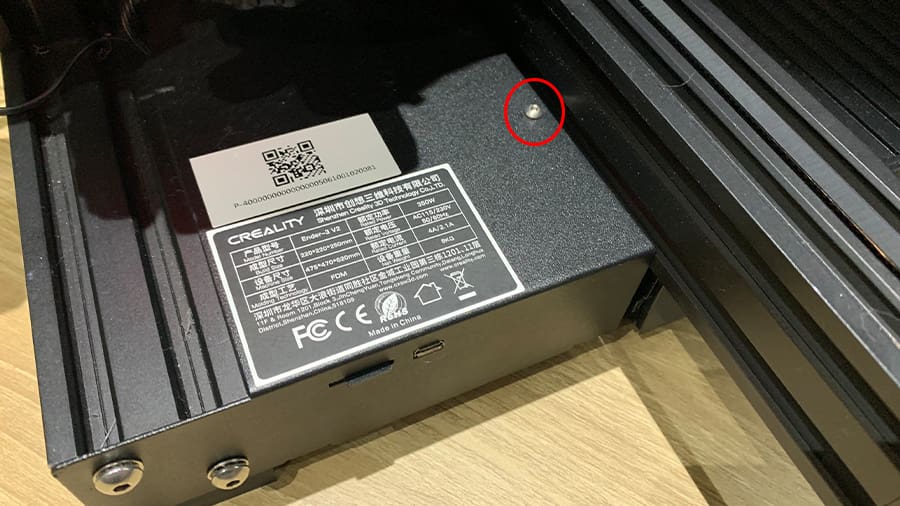
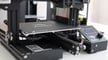
- Remove the screw located under the bed (as indicated in the picture above) using a 2.5 mm Allen key.
- Tilt your printer to gain access to the bottom screws located at the mainboard cover.
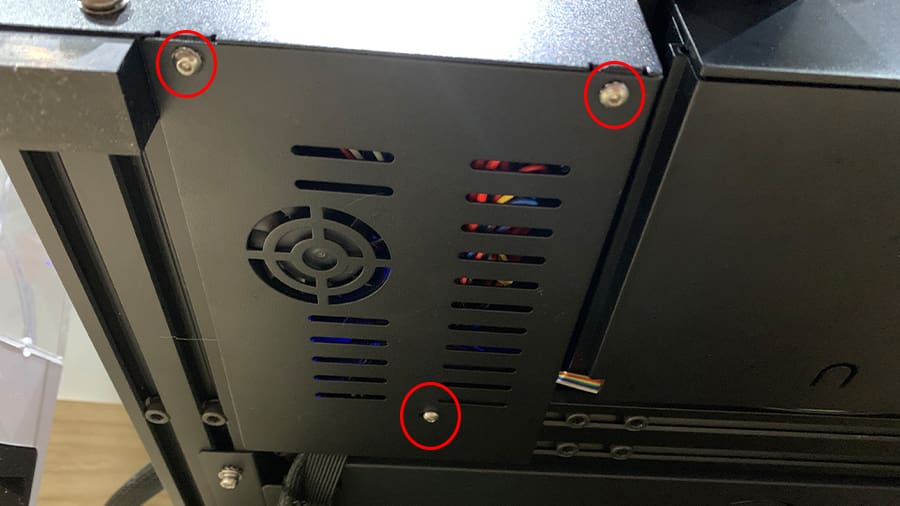
- Remove the three screws as indicated below.
- Slowly remove the cover and be careful with the cover fan and its wiring.
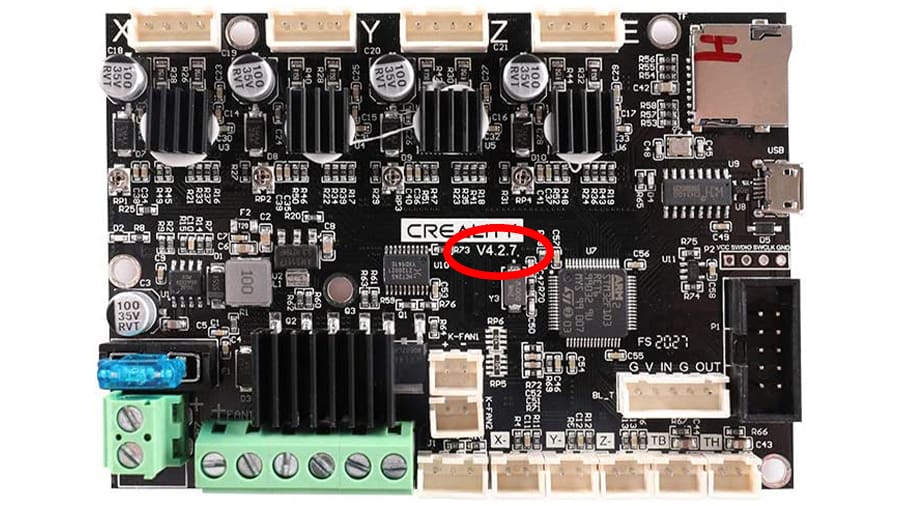
Now you should have a clear view of your Ender’s mainboard. The version information is located right at the center of the board, under the white “Creality” logo. Take note of it, or better yet, take a picture with your smartphone so you’ll always know for sure which mainboard version your machine is packing.
Step 2: Back Up Your Current Configuration

Even if your Ender 3 V2 is using the default motion values for speed, acceleration, and E-steps, it’s probably a good idea to back them up before installing new firmware.
- Turn your 3D printer on.
- Go to “Control > Motion” using the 3D printer’s display. Here you’ll find a list of motion settings sub-menus, including “MaxSpeed”, “Max Acceleration”, “MaxCorner”, and “Transmission Ratio”.
- Access all these sub-menus and record the values (either by writing them down or by taking a picture).
That’s it. Better safe than sorry.
Step 3: Download the Firmware File

By now, you should already know which version of Jyers firmware you’d like to use. You should also know which motherboard version your Ender 3 V2 has, and so we are ready to download the firmware file.
- Go to the releases page in Jyers’ GitHub repository.
- Select the firmware configuration desired and left-click on it. You’ll be prompted to download the BIN file.
- Save the BIN file somewhere with easy access.
Step 4: Transfer to an SD Card
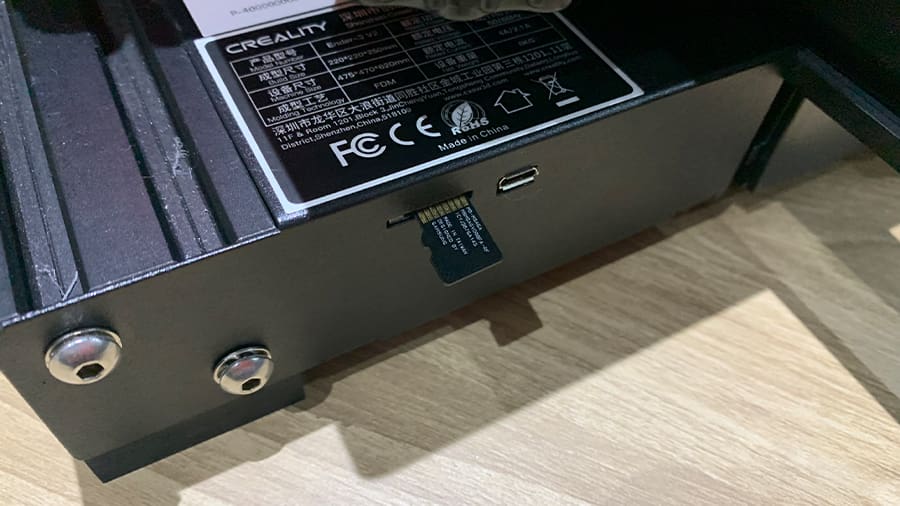
For completing the firmware update, we’ll need a MicroSD card to transfer the BIN file we just downloaded to your Ender 3 V2. Any MicroSD card will do, including the one that came with the printer.
However, to prevent any issues during the firmware flashing, it’s good practice to format the card in the FAT32 format. This is an older storage file system but it’s compatible across many devices, including the Ender 3 V2. Just make sure to back up any desired files in the MicroSD card prior to formatting!
With the MicroSD card backed up and formatted, simply transfer the firmware BIN file we downloaded in the previous step to the card without renaming it. And that’s it for this step! You can safely remove the MicroSD card from your computer.
Step 5: Flashing the Firmware
Now for the main event of the evening: flashing the firmware.
- Make sure your Ender 3 V2 is powered off.
- Insert the MicroSD card into the printer.
- Power the 3D printer on.
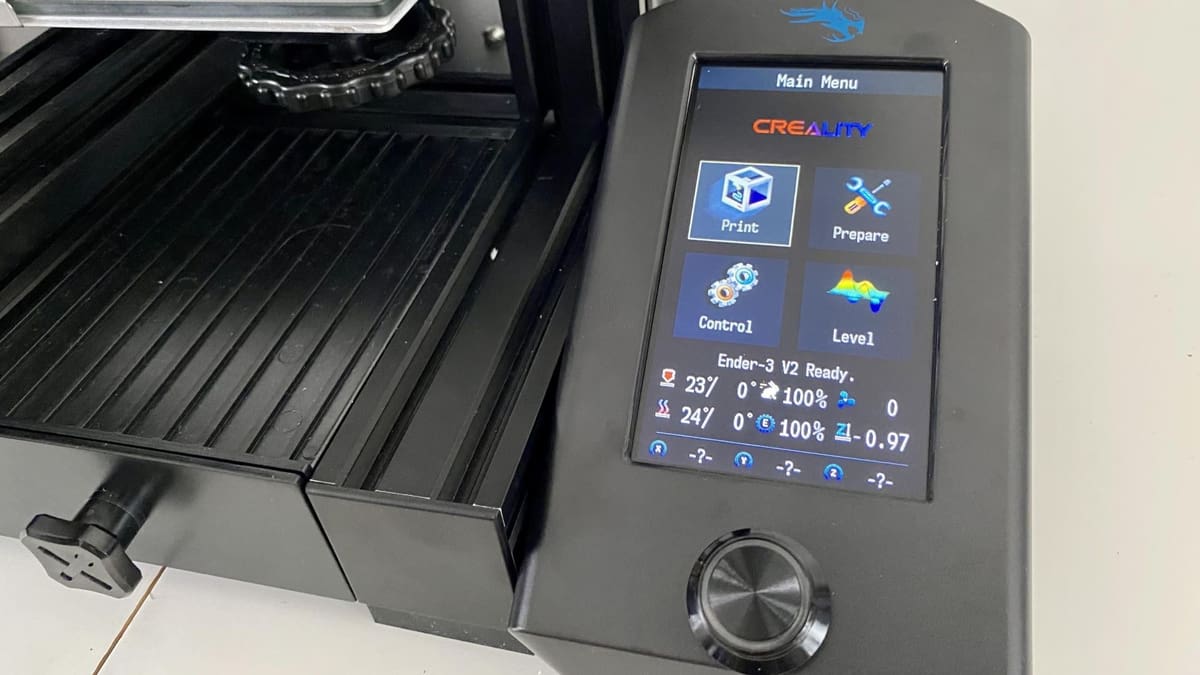
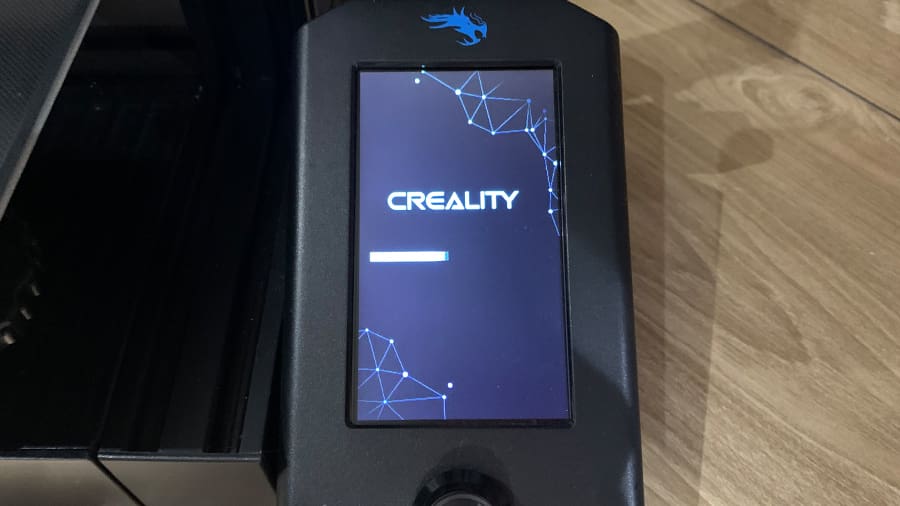
That was easy. Now it’s just a matter of allowing the printer to do its thing. Pay close attention to the display. It might take a few seconds, but the Creality logo will appear, along with the progress bar. Once the progress bar is full, you’ll be greeted by your printer’s new menu! Congratulations!
If you want to check whether the update was successful, navigate to “Control > Info”. The name and version of the firmware are displayed in a list and should match the one you downloaded.
Step 6: Final Adjusting
Before taking it out for a spin, let’s double-check whether the motion setting values are the same as before. Go to the “Control > Motion” menu and compare the values you backed up for “MaxSpeed”, “Max Acceleration”, “MaxCorner”, and “Transmission Ratio”.
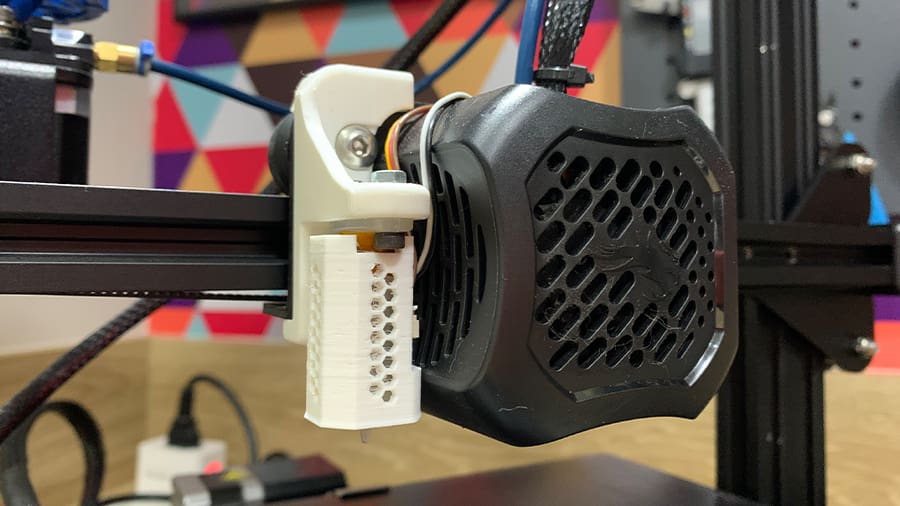
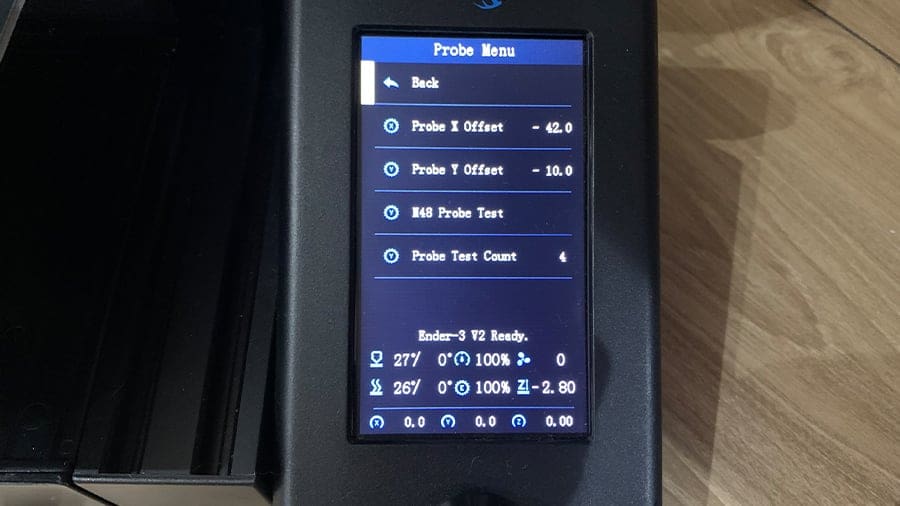
If you installed a BLTouch, also make sure that the “Probe Offset” values are right for your current setup. This configuration tells the printer’s firmware the exact position of the BLTouch probe relative to the nozzle.
If the value is off by a large margin, the printer may try to probe a point off the bed, and as such it will fail the entire auto-bed leveling sequence.
To check that, go to “Control > Advanced > Probing”. Notice the values for “Probe X Offset” and “Probe Y Offset” and whether they look right to you. When in doubt, just get a ruler or a caliper and measure the distances yourself.
Now you can finally enjoy your newly updated Ender 3 V2 and all the new features from Jyers firmware. Enjoy!
License: The text of "How to Install Jyers Firmware on Ender 3 V2" by All3DP is licensed under a Creative Commons Attribution 4.0 International License.