Ender 3 (V2/Pro) Direct Drive: Step-by-Step Guide

Though capable, the Ender 3 (V2/Pro) can have trouble with flexible materials. Learn how to correctly set up direct drive on your Ender 3!
Creality’s Ender 3, Ender 3 Pro, and Ender 3 V2 are very popular FDM 3D printers thanks to their low cost and high quality. If you have one of these stock machines, then you’re working with a Bowden drive printer. Guiding the filament in this system is a long PTFE tube, which can lead to retraction issues, causing stringing, among other problems.
Upgrading to a direct drive extruder will allow you to not only print more easily with flexible materials but also have better overall extrusion.
Direct drive means the extruder is mounted on the print head, allowing for “direct” extrusion. The motor can more easily push filament through the nozzle, and it doesn’t have to be as powerful a motor as in Bowden extrusion. Additionally, there’s faster retraction with less space between the extruder and the nozzle.
Before we give you a step-by-step tutorial on how to install a direct drive system on your Ender 3 (Pro/V2), you should make sure that you have all the materials and tools you’ll need. Because the V2 and other variations of the Ender 3 are slightly different, we’ll provide version-specific guidance when necessary. Also, keep in mind that this tutorial only covers one method of installation; there are other ways to change your extruder system.
What You'll Need
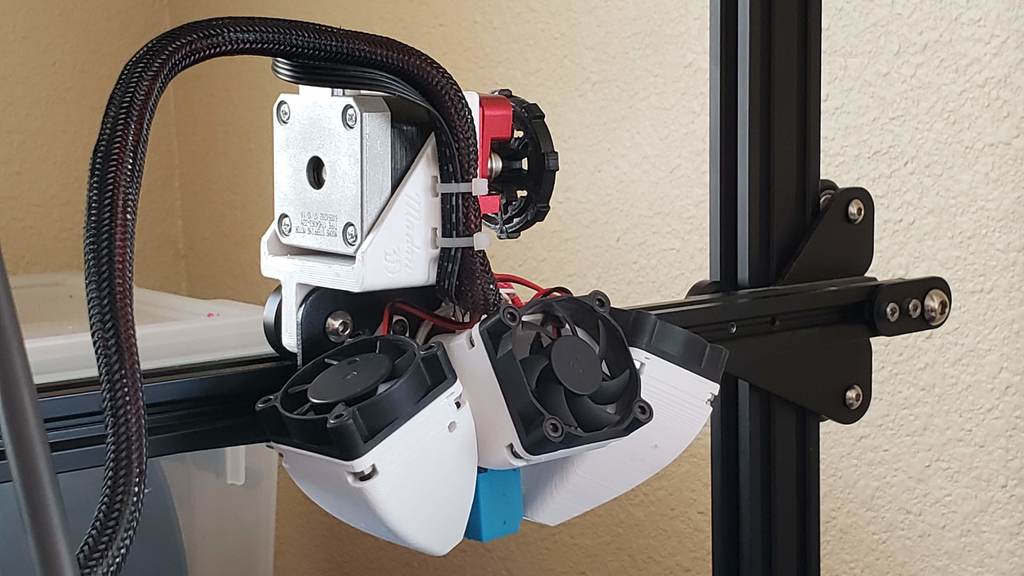
There are many different kits for converting the Ender 3 (Pro and V2) to a direct drive system, such as those from Fargo 3D Printing (~$40; separate option for the V2) or Micro Swiss (~$100). Both of these kits work for all three variations of the Ender 3, but there are other options out there.
Keep in mind, however, that some kits might only work with specific versions of the Ender 3. The V2, for example, has a slightly different X-axis carriage than the other variations, which might mean you have to modify a part or use a different bracket.
In this tutorial, we’ll be going over how to install an even lower-cost setup that’ll set you back just a few bucks. This system only requires one purchase and one 3D printed part as well as some tools that come with the Ender 3.
Note that this setup works very well for its intended purpose at a fraction of a kit’s cost. That said, for some, a kit may be a little easier to set up and can provide more stability. Regardless, we’ll walk you through the entire setup with this low-cost DIY direct drive installation.
Tools
- Set of Allen keys
- Two-sided wrench
Parts
- Longer stepper motor cable (purchased)
- Motor bracket:
- For original Ender 3, original and Pro (3D printed, free)
- For Ender 3 V2 (3D printed, free)
Pay attention to the wiring configuration in the longer cable you buy, to make sure the colors match your current setup (some reviewers have mentioned needing to switch some wires around). A safe length to aim for is 45-60 cm, and if it’s too long, you can always cable tie the excess to your printer’s frame.
The 3D printed bracket requires very little filament to print and you can print it in any material you want, but PETG is recommended for its strength. Don’t set the infill density too high, though, as the weight can impact the print quality; you don’t want ringing or vibrations in your print.
Settings proven to work are a layer height of 0.2 mm and an infill density of 40%. It’s also suggested to use supports and a brim for extra bed adhesion.
Step-by-Step Guide

Before you begin, make sure your 3D printer is turned off and no filament is loaded.
- Unplug the extruder wire from the extruder, but leave it connected to the mainboard. You’ll replace this later on.
- Disconnect the PTFE tube as well as the PTFE couplers from both the feeder end and the hot end.
- Use a small- and medium-sized Allen key to unscrew the extruder feeder system from the motor and bracket attached. While removing the last screw, be sure to hold the extruder motor to prevent it from dropping. Set these parts aside.
- Use your small Allen key to unscrew your fan shroud and auto-bed-leveling sensor (like the BLTouch) if you have one. If you have the Ender 3 V2, you only need to unscrew the single fan shroud screw and then pop off the casing.
- Use a larger Allen key as well as your two-sided wrench to unscrew the two eccentric nuts on the top half – the ones that roll the X-axis carriage along the extrusion. Make sure to not take off the belt clips. Set the bearings, eccentric nuts, and spacers aside.
- Place the 3D printed bracket covering the X-axis carriage. You’ll have to push to pop it into place.
- Screw the two screws and eccentric nuts back in, but this time, without the spacers.
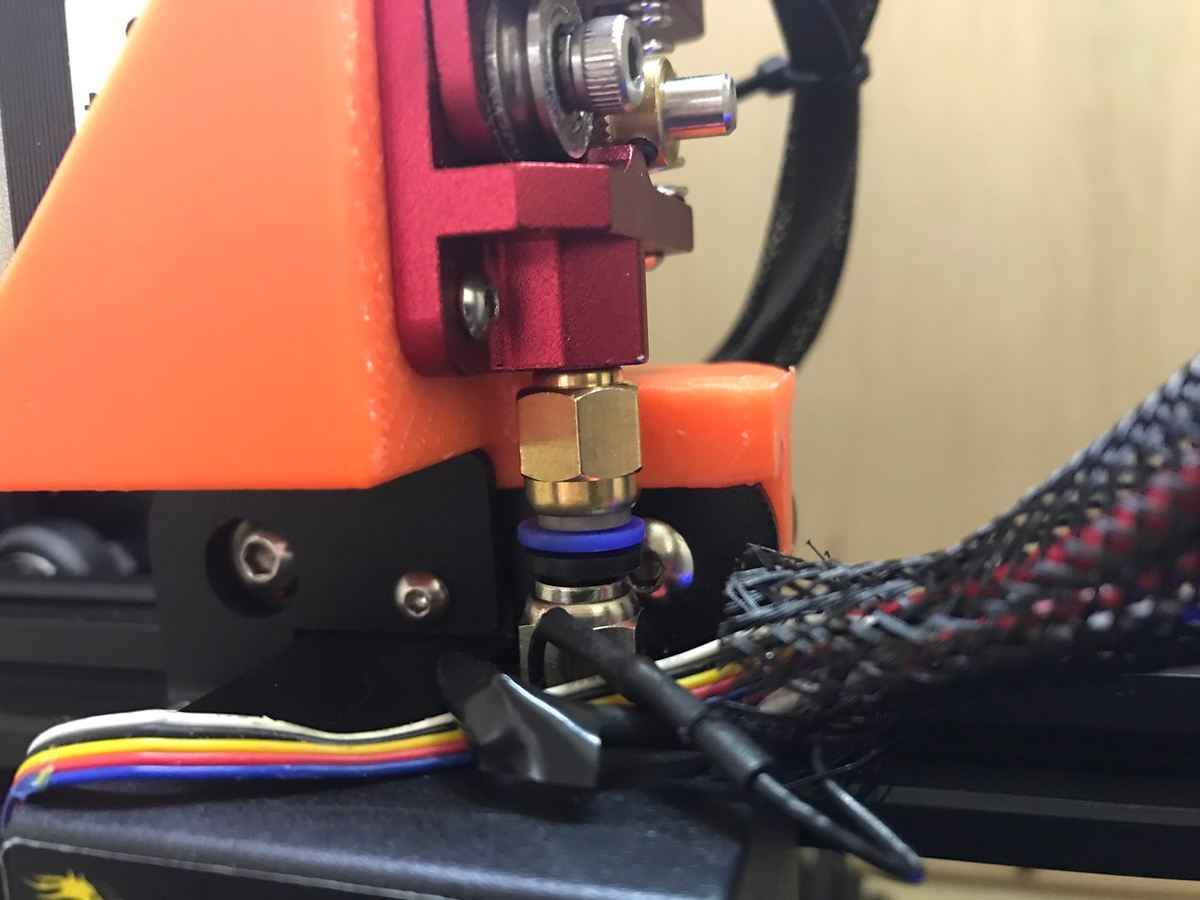
- Unscrew the two screws holding the hot end to the carriage. Once off, screw the PTFE coupler just on this end for now. Don’t reattach the hot end yet.
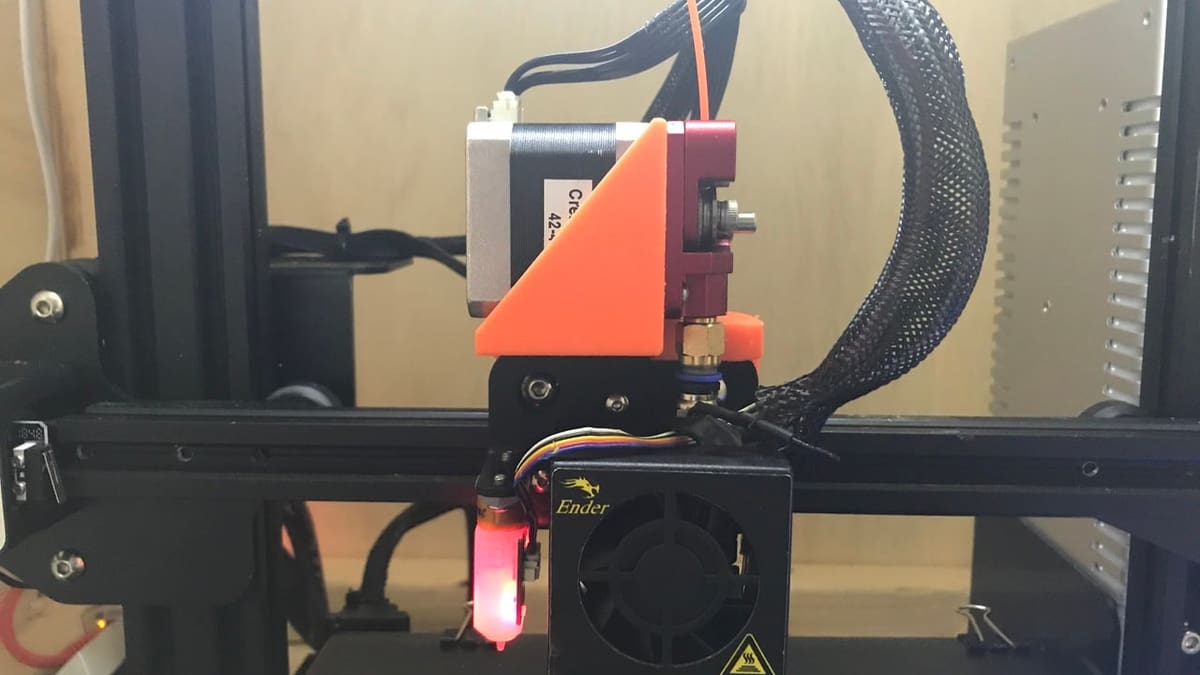
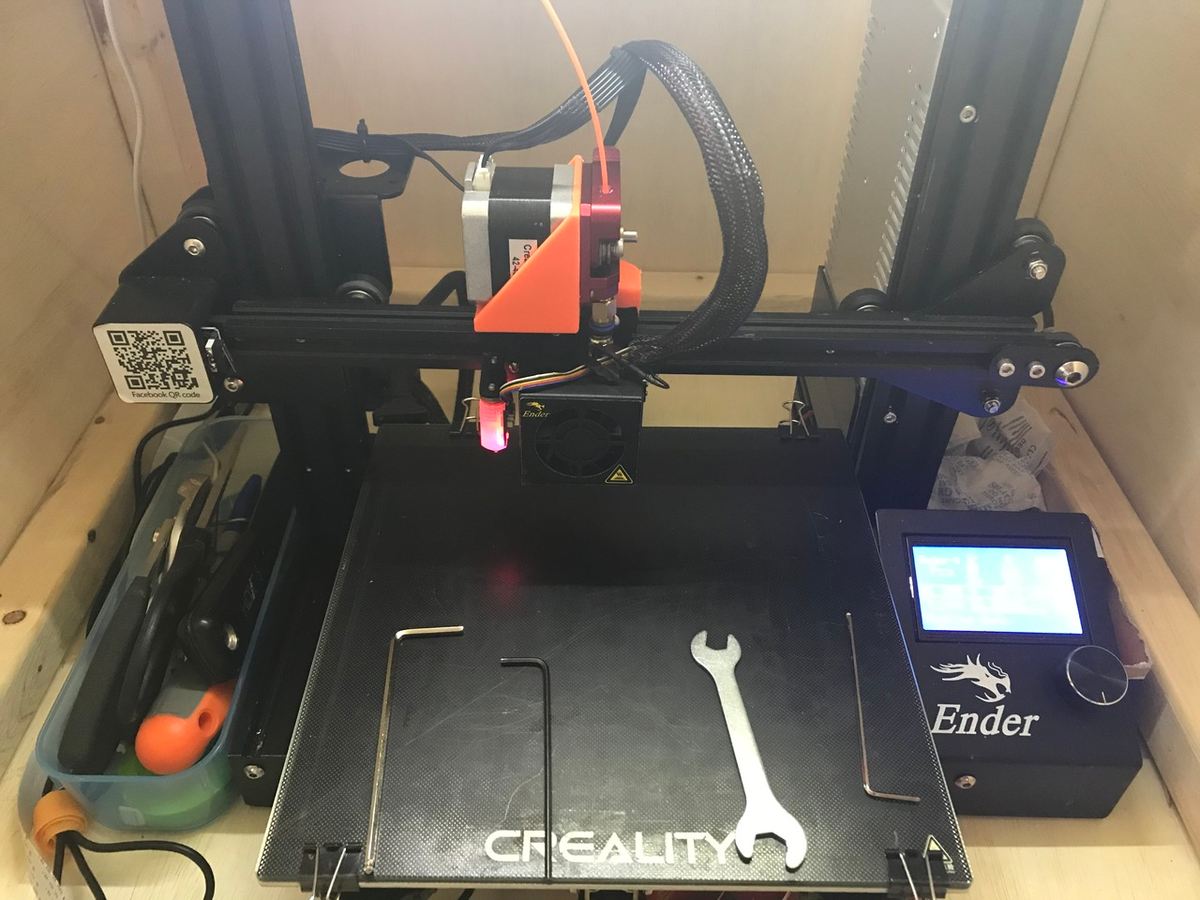
- Place the motor with the cable port facing up in the 3D printed bracket, as seen in the larger picture above. Screw your feeder system onto the other side of the bracket, making sure all four screws are screwed in. Be sure to keep the threaded part facing down for the PTFE coupler.
- Screw on your PTFE coupler on the motor (feeder) end.
- Replace the stock stepper motor cable for the extruder with your new, longer one. This will involve accessing the motherboard, which can be done by unscrewing the screw under the bed, tilting the printer, unscrewing the remaining screws on the underside, and removing the cover. The ports for the X-, Y-, Z-, and E-axis stepper motors should be visible, where ‘E’ is for the extruder. Plug your new cable into this last port and connect the other end to the extruder.
- Cut a 10-cm piece of PTFE tube and stick it down the hot end, placing the hot end right up next to the screw holes used to attach it to see if the tube is the right length. If it’s too long, cut just a small amount of tubing off. (You can always cut more off later if it’s still too long.) Repeat this process until your tube extends from your feeder system coupler to the bottom of the inside of your hot end.
- Reattach the hot end to the X-axis carriage with the PTFE tube in and attached to the feeder system.
- Reattach the fan shroud. If you have a BLTouch sensor or other bed leveling sensor, attach it over the fan shroud rather than behind it. When you’re finished, the setup should look like the image at the top of this article.
An additional note: Some users who have upgraded their Ender 3 V2s with a Micro Swiss direct drive extruder have experienced issues with the size of the fan shroud. If you have a V2 and decide to go this route, it would be a good idea to see how others have resolved this issue.
Initial Adjustments & Troubleshooting
Once the hardware has been installed, there are a few things to check and tweak before you’ll be ready to print.
- Tighten or loosen your eccentric nuts: To see if they are too tight or too loose, move your X-axis carriage across the extrusion. If your roller bearings (look at all three of them) aren’t rolling, you should loosen the eccentric nut. Make sure that all bearings are rolling and that they aren’t too loose, as a loose X carriage can cause ringing and bad print quality. All of which is to say, your X-axis carriage should be sturdy but still roll smoothly.
- Change the retraction levels: In your slicer settings, change the retraction to around 1 mm and speed to around 27 mm. You can raise these settings a little bit if you’re seeing a lot of stringing, but remember that too much retraction can cause nozzle jams.
- Make sure the hot end fan is always on: Due to the fact that this setup uses a 3D printed part, you’ll need the fan on to keep your feeder system from melting mid-print.
- Lower your print speed: Too high a print speed with this setup could seriously decrease print quality due to all the weight on top of the nozzle. You can always increase the speed if you’re getting pretty consistent print quality, but we would recommend you do some tests first.
And that’s it! Load up your next model with your new settings and start printing!

Tips & Tricks
Here are some tips and tricks for your new direct drive system:
- Better position your filament: Ender 3 users find that, if you’re able to, moving your filament spool perpendicular to the X-axis of your printer will create the least tension possible on your motor.
- Recalibrate your bed leveling: As always, after a significant change to the hot end, if you’re using a BLTouch or other auto-bed leveler, you should do a full re-calibration, as some extra weight could slightly change the distance between the nozzle and the bed.
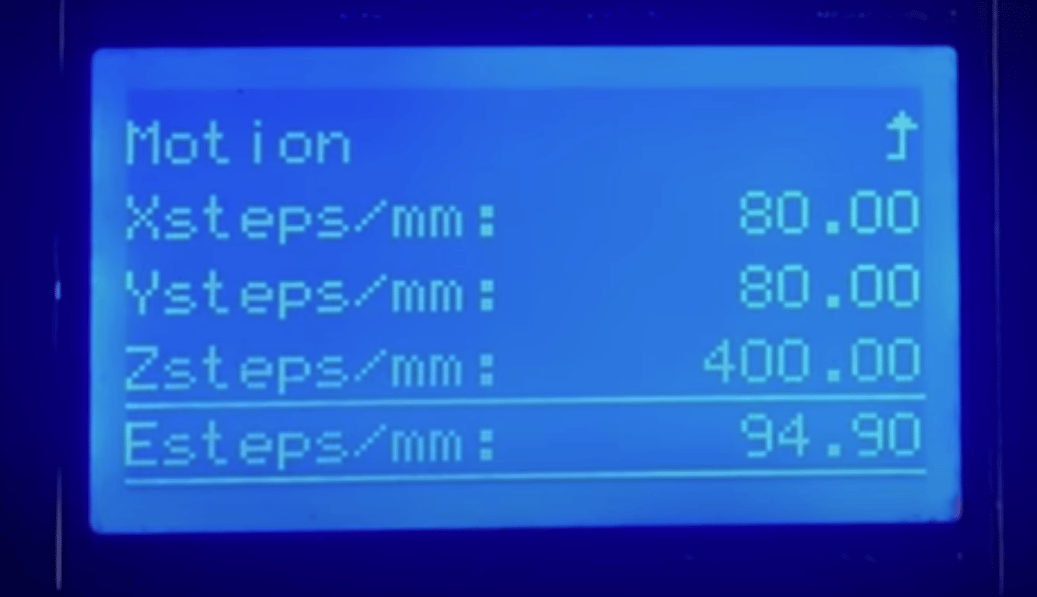
- Recalibrate your E-steps: Ender 3 users find that you should re-calibrate the E-steps on your printer and possibly even your flow rating after installing this upgrade.
- Check your belts: If your X-axis belt came off during the setup, don’t worry. All you have to do is loosen the belt tensioner on the left side and reattach the belt to the X-axis carriage. Then, reattach the belt to the belt tensioner. (You’ll have to pull a little.) Don’t forget to tighten it once you’re done! The Ender 3 V2 comes with hand-adjustable belt tensioners, so you can rotate the knobs on each axis to adjust the belt tension. To check your belts, you can poke them with an Allen key and see how much they bounce. If it’s more than a few millimeters of bounce, you should tighten them.
License: The text of "Ender 3 (V2/Pro) Direct Drive: Step-by-Step Guide" by All3DP is licensed under a Creative Commons Attribution 4.0 International License.