
3D Printing Hack: How to Build a Filament Dry Box for Under $20

Is moist filament killing your prints? Build a simple, yet effective, dry box on a budget, or see our top commercial picks!
You already know that moist filament can kill a good 3D print and that you need to keep your filament dry. But did you know that you don’t have to spend a lot of money on fancy filament storage units to keep your filament in top shape. You can use regular household storage solutions.
Plus, with a little bit of crafting, accessories, and maybe a power tool, you can build dry boxes to store and feed your filament right into your printer.
It’s not as dauting a task as it may sound and it will pay off in quality prints for years to come. Belwo we walk you through your options, accessories, and even point you to a few great videos you can follow along with. We’ve compiled a comprehensive list of solutions, from a professional grade DIY dry box you can put together for about $20, to the bestoff-the-shelf options on the market that are still budget friendly.
Let’s keep that filament dry and get back to perfect prints!

What to Consider Before Your Build
First, let’s clarify that a filament dry box is not a filament dryer. If your filament is already wet (resulting in brittle, stringy prints, popping parts) a dry box, even with silica gel, most likely will not dry out a spool of filament that is already saturated. For this you’ll need an actively heated dryer, which can be a DIY solution like your oven, the heated bed of your 3D printer, or a stand-alone fillament dryer.
A dry box is storage. It’s a way to keep dry spools dry, either right out of their plastic wrapping or after they’ve been dried in a dryer.
Let’s Get Started
Building your own dry box sounds daunting if you don’t know where to start. Like any other project, it’s helpful to come up with a plan based on your needs and expected outcomes.
When planning out the build, there are several design considerations you need to take into account. You need to think about the space you have available for a dry box and how complex you want this project to be. And although it’s ideal to keep all your filaments as dry as possible, some materials are more sensitive to moisture than others and should be prioritized.
Take a moment to consider what you would need out of your dry box.
Your Current Situation
Do you already have filament in need of dehydrating? Filament that needs to be actively dried determines whether or not you should use a heater or passive dryer. While all filaments benefit from being stored with desiccant, specific filaments such as nylon, PETG, and TPU should be dehydrated using heat prior to use.
Your Commonly Used Filament Types
How hygroscopic are your filaments? Finding out how moisture-sensitive your filaments are helps you to determine the potential conditions your box will have to meet to maintain those filaments. PrintDry, a manufacturer of dryers, has created a helpful table with specific temperatures and drying times for 12 different materials.
Capacity
How many spools need to be kept dry? One major benefit to building a dry box is that you’re only limited by the size of your box. The larger the box, the more filament spools you can store. If you opt for a dryer, scaling up gets more complicated, but there’s always the option to buy an affordable food dehydrator to dry up to two spools at a time.
Convenience
Do you want to feed filament to your printer directly from the box? If you want to keep filaments in the box while simultaneously using them, you’ll need to cut a hole in the box for the filament to pass through and find a way to let the spool roll. Because of this, consider how you’ll keep the box airtight and allow the spool to roll in place. If you’re happy to keep your box as pure storage and remove filaments for use, then really all you need is an airtight box and a few packs of desiccant.
Getting Started: Basic Materials
Now that you’ve come up with a build plan, we can discuss the basic materials that are constant in any dry box. These include:
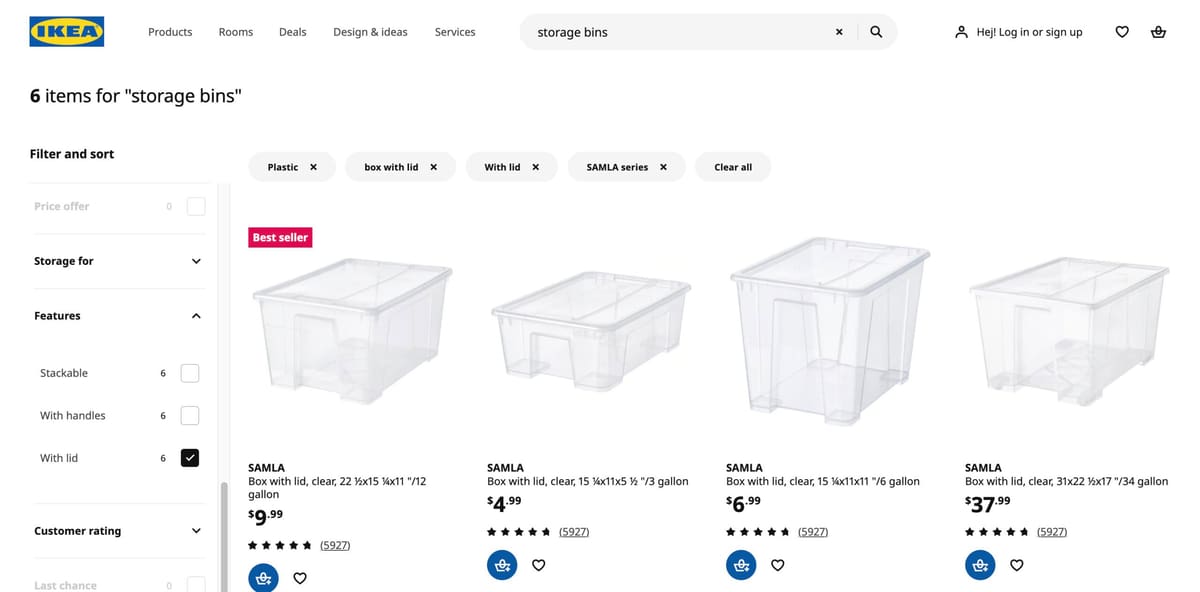
- A storage method, usually in the form of a clear airtight plastic box, enclosure, or vacuum-sealable bag. It should be big enough to hold at least one spool. Be sure to measure the dimensions of your filament spools for reference, and consider how many you want to store and how much space you have available.
- A spool mount that holds your spools in place to dry uniformly. These can be rollers, rods, or even a custom 3D printed fixture. Depending on your chosen storage container, a mount may not be necessary, for example in a round container.
- A drying element that is either active or passive. If active, it will be a kind of heat source such as a heating fan or food dehydrator. If passive, desiccants such as silica gel, salt, or molecular sieves are used.
At a minimum, you can build a dry box with off-the-shelf components without modifying anything. Depending on your design considerations, there are optional components to upgrade your box, such as:
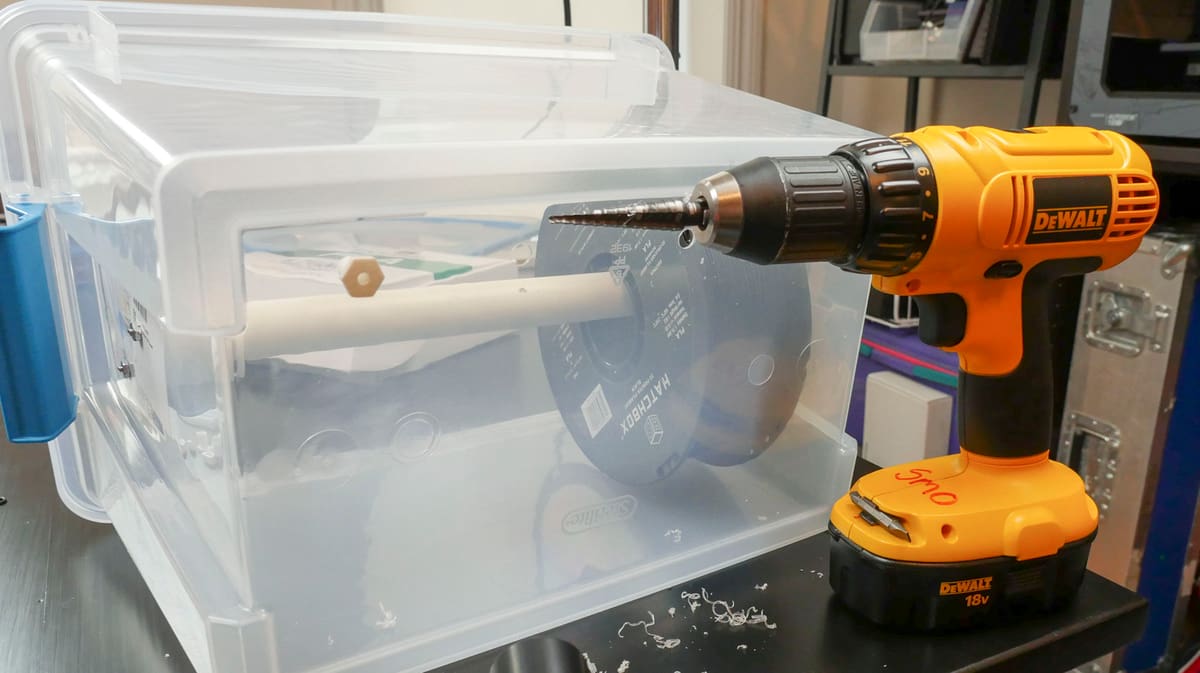
- Tools to cut holes in your box. This can range from a power drill to a utility knife, as long as it can cut through hard plastic without cracking it. Be sure to wear protective equipment such as safety goggles or gloves as appropriate.
- Tubing is required if you choose to feed your filament directly from the box to your printer. Ideally, PTFE tubes are threaded into the hole in your box (or through an adapter) to feed your filament while keeping the box airtight. As an extra advantage, this will protect your filament from the outside environment even between the box and printer. Note that the size of the tubing depends on the diameter of your filament.
- 3D printable parts if you’d like to design custom parts for your box, like a spool mount or box-to-Bowden adapter.
- Sensors to monitor the internal conditions of your box. The most commonly used sensors measure humidity, temperature, or both.
Basic Assembly Tips
Using the above basic materials, the steps to build a DIY dry box can include filling an airtight box with desiccant and placing the filament inside, storing filament in a food dehydrator and setting your desired temperature, or vacuum sealing filament in a bag with desiccant.
However, these assembly tips are applicable if you choose to modify or upgrade your materials:
- Conduct fit and motion tests: Dry boxes that will feed filament from box to printer require smooth rods, rollers, or even bearings to ensure the spool rotates easily. When your mounting system is assembled, place a spool on it to simulate the feeding process.
- Think twice, cut once: Ensure the holes you cut or drill aren’t too big. Consider drilling a slightly smaller pilot hole in the initial run, and then conduct a fit test. If the hole is still too small, you can progressively make the hole bigger and repeat the fit test until you achieve the perfect size.
- Test for consistent dryness: If you choose to include sensors, test them out throughout the build to verify that the inside of your enclosure is dry and temperature-controlled.
DIY Options
There are many DIY projects that have been tested by the 3D printing community to prove their effectiveness. More importantly, the DIY approach allows you to customize your build however you see fit. Below are some of our favorite step-by-step standout projects for your inspiration.
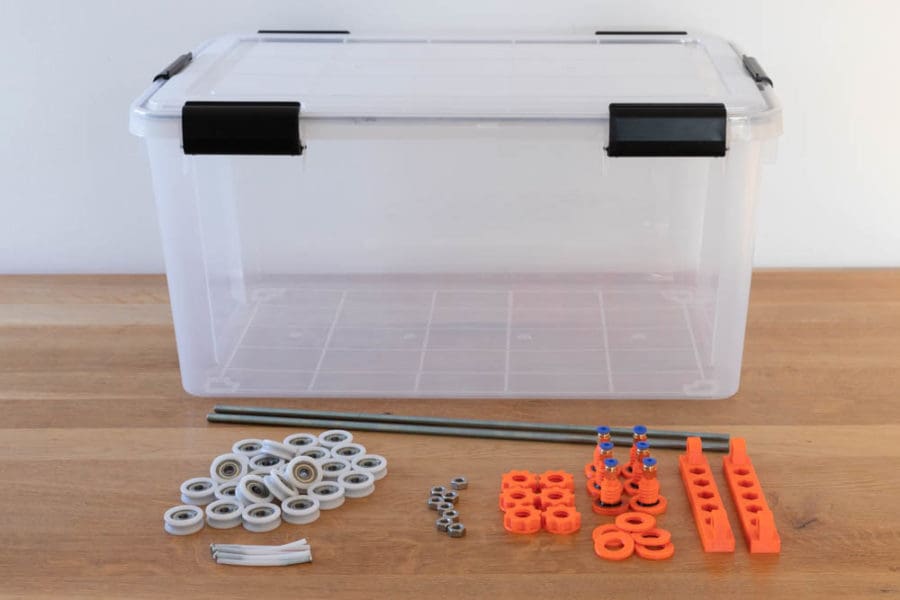
Handy_Bear’s Ikea Samla Dry Box
This is the classic storage box conversion, with space for four spools that feed directly to your printer.
- Cost: ~$70
- Complexity: Medium
- Number of spools: 4
- Where to find it: Instructables, YouTube
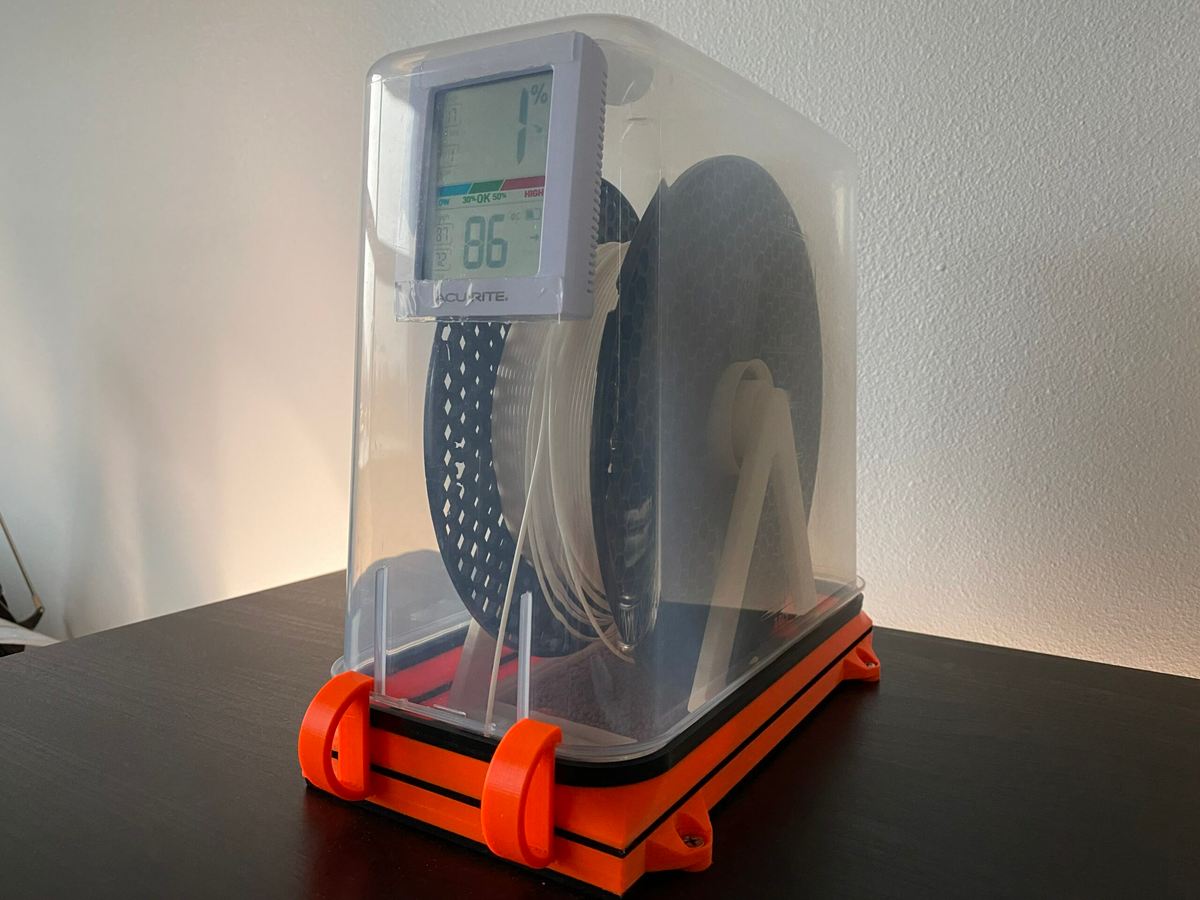
Jimbo_Jones’ Cereal Container Dry Box
This is a cheaper version of the classic storage box, with space to store one spool. The cost varies depending on the cost of the container you use to build it in.
- Cost: ~$40
- Complexity: Easy
- Number of spools: 1
- Where to find it: Thangs
Richard Horne’s Heated Dry Box
This project improves on the standard desiccant dry box by adding a heating element for active drying.
3D Maker Noob’s Converted Food Dehydrator
Rather than rigging up your own heater, this project allows you to print directly from a food dehydrator!
- Cost: ~$65
- Complexity: Low
- Number of spools: 2
- Where to find it: YouTube
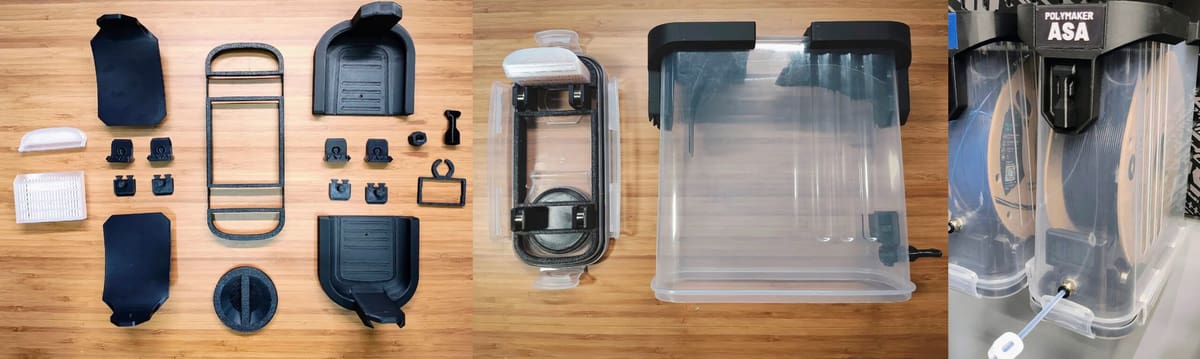
Prusa’s Drybox V2
This option is made almost completely from 3D printed parts, including the box itself.
- Cost: ~$20
- Complexity: Medium
- Number of spools: 1
- Where to find it: Printables – with sensor and without
Just Want to Buy a Dry Box?
For almost every need, there’s a solution on the market, and keeping filament dry is no exception. As a result, there are also many off-the-shelf dry boxes available for purchase. However if you find your filament is so saturated you need to dry it out before storing it, check out our article on the top filament dryers on the market.
While the commercial alternatives offer convenience and low complexity, most off-the-shelf boxes have a maximum capacity of two spools and are difficult to expand. They also don’t always allow you to feed filament from the box to the printer and instead are intended as standalone drying solutions. Purchasing multiple commercial boxes will ultimately cost much more than a single, large dryer or dry box.
If budget isn’t an issue and you need to dry your filaments immediately, the commercial options are certainly easier. However, if you’re on a budget or have specific requirements for keeping your filament dry, building your own offers the most flexibility for the price.
Whichever way you go, a dry box will prove beneficial to your 3D printing workspace. Not only does it extend and recover the shelf life of your filament, but organizes and protects your spools from outside debris. When it comes to deciding how to approach it, the choice is yours.
For those of us who want to be proactive about keeping moisture at bay, but don’t have the time to build it ourselves, here’s our picks for top commerical options:
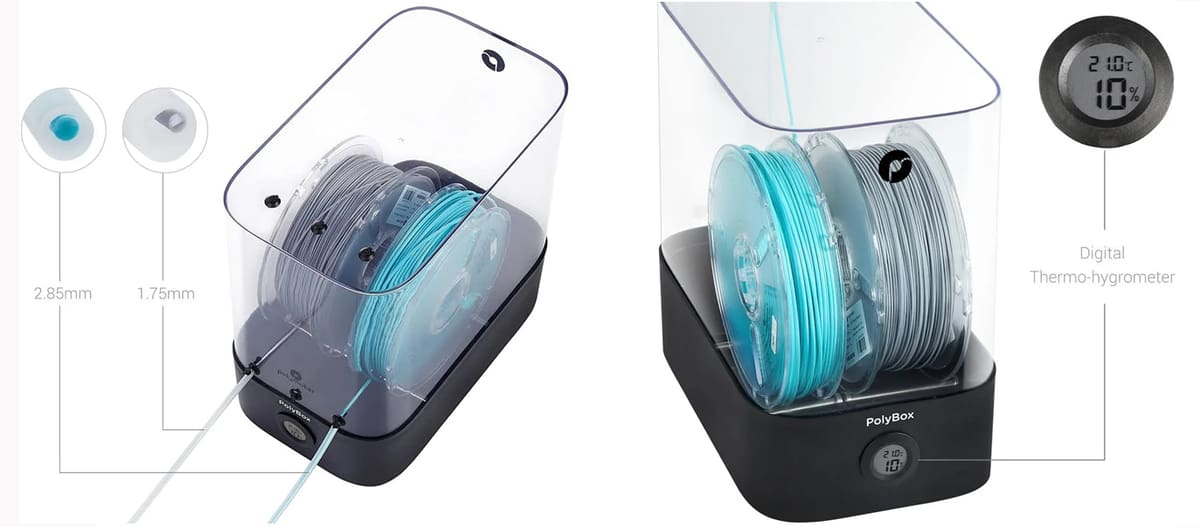
Polymaker PolyBox II
Polymaker’s PolyBox is a stylish dry storage solution that can house spools up to 3 kg. The built-in humidity sensor helps you monitor the condition of your filament.
- Cost: ~$70
- Number of spools: 2
PrintDry Smart Vacuum Filament Container
Rather than just using desiccant to create a dry environment, the PrintDry Smart Vacuum container creates an airless space to store up to three spools of filament. As you might be able to guess from the name, PrintDry offers a range of filament drying solutions including dryers and individual storage containers.
- Cost: ~$130
- Number of spools: 3
License: The text of "3D Printing Hack: How to Build a Filament Dry Box for Under $20" by All3DP is licensed under a Creative Commons Attribution 4.0 International License.