What Is It?

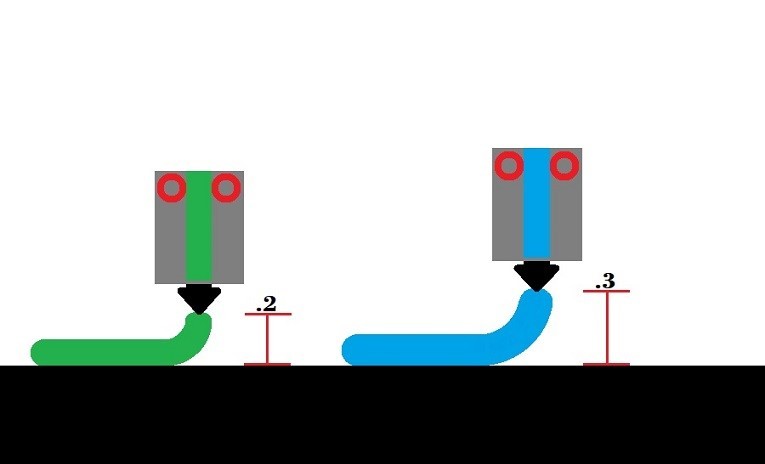
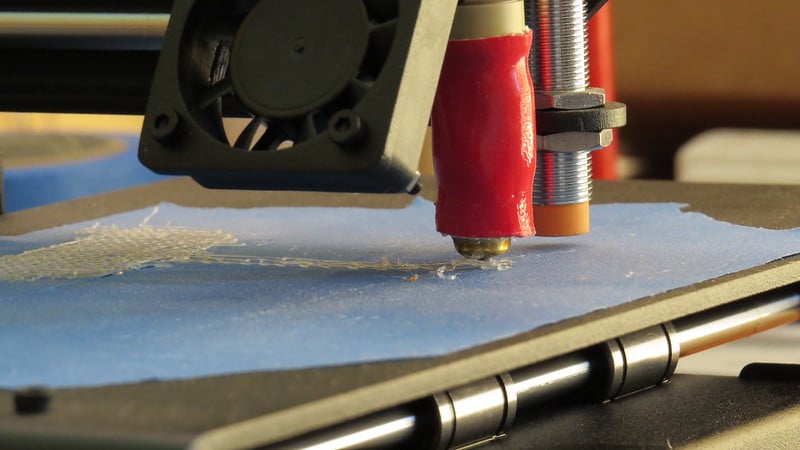
When 3D printing, the first layer needs to be error-free to obtain a quality print. Among other considerations, the nozzle must be the correct distance from the print bed to work. Luckily, adjusting the Z offset can help with this.
The value set for the Z offset reflects how high the nozzle should be when the Z-axis limit switch is triggered. A Z offset value can also be adjusted if the printer uses an auto-leveling switch.
This is very helpful in a couple of different scenarios, one of which is printing on an upgraded bed (like tempered glass) that might be a different height from your usual surface. Another example is when you’re working with a new material that expands or retracts more upon extrusion.
Let’s take a look at how to set up and use Cura for Z offset adjustment!
How to Download

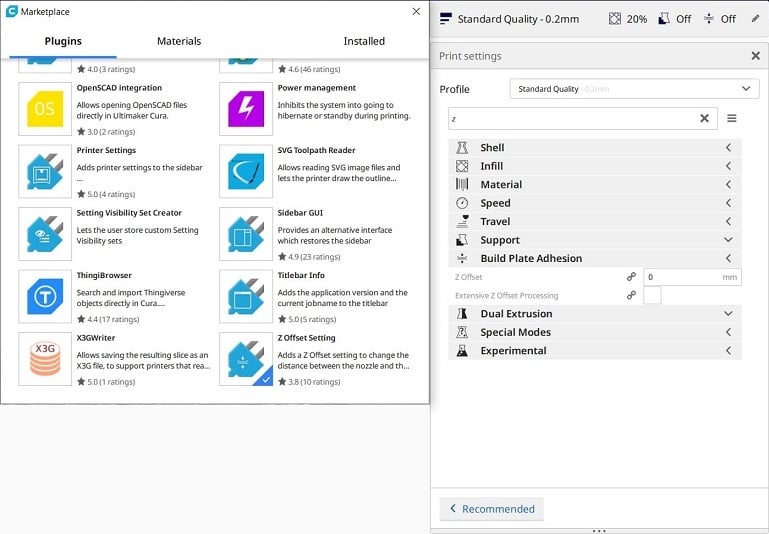
Cura is an amazing slicer, but it doesn’t come with Z offset settings preloaded. No need to fret, though – getting the plug-in is as easy as pie:
- Open Cura.
- Click on “Marketplace” in the top right corner.
- Scroll through the plug-ins until you see “Z Offset Setting”.
- Open it and hit install.
- Accept the message that pops up and close Cura.
Then, just type “Z offset” into your profile search box whenever you need to use it!
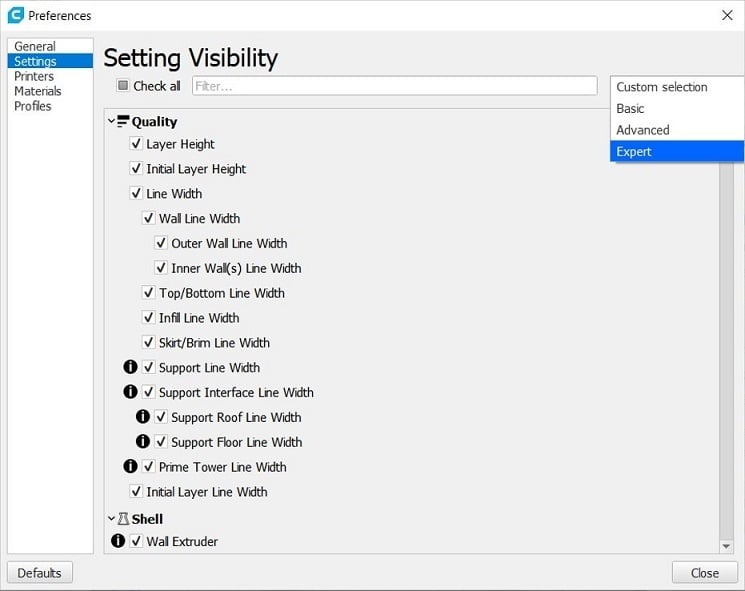
If you want to bypass having to use the search function whenever you want to use the Z offset, you might need to adjust the way your settings are displayed in Cura. If you only usually use the basic settings, go to “Preferences” and switch the settings to advanced or expert. This lets you use many more settings, including Z offset.
Setting Adjustments

Adjusting the Z offset is done by plugging in a positive or negative value to raise or lower Z-axis to set its height in relation to the bed. This is useful when printing with a different material, for example, if it doesn’t need to be extruded as close to the bed as other materials. This can also be helpful if you add an item to the bed or workpiece after leveling, such as if you’ve paused the print to incorporate something like a magnet into the design or are printing on a diffraction grating sheet.
If you enjoy experimenting with new materials, utilizing the Z offset is the gateway to success!
License: The text of "Cura: Z Offset – Simply Explained" by All3DP is licensed under a Creative Commons Attribution 4.0 International License.


