
Cura Vase Mode: The Basics Simply Explained

Vase mode is a common slicer mode for aesthetic prints. Follow along as we demystify Cura's vase mode to create some seamless models!
Among the many slicers available today, UltiMaker’s Cura remains the go-to choice for many. Besides being free and relatively easy to use, it boasts several handy features. One such feature is “Spiralize Outer Contour”, Cura’s name for what’s commonly referred to as “vase mode”.
This mode prints your model’s outermost surfaces (in the horizontal directions) only, using a single, continuous line. (Picture someone preparing a soft ice cream cone.) And while this naturally results in a very quick print with little material, vase mode can’t be used for all models. It’s mostly suited for non-functional designs that have a continuous cross-section, without any holes or gaps in their geometry, hence the name “vase mode”.
In this article, we’ll explore this fantastic feature and see how you can make use of it in your own 3D printing projects!

What Is It?
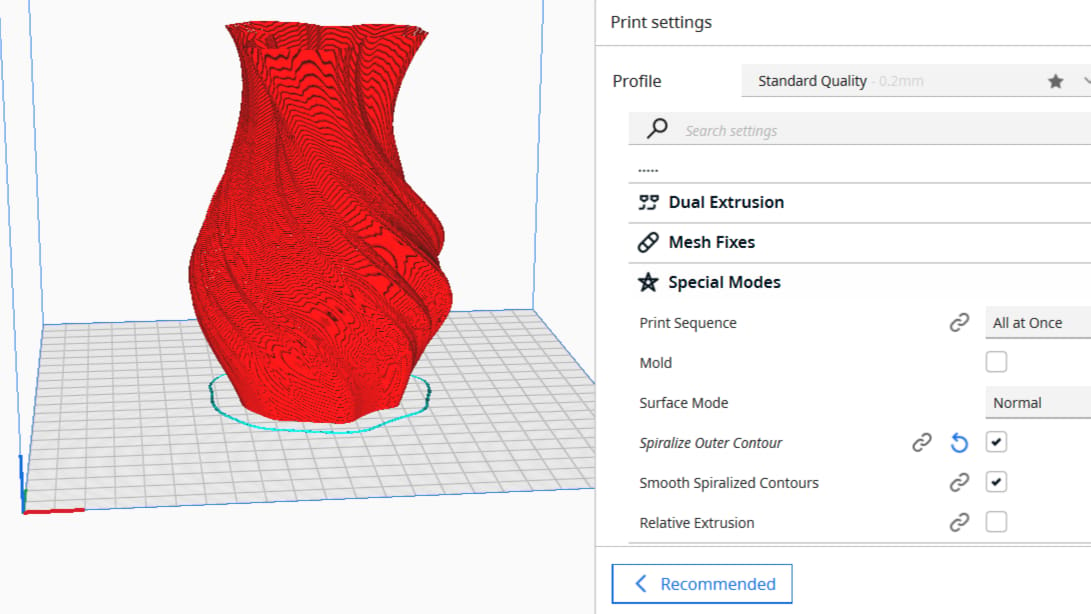
In Cura, this setting is available under the “Special Modes” tab. Just check the box labeled “Spiralize Outer Contour” to enable it. You’ll also want to select the box labeled “Smooth Spiralized Contours”, as this will reduce the visibility of the Z seam on your model. Once activated, make sure you load a model that has a continuous geometry, usually shaped like a vase or cylinder. When you hit the slicing button, Cura will prepare the object to have just a solid bottom, a single wall, and no top surface.
The nozzle will continuously outline the contour of your model in a spiral after laying down the first layer. What this means is that, unlike the usual modes of printing, instead of laying down one layer at a time, the Z-axis is constantly moving, and the filament is fed through continuously. The result is a model with a wall that is one layer thick; essentially, there are no separable layers.
Because of the single-line wall, vase mode is usually for aesthetic purposes only. Prints will generally not be robust, although some designs can give your shape greater rigidity.
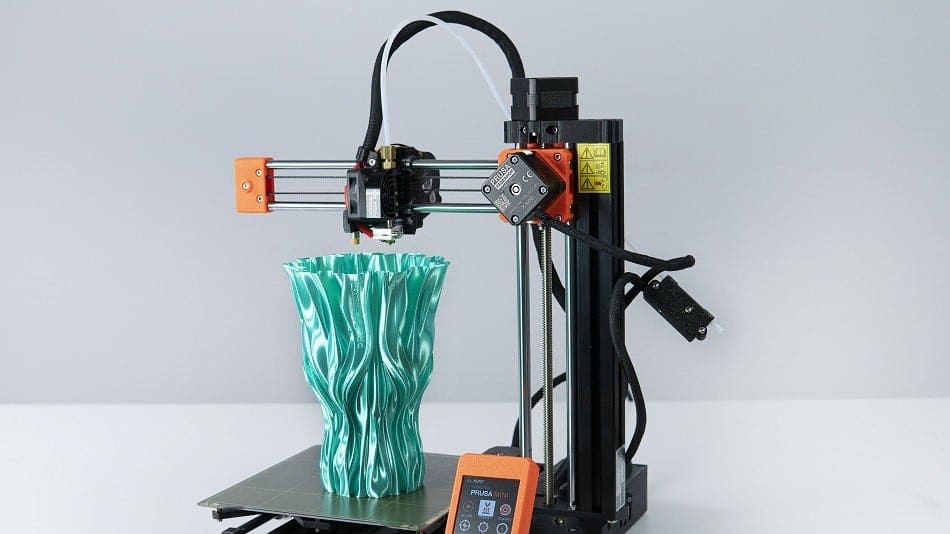
The continuous and fluid motion of the printer can be beautiful and even hypnotic, which is one reason why it’s widely used to demonstrate 3D printing.

Usage

Due to the unique nature of vase mode, there are a few things you should be aware of while using it:
- You can only load a single model at a time because the nozzle traces a single continuous path.
- Travels and retraction don’t occur. The object is made of a long, unbroken string of filament laid on top of itself, turn after turn.
- Vase mode is model-picky. Prints turn out quite flimsy, so even some models that seem compatible with vase mode will falter because they’re not able to support themselves. A simple cube, for example, is unlikely to work, as the flat walls will warp and curve as they print, pulling printed threads away from the nozzle as it comes back around.
So what can you print? Well, simple, non-functional models with constantly curving or changing outer surfaces are the go-to. However, people also like to use it for light applications, specifically lamp covers or shades. Since the walls are so thin, they tend to let a lot of light through.
Actually, you’d be surprised by the sheer number of things that can be manufactured with vase mode: pyramids, rockets, bins, sculptures, and, of course, vases, among others. Also, remember that there’s no limit to the materials that you can use. PLA, ABS, PETG, and TPU all work great with vase mode.
Settings to Tweak
Now that you know how vase mode works, let’s look at the settings that you may need to adjust to achieve the best results.
- Wall line width: The width of a single wall is preset in the slicer and corresponds to the nozzle size that you’re using. For a 0.4-mm nozzle, the width of a single line is 0.4 mm. A higher line width will create a much stronger print, and a larger nozzle will produce a higher line width. But swapping out the nozzle isn’t the only way: A 0.4-mm nozzle can also print a wall thickness of up to 0.6 mm if you get the following two settings right. You can adjust your wall line width settings under the “Walls” tab.
- Temperature: Vase mode or not, getting your temperature settings dialed in will go a long way. A larger nozzle size will be pushing out much more material, so a 0.6-mm nozzle will need a slightly higher temperature than your 0.4-mm nozzle. And it’s the same story when you’re printing with a higher line width. Try increasing the temperature in steps of 5 degrees at a time.
- Speed: Vase mode needs to be slow so that the material has time to cool before the next pass of the printhead. Plus, if the line width is higher, you need to go slower still. A print speed of 25 to 30 mm/s is a good starting point. You can fine-tune the print speed settings in the “Print Speed” tab.
Again, these are settings you can use to get you started. As always, you should experiment with your own machine and material to find the sweet spot. Just remember that each parameter can affect others, so if you change one setting, others may need to be changed, too.
License: The text of "Cura Vase Mode: The Basics Simply Explained" by All3DP is licensed under a Creative Commons Attribution 4.0 International License.