Cura: Printhead Settings – Simply Explained

Cura printhead settings can come in handy when printing multiple objects. Read on to find out more about this feature in Cura.
Getting Ahead

A 3D slicer plays a significant role in any 3D printing workflow. One 3D slicer that stands out among the plethora of options available is Ultimaker’s Cura.
Cura is a game-changing slicer that’s free, open-source, and provides the user with an incredible amount of control over the printing process. One aspect of control that we’ll be looking into today is the printhead settings.
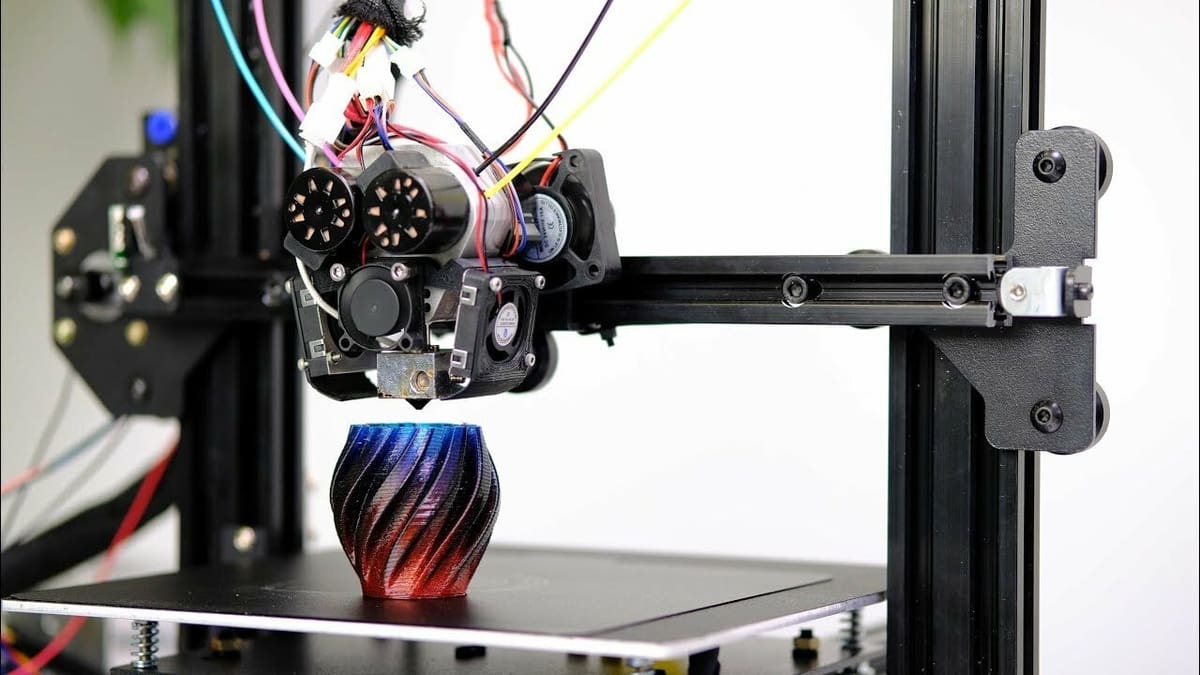
The term “printhead” refers to the entire 3D printing apparatus that surrounds the hot end. This includes any fans, air ducts, the heating block, and of course the nozzle. The printhead settings should be adjusted in your 3D slicer if you ever modify the printhead, for example, by adding a BLTouch.
In this article, we’ll go over the printhead settings in-depth, learning when and why you’d want to use them. Let’s get to it!
One at a Time Setting
The printhead settings may not be regularly used, but if ever the need arises, you’ll be glad you kept them updated. The values you’ve set will suddenly be essential if you want to set parts to print one at a time.
Generally speaking, the printhead settings give the slicer measurements for the physical size of the printing head. This means the slicer knows how much of a buffer to allow when planning the printing path of a model, particularly if you’re printing multiple models one at a time. In other words, the printhead settings ensure that the printhead doesn’t collide with the previously printed models.
Whenever you’re setting up a custom 3D printer or modifying your existing printer, you want to make sure that the printhead settings accurately reflect your setup. This is especially true if you make a change that affects the size of the printhead, such as upgrading the fan ducts.
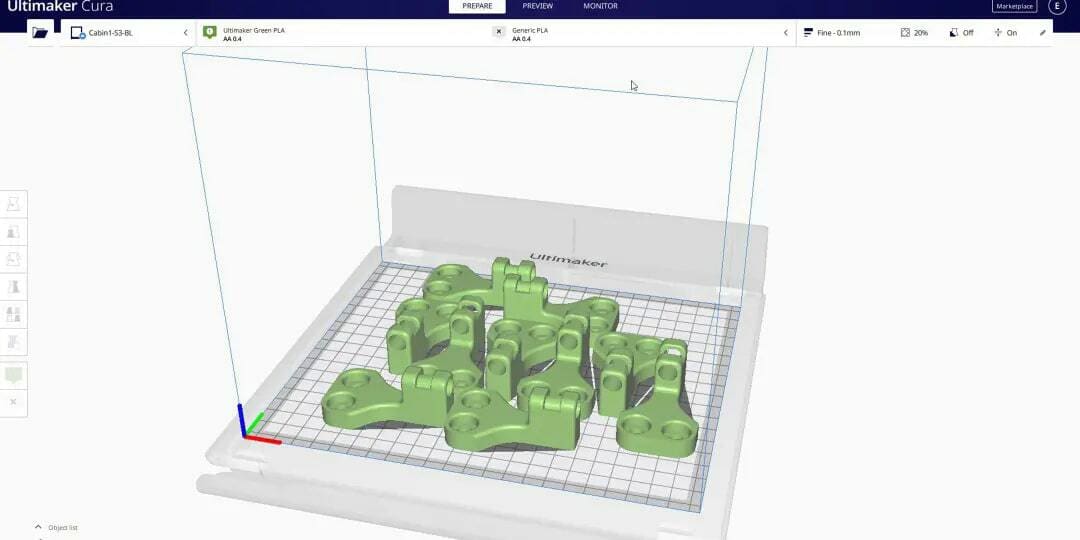
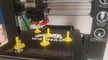
As an example, let’s say you want to print multiple copies of Pikachu. By default, if you print multiple models at once they’re all printed simultaneously.
Without altering any settings, the nozzle would print one layer of one Pikachu, and then move on to print the same layer of another Pikachu. Thus, all the models are printed at the same time. This means that if any Pikachu were to run into any errors, the error would be carried forward to the next model. In the end, you’re at risk of having multiple failed prints.
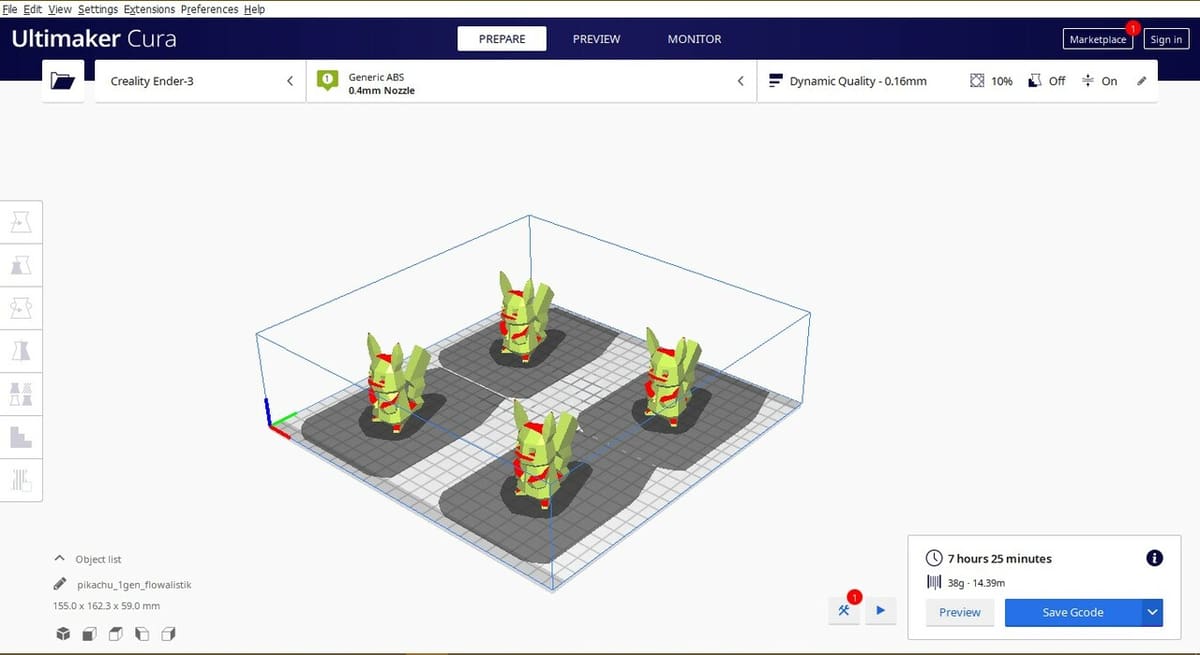
Here’s where the “One at a Time” mode steps in. As the name implies, instead of printing all your models simultaneously, the printer prints them sequentially. In our example, the printer prints one Pikachu completely before moving on to the next one.
Printing one at a time ensures that even if one of your models were to fail, the error is not carried to the other models. So, you just lose the faulty model, not an entire build plate’s worth of prints. This saves both time and material.
The “One at a time” mode also gives you the flexibility to customize settings for each model. With Cura’s “Per Model” setting, you can assign different settings to each of your models.
The downside of printing one at a time is that the printhead needs to navigate around the already printed models as it prints subsequent models, to avoid any collisions. This means the actual printable area on your build plate can be very limited.
But now that you’ve understood where and why these settings are used, let’s get to the actual work of adjusting them in Cura.
Setting It Up
The printhead settings are straightforward to adjust and come pre-filled in most of the included printer profiles in Cura. However, if you change the default physical arrangement of your printhead, you’ll need to update these settings accordingly.
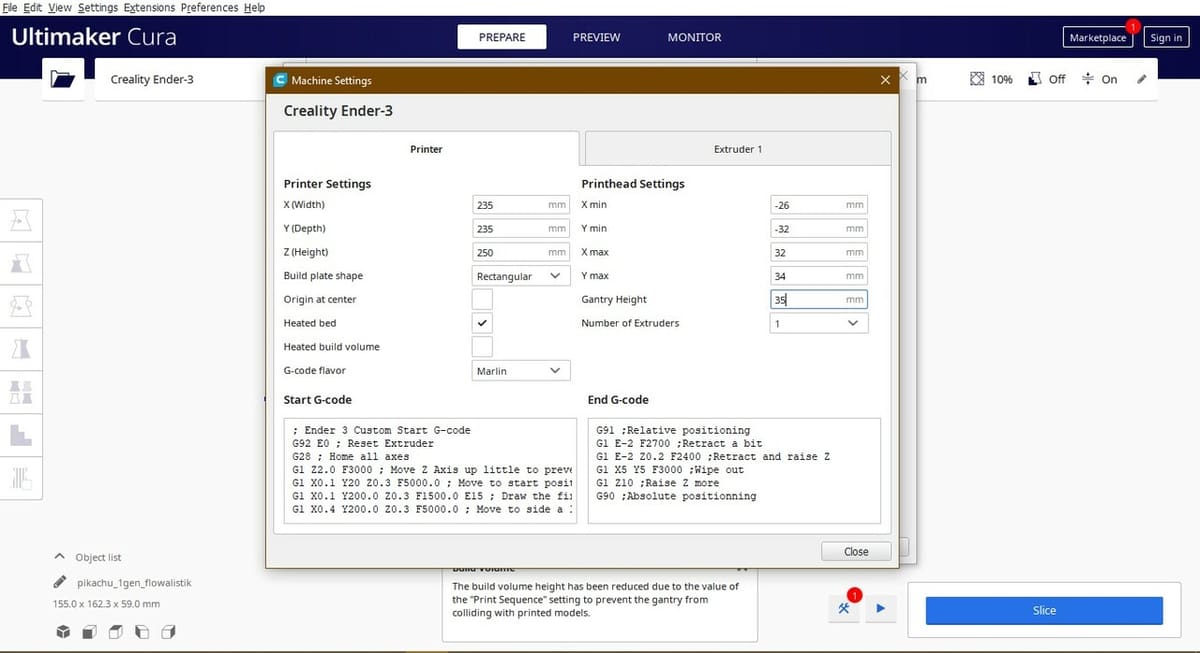
To find the printhead settings, go to “Settings > Printer > Manage Printer”. If you have multiple printer profiles, choose the one you want to update, then click “Machine Settings”.
Within the printhead settings, you’ll now see the following:
- X min: This is the distance from the tip of the nozzle to the edge of the printhead in the negative X direction (to the left of the nozzle).
- Y min: This is the distance from the tip of the nozzle to the edge of the printhead in the negative Y direction (towards the front of the printer from the nozzle).
- X max: This is the distance from the tip of the nozzle to the edge of the printhead in the positive X direction (to the right of the nozzle).
- Y max: This is the distance from the tip of the nozzle to the edge of the printhead in the positive Y direction (towards the back of the printer from the nozzle).
- Gantry height: This is the height difference from the tip of the nozzle to the bottom of the X-axis beam (or gantry).
These measurements should also include fans, ducts, and any other additions to the printhead, as you want Cura to know exactly how much room the printhead takes up.
There’s a great tutorial by Architects3DP on YouTube that goes over how to measure and input these settings in Cura. Once you’ve adjusted these settings, you’re free to use the printer to its full potential!
Lead image source: M3D via YouTube
License: The text of "Cura: Printhead Settings – Simply Explained" by All3DP is licensed under a Creative Commons Attribution 4.0 International License.