Cura & Klipper: How to Make Them Work Together

Cura is an established favorite and Klipper offers many unique benefits. Read on to learn how to make Cura and Klipper play together.
Cura is the world’s most popular 3D printing slicer with over 1 million users. Now on its version 5.6, Cura is open source, free to use, and maintained by renowned printer manufacturer UltiMaker. You’ll find countless YouTube videos and blog posts on how to configure Cura for various different printer types and materials – but fewer on how to get it to play nicely with Klipper.
Klipper is a popular, open-source firmware in the 3D printer market. It differs from other printer firmware by offloading the processing of G-code (produced by slicer software such as Cura) onto a separate processor, typically a Raspberry Pi. This allows the printer’s controller to focus solely on driving the printer’s hardware while also giving Klipper extra capacity to process complex optimizations faster and more accurately.
Often used where high-speed 3D printing is a goal, Klipper’s adoption rate is increasing rapidly. Not to mention the popularity boost from the release of printers designed to work with Klipper, including the FLSUN V400 and BIQU Hurakan.
Cura and Klipper are a perfectly good combination capable of working together, however, compared with a “classic” Cura/Marlin implementation, there are some things to be aware of.
Let’s take a closer look at what’s different, how to avoid compatibility issues, and how to get the best from each.

Basic Slicer Settings
Slicers are sophisticated software packages designed to convert 3D models into the G-code that printers need to operate. However, they do much more than simply slice models into layers; they also have features to improve print quality in a variety of ways.
Unfortunately, some of these functions can clash with Klipper’s own advanced techniques, such as Pressure Advance for printing lines and corners more consistently and Input Shaping to cancel the vibrations that cause surface imperfections. Cura generally plays quite nicely with Klipper, but in order to avoid unexpected results, we have to disable or modify a few features to minimize the possibility of interference.
- The first of these is coasting, which switches off extrusion toward the end of lines to prevent blobbing. Coasting directly interferes with Klipper’s Pressure Advance, so be sure to disable it in Cura’s Experimental settings tab.
- The Acceleration Control and Jerk Control in the Speed settings tab are also best left disabled (although the latter will be ignored in current Klipper versions in any case).
- In contrast, it’s okay (and often helpful) to use Cura’s retraction settings, even after Pressure Advance has been tuned. A small distance (e.g. 0.75 mm) can help especially with filaments that tend to stick to the nozzle.
Plug-ins
Although not necessary to use Cura and Klipper together, there are also plug-ins available (e.g. by jjgraphix) that add an additional configuration menu so you can change Klipper settings directly in Cura, and then have these included in the sliced G-code files. This allows you to configure firmware settings for Retraction, Input Shaper, Pressure Advance, as well as the calibration tower setup.
Exporting G-code
Although we tend to think of G-code as the only way to control 3D printer firmware, Klipper has paved the way for a more advanced approach. It uses a relatively limited set of G-code commands for basic printer movement control, “extended” G-code for general configuration and status (e.g. SET_SERVO SERVO=myservo ANGLE=5.3), and macros, which combine both of these with simple scripting for extra customization.
Cura has the option to output different G-code flavors to accommodate subtle differences in traditional firmware implementations, however this does not yet include Klipper. Conveniently, setting the flavor to Marlin still works in most cases, however, there are a few important consequences to be aware of.
Speaking the Same Language
First, some G-code commands used by Cura may not be recognized by Klipper. For example, Klipper does not directly support the G-code M0 command (unconditional stop) that many use to pause prints.
This may seem like a big deal but it’s very easy to work around. In the example above, the M0 can simply be replaced with a PAUSE “extended” G-code command. You can accomplish this by either:
- Retrospectively editing the G-code file.
- Editing the plug-in or feature that will add the command in the first place.
- For a pause, try Cura post-processing plug-ins such as “pause at layer”.
- Creating a Klipper macro called M0 that simply includes the PAUSE command.
The Start & the End
At this point, you may be wondering why Klipper doesn’t just recognize commands like M0 in the first place. Klipper’s own documentation states, “It is not a goal to support every possible G-code command. Instead, Klipper prefers human-readable ‘extended G-Code commands’.”
This brings us to the second consequence of using Cura with Klipper, namely the powerful implications on the start and end G-code.
Cura adds start and end G-code to every sliced file based on the printer profile used. Quite often, this code also contains G-code commands that are not, by default, recognized by Klipper.
To accommodate this issue, we can take a similar approach to the example above and manually replace these with the Klipper equivalents. Do this in Cura by navigating to “Preferences > Configure Cura > Printers > Machine Settings”, and then edit the code directly.
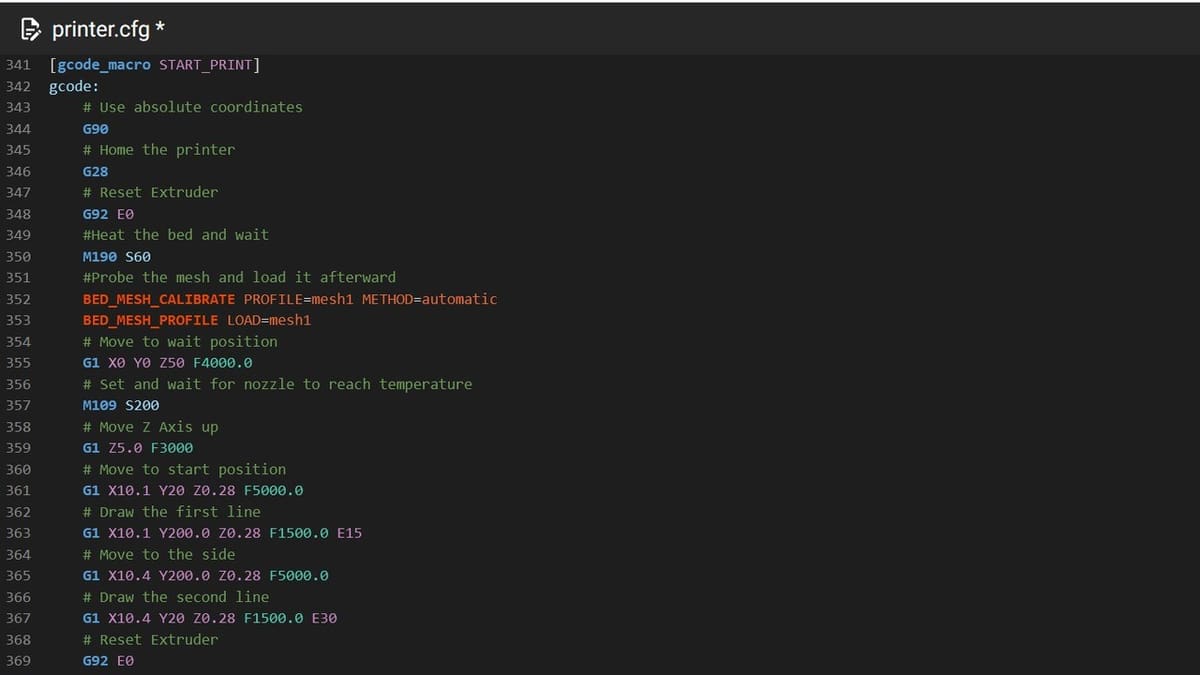
However, a more efficient approach would be to create macros containing all of the required start and end instructions (whether G-code, extended G-code, or other macros) within Klipper itself, for example [gcode_macro START_PRINT…].
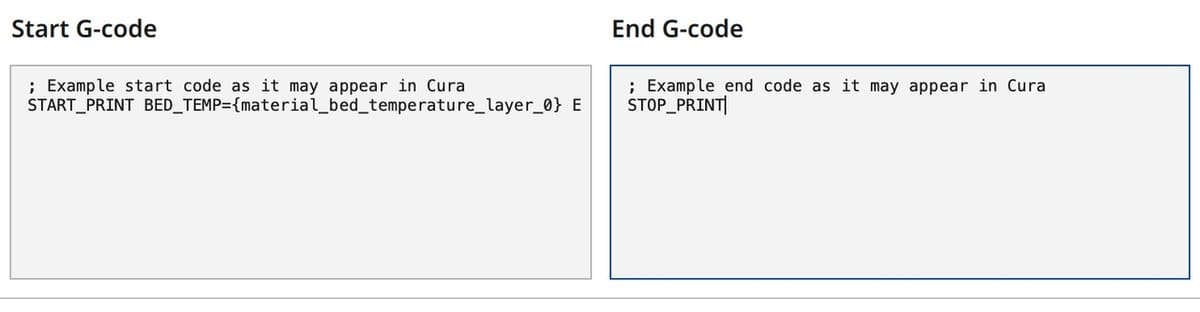
Typical examples of these can be found in Klipper’s GitHub. The actual start code for inclusion from within Cura will normally look something like “START_PRINT BED_TEMP={material_bed_temperature_layer_0} EXTRUDER_TEMP={material_print_temperature_layer_0}“.
This approach makes it easier to tweak the printer’s start and end steps, as changes do not require re-slicing or the G-code file to be manually edited.
Establishing the Connection
While many may be happy to export G-code files and transfer them to their printer via SD card, others may want to directly connect Cura to Klipper.
Klipper’s architecture supports this via its Moonraker API. While several Cura APIs are available for this purpose, let’s focus on the official option that you can download from the built-in Marketplace (or GitHub if you prefer). This API offers functionality that will meet the vast majority of needs.
Installation and use is a breeze:
- Use the search field of Cura’s Marketplace (top right of Cura’s main page) to find and install “Moonraker Connection”.
- When installation is complete, restart Cura.
- Go to “Settings > Printer > Manage Printers” and select “Connect Moonraker”.
- Now configure the URL for your Klipper-Moonraker instance using the IP address for your Raspberry Pi (or whatever device they are running on).
- Optionally, add the identifiers of any powered devices you’ve configured in Klipper (e.g. LED lights), and add a camera URL if installed.
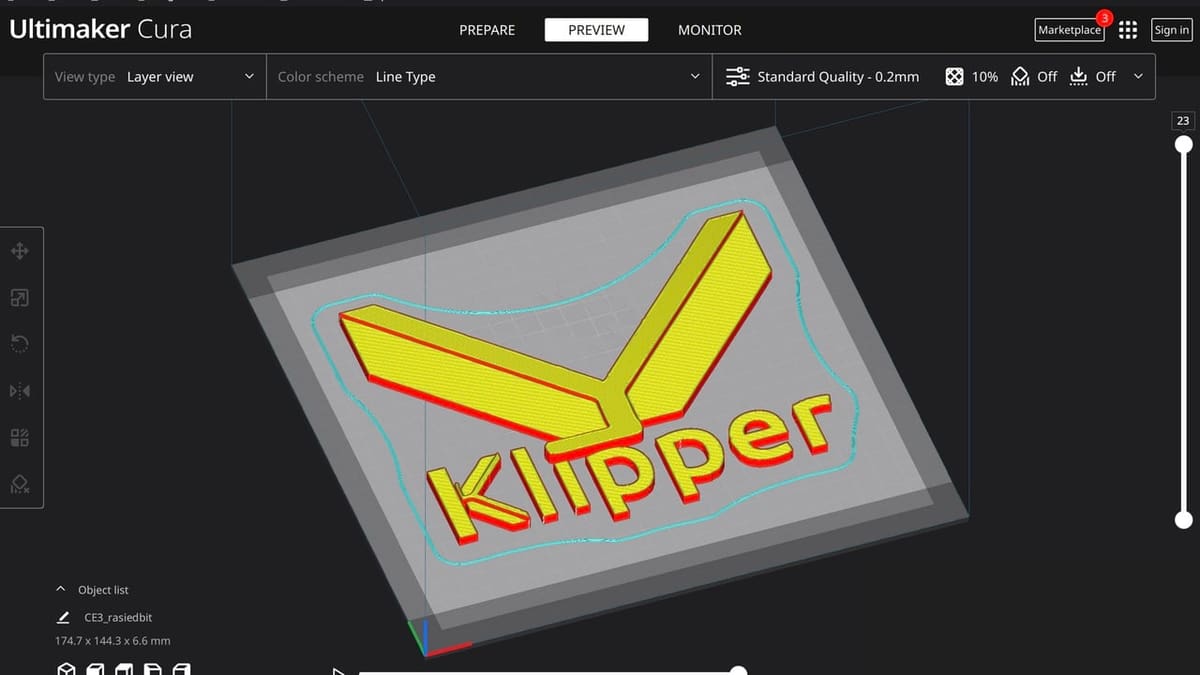
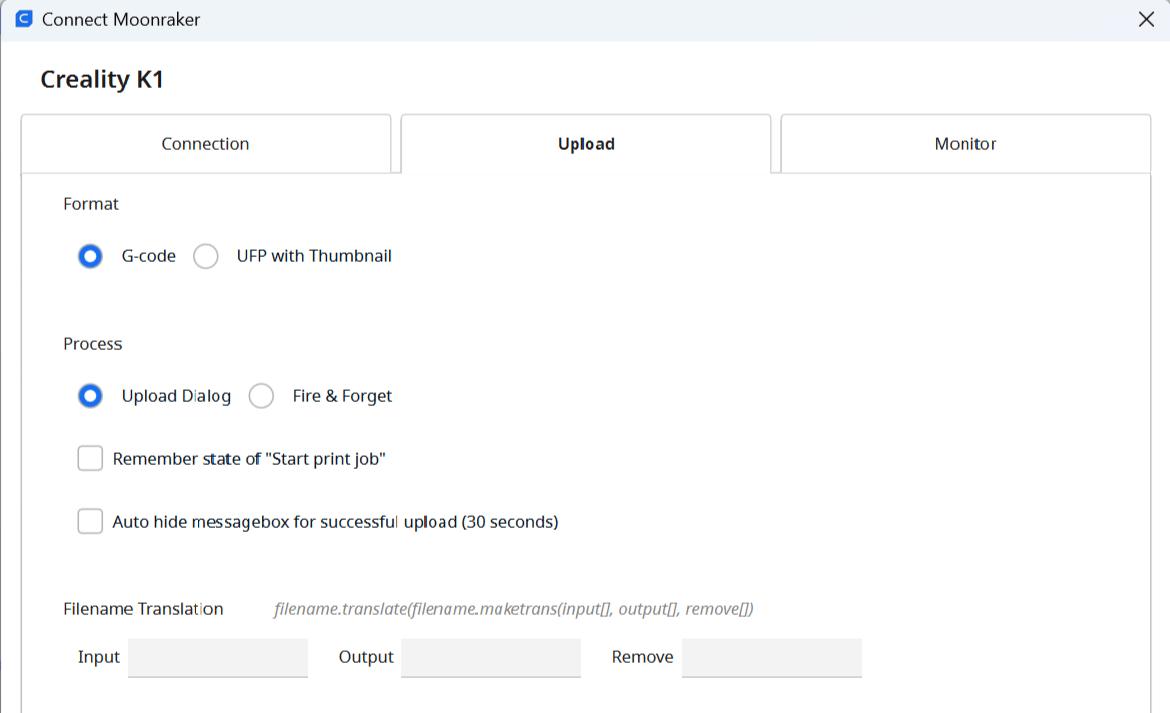
- Choose to upload G-code or UFP files. The UFP with Thumbnail option will display a thumbnail of your model next to the file name. This makes it easy to quickly recognize your 3D file without needing to look at the name or load it into a G-code viewer. You can keep the rest of the settings as default.
- The configuration settings are saved when this window is closed.
You’re now ready to go!
After slicing a model, the usual file save options will now include the prompt “Upload to <Printername>” that pops up a window where you can change file names and set other details. It’s as simple as that!
Note that this approach is seamless with Fluidd, Mainsail, KlipperScreen, or any other Klipper user interface.
License: The text of "Cura & Klipper: How to Make Them Work Together" by All3DP is licensed under a Creative Commons Attribution 4.0 International License.