
Ender 5 Plus Firmware: What to Download & Where?

If you're tired of your Ender 5 Plus firmware, read on to learn all about a few great options and where to get them!
Creality is one of the most popular manufacturers of hobbyist and budget 3D printers. The release of the original Ender 3 brought Creality a large following, which made way for the subsequent Ender 5. And because this printer was such a hit in turn, it was quickly followed by the Ender 5 Pro and Ender 5 Plus.
The Ender 5 Plus is an upgraded version of the original, with a few extra features and a larger build volume. While the printer remains in good standing with the 3D printing community, it’s fairly common to want to upgrade the firmware (the program saved to the mainboard that interprets G-code from your slicer).
A key reason for changing your printer’s firmware is to add upgrades and mods. For example, you could add a different hot end or an inductive bed leveling sensor. You may also want the latest and greatest firmware features on your printer, like linear advance, which predicts pressure build-up in the hot end to produce more accurate parts. So, in this article, we’ll present a few firmware options for the Ender 5 Plus.

How to Do It
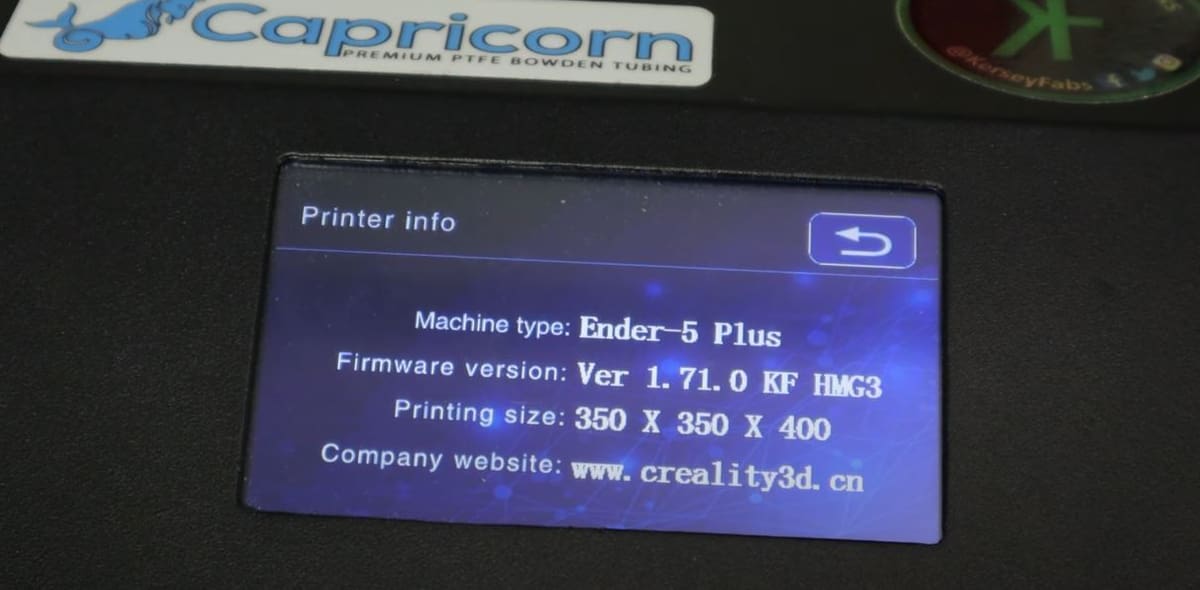
Before updating anything, though, you probably should check to see which firmware you have now. This information can be found in the “Printer info” tab under “Firmware version”. This version number is based on Creality’s firmware, so if you see “Ver 1.7”, then you’re using Creality’s V1.7 firmware.
If you find that your firmware isn’t the most up to date or if you simply want to change it to accommodate upgrades to your machine, you have a couple of options:
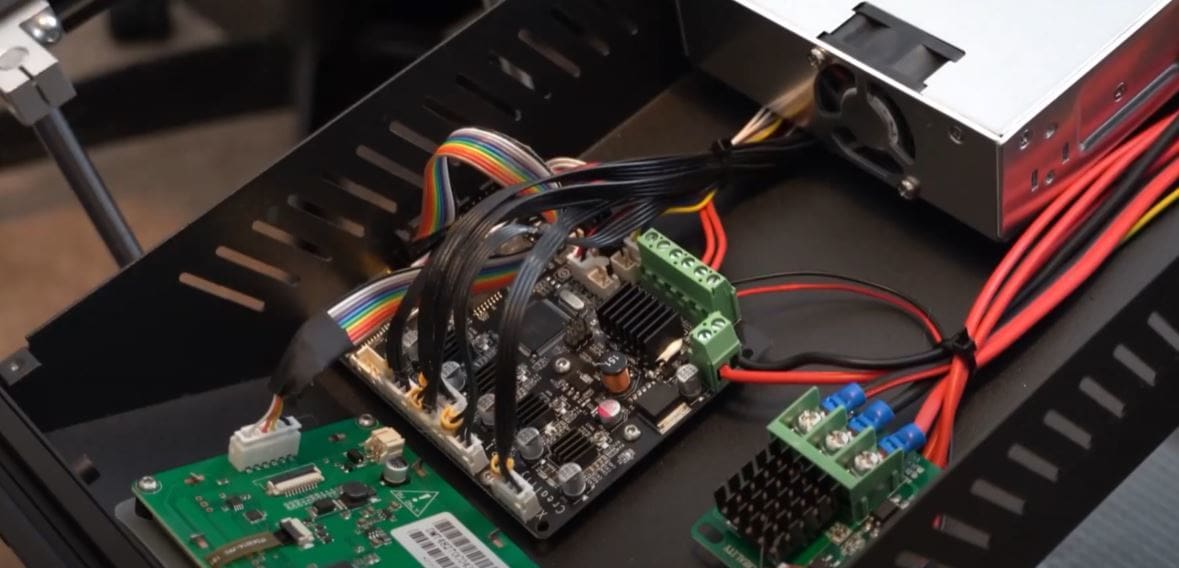
- Slicer software: You can update the firmware on your Ender 5 Plus through the mainboard using a slicer like Creality Slicer or Cura. You just need a USB cable connected to your machine’s mainboard and a firmware program in the HEX file format.
- Arduino IDE software: Through this software, you can edit, build, and upload new firmware to your 3D printer using a USB cable (to the mainboard). As the Ender 5 Plus has a touchscreen LCD interface with special firmware, you’ll also have to update that, too.
For instructions on how to install new firmware on your Ender 5 Plus, there are a few options on YouTube. For example, you can check out Kersey Fabrications’ video on how to do it with Creality Slicer.
Option #1: Creality
First up is the official Creality firmware, which is based on older versions of Marlin. Creality doesn’t explicitly mention which version of Marlin their firmware it’s based on, but the file name of the March 2022 update implies it’s likely a variation of Marlin 1.1.6.
This firmware should come stock on your Ender 5 Plus, but Creality updates it every so often as they catch up to the real Marlin firmware, so the specific version may depend on when you bought your printer. Because they don’t have an official changelog, things can change spontaneously.
You may want to install this firmware on your printer if you bought your Ender 5 a long time ago and want the newer stock firmware. The current firmware they have on their website is called Creality V1.7.0.3 firmware. (We trust that the number will change if and when the firmware is updated!)
Pros & Cons
As we said, the firmware is based on older versions of Marlin, so it’s stable but lacks some of the newer features like improved temperature measurement calibration. This means that you’ll have stable and reliable firmware but with fewer new features, giving up potentially improved print quality and experience.
Location & Files
You can access Creality’s latest firmware releases on the website. Click “Ender Series Firmware” from the right sidebar, then scroll down and expand “Ender-5 Plus 3D Printer”.
The latest firmware is included in a RAR file, needs to be unzipped (depending on your computer you might need a program like 7-Zip). Inside, you’ll find a preconfigured HEX file, which you can immediately flash to your mainboard without having to configure or build it.
Make sure also to copy the “DWIN_SET” folder for the LCD screen’s firmware. If you’ve upgraded your mainboard to the silent version, you can find the latest firmware on the Creality website.
- Available files: Pre-configured HEX files, LCD firmware folder
- Firmware base: Likely Marlin 1.1.6
- Where to get it: Creality3Dofficial, Creality, Google Drive
- Additional support: N/A
Option #2: Marlin 2.0
Marlin is open-source firmware for FDM 3D printers and is currently the most popular 3D printer firmware out there. It’s a community organization funded purely by donations, and the firmware is developed and fixed by enthusiast programmers constantly (almost every night). Marlin 2.0 has already been through a lot of changes and currently is on 2.0.9.3.
Marlin 2.0 came out in early December of 2019, with one of the most significant new features being compatibility with 32-bit boards. While the Ender 5 Plus comes with an 8-bit board, Marlin 2.0 still has other features that make the new firmware worthwhile.
Pros & Cons
Marlin 2.0 firmware is great for getting new behind-the-scenes features like improved thermal control, better linear advance, and controllable enclosure temperature. As with any new program, Marlin 2.0 isn’t the most stable firmware, but that’s the (free) price you pay for the improvements and new features.
One super useful feature for the Ender 5 Plus that Marlin 2.0 provides is more control for the BLTouch sensor: You can directly adjust the fade height of your auto bed leveling sensor (ABL), which is the height (when printing) where the bed leveling values are disregarded.
Location & Files
Any Marlin firmware from Marlin’s website, including Marlin 2.0, is unconfigured, and you’ll have to build the firmware on your own to make it compatible with your Ender 5 Plus. This process isn’t hard, all you have to do is use the example configuration files for the Ender 5 Plus on Marlin’s GitHub page and replace the generic configuration files in the Marlin folder.
For Marlin 2.0, you’ll need Microsoft Visual Studio (VS) Code as well as the PlatformIO and Auto Build Marlin plug-ins to build your firmware. While you’re at, you can also edit your firmware to account for upgrades or offsets.
Option #3: TH3D's Modified Marlin

TH3D firmware is another popular open-source firmware compatible with the Ender 5 Plus. TH3D is a manufacturer and retailer of 3D printer upgrades like dual Z-axis, bed leveling probes, and more. They’ve made two unified firmware packages: Unified 1 and Unified 2.
The former option is based on Marlin 1.9, while Unified 2 is based on Marlin 2.0 firmware. Unified means it unifies changes from the original Marlin firmware and bug fixes with TH3D’s adjustments to easily allow for TH3D upgrades you might have.
Pros & Cons
The specific configuration for TH3D Unified 1 firmware on the GitHub page linked below was intended to work with the Ender 5 Plus. While this firmware may not have the latest and greatest features that Marlin 2.0 brings to the table, it’s ultra-stable because it combines the older Marlin 1.9 with the even more stable bug-fix Marlin 1.9 firmware.
TH3D also added accounting for TH3D upgrades easily. Simply take out the pseudocode lines (“//”) in front of a few scripts to activate their upgrades in the firmware, like an EZABL sensor.
For those of you who want the latest and greatest of features, you can opt for Unified 2. There’s even a version of the firmware specifically for Creality’s silent mainboard V4.2.7. TH3D, however, cautions that functionality may be limited depending on the type of LCD display of your printer. They have also advised that the linear advance feature may not work properly with either of Creality’s mainboards.
Location & Files
Like Marlin firmware, you have to configure this firmware on your own, but it’s not hard: All you have to do is copy and paste files. As this is Marlin 1.9, you use Arduino IDE rather than VS Code to edit or build the firmware. This process has been around for a while and is well documented. A good place to start is Teaching Tech’s YouTube tutorial.
The Unified 2 firmware for the Ender 5 Plus can be found at TH3D’s Help Center. Under the “Creality” tab, you’ll see that everything is organized according to the types of mainboards. Unified 2 firmware is available for Creality’s V2.X and V4.2.7 boards, and VS Code will be required to edit and compile the firmware. TH3D provides step-by-step instructions and a VS Code installation guide.
- Available files: Unconfigured Marlin files
- Firmware base: Marlin 1.9 (Unified 1), Marlin 2.0 (Unified 2)
- Where to get it: TH3D Help Center, GitHub
- Additional support: N/A
Option #4: Kersey Fabrications' Modified Creality V1.7
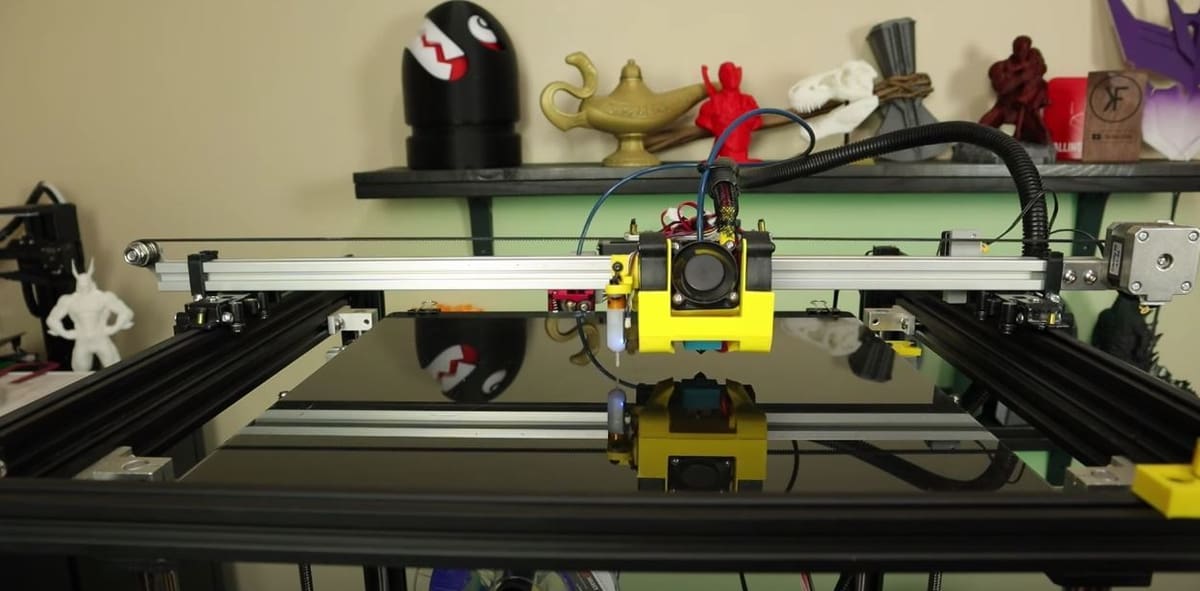
This modified version of the Ender 5 Plus’ stock Creality V1.7 firmware was made by Kersey Fabrications, a hobbyist and content creator for 3D printing. They solved a BLTouch offset problem as well as improved other features for your Ender 5 Plus’ firmware.
Pros & Cons
The main fix in this modified version of Creality’s V1.7 firmware is the adjusted offsets for the BLTouch. Now, when the sensor probes, the sensor is in the middle of the bed, not the nozzle. Ideally, this is how it should probe because the sensor’s tip needs to replicate where the nozzle will be (which is not the case in Creality’s stock firmware). On top of that, the developer also added an additional configuration (HEX) file for the HeroMe Gen3 hot end mount, which requires different BLTouch offsets.
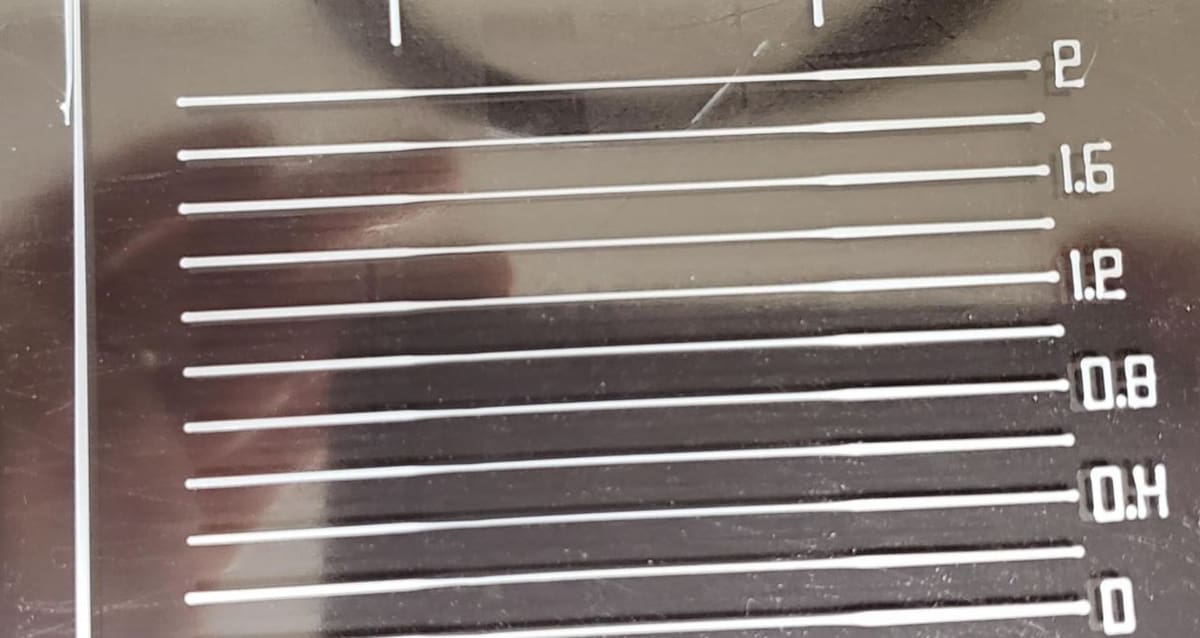
Another change Kersey Fabrications made to the Creality V1.7 firmware was the inclusion of linear advance, a prediction feature for nozzle pressure that can improve print quality.
Location & Files
This firmware can be downloaded from Kersey Fabrications’ GitHub folder for the Ender 5 Plus, linked below. As we mentioned, you can download configurations for either the stock hot end setup (firmware with the name with the last letters being “KF”) or the HeroMe Gen3 setup (“HMG3”).
If you want to edit the firmware, you can find the source code on the GitHub page and use Arduino IDE to make changes. Otherwise, just upload the provided preconfigured HEX files.
Option #5: Jay Aristide's Modified Marlin
Our last firmware option is from another community 3D printing enthusiast who wanted to solve some issues with Creality’s firmware.
The firmware is made by Jay Aristide and is a modified version of David Menzel’s Tiny Machines 3D firmware. Jay’s firmware is based on early versions of Marlin 2.0, and the community seems to like it for the Ender 5 Plus, as some users stated that it’s reliable and has become their go-to option.
Pros & Cons
Unlike Creality, Jay has shared the changes he made to the firmware, which include adjustments to the feed rates and lengths. These changes should probably help for preventing under- or over-extrusion.
The developer also adjusted the acceleration and jerk settings to optimize printing results at a speed of 80 mm/s. This means you can print much faster without tuning the acceleration or jerk settings.
Like Kersey Fabrications, the probing offset for the BLTouch sensor is also changed to probe with the sensor tip centered on the build plate rather than the nozzle. For a complete list of changed features, see the “Instructions & Guides” folder in the Google Drive folder linked below.
Location & Files
This firmware developer was helpful and included a full set of instructions to properly configure and install this firmware (in the “Instructions & Guides” folder). There are even instructions on properly using BLTouch auto bed leveling, which might be something new users could find difficult.
In the firmware folder for the Ender 5 Plus, you’ll find preconfigured HEX files for two different configurations of the Plus printer, one for the stock version and another if you have an all-metal hot end. There are also additional programs and applications you need to install to change the firmware, such as Printrun (Pronterface) and XLoader.
- Available files: Preconfigured HEX file
- Firmware base: Marlin 2.0
- Where to get it: Google Drive
- Additional support: Reddit, Facebook
License: The text of "Ender 5 Plus Firmware: What to Download & Where?" by All3DP is licensed under a Creative Commons Attribution 4.0 International License.