Best Creality Ender 5 (Pro/S1/Plus) Enclosures

Want to enhance the print quality with your Ender 5 Pro/S1/Plus? Check out these enclosures that you can buy or DIY on any budget.
The Creality Ender 5 is a budget-friendly 3D printer that offers numerous upgrades over its predecessor, the Ender 3. The most notable upgrades include increased build volume, an improved filament pathway, and the Cartesian XY-head motion system. Unfortunately, the lack of enclosure persists in this new generation of printers, a crucial component for successful 3D printing with temperature-sensitive filaments like ABS, polycarbonate, nylon, and PETG.
An enclosure keeps the heat in while also blocking any airflow, allowing the print to cool slowly. Certain filaments tend to warp and crack if not in an enclosure because airflow and cold temperatures cause uneven cooling. Beyond temperature control, an enclosure ensures a safe environment by limiting the emission of fumes into your workspace.
With the Ender 5 offering a 220 x 220 x 300 mm build size, finding an enclosure that can fit over its outer dimensions, 440 x 410 x 465 mm (without a filament spool), can be a challenge. The offshoots of the Ender 5, like the Plus and Pro variants, are even more to cover.
So let’s get into the different options for building or buying an enclosure. Taking into consideration pricing, visual appearance, and effectiveness, we’ll give you plenty of options so you can have more freedom with your Ender 5.
The Ender 5 Line
As impressive as the Ender 5 was in its heyday, Creality has improved many aspects of it with the subsequent Ender 5 Pro, Ender 5 S1, and Ender 5 Plus models. While Creality no longer sells the Ender 5 or 5 Pro, the Ender 5 S1 and 5 Plus are still going strong.
While these printers all fall under the Ender 5 name, they each have unique qualities and specs that set them apart. Concerning the topic at hand, each of the Ender 5 printers has slightly different dimensions, meaning there’s no one-size-fits-all Ender 5 enclosure.
As a quick reference, here are the outer dimensions of each of the Ender 5 models:
- Ender 5: 440 x 410 x 465 mm
- Ender 5 Pro: 552 x 485 x 510 mm
- Ender 5 S1: 425 x 460 x 570 mm
- Ender 5 Plus: 632 x 666 x 619 mm
Though Creality has discontinued both the Ender 5 and the Ender 5 Pro, this article will still include enclosures for these printers as they’re still being used by many enthusiasts out there. For the following enclosures, we’ll address their compatibility with the various Ender 5 models, although keep in mind that most DIY designs will be customizable.
To Buy
These options are the quickest to get set up but won’t be the most budget-friendly.
Creality Tent
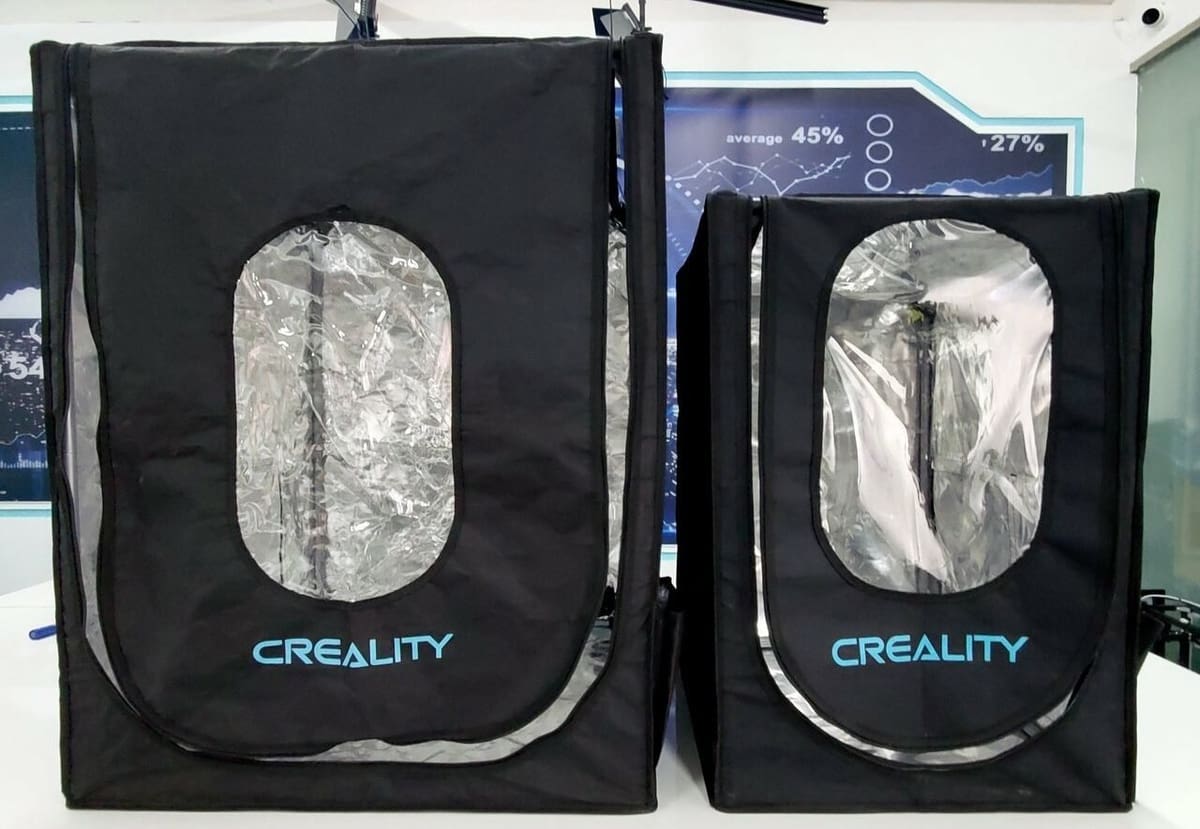
Need an enclosure for your Ender 5 and don’t want to build it yourself? Perhaps the easiest thing you can do is buy the official enclosure from Creality. The large size is suitable even for the largest Ender 5 Plus.
This enclosure is very effective and is a good option if you have some extra money on hand. Creality’s enclosure keeps the heat in using insulative materials and claims to be fireproof. In addition to the basic enclosure functionality and sturdy frame, it’s also soundproof, has tool holders on the side, a window for visibility, and a zipper for accessibility.
Once you’ve purchased it, the setup is quick and easy. All you have to do is set up the frame and cover and put your printer in. While we aren’t the biggest fans of the look, it’s an effective and solid choice for your Ender 5.
- Compatibility: All (size large)
- Materials needed: Creality enclosure
- Cost: ~$110
- Assembly: Easy

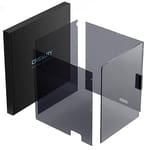
Creality Acrylic
The Creality acrylic enclosure is a great option for those looking for a professional-looking, sturdy, and, extremely functional enclosure for minimal effort. The thick acrylic walls provide great insulation for both temperature and sound. With this kit, there’ll be no cutting or trimming required, as the acrylic sheets come ready to be attached directly to the Ender 5 S1 printer frame.
The package includes four acrylic walls, a filament spool holder, and hardware for mounting. With only four acrylic walls, this enclosure doesn’t cover the top of the printer. Fortunately, users still report improved printing of materials like ABS and that it’s preferable to print without the lid for PLA anyway, as the full enclosure traps quite a bit of heat. If you’re interested in covering the top, however, Creality also manufactures a separately sold top cover that’s available from a variety of retailers.
- Compatibility: Ender 5 S1
- Materials needed: Creality acrylic enclosure
- Cost: ~$63
- Assembly: Easy
Photography Tent

Another way to create a 3D printer enclosure is to use a photography booth. They’re typically made of white synthetic material, like a pop-up tent or fabric with aluminum liner, which can serve as insulation. A bonus is that you’ll be able to get amazing shots of your printer at work!
Photography booths are available in most department stores and can also be purchased at Amazon. It’s easy to find quite large ones that can fit even the Ender 5 Pro plus accessories.
While these tent-like enclosures may not be the most sturdy and insulative, they’ll certainly keep dust off your setup and help maintain a tidy workspace. The best part is that they’re easy to set up and relatively cost-effective.
- Compatibility: All
- Materials needed: Photography tent
- Cost: $30-$120
- Assembly: Easy

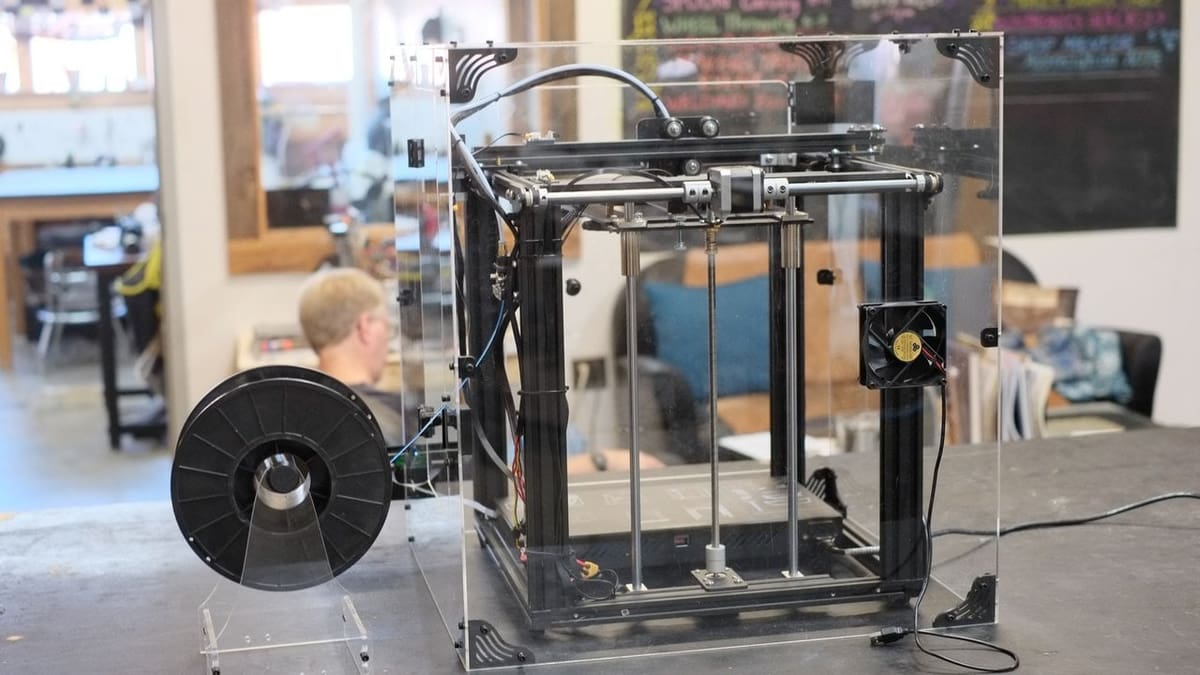
Plexiglass
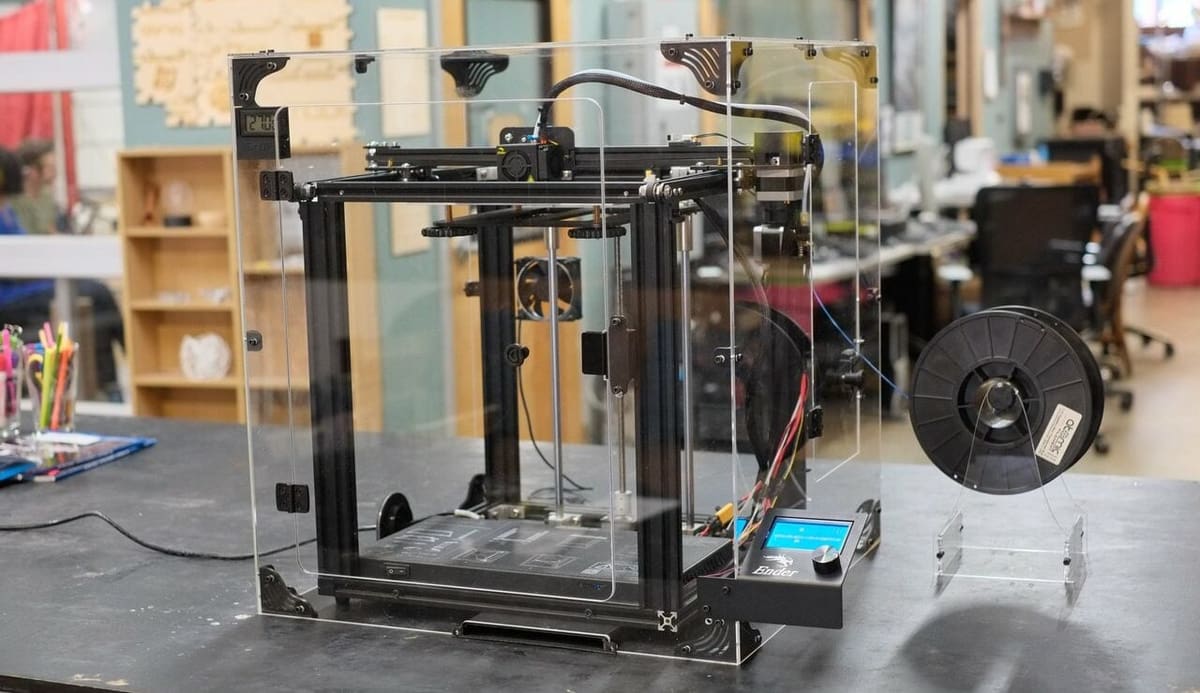
An acrylic or plexiglass enclosure is a common choice that uses clear thermoplastics to keep the heat in.
There are a few reasons why you might want to go with this enclosure. First off, the plexiglass can effectively contain the heat and block airflow. Another obvious plus is that you have an unobstructed view of your print, so you can just walk by and make sure your printer is working without having to open any doors. Lastly, a see-through enclosure has a nice visual appearance.
For this type of enclosure, you can build it yourself using materials available at any hardware store or buy it as a kit (there’s a larger model for the Ender 5 Plus too).
While purchasing a kit will set you back a few hundred dollars, you’ll also save a lot of time and effort. There are even upgrades like a ventilation system or a fire safety kit, which are great options.
When building one yourself, it’s important to factor in the minimum dimensions as well as any extra space you might want. For example, you could add an extra 180 mm on each side to allow for a small tool kit and a Raspberry Pi. If you’d like some further instructions on building an acrylic or plexiglass enclosure, you can find them on Instructables.
- Compatibility: All
- Materials needed: Kit or acrylic sheets and brackets to DIY
- Cost: ~$365
- Assembly: Medium
To DIY
If you’re ready to bust out some tools and head to the hardware store, there are a few options here for you. Stay open-minded to the more creative solutions!
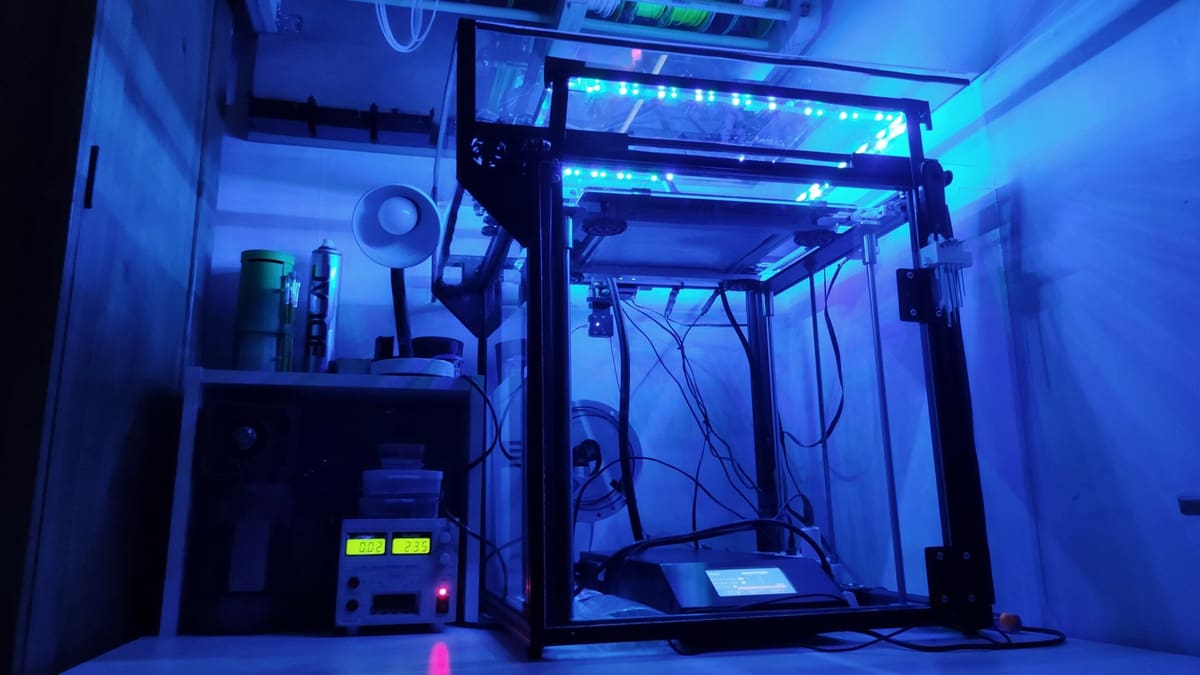
Upcycled Furniture

Another way to build an enclosure for your Ender 5 is through upcycled furniture. This is similar to a fully DIY wood enclosure, but it’s less work. Here, you’re using furniture as the frame to contain your printer.
As you look for suitable furniture, you’re going to want to have your preferred enclosure dimensions on hand. The Ikea Lack table is a very popular choice, but its top measures 55 x 55 cm, so it’ll only be suitable for the Ender 5 and 5 S1. The height of the table is not an issue, as there are printable adapter files to raise the table as high as necessary.
You can also save money by searching for a table from a thrift store or a garage sale where you may even be able to snag a larger option. If you go the Ikea Lack or similar route, there’s an Instructable page that can guide you through the process. For the side covers, many opt for clear plexiglass. When finished, the enclosure has a removable door, transparent windows, an extractor fan, and voltage and temperature readings.
Overall, this type of enclosure is effective and keeps the heat in very well. Plus, it looks good!
- Compatibility: Ender 5, 5 S1 (with a Lack table)
- Materials needed: Ikea Lack table or other compatible furniture, plexiglass sheet
- Cost: ~$85
- Assembly: Hard
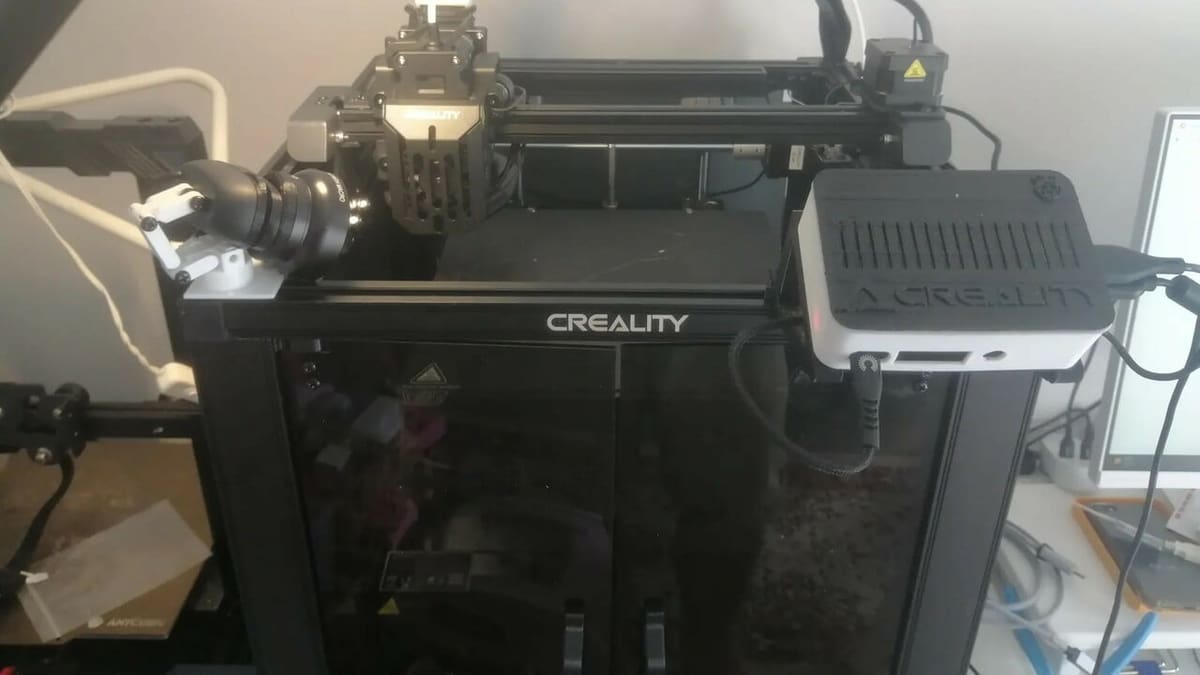
Top Cover
Looking for an enclosure but don’t want to spend very much? If so, this option is for you. It’s a combination of buying some parts, printing others, and doing some building yourself.
The files for this partial enclosure are available on Thingiverse. You should print out the brackets and measure the slots to find the correct thickness of glass or plexiglass (from any hardware store) you’ll want to use.
Because the Ender 5 only prints at the top, the partial enclosure is able to protect the printhead from having any airflow that would negatively affect printing. Hot air rises, so it should be able to create a warm pocket where printing takes place. The downside of this enclosure is if you’re printing something tall, the enclosure will have less of an effect as the Z-axis moves down.
We’ll be the first to admit that the effectiveness of this design is model-dependent, but it’s one of our cheapest options. Visually, this partial enclosure doesn’t really affect the appearance or accessibility of the Ender 5, as the enclosure isn’t that big.
- Compatibility: All
- Materials needed: Plexiglass sheet, 3D printed bracket
- Cost: ~$30
- Assembly: Medium
Wood
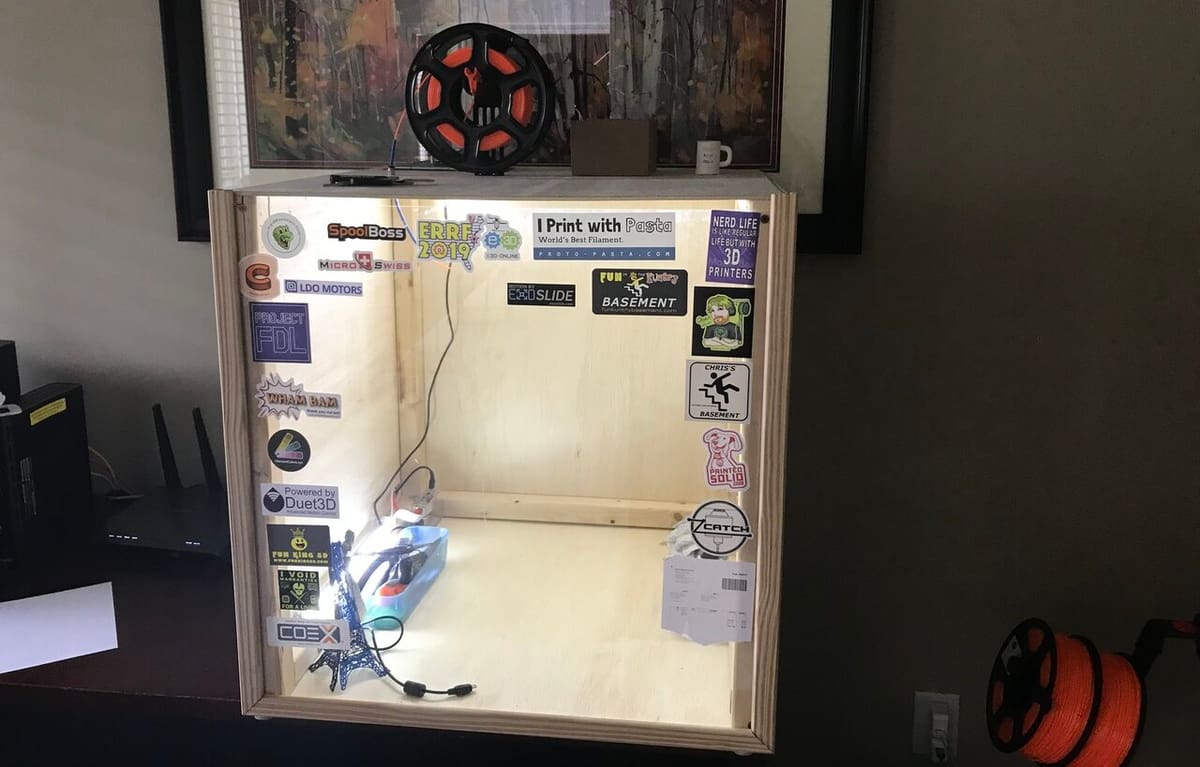
A wood enclosure is a great option for an enclosure that looks good and is pretty easy to build if you have the right tools. In addition to the wood, we’d recommend getting one sheet of plexiglass so you can see in.
Wood is a lot cheaper than plexiglass, so this enclosure is another relatively low-cost option. You can purchase the wood, trim, screws, and any other materials needed at your local hardware store.
Although wood may not be the best insulator, a wooden enclosure can successfully insulate when printing ABS and PETG. As long as it’s soundly made and doesn’t have any holes and cracks, it’ll do just fine.
As with other enclosures that are custom-built, designing or sketching a plan before buying materials is a good idea. If you want some guidance, there are good instructions on how to build a wooden enclosure on Instructables.
A wood enclosure also looks nice, especially if you have the plexiglass on one side.
- Compatibility: All
- Materials needed: Plywood sheets, screws, plexiglass sheet, trim
- Cost: ~$85
- Assembly: Hard

Exercise Mats
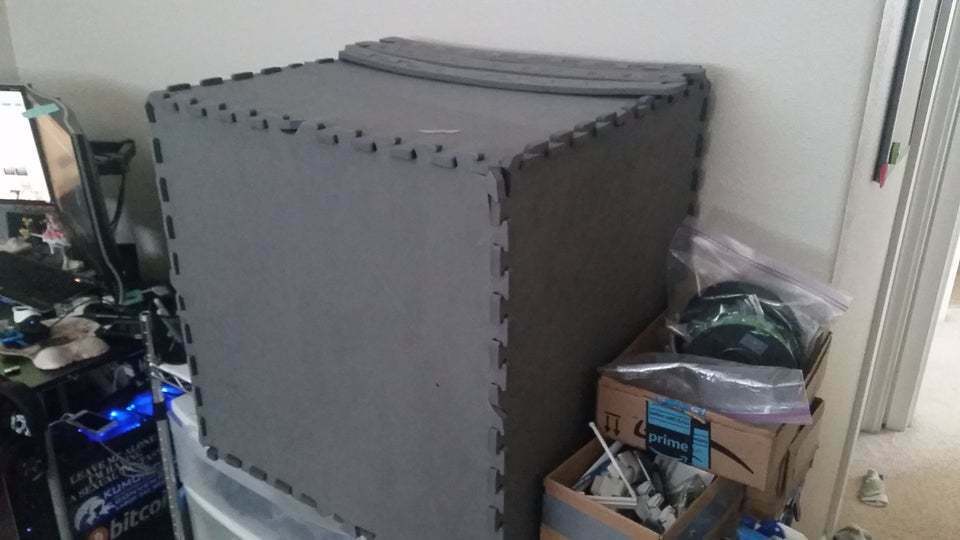
Creating an enclosure for your Ender 5 using exercise mats is a simple and cost-effective solution. Despite their less-than-optimal aesthetic appeal, exercise mats prove to be highly functional. These mats are surprisingly good insulators and will keep the heat in without allowing for any external airflow.
The affordability of exercise mats makes them an attractive option, requiring only six mats to construct a complete enclosure. When the need arises for print removal or maintenance, the front mat can be peeled off, providing convenient access.
When building an enclosure with exercise mats, you must make sure the dimensions of the mat are sufficient for your printer. Interlocking exercise mats generally come in a standard standard 24 x 24 in (approx. 610 x 610 mm) size. This would fit all of the Ender 5 family, except the Ender 5 Plus. Larger mats are not as easy to come by, so if you have the Plus, it may be better to try another option.
Overall, this enclosure isn’t the best for visual appearance or effectiveness. However, this option is great if you’re looking for a cheap method that’s easy to set up.
- Compatibility: All but the Ender 5 Plus
- Materials needed: Exercise mats
- Cost: ~$25
- Assembly: Easy
Garbage Bag
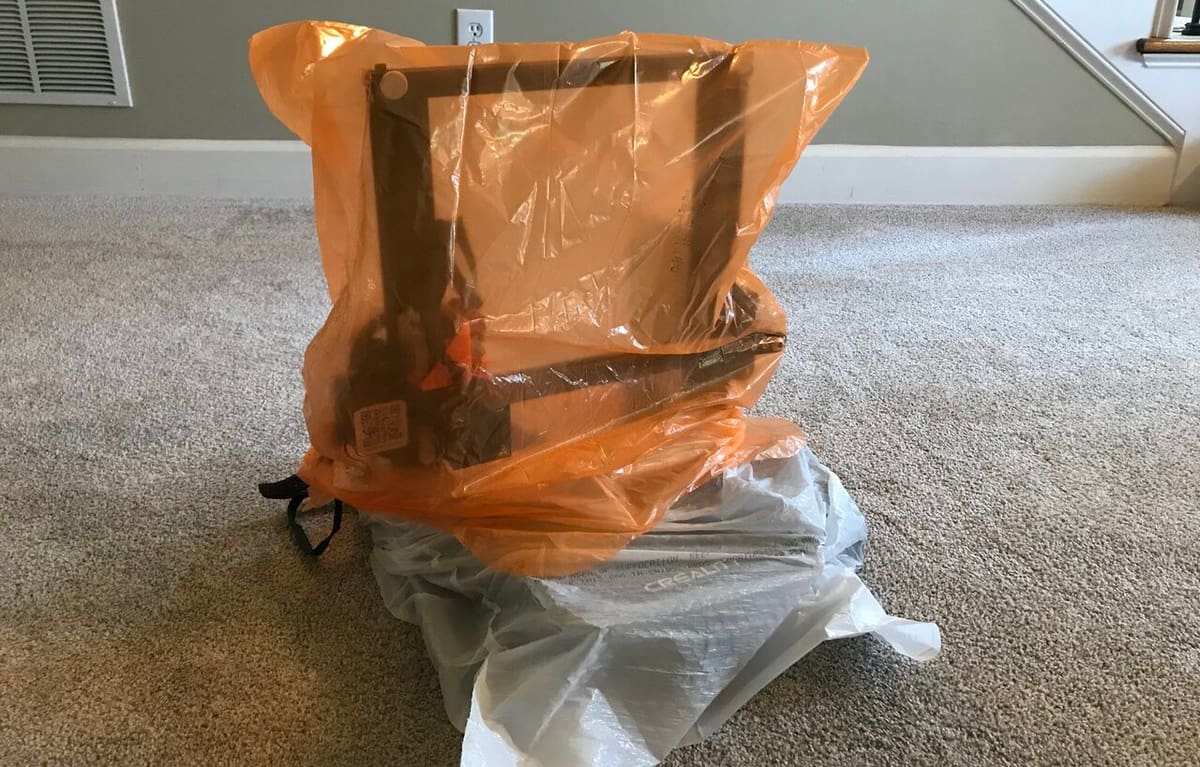
Well, if you haven’t already figured it out, this enclosure is just a garbage bag. You probably can already guess that this method isn’t the best compared to the other ones listed, but it’s basically free.
As seen in the picture, you might have to use multiple bags to get the job done. Although the picture is of an Ender 3, this method will work on the Ender 5 because the Ender 5 isn’t a bed slinger like the Ender 3.
If you can, use extra-large garbage bags because bigger bags offer more room so your printer won’t catch on the bag.
While it does keep away airflow, a garbage bag is best used for protection of the printer from workshop dust, not during printing. We wouldn’t want the garbage bag to get caught on any moving components and possibly destroy your print, or in the worst case, damage your printer in any way.
This enclosure’s visual appearance might make your printer feel a little self-conscious, but it’ll save you a lot of money. As a bit of a step up, though along the same lines, we’ve also seen makers effectively use greenhouse plastic covers.
- Compatibility: All
- Materials needed: A garbage bag or greenhouse plastic covering
- Cost: Free or ~$15 for a greenhouse covering
- Assembly: Easy
License: The text of "Best Creality Ender 5 (Pro/S1/Plus) Enclosures" by All3DP is licensed under a Creative Commons Attribution 4.0 International License.
CERTAIN CONTENT THAT APPEARS ON THIS SITE COMES FROM AMAZON. THIS CONTENT IS PROVIDED ‘AS IS’ AND IS SUBJECT TO CHANGE OR REMOVAL AT ANY TIME.