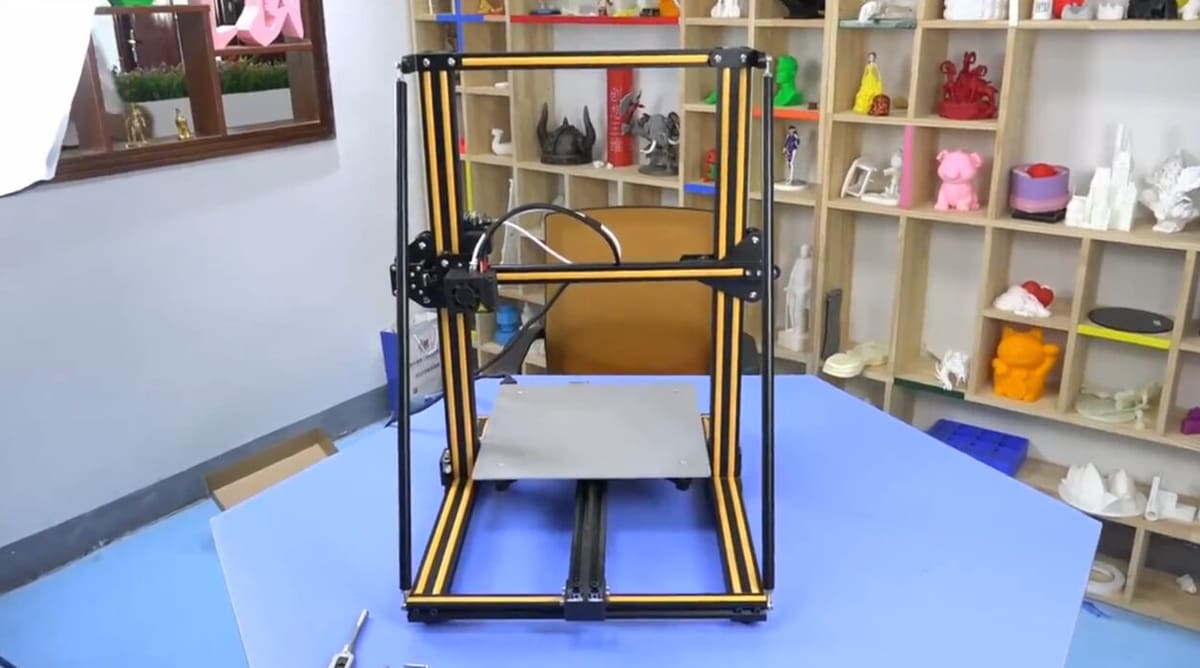
The Best Creality CR-10 (S/Pro/V2/V3) Upgrades

The CR-10 printers are great, but there's still room for improvement. Check out the best Creality CR-10S/Pro/V2/V3 upgrades and mods!
Creality is known for making 3D printers for the consumer and hobby markets. Most famous is their Ender 3 series, followed closely by the CR-10.
Out of the box, the CR-10 is a good printer. But with some work and upgrades, it becomes one of the best. We’ve chosen the best upgrades for the CR-10 and all its variants, including the CR-10S, S4, and S5, CR-10 Mini, CR-10 Pro, CR-10 V2, and CR-10 V3. Each upgrade provides a useful function and is proven to work; there are no purely decorative additions here.
For easier reading, we’ve split our picks into five categories: extrusion, heating and cooling, print bed and leveling, structural support, and electronics. Our selections are compatible with all the above-mentioned versions of the CR-10, unless stated otherwise. Let’s take a look at what you might want to add!
Extrusion
For FDM 3D printing, the extruder is where much of the action takes place. The following upgrades are solutions to some common issues involved with moving and processing filament during the extrusion process.
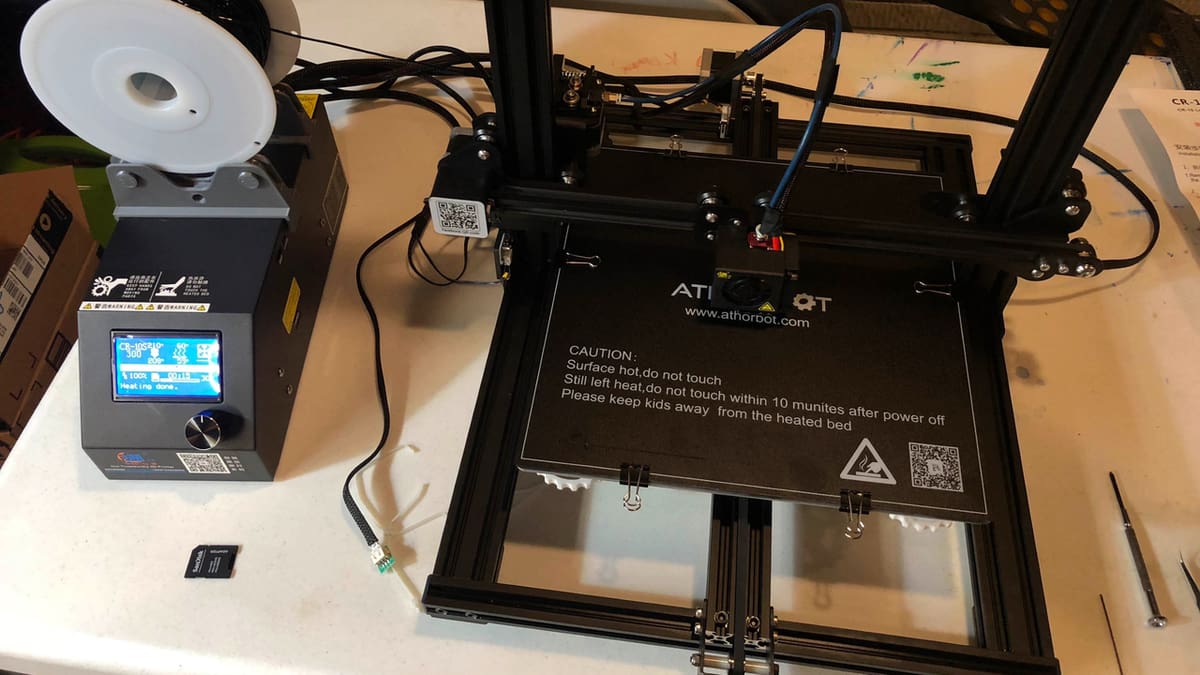
Bearing Spool Holder
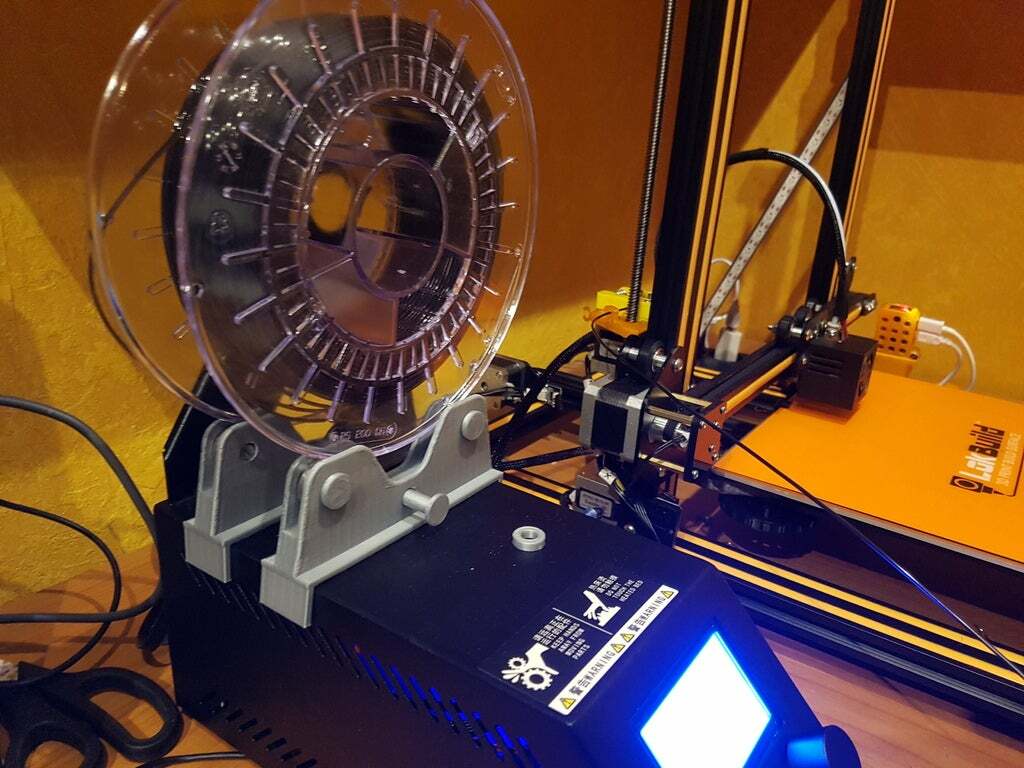
One of the community complaints about the CR-10 is its spool holder, which has some serious limitations.
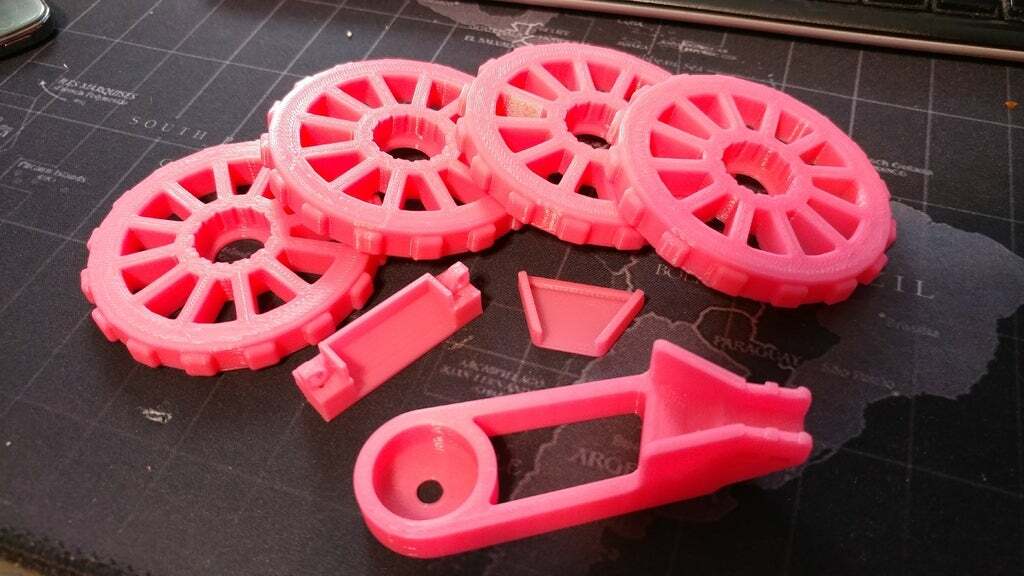
This upgrade is simply ingenious: The filament roll sits on top of four bearings, with no worries about spool size whatsoever, and the spool is held in place by the sides of the holder. The design significantly decreases friction and thereby relieves some of the strain on the extruder.
The holder fits nicely on top of the control box for easy access and use. It also reduces the impact of vibrations on some of the CR-10 variants, as it’s no longer mounted on top of the printer, which was amplifying the issue.
- Creator: ThingMaker72
- Compatible models: All CR-10s
- Additional hardware required: 4 x 608 bearings
- Where to find it: Thingiverse
Filament Guide
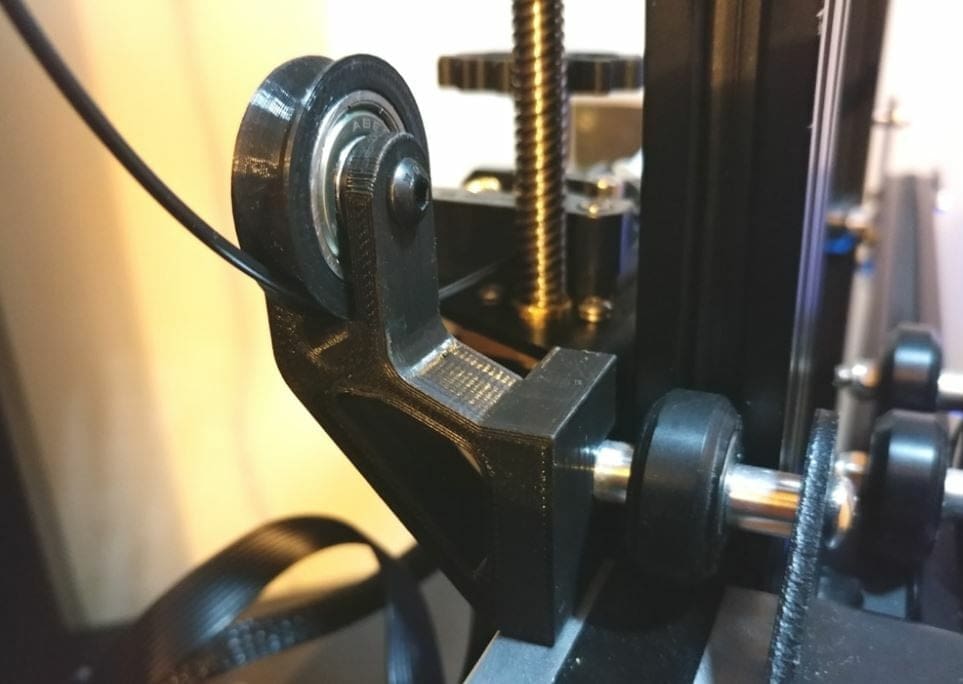
A filament guide is a super useful upgrade for a 3D printer. It creates a safe path for filament to travel from the spool to the extruder. This filament guide uses a bearing and a couple of 3D printed parts that can be assembled with just one screw.
The assembled product connects to the Z-axis carriage on the printer. It helps to keep the filament from getting tangled around the extruder, and its use of a bearing ensures that the filament flows smoothly.
The designer posted some great images of the filament guide. They listed that they printed the model with a 20% infill density and a 0.2-mm layer height. The maker also suggests printing the roller part with a lower layer height (e.g. 0.1 mm) for a smoother surface.
- Creator: Holspeed
- Compatible models: CR-10 and all variations
- Additional hardware required: Bearing, screw
- Where to find it: Thingiverse
Capricorn Bowden Tubing
If you have a fancy new extruder, why not make sure what comes after has the same quality and precision?
This Capricorn tubing, in its iconic dark blue color, has much tighter tolerances than a standard PTFE tubing. What this means is there’s less room for the filament to wiggle around on its way to the nozzle. This results in smoother, more precise, and consistent extrusion throughout your print.
An additional benefit is that Capricorn tubing helps stop filament from binding on itself, which is especially important if you’re printing with flexible filaments.
- Manufacturer: Capricorn
- Compatible models: All CR-10s
- Additional hardware required: None
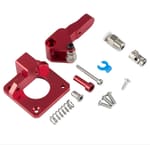
Extruder Knob
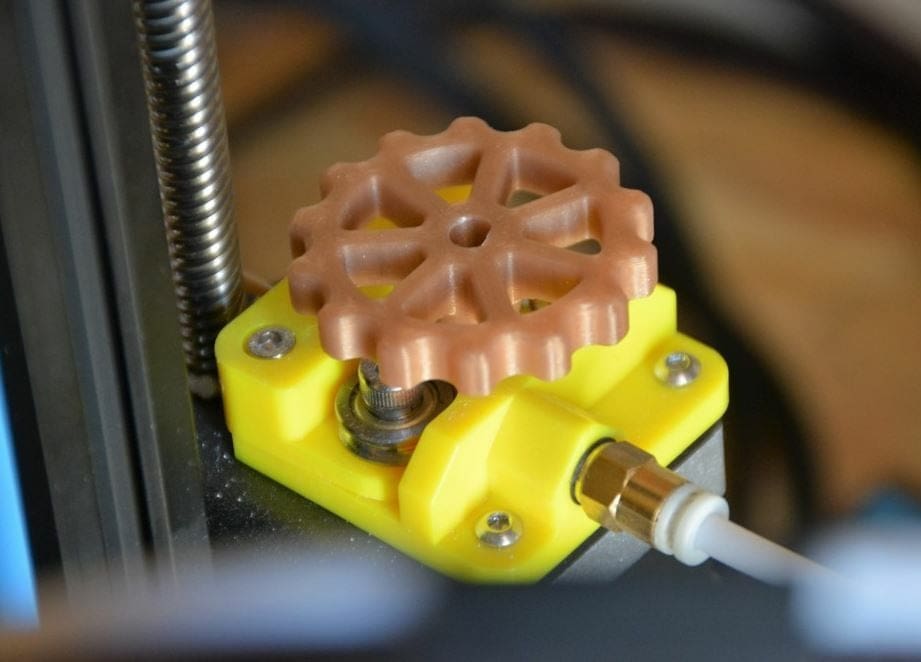
The extruder on most Creality printers, including a few CR-10 models, has no knob, so you have to use the LCD display to control the extruder’s gears. This 3D printable extruder knob attaches to your machine’s extruder gear. Once attached, you can use it to manually extrude and retract filament.
The designer posted a great print of the knob, which they achieved with a 0.2-mm layer height and a 15% fill density. As this model must be dimensionally accurate to fit on your extruder gear, you may want to calibrate your extruder before printing.
- Creator: ReplayMD
- Compatible models: CR-10 and all variations with stock Creality extruder
- Additional hardware required: None
- Where to find it: Thingiverse
Metal Feeder Extruder
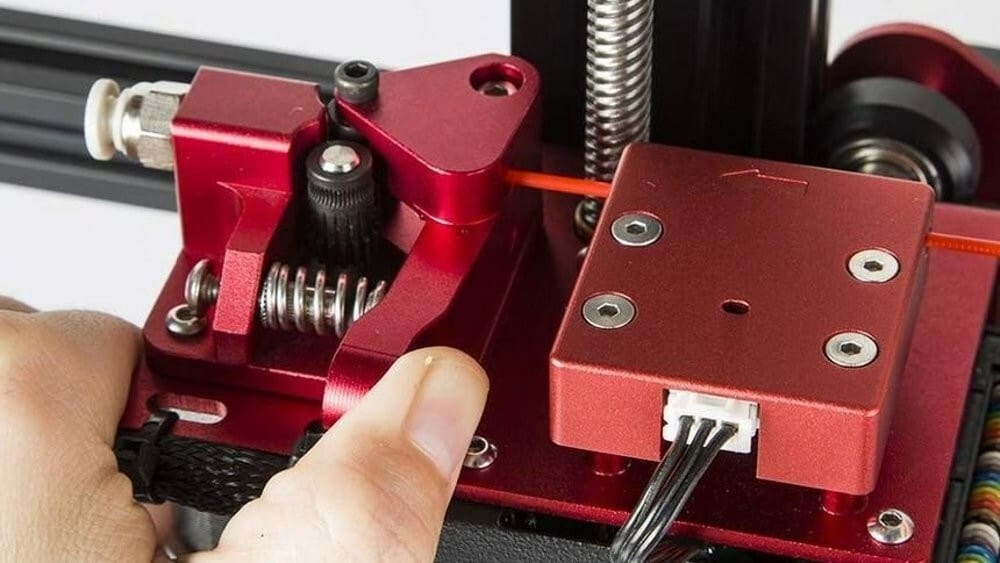
Ah, the gripping fear of a filament jam, a true classic issue in the 3D printing world.
Creality’s Bondtech Double Gear Extruder Kit should make your filament jamming days a distant memory. This upgrade comes on some of Creality’s newer CR-line printers, but for those of you with older models, this dual-drive extruder will be a welcome upgrade. All you have to do is swap it out and recalibrate your E-steps, and you’ll be ready to roll!
Alternatively, if you’re the lucky owner of a CR-10 V2, you can also purchase a genuine E3D Titan extruder. Designed to slot into the CR-10 V2 as a seamless transition into direct drive setup, this upgrade facilitates the use of flexible filaments and relieves some of the common issues associated with Bowden systems. The Titan extruder can also be used in place of the stock extruder on the other CR-10 models, but they usually require an additional bracket to mount properly.
Note that for any extruder upgrades, it’s a good idea to calibrate your extruder (also known as E-steps calibration) to make sure your printer is pushing the right amount of filament while printing.
- Manufacturer: Creality
- Compatible models: Older CR-10s
- Additional hardware required: None
Heating & Cooling
There’s no 3D printing without heat, but there are no parts without a touch of cooling. These upgrades help you to achieve the optimal temperature conditions for your printing projects.
E3D Hemera
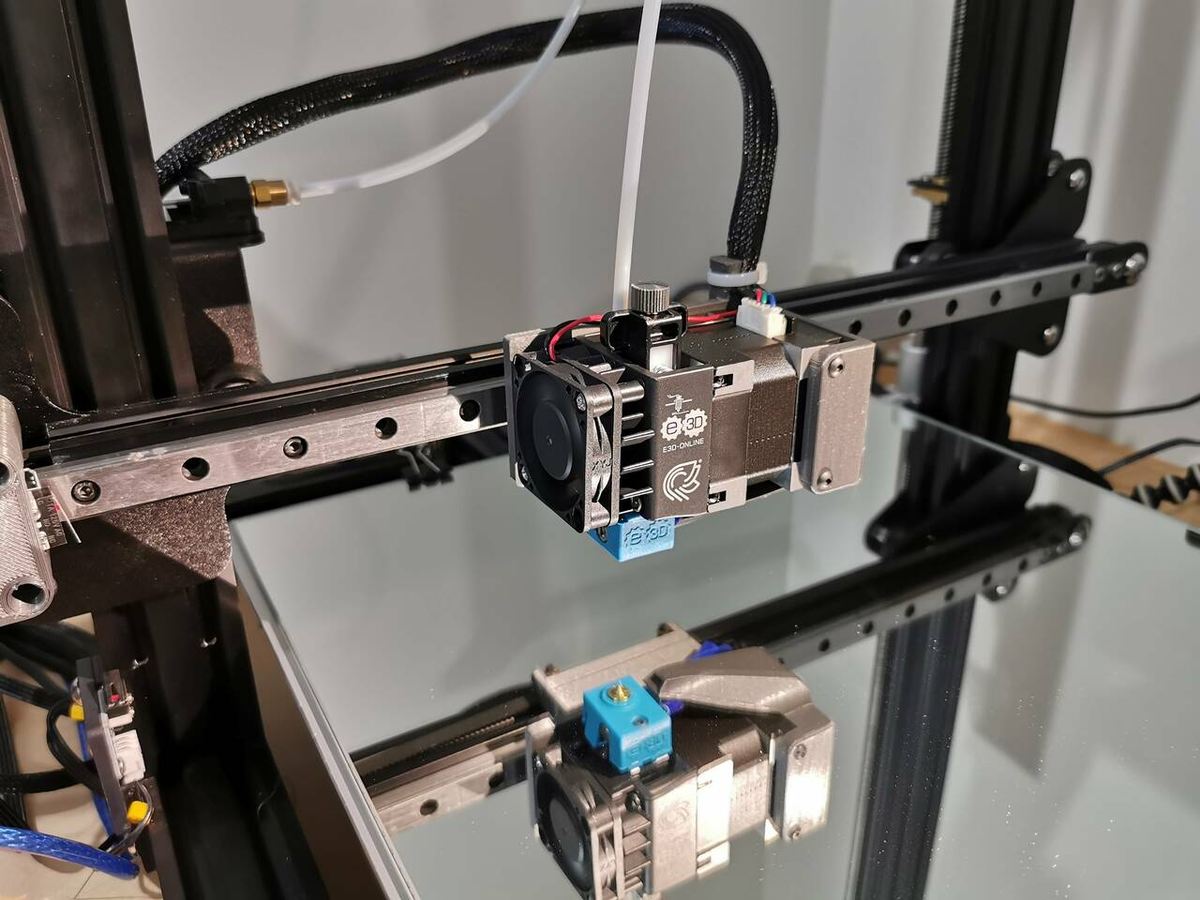
E3D is known for their high-quality 3D printing hot ends, such as the V6 series. The Hemera is their solution for a compact direct drive extruder with an extremely short filament path.
One of their claims is that it can print flexible filaments as fast as PLA. The reason this is possible is due to the well-constrained filament path, which stops the filament from bucking or binding on itself. TPU, for example, is prone to this, making it a very difficult filament to print.
Since the Hemera uses E3D’s hot end, you get all the compatibility of their product lines including the Volcano and the SuperVolcano.
- Manufacturer: E3D
- Compatible models: All CR-10s
- Additional hardware required: A 3D printed mounting bracket

Micro Swiss All-Metal Hot End
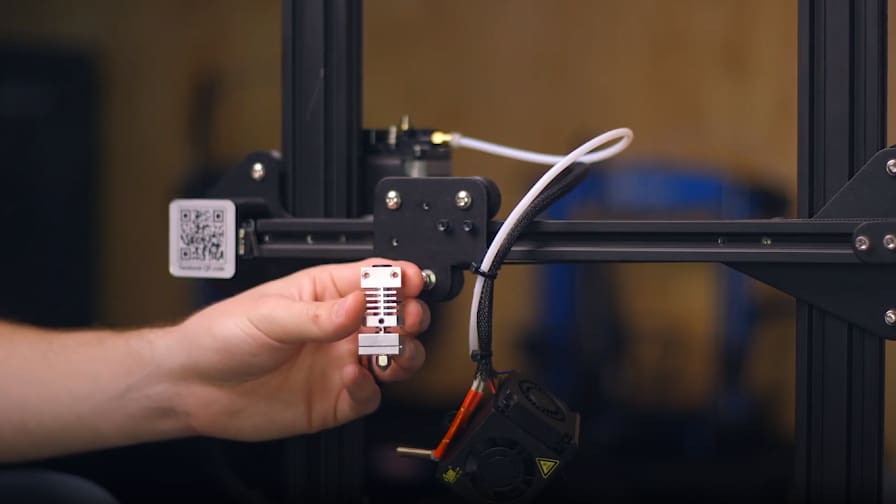
While your stock CR-10 hot end isn’t the worst in the business, it isn’t without issues. Printing at higher temperatures presents problems with the PTFE liner, and frankly, a lot of people in the community report having issues with reliability.
To mitigate and eliminate your woes, Micro Swiss presents their all-metal hot end as a prime replacement, designed to fit the original mounts without modification. They also tout their wear-resistant plated brass nozzles, which are a step up from the stock nozzle you’ll be replacing.
- Manufacturer: Micro Swiss
- Compatible models: All except CR-10 V2, CR-10 V3
- Additional hardware required: None
- Where to find it? Amazon
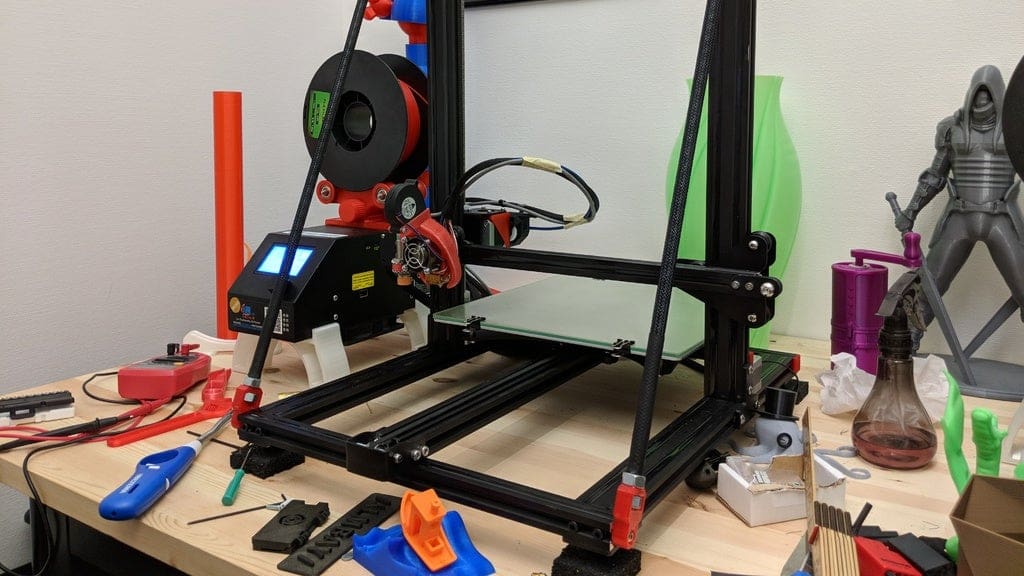
Control Box Cooling
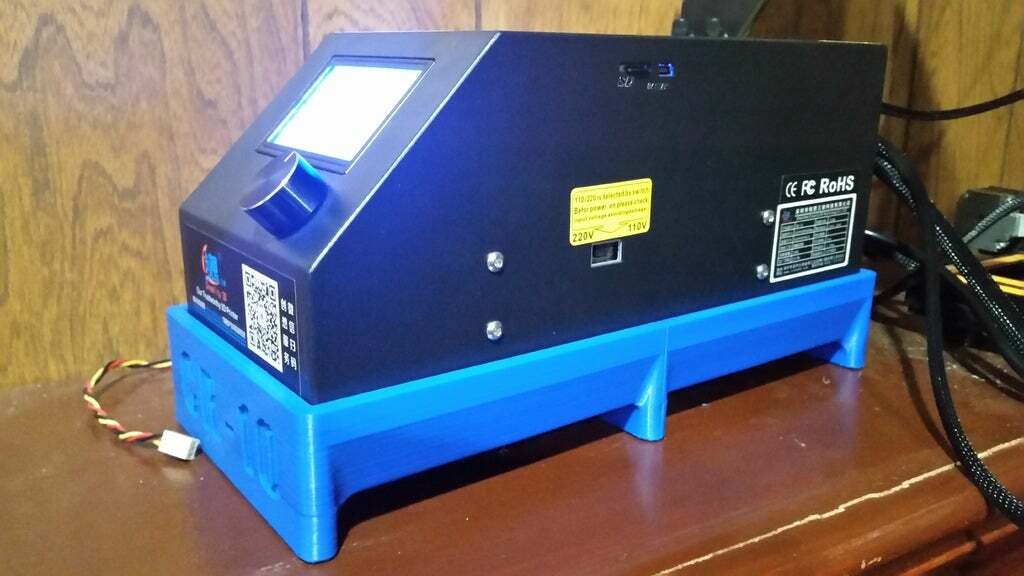
A fairly popular mod to add to the CR-10’s control box is a pair of 120-mm fans, replacing the stock cooling fans on the control board and power supply. It turns out that the larger fans are a lot quieter and more efficient than their smaller stock counterparts.
As a bonus, giving the electronics more airflow with this upgrade should prolong the life of the electrical components inside the box.
- Creator: Midevil1
- Compatible model: CR-10
- Additional hardware required: 2 x 120-mm fans
- Where to find it: Thingiverse
Cooling System
Inadequate cooling is a frequent problem brought up by CR-10 users. The issue is that the stock fan doesn’t push enough air or direct it well enough around the nozzle or the print. The Hero Me Gen 5 is one of the best solutions for this, creating a much better path for the air. To boot, it’s completely modular and customizable.
You don’t need to install it with stock CR-10 hardware. Rather, you can add blower fans for better cooling or even add an auto-bed leveling sensor. It’s also compatible with other hot ends like the V6 from E3D or Mosquito from Slice Engineering, so chances are it’ll work with the setup you have.
- Creator: mediaman
- Compatible models: All CR-10s except CR-10 Mini
- Additional hardware required: Assortment of screws and nuts, depending on your configuration
- Where to find it: Thingiverse, PrusaPrinters
Enclosure
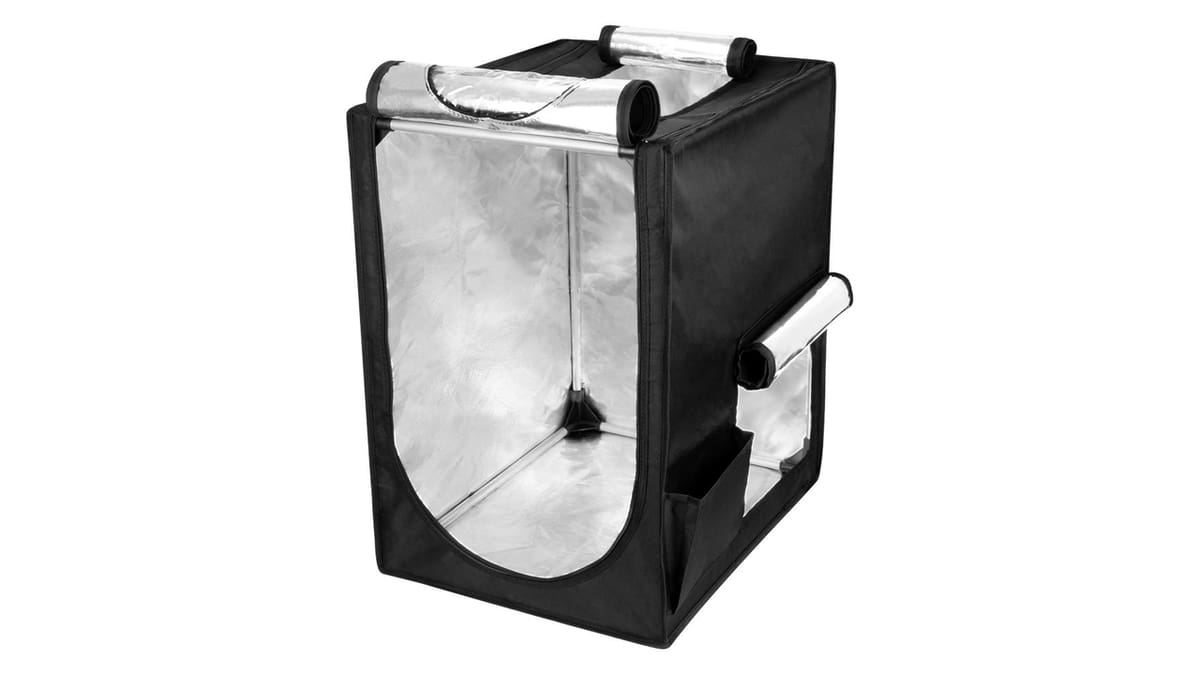
Printing with PLA might be all fine and dandy, but when it comes to ABS and nylon, the CR-10 printers really struggle. A combination of an open-air frame and a massive heated bed makes it difficult to maintain a draft-free printing environment at the right temperatures.
Taking note of the issue, Creality released a printer enclosure kit that allows you to seal off your printer from the woes of an open workshop. Although sized to fit the popular Ender printers, the smaller enclosure (Size A) should fit most of the CR-series machines based on their frame specifications. You’ll need the larger size (Size B), however, for the CR-10S and S Pro.
For the S4 and S5 variants, you’ll have to look for a third-party option.
- Manufacturer: Creality
- Compatible models: Size A for the CR-10 (V2/V3) and CR-10 Mini, Size B for CR-10S and CR-10S Pro
- Additional hardware required: None
Print Bed & Leveling
The build platform is where the magic happens! The upgrades help to ensure everything is in order with the place where prints take shape.
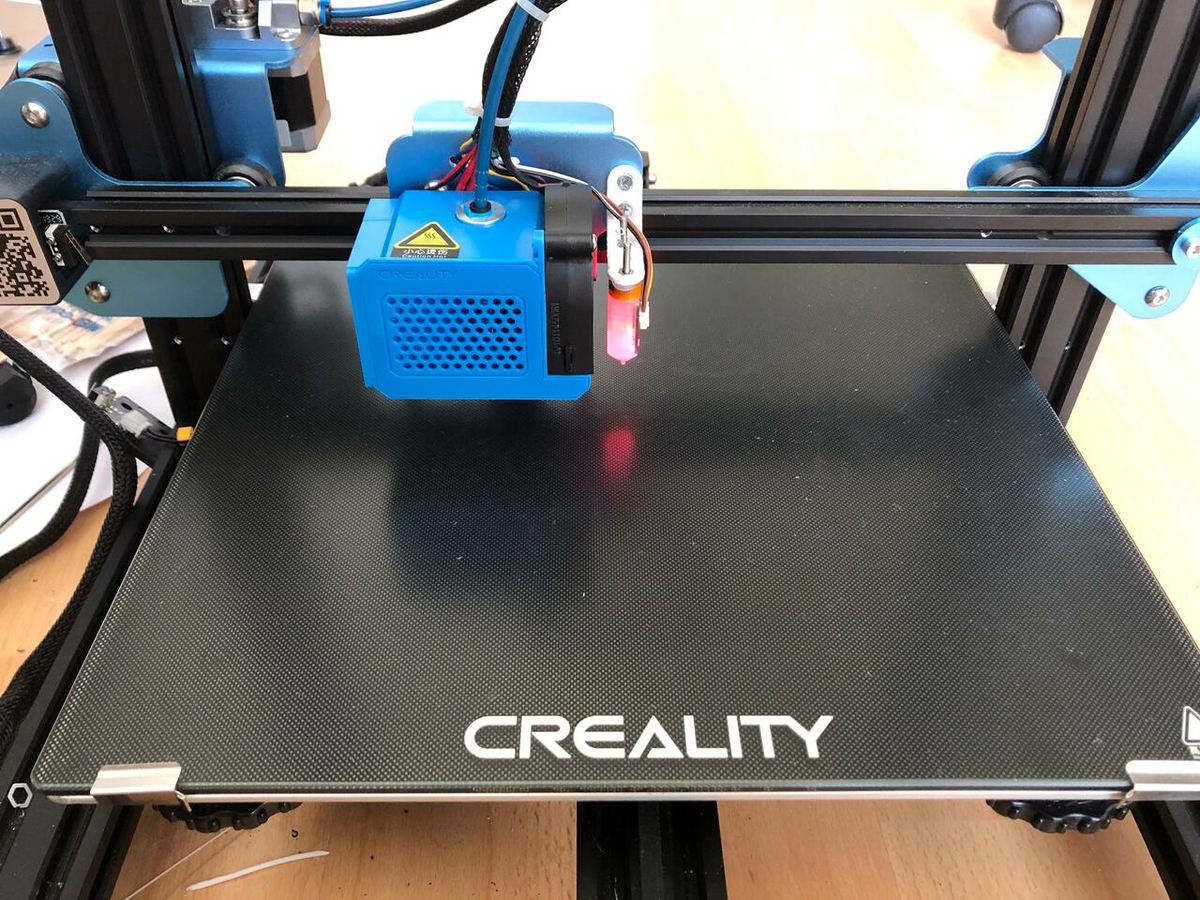
Build Plate
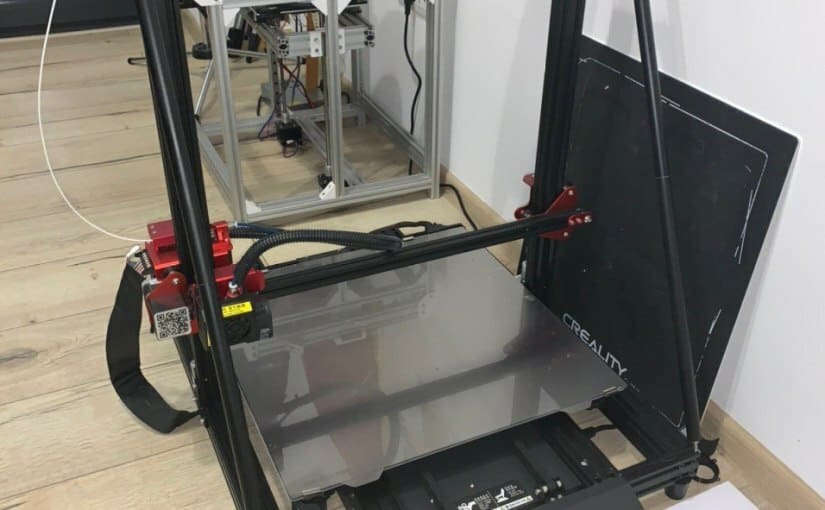
Anyone involved in 3D printing for a decent amount of time knows that bed adhesion is one of the most important factors in whether a print will be successful or not. If you’re tired of fiddling around with scrapers and blades in order to get a fragile print off without breaking it, keep reading.
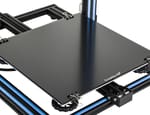
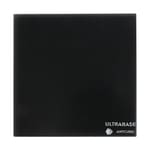
Creality offers some enticing upgrade options for better adhesion. Their tempered glass build plate features a special carbon-silicone coating, similar to Anycubic’s Ultrabase glass build plate. This reportedly has fantastic adhesion while hot but breaks free easily when cold.
If glass isn’t your thing, you could always opt for Wham Bam’s flexible build plate. This is one of the best flexible build plates on the market and comes in a variety of surfaces and sizes. It allows you to remove a print without a scraper, which can be quite time-consuming and a potentially dangerous process.
Creality’s tempered glass option tops out at the CR-10S in terms of size, with the S4 and S5 variants left out. Wham Bam’s system goes all the way up to 510 x 510 mm, so it’s a perfect choice if you’re rocking a CR-10 S4 or S5.
- Manufacturers: Wham Bam Systems, Creality, Anycubic, and others
- Compatible models: All CR-10 printers for Wham Bam; Creality tempered glass and Anycubic’s plate don’t fit the S4 and S5
- Additional hardware required: None
- Where to find it: Wham Bam

Bed Handle
It can be difficult to move the build plate manually, and you could potentially burn yourself. To avoid this, print your own build plate handle, which doesn’t require any extra parts.
You install it by unscrewing the leveling knobs, placing the handle, and then screwing the knobs back in place to secure it. This also has the benefit of keeping your bed clean as you aren’t touching the print surface when trying to move it.
- Creator: Ingeni
- Compatible models: CR-10, CR-10S, Mini (Remix)
- Additional hardware required: None
- Where to find it: Thingiverse
Bed Adjustment Knobs & Strain Relief Bracket
Ever get tired of turning those tiny little knobs on the underside of the print bed, fiddling forever, trying to get a perfect level? Then these are for you!
As a printable upgrade, these knobs fit over the included ones, making bed leveling a much easier and more precise process. There are a number of designs available, but we picked this one because it also prints with a strain relief bracket for the heated bed wires.
The strain relief bracket does exactly what it sounds like: It relieves strain from the heated bed wires, contributing to safety and ease of mind during long prints. This upgrade is essential for anyone looking to ensure their house won’t burn down due to 3D printing, which should be just about everyone.
- Creator: Nerys
- Compatible models: Older CR-10s, older CR-10Ss (newer models have this included now)
- Additional hardware required: None
- Where to find it: Thingiverse
Adjustable Z-Axis Endstops
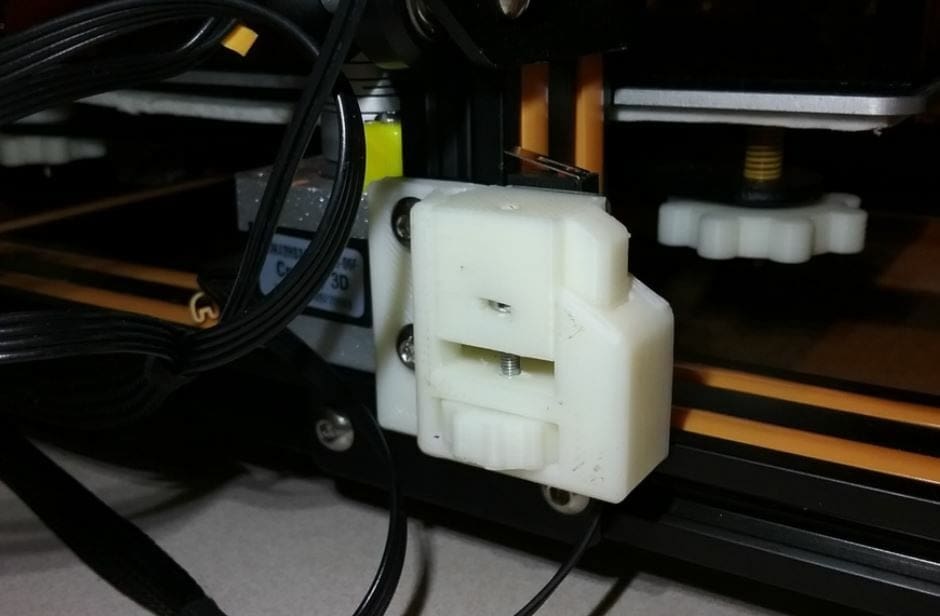
As with most printers that rely on manual bed leveling, the CR-10 has a Z-axis endstop that can be moved along the Z-axis frame. Adjusting the position of the Z-axis endstop, as well as the Z-offset, allows you to level your print bed to ensure a high-quality first layer. Unfortunately, the only way to move the endstop is by unscrewing the mounting bolts and moving the sensor by hand.
As this method of adjustment is unreliable, a maker has created a more precise way of moving the Z-axis endstop. This mechanism involves a few 3D printable parts as well as some extra screws and nuts to attach to the printer’s frame. Once installed, you can make precise and small adjustments to the position of the endstop along the Z-axis frame.
The designer didn’t provide any print settings, but one maker shared that they used a 0.1-mm layer height, a 20% infill density, and no supports.
- Creator: rc101
- Compatible models: CR-10 and all variations with manual bed leveling
- Additional hardware required: Screws, nuts
- Where to find it: Thingiverse
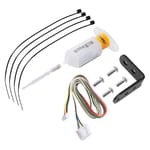
BLTouch Leveling Sensor Kit
One of the main issues with the CR-10 series of printers is that the beds are so large that keeping a good level across the entire surface can be difficult. A classic solution to this is to add an auto-leveling sensor.
In the case of the original CR-10 series, Creality offers their own BLTouch kit, which includes everything you need to get going, like a mounting bracket.
- Manufacturer: AntcLabs
- Compatible models: All CR-10s
- Additional hardware required: None
Structural Support
Vibrations caused by printers’ moving parts can take a toll on the quality of your print. Give your printer some extra support with these upgrades!
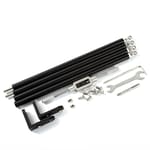
Supporting Rod Set
Many users have noted that the tall vertical extrusions in the Z-axis of the CR-10 aren’t the most stable. This can lead to wobbling and inconsistent layers in taller, larger prints.
However, to mitigate this problem, you can buy a support rod set similar to the ones included with the CR-10 V2. The rod set includes all of the accessories you’ll need to fix it to the frame.
This kit is advertised as compatible with the CR-10 and 10S. The other CR-10 models have different frame sizes, so they would likely benefit more from the DIY version of this upgrade (in the next section).
- Manufacturer: Chpower
- Compatible models: CR-10, CR-10S
- Additional hardware required: None
Z-Axis Supports
When printing tall parts, vibrations traveling through the printer frame are often magnified in the Z-axis, resulting in banding effects across the tops of prints. One of the best ways to mitigate this is through the use of Z-axis braces.
These brackets attach to the base of your CR-10 and the Z-axis, with rods between the two adding rigidity to the frame. The design we found requires a few extra parts but nothing out of the ordinary.
This upgrade is a DIY version of the previous supporting rod set. Like the one manufactured by Chpower, it isn’t necessary on the CR-10 V2.
- Creator: jonathanlundstrom
- Compatible models: CR-10, CR-10S, CR-10 S4, CR-10 S5
- Additional hardware required: Assortment of nuts and bolts, all listed on the project page
- Where to find it? Thingiverse
Lead Screw Stabilizer
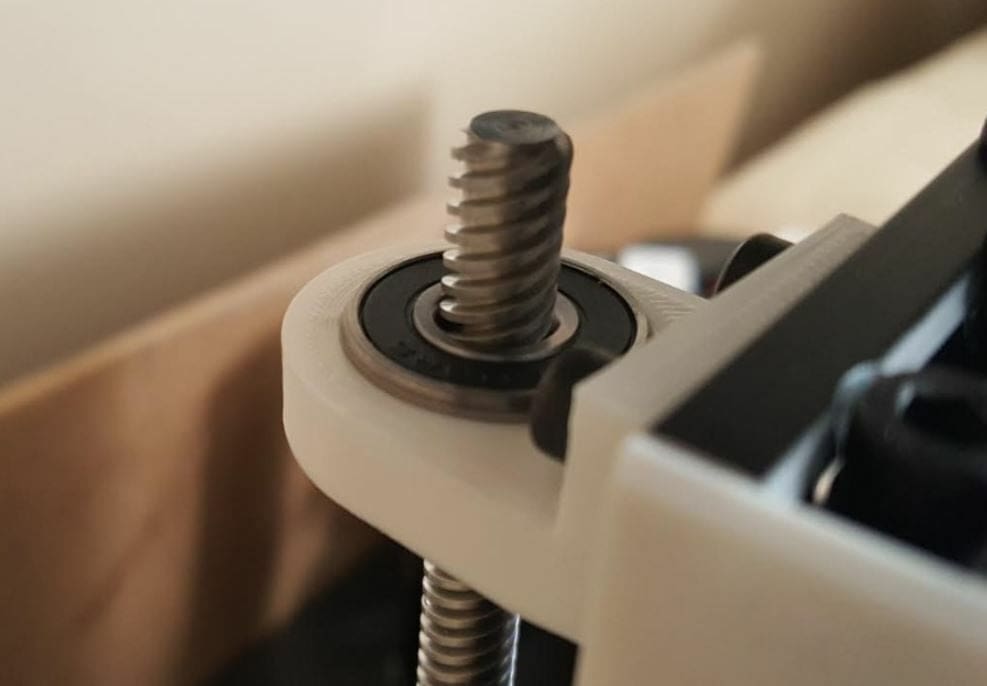
Across all of its variations, the CR-10 has a tall build space. Therefore, it has a pretty long Z-axis lead screw, which is the part responsible for moving the X-axis gantry up and down. This component on the CR-10 is very important, and, over time, through prolonged usage and external factors, lead screws can bend. This often results in problems like Z-banding or part deformities along the Z-axis.
A lead screw stabilizer is a great 3D printer upgrade that can be attached to the top gantry on the CR-10. It keeps the top of the lead screw in alignment with its bottom part, thus reducing the chance of the screw bending and causing problems. The stabilizer usually contains a bearing that allows the lead screw to continue moving with minimal friction while keeping it aligned.
This upgrade can either be purchased or 3D printed.
- Creator: elmerohueso
- Compatible models: CR-10 and all variations with manual bed leveling
- Additional hardware required: Screws, bearing (for the 3D printable option)
- Where to find it: Thingiverse or Amazon
Stepper Dampeners
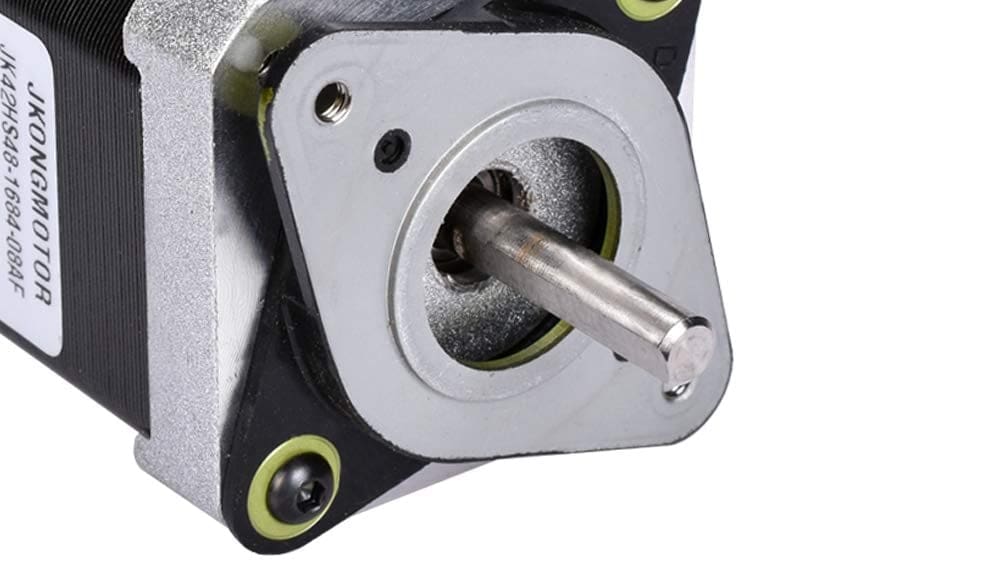
A relatively cheap upgrade is adding stepper dampers to your printer. Like you’d expect, they decrease the vibrations caused by the stepper motors and significantly reduce noise levels while printing and, in some cases, can help the quality of your prints.
This upgrade has fallen in popularity with newer CR-10s, as their mainboards have stepper drivers that can compensate for this. But it’s still a valid upgrade for older machines if you want to spend just a little bit to get some peace and quiet.
- Manufacturer: BigTreeTech
- Compatible models: All CR-10s, but older models will benefit more
- Additional hardware required: None
- Where to find it: Amazon
Rubber Feet
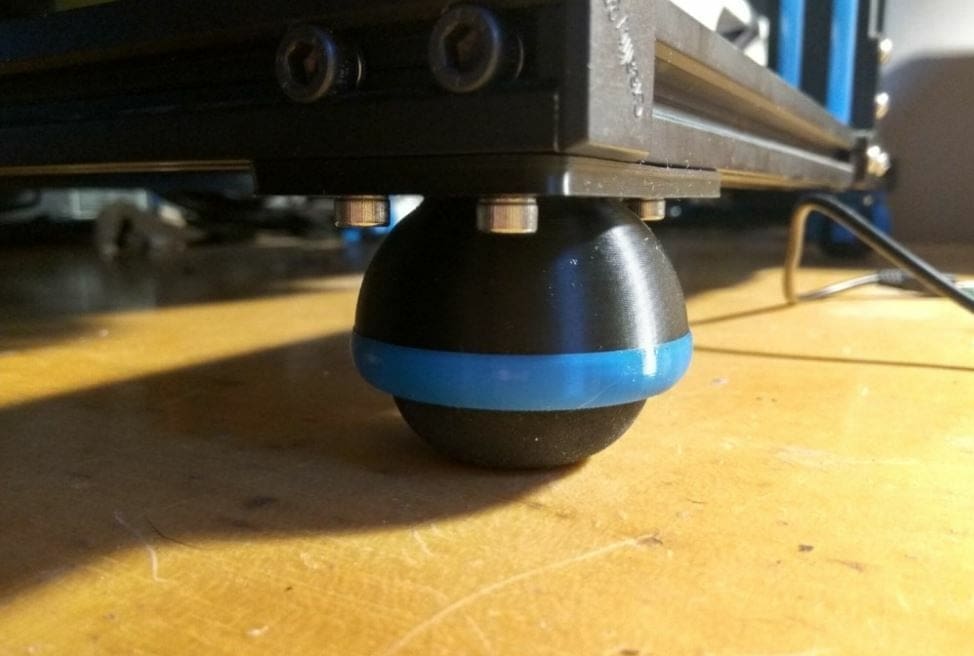
3D printers aren’t known for being quiet, but rubber feet can be effective in reducing their noise levels. Rubber feet are parts that go at the bottom of a printer’s frame to limit vibrations from the printing process, thus making the machine quieter.
Each foot uses a 3D printed part, squash ball, and a few screws to attach to the bottom of the printer. The designer has posted a few testimonials praising this upgrade for its noise reduction. In terms of printing suggestions, one maker posted that they printed the 3D printable components in PLA with a 0.2-mm layer height and a 20% infill density.
- Creator: DrBoo
- Compatible models: CR-10 and all variations
- Additional hardware required: Squash ball, screws
- Where to find it: Thingiverse
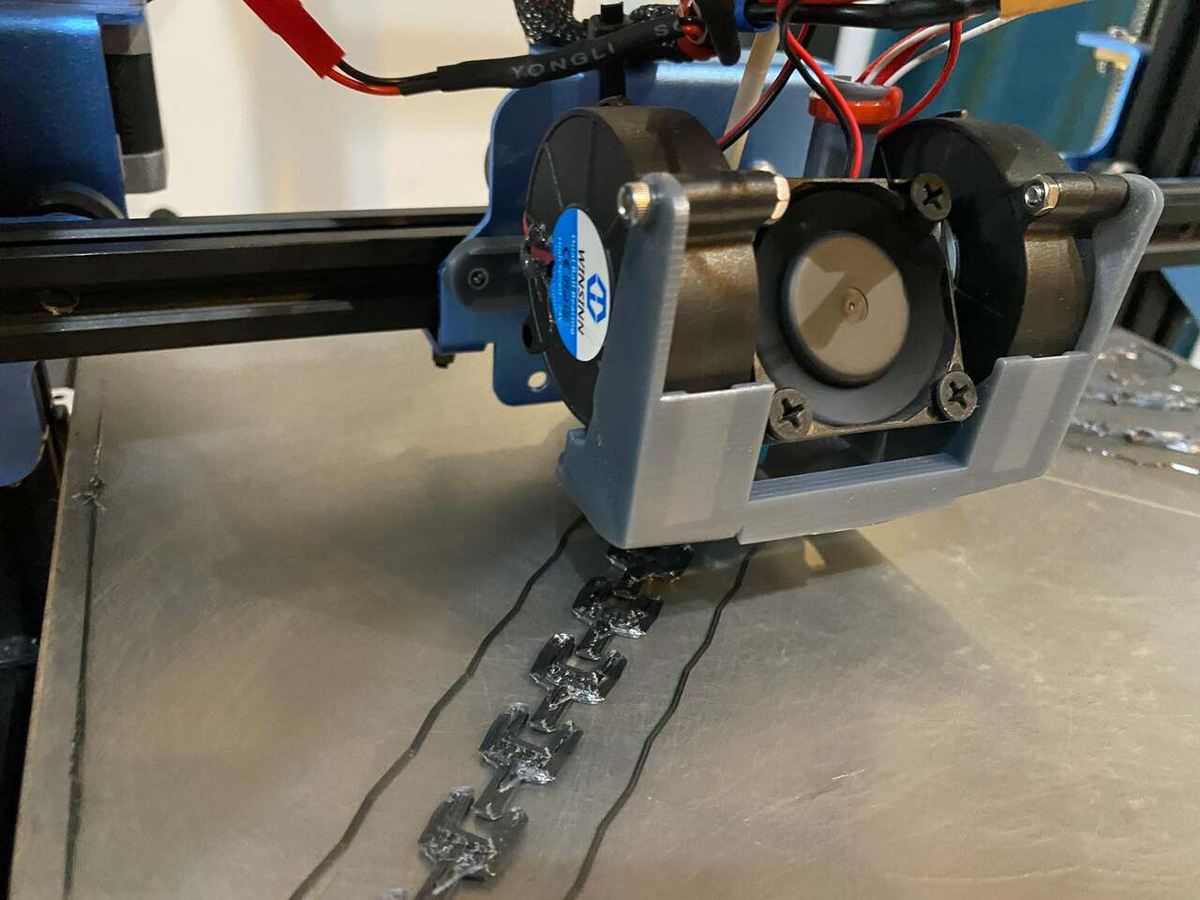
Cable Chains
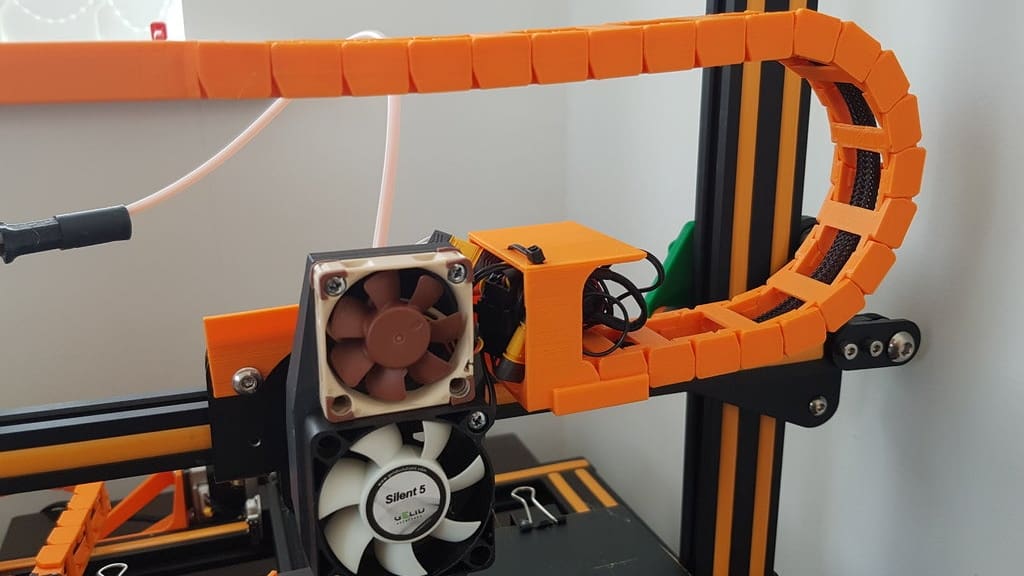
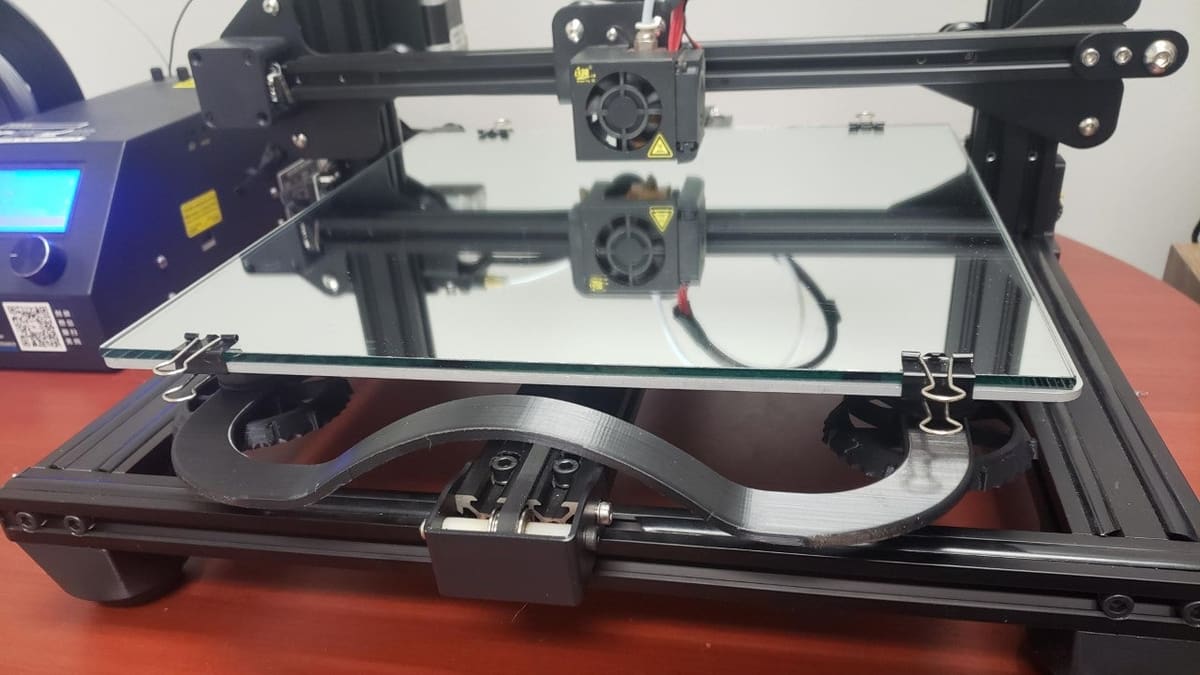
Used on all kinds of CNC machinery and electronics, cable chains are great for keeping all cables where they’re meant to be.
In the case of a 3D printer, it can stop cables from getting caught on the heated bed or extruder when they’re moving. With this upgrade, you’ll happily avoid unnecessary headaches – like a stepper motor wire getting caught and pulling loose.
These chain guards also add a really nice look to the machine, especially if you choose a fun color.
- Creator: stevenfayers
- Compatible model: CR-10
- Additional hardware required: 2 x M5 50-mm bolts, nylon lock nuts, zip ties
- Where to find it: X-axis, Y-axis, and Z-axis, all on Thingiverse
Electronics
Electronics can do a lot to improve or even extend the functionality of your CR-10 printer. Check out these useful options!
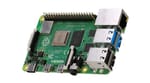
Raspberry Pi
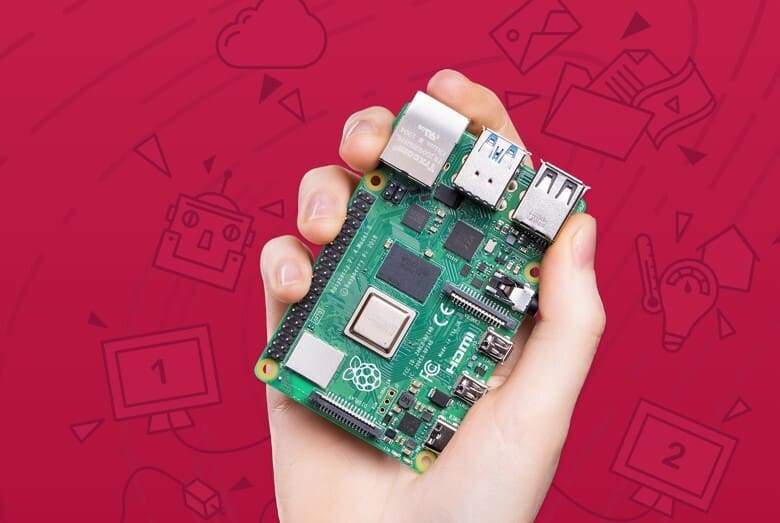
Adding a Raspberry Pi to your CR-10 can be useful for a number of reasons, but the most popular is for setting up OctoPi. OctoPi (via OctoPrint) allows you to monitor and control your printer remotely or over Wi-Fi. You can check on your print, ensure against failures, and perhaps even run a printer farm. Another cool feature of OctoPi is that you can auto-record the entire print with a connected camera.
The Raspberry Pi is the only essential component; however, you can also add a Pi camera module or webcam. And don’t forget to print yourself a cool case!
- Manufacturer: Raspberry Pi Foundation
- Compatible models: All CR-10s
- Additional hardware required: None
SKR Mini E3 V2
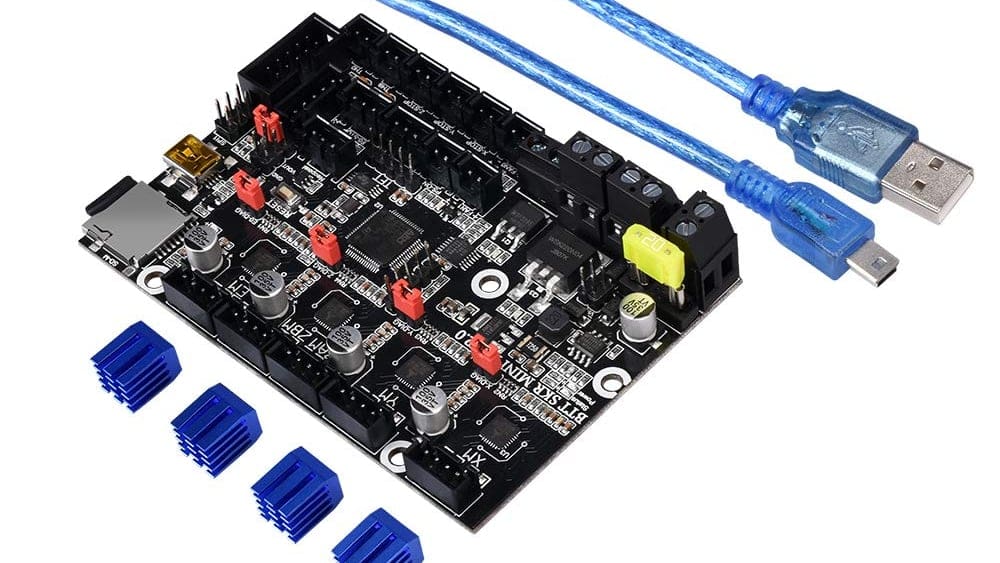
Creality’s mainboards can lag behind the competition in terms of features and performance. One of the issues with their boards is that they can cause the printers to be quite loud. You may decide to buy some stepper motor dampeners to fix this issue. Or, you could get a new mainboard to resolve it.
We picked the SKR Mini E3 V2 for its great features and performance. It has TMC2209 stepper drivers for precise stepper movements and quiet printing. Plus, there’s a 5-V power supply so you can add a BLTouch or even RGB lighting.
Although designed for the Ender 3, it can be used as a drop-in replacement for CR-10s’ mainboards.
- Manufacturer: BigTreeTech
- Compatible models: All CR-10s, though some may require an added enclosure to mount it
- Additional hardware required: Depends if your version needs an enclosure
MicroSD Extender Cable
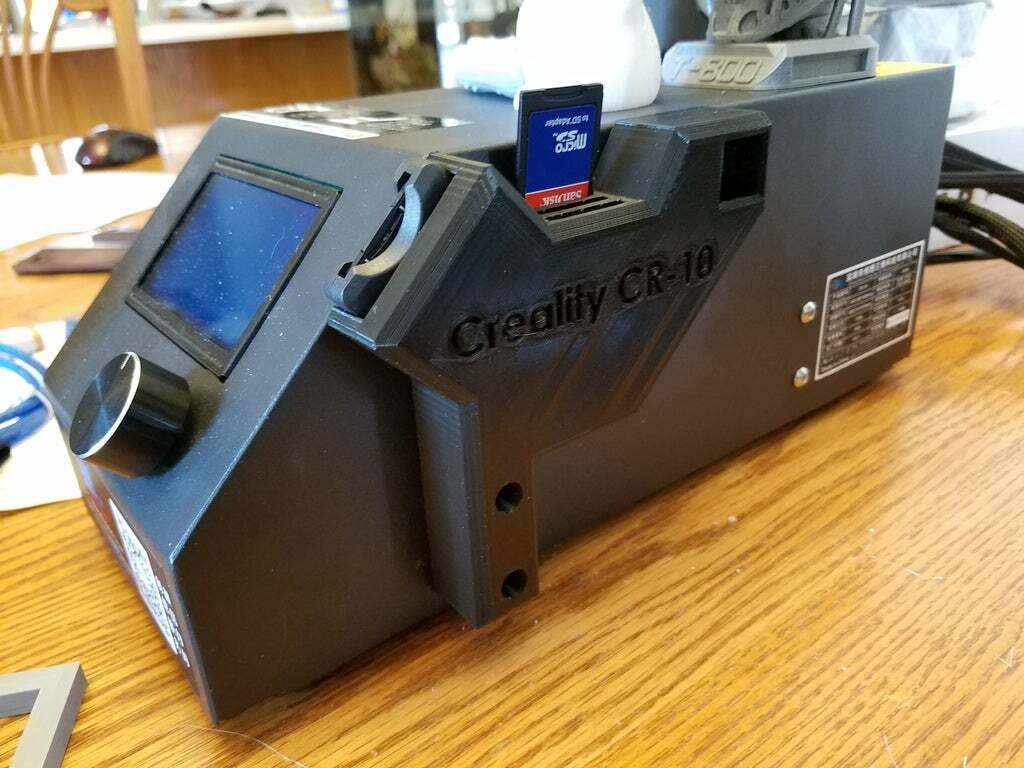
If you’ve ever worried about losing the tiny little microSD card that came with your printer, this upgrade is for you.
Essentially, it’s an enclosure for an extension cable for your microSD slot, converting it to a full-sized SD card reader. The printed part also allows you to reposition your SD slot, so you’re no longer dependent on having the side of the control box always accessible.
Having the enclosure is important, as these ribbon cables can be quite fragile, and ruining them can be a hassle.
- Creator: RioT_3D
- Compatible models: CR-10, CR-10S, CR-10 Mini (different files)
- Additional hardware required: None
- Where to find it: Thingiverse or Amazon
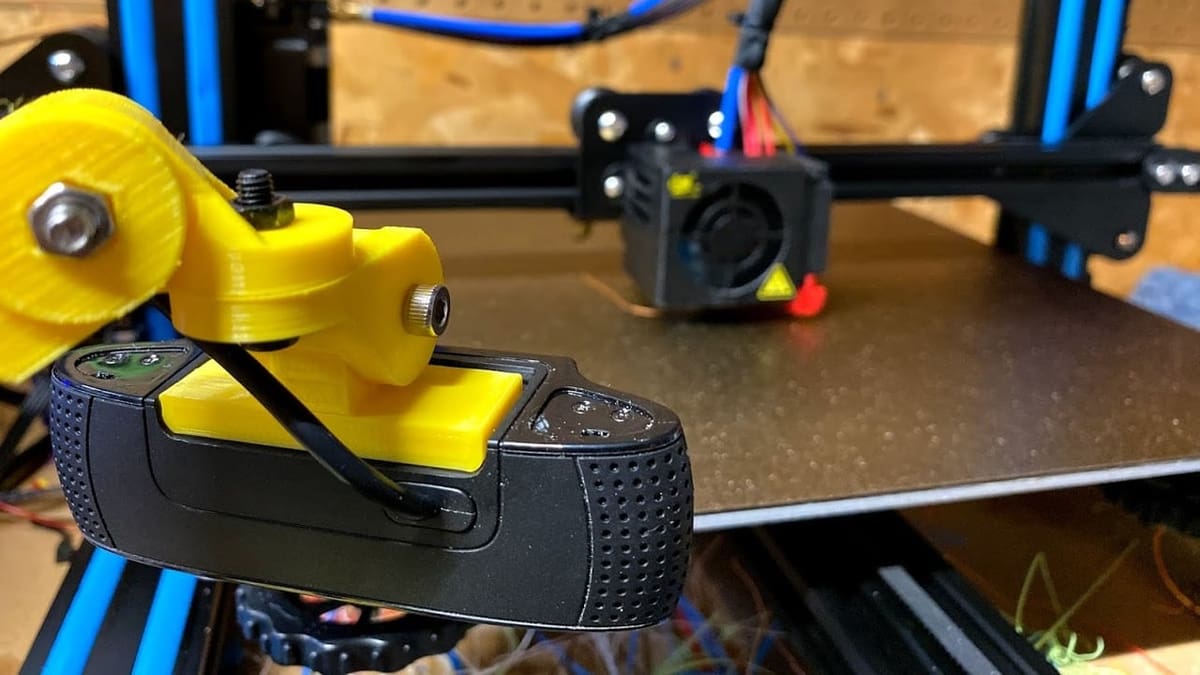
Camera Mount
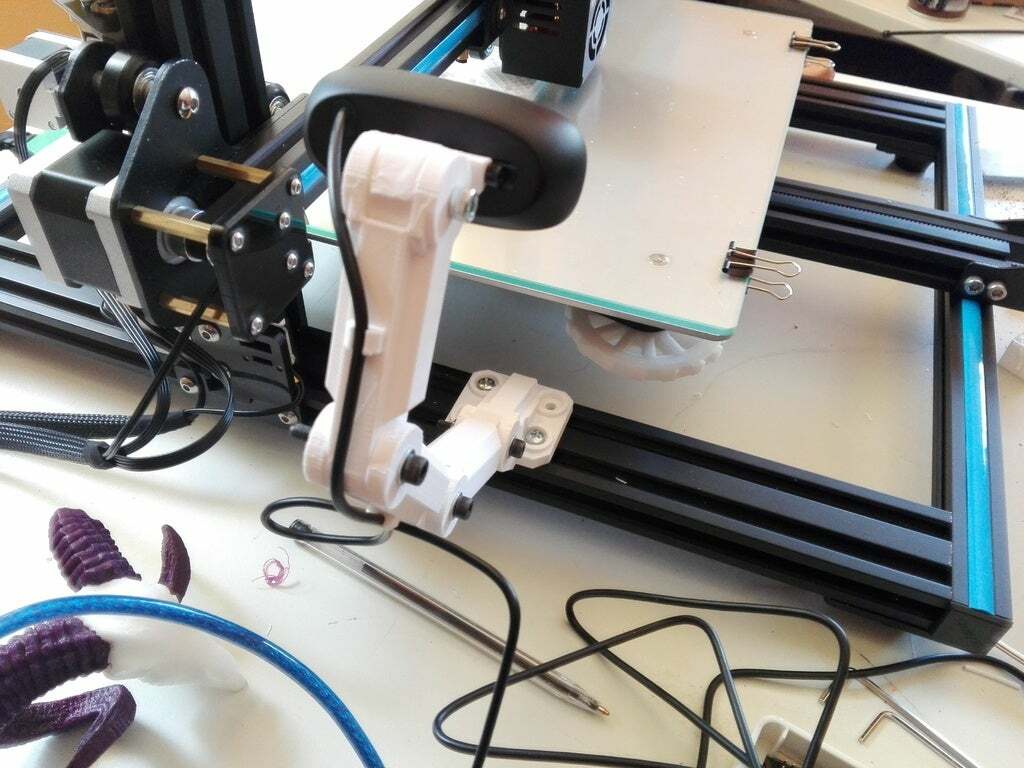
If you like to do time-lapses of your prints, or if you want to be able to monitor your print remotely, you undoubtedly need this upgrade. Essentially, this is a 3D printable articulated arm for mounting a camera or a Raspberry Pi camera module to your printer.
There are two variations of the overall design: one mounted to the bed of the printer and the other mounted to the frame. The frame mount is more stable, but the bed mount allows for a consistent view of the print.
- Creator: RaffoSan
- Compatible models: CR-10, CR-10S
- Additional hardware required: Assortment of M3 and M4 nuts and bolts
- Where to find it: Bed mount or frame mount on Thingiverse
License: The text of "The Best Creality CR-10 (S/Pro/V2/V3) Upgrades" by All3DP is licensed under a Creative Commons Attribution 4.0 International License.
CERTAIN CONTENT THAT APPEARS ON THIS SITE COMES FROM AMAZON. THIS CONTENT IS PROVIDED ‘AS IS’ AND IS SUBJECT TO CHANGE OR REMOVAL AT ANY TIME.