Blender NURBS Modeling: Simply Explained

If you want to create curves in Blender, there are two ways to go: NURBS or Bézier. Read on to find out more about Blender NURBS modeling!
A Blend of Everything Good
Blender is an open-source 3D content creation suite maintained by the Blender Foundation. The software is completely free to download on their official website. Available for Windows, Linux, and MacOS, Blender also offers tech-savvy users customization with Python scripts.
A comprehensive 3D creation platform, Blender includes a range of essential tools such as modeling, rendering, animation, video editing, VFX, texturing, and many others. In addition to modeling and animating objects and characters, you can use Blender to create background scenes. Models can also be enhanced with color and textures that produce realistic results for 3D printing.
With respect to modeling, there are several different styles and ways to make objects. In this article, we’ll be focusing on two different ways to make curves in Blender: Bézier and NURBS. But first, we’ll go over some Blender modeling basics. Let’s get started!
Objects
So, how are models created in Blender? For 3D printing, Blender’s modeling and sculpting tools are the most relevant.
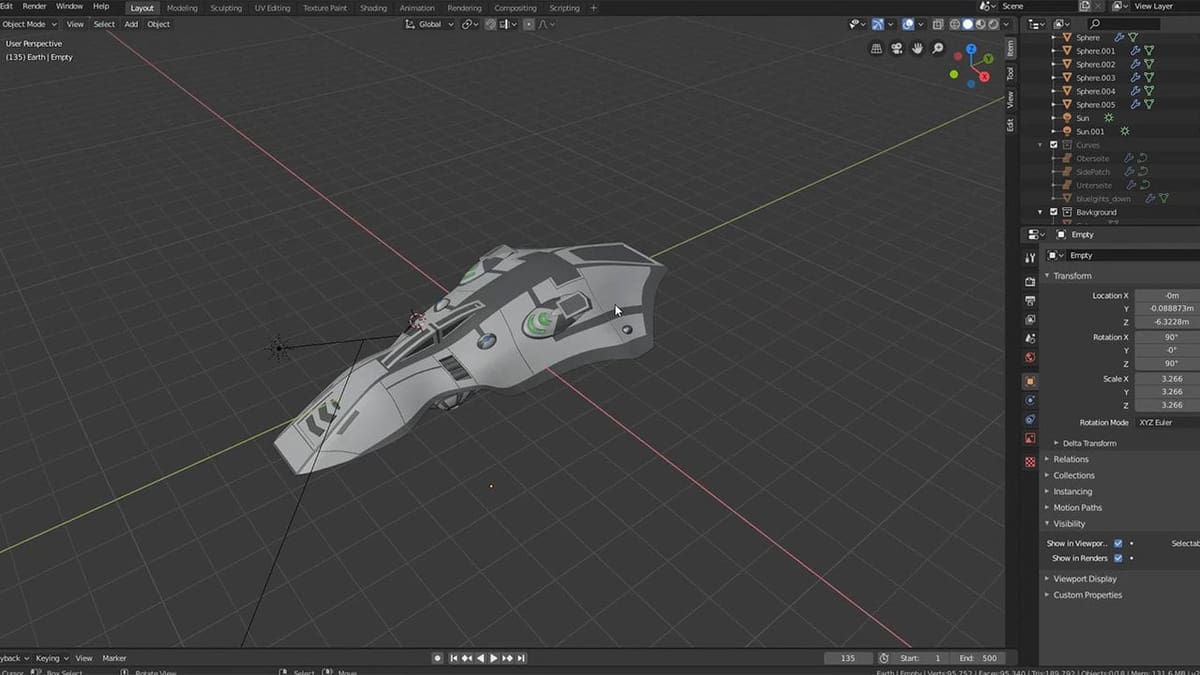
Upon opening Blender and closing the splash screen, a startup scene is displayed with a cube.
In this startup scene, you see the three basic parts of a 3D model: the vertices, the edges, and the faces. Vertices are displayed as small dots that, when connected, form an edge. Edges are line segments that, when connected, surround a face. Faces are the planes that, when connected, form an object.
The startup scene’s cube is also a mesh object. In Blender, 3D models can be built with different object types such as a mesh, curve, surface, metaball, text, grease pencil, armature, lattice, image, and camera. As such, a couple of types of modeling in Blender are polygonal mesh modeling and curve-based modeling. Let’s take a closer look.
Meshes
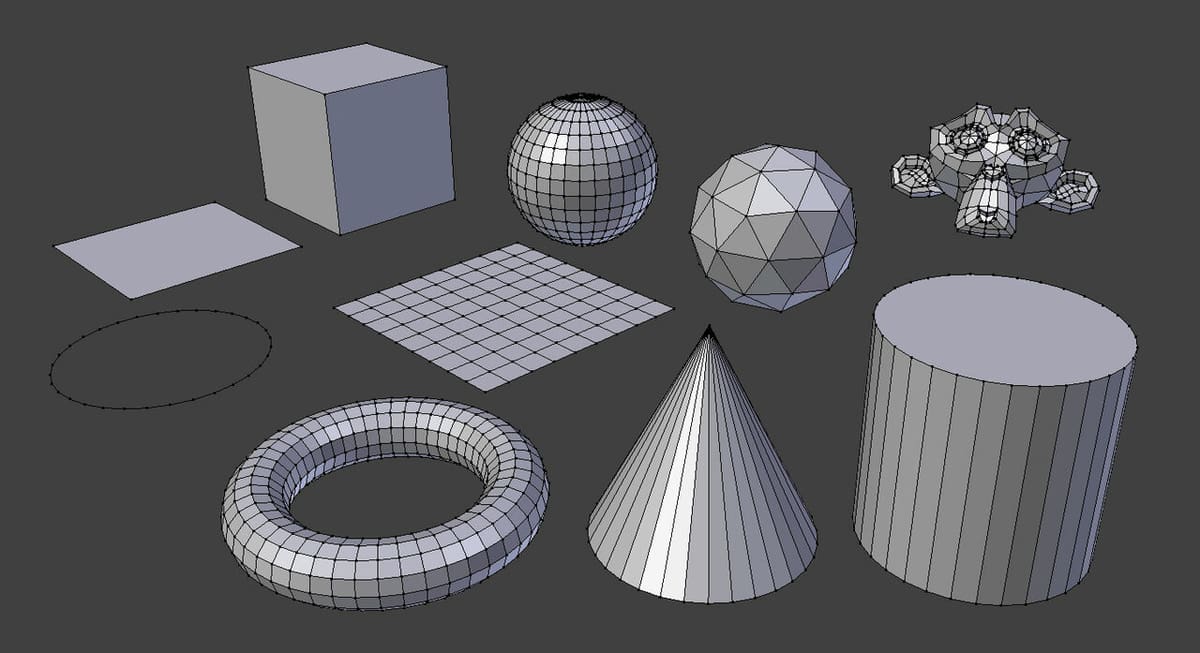
A mesh or polygon mesh is a collection of vertices, edges, and faces that form the shape of a 3D object.
Meshes are the most common type of modeling object used in Blender. A mesh is also at the core of much computer-generated 3D artwork found in everything from video games to architectural designs. This is because computers handle meshes more quickly.
Still, working with meshes can be a bit daunting, as you’ll need to control each vertex that makes up your mesh; the more complex the mesh, the more vertices you’ll need to keep track of.
On the other hand, curve-based modeling relies on curves to generate 3D objects. Certain modeling techniques, such as extruding a profile along a path, are possible only using curves.
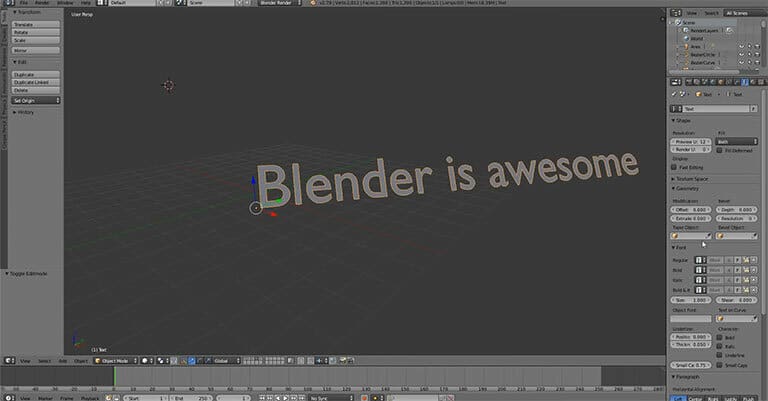
Curves
Back in the day when computer memory was more expensive, curves provided a compact way to represent complex shapes. To this day, they’re still used in computer graphics and are found in vector art, 3D models, and animation. They can represent a number of things from the wheels of a car to the head of a character model to the shape of a teapot.
In Blender, curves are objects that are made up of curved or straight lines that you manipulate with a set of control points. The program has two basic forms of curves: Bézier and NURBS. Both Bézier and NURBS curves are ways of defining curves through mathematical formulas. So what’s the difference and which one is ideal for what situation?
Bézier
The Bézier curve is generally used for 2D drawing as found in logo designs or fonts. However, you can also design a 3D model with them by using tools like simple extrude or bevel.
There are three parts to the Bézier curve: control points, control point handles, and curve segments. The control points define the shape of the curve. You can think of them as like the vertices in mesh objects.
So with every control point, there’s a pair of handles. This controls the rotation of that control point. Then, based on the location and rotation of the control points, a curve segment is generated.
NURBS
NURBS is shorthand for non-uniform relational B-spline. It’s a mathematical model that uses basis splines (B-splines) to represent curves and surfaces. It’s suited for models where a high degree of accuracy is required.
In contrast to NURBS surfaces, it’s tedious to make a perfectly smoothly curving surface with polygonal modeling as curves are always calculated as a straight line between points. Therefore, it may require hundreds or thousands of polygons to achieve the same perfectly smooth curve easily obtained with a NURBS surface.
Furthermore, circles formed with Bézier curves are approximations, whereas a NURBS circle is an exact circle. In fact, the control points in a NURBS curve don’t have handles like Bézier curves do. Instead, their spline control points are weighted to influence the shape of the curve. This special weight property controls how much influence the control point has on the surface, which is how you can achieve such a great degree of accuracy. (To adjust the weight property, change the W number field found in the Transform panel.)
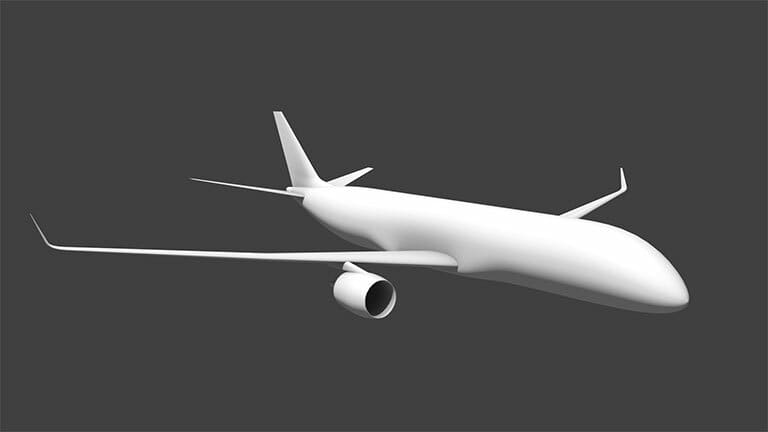
However, one downside is that NURBS curves can be difficult for your computer to calculate. This makes it unsuited for applications where render times need to be fast, like for video game graphics. That said, this great degree of accuracy is suitable for 3D modeling of animals, people, cars, and other such objects.
Mini-Tutorial
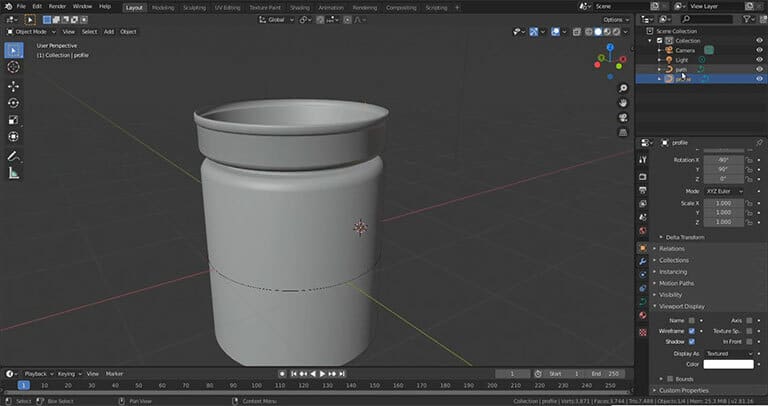
A typical object to model with NURBS curves could be anything requiring a high-quality, smooth and reflective surface. Think a car body or a ship model from Star Trek or other TV shows. Though it’s possible to create them with polygonal modeling, achieving a smooth surface without any bumps would require a lot more subdivisions.
Instead, let’s walk through the basic steps to create a model ship’s hull with NURBS surfaces:
- Open a new file.
- Open the Add Menu by pressing Shift + A.
- Navigate to Surface > Nurbs Curve.
- Change the mode to Edit mode. (Press the Tab key to toggle between Object mode and Edit mode.)
- Select all by pressing the ‘A’ key.
- Rotate it –90° around the X-axis. (Press ‘R’ followed by ‘X’ and then “-90”.)
- Model the cross-section of the model ship. (The NURBS curve has what is called a hull, with vertices that can be manipulated.)
- Select all the control points in your cross-section with the ‘A’ key.
- Press Shift + D to duplicate the hull for the Y-axis.
- Make adjustments to the new cross-section.
- Once you’re happy with the look of the ship’s hull, select everything and connect them together. To do this, you can use the shortcut for Make Segment, which is the ‘F’ key on your keyboard.
If you’re a more visual learner, you can always check out this handy video tutorial that details how to create a model ship from start to finish. We’ll go over more resources in the next section.
Additional Resources
As we now know, despite mesh modeling being one of the most popular techniques when creating 3D objects with Blender, NURBS curves can improve your workflow especially if you’re after perfect curves.
To get started, try the helpful basic tips for NURBS modeling video from Blender Secret’s series of shorts. Also check out Baptiste G’s curve modeling step-by-step instructions on how to quickly model cylindrical objects.
Aside from NURBS curves, you may want to get familiar with NURBS surfaces. One thing you can do with NURBS surfaces that’s difficult to do with other types of surfaces is lofting.
One important note is that a NURBS file can’t be converted directly into the STL format; it first needs to be converted into a mesh. Once you’ve gotten the basics down, you may want to look into how to prepare 3D printable files in Blender.
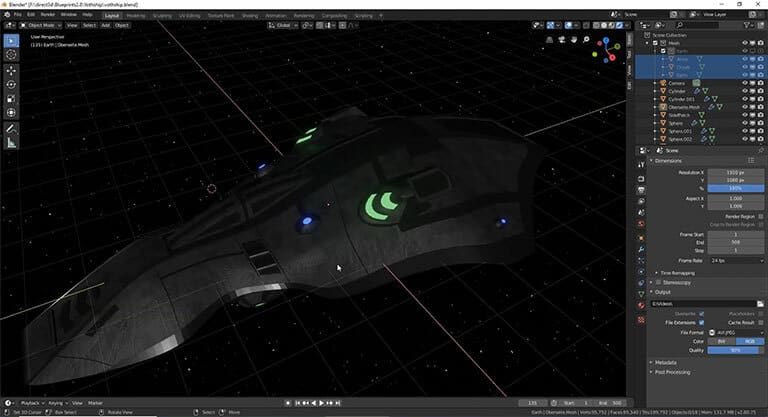
Lead image source: Ovi Gomy via YouTube
License: The text of "Blender NURBS Modeling: Simply Explained" by All3DP is licensed under a Creative Commons Attribution 4.0 International License.