Flattening a Mega Problem
The Anycubic i3 Mega is a great budget 3D printer offering a clean and organized frame with minimal experience needed to operate. However, like all budget printers, it doesn’t come without a few drawbacks.
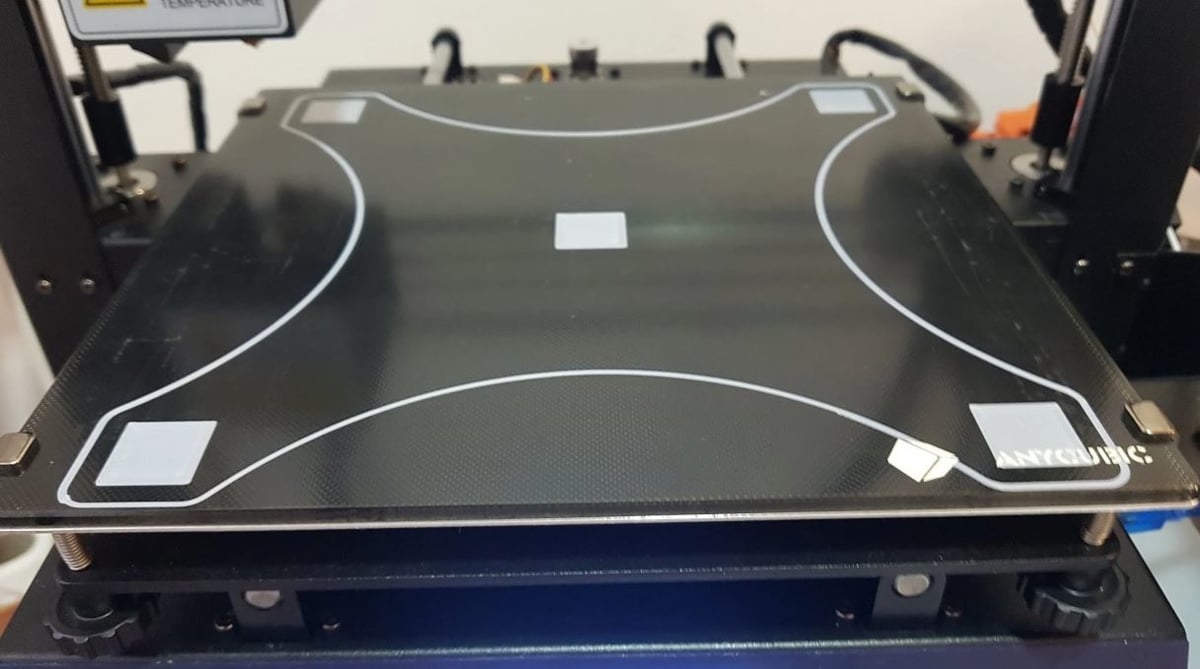
Despite having a great build plate and a decent hot end, this printer lacks a bed-leveling sensor in its stock form. The Anycubic i3 Mega isn’t open-source either, making upgrading this printer a challenge, but not impossible.
Normally, leveling your bed on the i3 Mega involves using the four turn knobs. This is key to achieving a great print, but the process can be dull and redundant.
Many people prefer to install and use auto-bed-leveling sensors like the BLTouch. Bed-leveling sensors are beneficial in 3D printing for several reasons, including speed, automation, and precision.
In this article, we’ll go over how to install automatic bed leveling (ABL) on your Anycubic i3 Mega. We’ll start with a list of parts that you’ll need for this upgrade, and then we’ll get into how to install the hardware and compatible firmware. We’ll also go over how to test this upgrade. Good luck!

Preparation
Installing an automatic bed leveling (ABL) system isn’t as straightforward with the Anycubic i3 Mega as with other printers, such as the Ender 3. You have to have some basic electronic skills, understand how to connect pin headers, how to solder, and how to upload firmware.
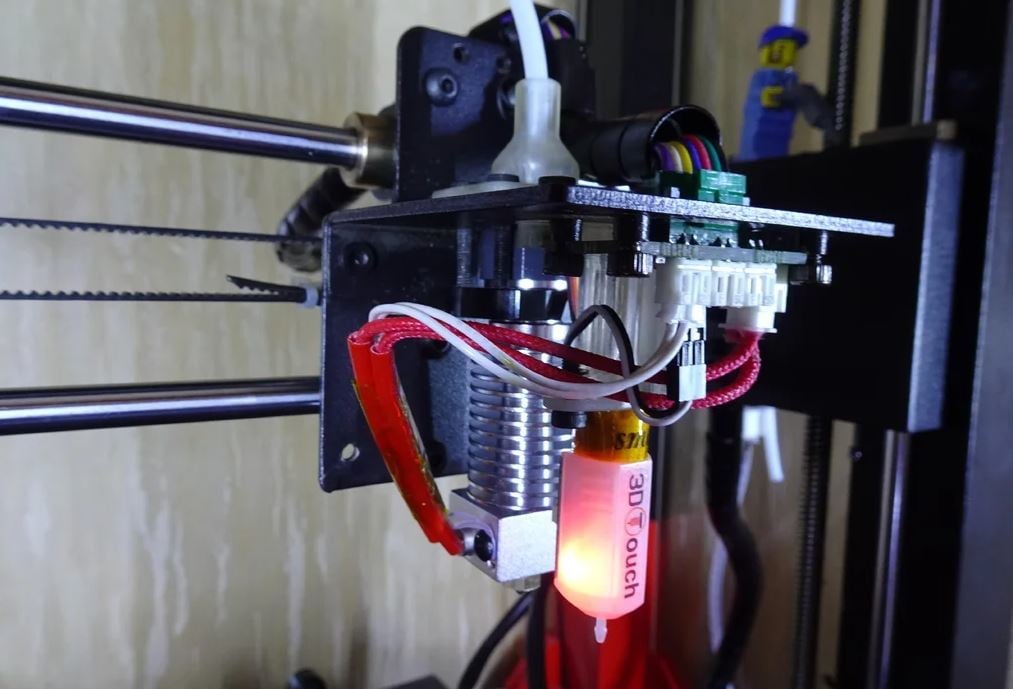
To start, you’ll need an ABL sensor, like the BLTouch, EZABL, or Pinda.
Once you have that, you’ll also need a 3D printed mount and covering for the sensor, pin header wires, and a soldering iron and tin. For the 3D printed parts, you should try to print in a material with good heat-resistance properties, such as ABS or PETG, to prevent the parts from deforming or drooping with use. You should consider using a high infill percentage for strength, too.
It’s important to note that we’ve only mentioned the main parts and tools you’ll need in most ABL upgrades. These could be different, depending on the specific upgrade you’re installing. There are a plethora of different upgrades to choose from and installation guides to follow, so make sure to go with one that matches your resources and capabilities.
Setting Up the Hardware
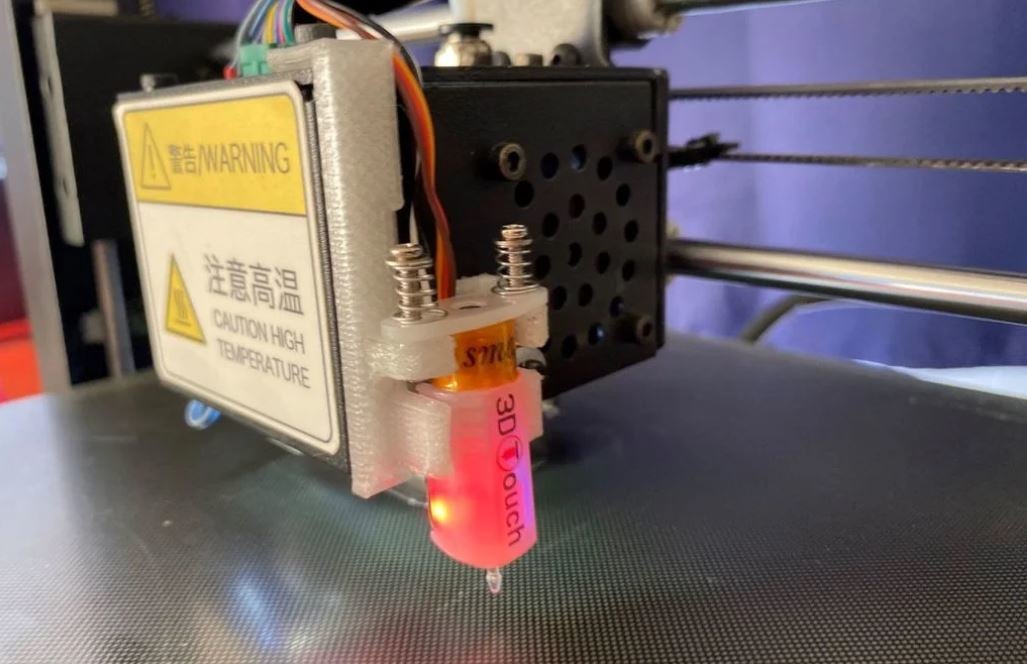
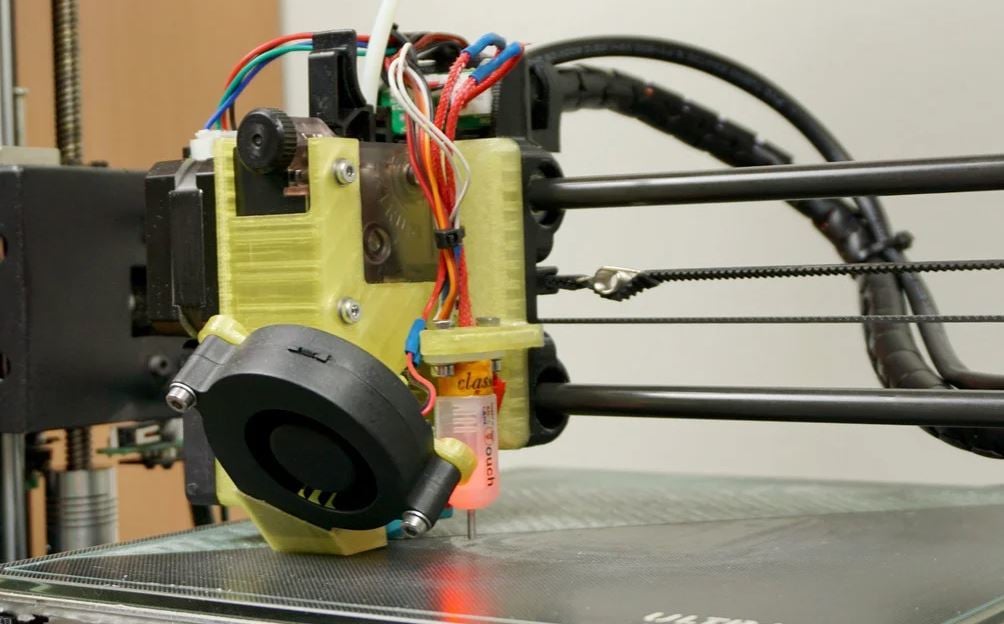
First, you need to set up the hardware, which means setting up the mount, sensor, wires, and anything else your upgrade requires. Make sure to remember that you want your automatic bed leveling (ABL) sensor placed so that it’s close enough to the bed for the inductive sensor to detect its proximity, but not positioned so low that the nozzle can’t reach the bed.
Disassemble your printhead and take off the covering to easily attach your new mount and sensor. When you find the right height for your sensor and mount, wire it all up. For organization, try to keep the wires bundled with the one from the hot end.
Ensure that your wires are long enough to reach back to the mainboard from the highest corner that the print head can go (top right or left). If the wires aren’t long enough, you can cut them in the middle and solder in more wire to lengthen them.
Some upgrades also require that you attach the sensor wires to the hot end breaker board on the printhead. Now use the pin headers to complete any electronic tasks necessary for your specific upgrade. This might mean soldering and crimping them to the motherboard or to other wires.
Changing the Firmware
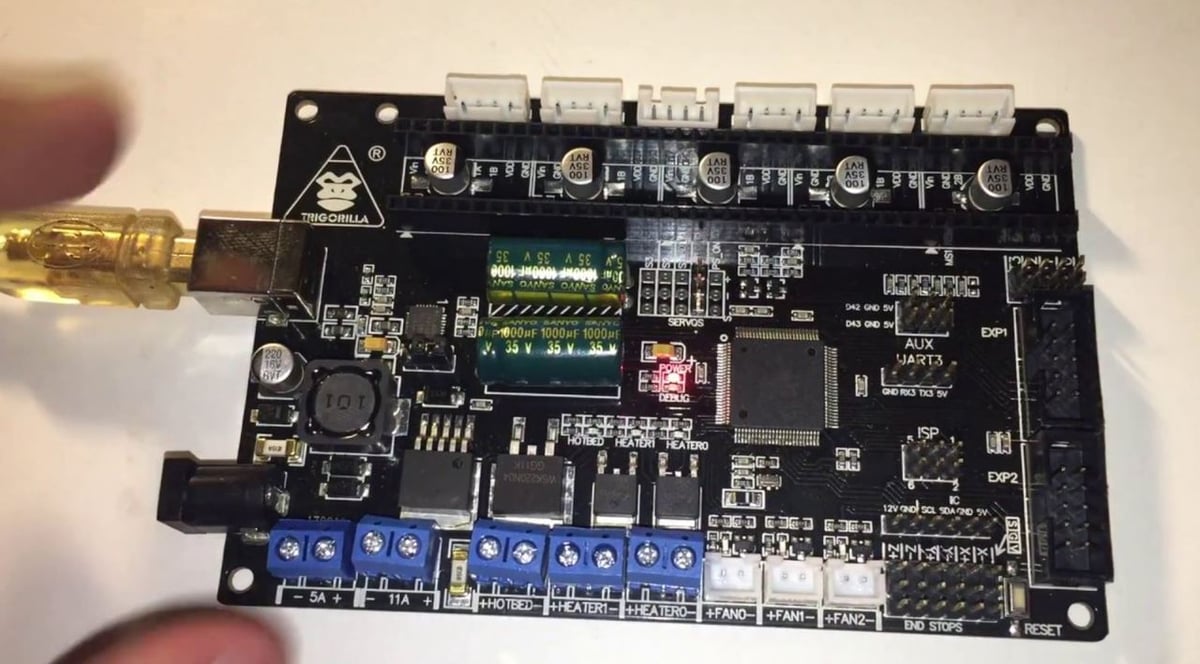
The mechanics, wiring, and mounting are only half the mission; installing an automatic bed leveling (ABL) sensor also requires changing your printer’s digital elements. Primarily, this means altering your i3 Mega’s firmware.
If your specific upgrade guide has pre-configured firmware, be sure to use that rather than changing it yourself. Otherwise, you’ll need to find a new firmware and change it manually in a program editor such as Arduino Web Editor or VSCode.
There are a few different firmware options you can choose from, such as Marlin and customized versions of Marlin. Marlin firmware supports Anycubic printers and the configuration files for Marlin and the i3 Mega can be found in the examples folder. If you decide to use another firmware, make sure it supports bed leveling or contains the pseudocode for this feature.
Once you find and download your firmware, open it in the editor and delete the double slashes (“//”) that come before the lines of code that define the bed leveling features. If the upgrade you’re using specifies other settings to change, make sure to do that, too.
When you’re done editing, check and compile the firmware in the editor and upload the new firmware to your Anycubic i3 Mega. To install the new firmware, you can use Cura as long as your device is connected to your Mega printer via a cable. Check out our article Anycubic i3 Mega Firmware Update: How to Upgrade to learn more.
If you changed your printhead size, you’ll also need to adjust the printing dimensions in your slicer. This setting can be found and adjusted in Cura and other slicers on the machine settings page.
Overview & Testing
This upgrade can have a lot of benefits and make the pre-printing process much shorter and easier. However, we don’t recommend this upgrade for everyone, especially if you’re satisfied with manually leveling the bed. Why fix something if it isn’t broken?
Adding an automatic bed leveling (ABL) sensor can make your printhead look messy and cluttered, so if you’re big on the aesthetic look of your printer, this upgrade might not be for you. But if you’re not afraid of a little hands-on work, then adding an ABL sensor to your Anycubic i3 Mega is a great way to get consistently level 3D prints.
Like we said earlier, make sure to choose an upgrade guide that’s right for you and is within the bounds of what you’re willing and able to modify. If you encounter problems, you can always ask the author of your specific upgrade or use online forums like Thingiverse and Reddit.
Once installed, you might want to see how well your new ABL system levels your print bed, and there are tons of models and G-code sets online to do this. Four excellent models for checking how well your ABL system works are the five-point, nine-point, customizable, and parametric tests.
If you notice your nozzle is too high or low on the bed during a print after bed leveling, you can adjust the Z offset to fix this problem. Now, all that’s left to do is to enjoy the time you’ve saved by automating the bed-leveling process!
Lead image source: HDRI via Thingiverse
License: The text of "Anycubic i3 Mega with Auto Level: How to Get Started" by All3DP is licensed under a Creative Commons Attribution 4.0 International License.