Annealing PLA for Stronger 3D Prints: 2 Easy Ways

When it comes to making your prints stronger, all you need is some time and more heat. Read about annealing PLA and PLA heat resistance!
Heat treatments are post-processing techniques commonly used to change material properties, either physically or chemically.
Annealing is one such treatment, and you might have heard about it within the context of 3D printing. It’s said to make 3D printed parts perform better, but how exactly does this process work, and what can be achieved with PLA?
In this article, we’ll explain how annealing works and describe a couple of procedures you can try at home. Let’s get started!
What Is Annealing?
Annealing is a heat treatment used to increase the ductility of metals and to make parts more workable. This is done by heating materials to a sweet spot that’s cooler than its melting point, but hotter than the temperature it recrystallizes at.
When metals are cast or formed, tiny crystalline structures known as “grains” make up the microstructure of the material. The smaller the grains, the harder and more brittle the material. Larger grains reduce hardness and increase ductility, making them easier to handle.
The annealing process in metals involves heating the material up to a temperature that allows grains to recrystallize and grow in size. The longer the material stays at this temperature, the more the material will be able to change its structure.
Annealing Plastic & 3D Printing
Though annealing mostly refers to metals, a similar process is also used for plastics to reduce internal stress in injection molded parts. This is done by heating plastic parts below their melting point to allow the material to relax and reorganize.
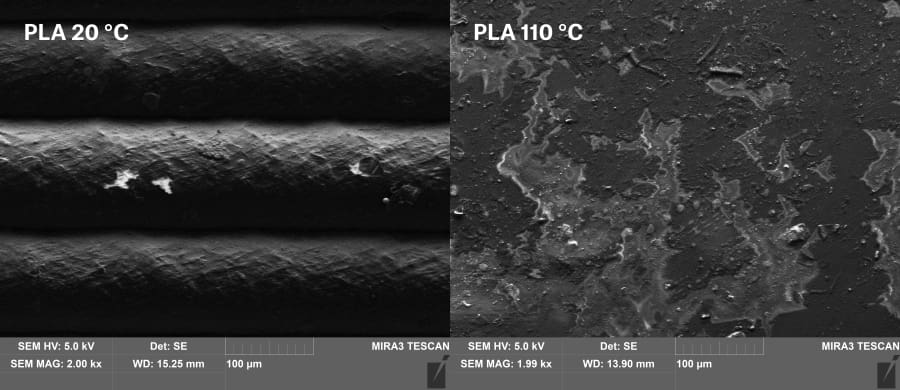
But things are a bit different with 3D printing. Plastics can have a microstructure that falls somewhere between amorphous (totally disordered) to highly crystalline. And it’s the crystalline structures that have tougher mechanical properties. Semicrystalline materials, like PLA or PETG, contain both amorphous and crystalline regions, although the ratio depends on their thermal history.
Rapid material heating and cooling in the 3D printing process increases the amorphous fraction. Annealing 3D printed parts allows them to rearrange their molecular chains and grow the crystalline regions. As with metal annealing, this gives tougher mechanical properties. The slight melting that occurs during annealing allows layers to fuse together, eliminating those weak points from the printed parts.
Annealing PLA
PLA is one of the most common materials for 3D printing. It’s fairly easy to print and offers good mechanical strength even if it’s somewhat brittle. It does, however, have a relatively low melting temperature compared to other 3D printing materials.
These characteristics make PLA the perfect candidate for annealing. In fact, several studies indeed demonstrate improved mechanical properties for PLA post-annealing treatment.
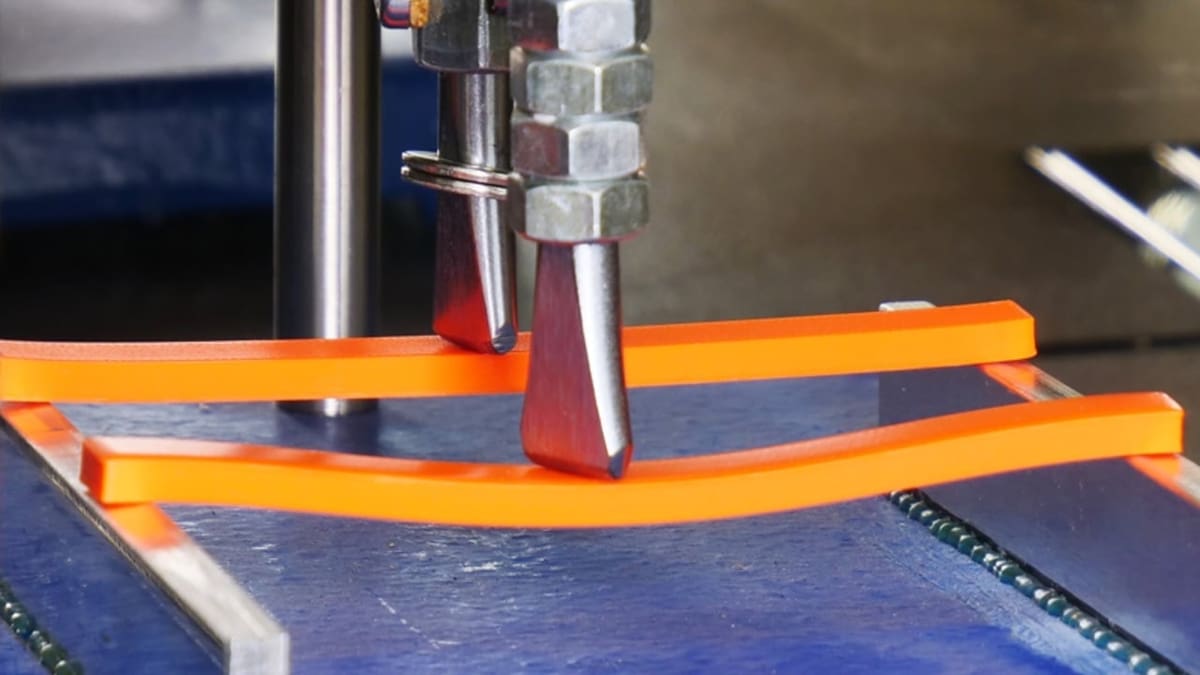
In terms of material strength, tests show that annealed PLA parts gain between 10 to 20% in strength and are generally less brittle. For temperature resistance, annealed PLA also shows good results in comparison to other 3D printed annealed materials.
The Compromise
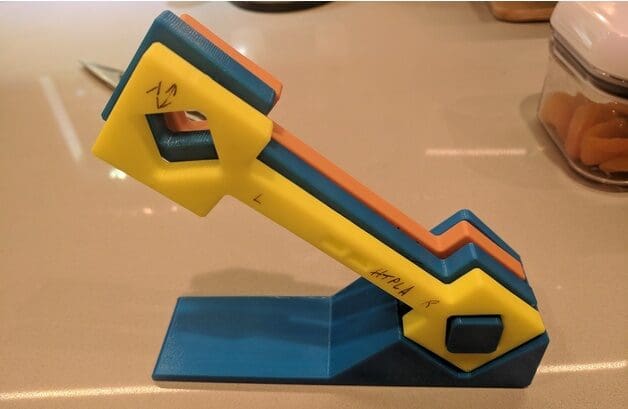
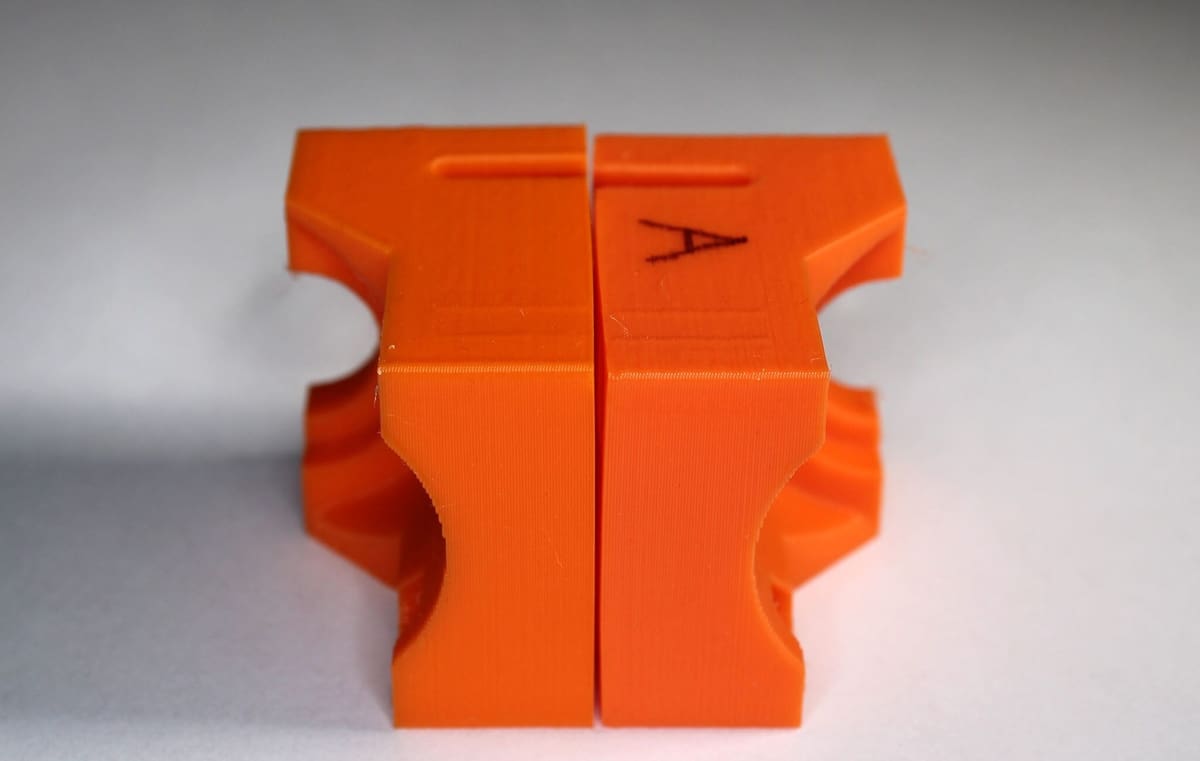
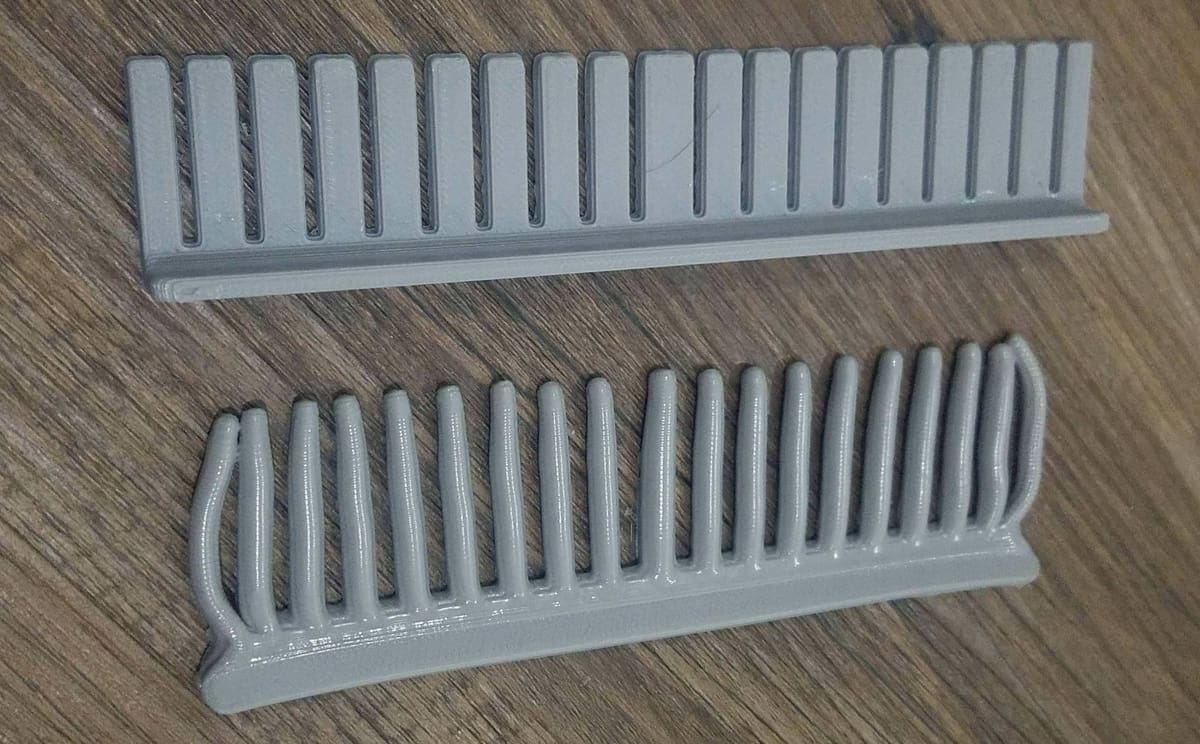
The major drawback of annealing PLA is the dimensional change. Tests with different temperatures show that PLA suffers significant changes even at lower temperatures like 70 °C, and higher temperatures (110-170 °C) cause warping or even complete melting.
So, in the end, annealing 3D printed PLA is a compromise between better material properties and dimensional or shape accuracy. If the gains outweigh the losses for you, stick around for some tips on how to do it.
Overall Tips
In the next sections, we’ll go over some procedures to anneal PLA without industrial-grade equipment. But before that, we have a number of valuable tips for annealing that are independent of the method you choose.
- Use parts printed with 100% infill: The denser the parts, the better they’ll resist warping and dimensional changes. While it’s unusual to print with 100% infill, this will definitely pay off when annealing PLA.
- Make sure that parts are as clean as possible: Remove any stringing, debris from brims and supports, and leftover adhesive from the parts prior to annealing.
- Use a dedicated oven thermometer: Even though many modern ovens have built-in thermometers, they can be quite inaccurate. For baking, 5 or even 10 °C may not be that important, but every degree counts when annealing plastic parts, especially with temperature-sensitive materials like PLA.
- Allow a uniform temperature to build inside the oven: Once the oven has reached the desired temperature, wait for at least 30 minutes before inserting the parts.
- Be ready for dimensional inaccuracies: Even if successful, annealing PLA is likely to distort, deform, or at the very least change the overall dimensions of parts, so be aware.
- Use an electric oven if possible: While you can use a gas oven, keep in mind that they’re less accurate and are known to overshoot temperatures while heating up. If you only have a gas oven available, using a thermometer is a must.
The ideal annealing temperatures for PLA may vary depending on the filament brand. Generally speaking, PLA has a glass transition temperature of 60-65 °C and a melting temperature of around 180 °C. So, try to start around 60 °C for the first trial. If your part ends up looking unchanged, increase your target temperature by 5 °C until you have the desired results.
Methods
Below, we’ll discuss two tried-and-true methods as well as one that’s discussed in the community but doesn’t yield the most consistent results.
Supported

The first and most accurate method requires some sand to ensure uniformly distributed heat on all part surfaces. Parts buried in sand also benefit from some mechanical support to prevent much physical distortion.
If you don’t have sand on hand, you could also try the same approach using salt. It’s best to use finely ground salt or else large salt crystals could leave craters on the surface of your part. Be sure to pack it down tightly for the best results.
For this procedure, we’ll set the temperature to around the glass transition temperature to minimize distortion. It’s advised to start with a lower temperature and, if successful, increase it for other batches of parts. Just don’t overdo it or you might end up with a sand-embeded print.
- Heat the oven to 60 °C, then wait for at least 30 minutes.
- While the oven is heating up, get an oven-safe container that’s large and deep enough to fit your parts and fill it with sand. Bury your parts entirely and allow at least 5 mm of space between each part and the container’s edges and bottom.
- Place the container with the sand and parts inside the oven, then leave it there for one hour.
- When that’s done, remove the container and leave it to cool at room temperature without removing the parts from the sand.
Once everything has cooled down, you’re ready to take the annealed parts out of the container.
Quick
Instead of the sand or salt method, you can try annealing your parts directly in a preheated (but turned off) oven. This is a great method if you have a gas oven that just cannot maintain a consistent temperature. Since there’s no sand involved, all you’ll need is to place the parts in any kind of oven-safe container.
The parts here are cooled inside the oven instead of outside. Since the parts will only be above the glass transition temperature for a short amount of time, you may not be able to achieve as complete of an anneal as you can with the first method. Nevertheless, a gradual cooling from high temperatures will avoid the formation of internal stresses and reduce warping.
- Heat the oven to 60 °C, then maintain that temperature for at least 30 minutes.
- Place your 3D printed parts on an oven-safe surface and put them inside. Immediately turn off the oven and any heating element inside it.
- Leave your prints in the oven until it has cooled down.
Bonus: Water
If ovens are out of the question, there’s one more method available, even though it’s far from ideal. Instead of providing heat directly to the parts, these are submerged in hot water. While this procedure should work in theory, results aren’t consistent, and very few examples of it actually working can be found online.
The idea is to place the 3D printed parts inside a sealed plastic bag, preferably a vacuum-sealed one, and to keep it under the water for annealing to occur. While having a bit of water trickle in might not affect the mechanical change, it can modify the appearance of the print. The method might sound like a good idea at first, but controlling the water temperature is the tricky bit.
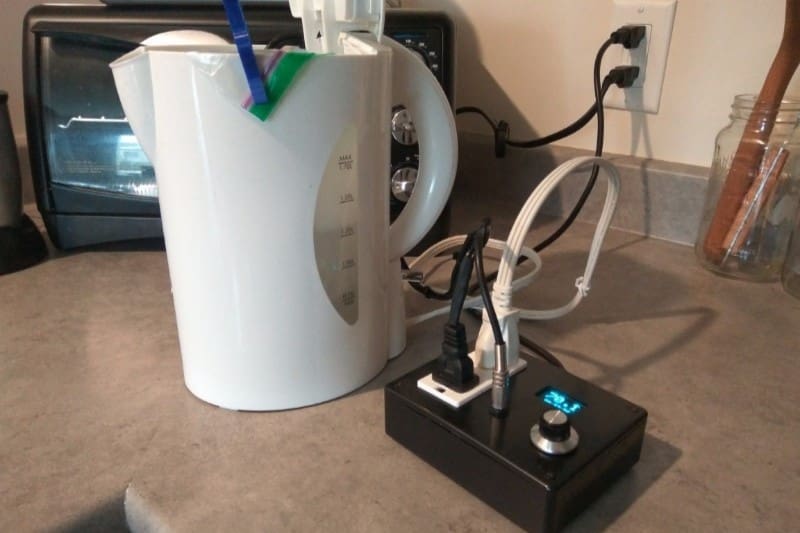
Slow cooking devices like sous vide machines are excellent for keeping the water at the right temperature and might be worth a try.
License: The text of "Annealing PLA for Stronger 3D Prints: 2 Easy Ways" by All3DP is licensed under a Creative Commons Attribution 4.0 International License.