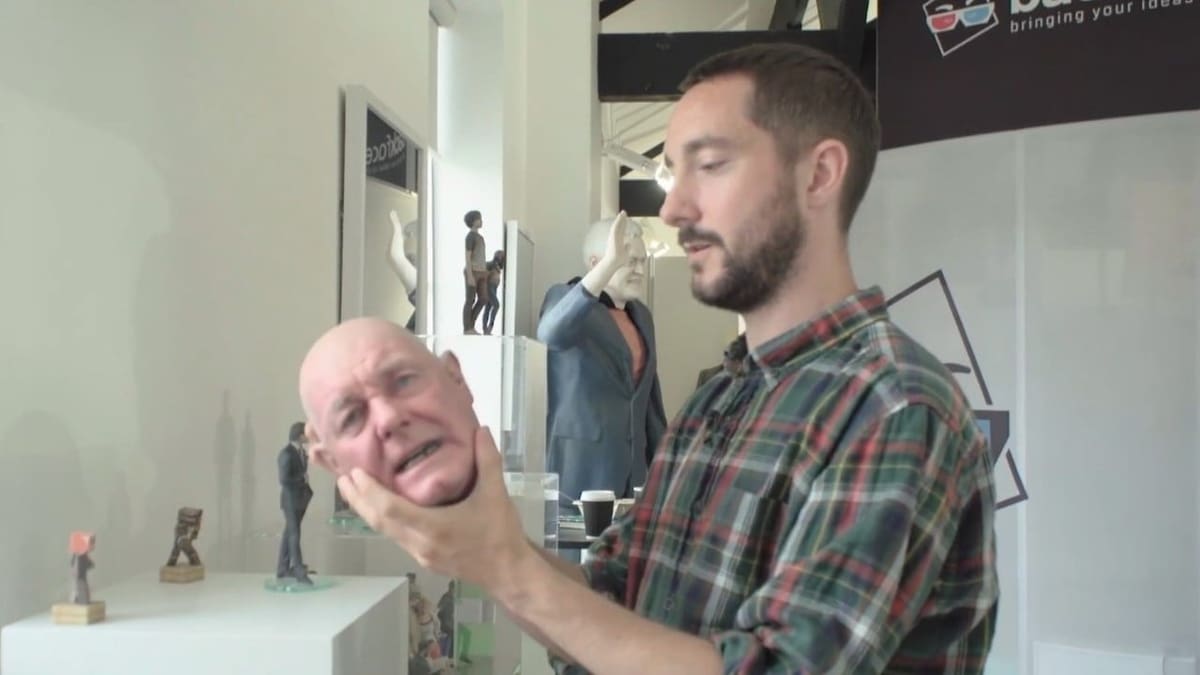
3D Scanning, 3D Modeling & 3D Printing a Human Head

Ever heard about 3D scanning, 3D modeling and 3D printing? In this article, we will show you how to combine all three to make a 3D printed statue of a human head.
Step #1: 3D Scanning

In this article, we talk about 3D scanning, 3D modeling, and 3D printing a human head, or bust. The first step, of course, is to scan the head.
For those of you who aren’t familiar with the term “scanning”, it’s the process of analyzing a real-world object or environment to collect data on its shape and appearance. Basically, with 3D scanning, you are turning a real-life object into a digital one.
To get the best scan, you want a device perfectly suited for this job: a 3D scanner. The market is filled with different options, at all different price points. There are even 3D scanners you can build DIY-style. However, there are several ways to take a scan without having to use professional equipment.
One of them is to use the Kinect from either an Xbox One or Xbox 360. Another is to use your smartphone. There are several apps you can install to make this easy as pie.
3D Scanning Methods
They are two methods you can use to scan a human head: photogrammetry and 3D scanning. Which method will be best to use depends on the situation and object being scanned.
Photogrammetry
Photogrammetry is the process of stitching individual still shots together, using the background as reference. You take several photos around an object using a camera, and then transfer them to software that can “stitch” them together. A software such as Agisoft Photoscan or Meshroom can then turn the images into a 3D model.
This can be done with almost any phone or camera out there. With a phone, there are apps to help guide you through the process. With a traditional camera, you just need to be able to transfer those photos onto a desktop or laptop computer for processing.
3D Scanning
3D Scanning consists of using a 3D scanner. It can be done with a webcam connected to a PC, a smartphone, a Kinect, or a professional 3D scanner.
The scanning and processing of the model is done in real time, meaning that, while you move the scanner around the object, the 3D model is being built. This differs from photogrammetry, which after taking the photos requires a lot of processing to get a 3D model.
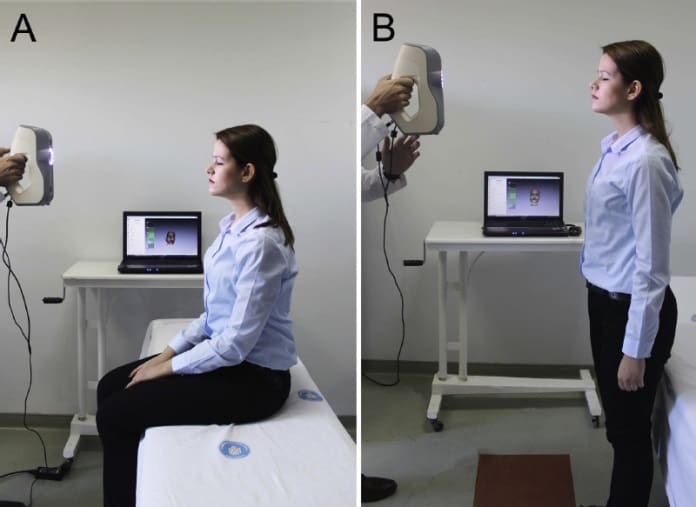
Taking a 3D Scan
Regardless of which process you choose, the process is more or less the same:
- Acquire a second person, either whose head you will scan or who will scan yours.
- Whoever’s head is being scanned, have them sit in a short-backed chair with 360° access around them.
- Make sure there is good lighting; too little can make it harder for the software to turn the photos into a 3D model, giving poor results.
- Start taking photos/scanning around the person’s head, moving in small steps. The best distance is 1.5 ft, or 50 cm, away from the person’s head.
- Scan a bit closer for high detailed objects like the nose and eyes.
- Keep scanning from different angles and positions, but always “orbiting” around their head.
- In the end, it should take approximately 5 minutes for 3D scanning, or 30 to 40 photos for photogrammetry.
Bear in mind that, depending on the scanner and software you choose, the process may differ a bit. So make sure to check tutorials online on how to do it if you get stuck.
Step #2: 3D Modeling
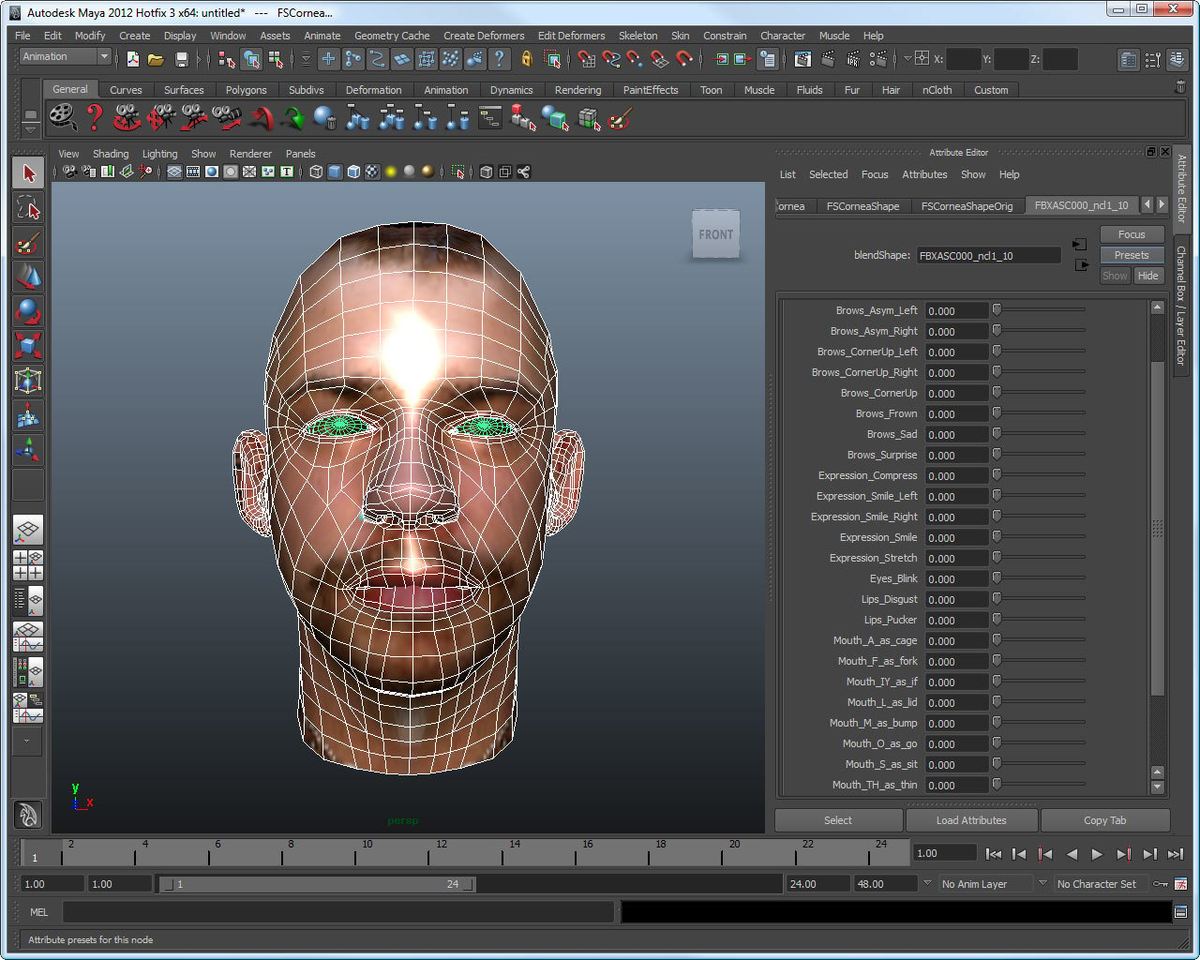
With the scan complete, it’s time for 3D modeling the head.
Whether you chose photogrammetry or 3D scanning to scan the person’s head, there should be an option in the program to “export” the scanned model. You will want to export in STL format if the 3D scanned head will be sent directly to 3D printing.
However, most of the time you will find the scanned model isn’t always perfect immediately. In this case, you may want to first import it to a 3D modeling program for editing before sending it off to the printers.
This step isn’t always necessary, but you might find it necessary depending on the scanning result. A few things you may want to do:
- Fixing some parts of the model
- Sealing the model
- Editing the texture manually
- Adding or deleting some vertices from the model
To properly import the model, you may need to export the 3D scan in a different format. Instead, export it in a file format such as OBJ or FBX.*
Open the exported model with a 3D design and modeling software, such as Blender, a free 3D editing software available on Windows, Mac and Linux. Here, you can edit any desired feature to optimize the 3D model of the head.
Once the 3D modeled head is as you want it, save the project in case you ever want to modify it again. Then, export the model in the STL format for 3D printing.
Small tip: Blender has a built in 3D printing export add-on which will make your model more adequate for 3D printing.
*(This availability will vary depending on what program you have. Some may offer more export formats, and others might have this feature as a “premium” option. So, make sure you choose a program which best fits your needs.)
Step #3: 3D Printing
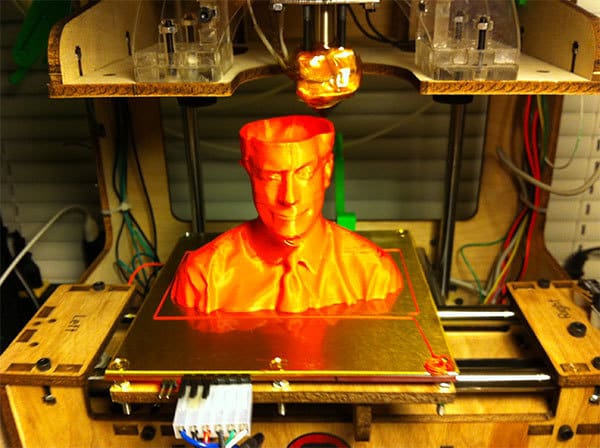
The final step: 3D printing the head model.
Open the exported STL model with a slicer program such as Cura.
Once opened, you need to configure the print settings. This includes speed, layer height, infill, support, etc. These variables depend on your 3D printer and how the scanned model ended up like.
But as general advice, we recommend setting a thin layer height of 0.05 to 0.1 millimeters for more detail at the cost of more time to print. We also suggest a slower printing speed to ensure all the layers are accurately printed. These settings will be specially helpful on small-detailed head models.
And there you go! You now can have you partner’s, friend’s, or co-worker’s head with you at all times.
Feature image source: Forbes
License: The text of "3D Scanning, 3D Modeling & 3D Printing a Human Head" by All3DP is licensed under a Creative Commons Attribution 4.0 International License.