3D Printing First Layer Problems: How to Make It Perfect

The first layer plays a huge role in a print's success. Read on for some tips and tricks and say goodbye to 3D printing first layer problems!
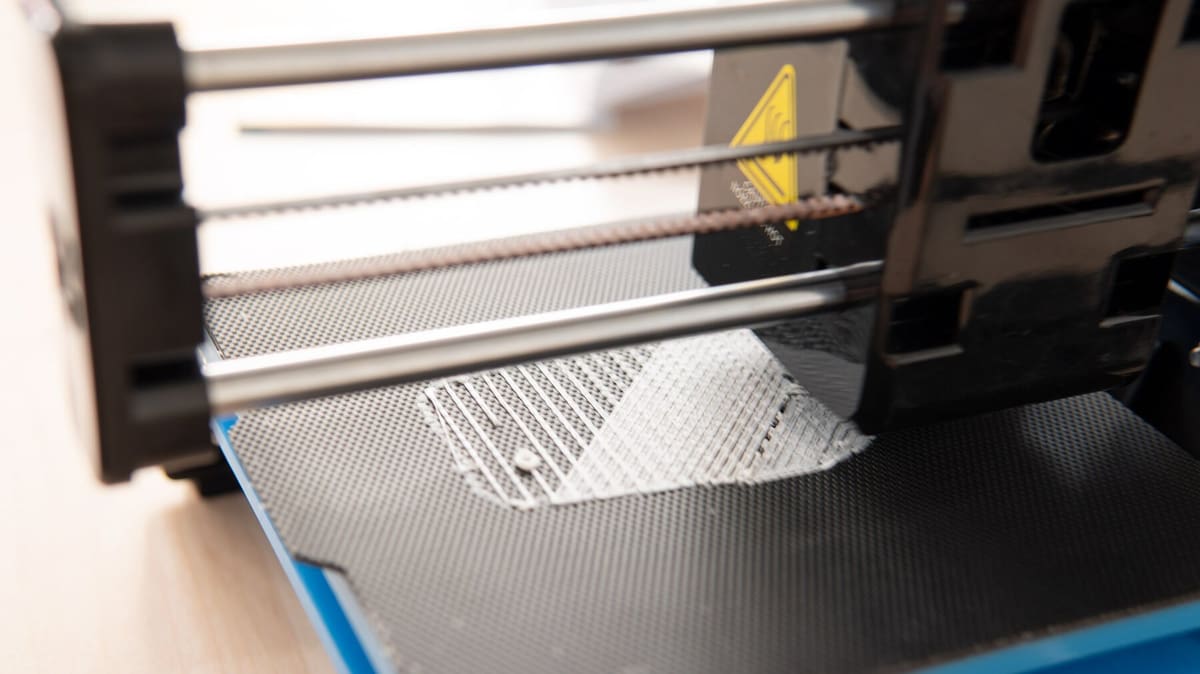
3D printing the first layer is essential for every fused deposition modeling (FDM) 3D print, as it forms the foundation on which more plastic is to be laid.
If the first layer adheres poorly to the print surface, the print may dislodge before completion, leading to a failure. Over-adhesion should also be avoided, as prints will become difficult to remove. Every first layer is about balancing print stability and ease of removal.
Over the following sections, we’ll discuss the best methods and share tips for getting the perfect first layer. We will start with leveling and cleaning the print surface, then we’ll take a look at adhesion promoters, working our way up to the best first-layer tips and settings.
Ready to get started?
Tip #1: Auto-Bed Leveling
The first step is to ensure that the bed is level, perfectly aligned with the nozzle. There are two basic approaches to this: manual and automatic. While earlier (and more budget-friendly) 3D printers required the manual approach by default, most (if not all) newer machines have auto-bed leveling as a basic feature. For those that don’t, they can be upgraded with add-on sensors.
Either stock or with an add-on, auto-bed leveling means that the printer uses a sensor to measure the distance between the nozzle and the bed at various points. The printer’s firmware then creates a mesh from this data and adjusts the nozzle position accordingly during printing to maintain a consistent distance from the bed, even if it’s slightly uneven.
Before using auto-bed leveling, manually leveling the bed can help the printer create a more accurate mesh. While this step may seem counterintuitive and isn’t always necessary, it’s recommended if you’re unsure how level your bed is.
Newer (and more high-end) 3D printers will carry out the leveling before every print, although this won’t be necessary and can be a bit time consuming and even noisy. Unless you’re changing the build plate between prints or you’ve noticed issues in a previous model’s production, you can avoid auto-bed leveling for every design. How this is done will depend on the machine.
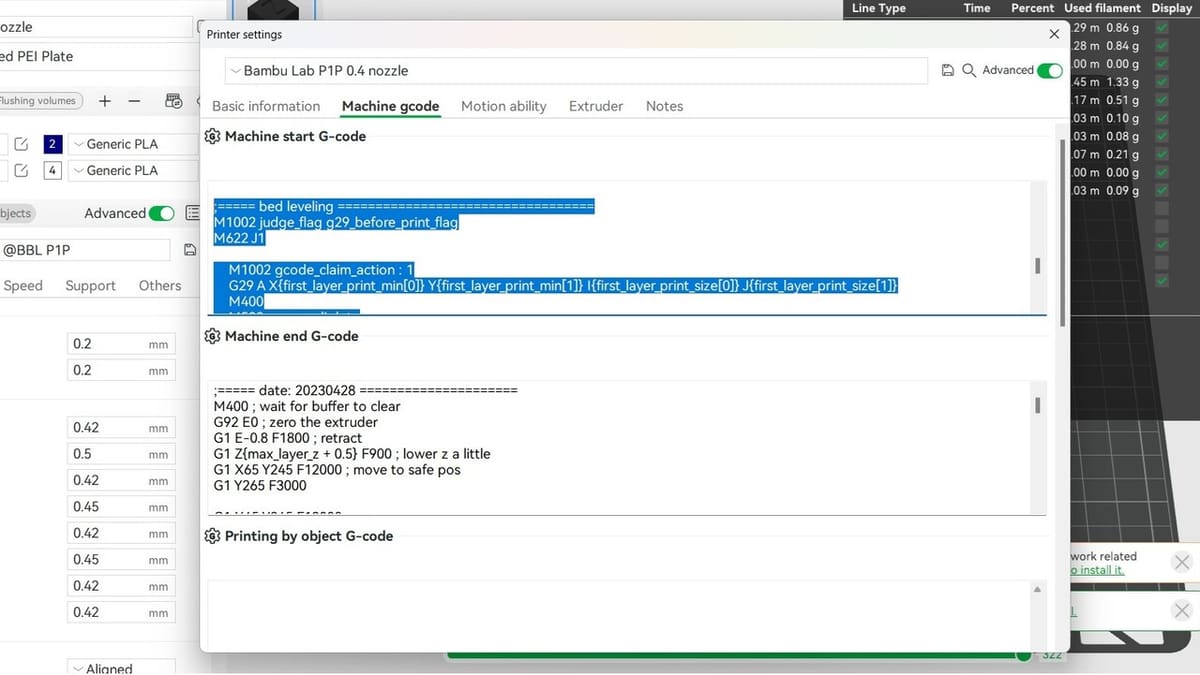
For example, if you’ve got a Bambu Lab printer like the A1, in Bambu Studio you can alter the start G-code (Marlin flavor) to remove the bed level command and then save it as a separate printer profile (to use again in the future). Alternatively, via the UI (in the printer’s screen), you can de-select auto-bed leveling.
It’s worth keeping in mind that, even if it’s not always a must, you might need to adjust the Z offset after the bed leveling.
If your 3D printer doesn’t have auto-bed leveling, check out our guide on manually leveling your bed.
Tip #2: Clean Your Print Surface
If your print surface is dirty and greasy, your freshly-tuned first layer settings won’t do much. The first layer will most likely fail to adhere, and your print will fail.
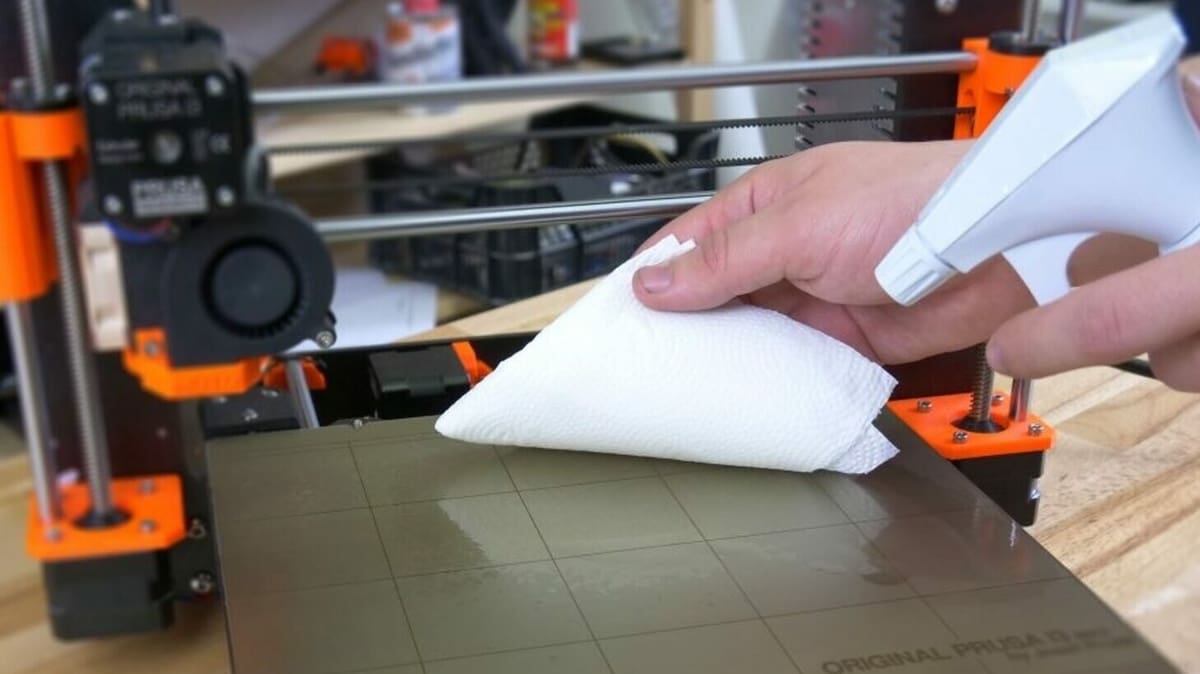
To avoid this, wipe down your print bed before every print, or at least between every few. This can be done with isopropyl alcohol (normal rubbing alcohol, or IPA) and a paper towel. It only takes a couple of seconds, but it will prove to be a great print-saver. Make sure to check that the cleaning agent you opt for won’t corrode or damage the bed’s material.
If IPA does the trick, you can also use it for cleaning your prints when they’re completed, so it may be helpful to keep a bottle stored nearby.

Tip #3: Consider the Materials
You’ll also want to make sure that you consider the materials at hand. This goes for both the filament you’re printing with, as well as your printer’s print surface. Try following these tips to avoid mishaps.
- Apply an adhesion helper to the bed: This includes options like hairspray and glue sticks. These will help stubborn materials stick, like ABS, and will also serve as release agents for materials that stick too well, preventing damage to your print surface. A thin layer should do the trick and should be easily washable after you’re done printing.
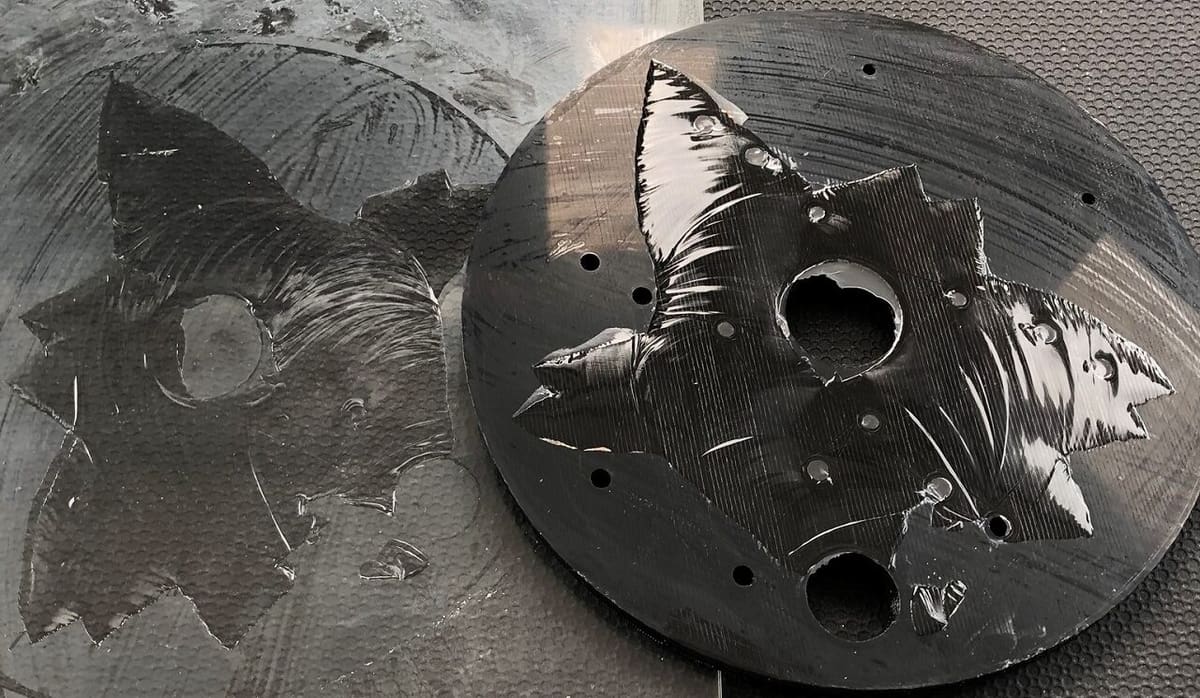
- Avoid printing directly onto the bed with TPE and PETG: This goes with the previous tip but deserves its own mention. TPE and PETG are notorious for sticking too well to print surfaces, and will quite possibly tear out pieces of any surface you have, including PEI, Kapton tape, and even glass. Always use a release agent for these materials.
Tip #4: Set First Layer Settings

The final key step in guaranteeing a successful first layer is to optimize your print settings. By tuning the first layer settings in a slicer, like Cura or PrusaSlicer, you can ensure that the first layer succeeds without changing how the rest of the print will look. Here are some of the most useful settings:
- First layer print and bed temperature: These settings change the temperature at which your 3D printer prints the first layer. A higher temperature will allow the plastic to melt better and adhere to the bed, so try bumping up the nozzle and bed temperatures by around 5 °C each.
- First layer line width: This setting changes the width of the lines extruded from your 3D printer. A higher line width setting will allow your layers to squish into the bed and get a nice hold, decreasing the odds of failure. You can typically push this setting to twice your 3D printer’s nozzle bore size (which is usually 0.4 mm).
- First layer height: This setting changes the height of your first layer. A higher value here will mitigate the effects of slight errors in leveling, effectively increasing reliability. You can typically go up to around 0.3 mm with a standard 0.4 mm nozzle.
- First layer print speed: This setting changes the speed at which the first layer is extruded. Printing slower will allow more time for the plastic to melt, having an effect similar to raising the print temperature. You may want to try this if you’ve increased the layer height or line width.
- First layer helpers: These include rafts, skirts, and brims, and help with adhesion by priming the nozzle to ensure a smooth flow of plastic. In the case of rafts and brims, they also provide a larger surface area for better adhesion.
First Layer Cooling
Part cooling fans help materials with low glass transition temperatures like PLA to harden quickly after printing, preventing drooping or deformation. That said, letting the filament naturally cool on the bed will promote bed adhesion, especially since the first layer already has plenty of support from the build plate. So, next time you print with a material that you usually cool while printing, turning the cooling fan off for the first layer can be helpful. (In Cura, this can be found under “Print settings > Cooling > Initial Fan Speed”.)
With that, your first layer settings should be ready to go!
License: The text of "3D Printing First Layer Problems: How to Make It Perfect" by All3DP is licensed under a Creative Commons Attribution 4.0 International License.