
3D Printing Design – 5 Tips for Creating the Perfect Model

Designing models for 3D printing doesn't have to be hard. Here are 5 quick tips for you to realize your designs with this revolutionary technology.
Why 3D Print?
3D printing opens the door to geometric freedom. More so than other manufacturing processes, it enables users to quickly and inexpensively realize complex designs.
While existing designs are certainly plentiful, you can take advantage of this empowering technology by creating your own custom files. 3D printing is incredibly tolerant of complex geometries, and most designs will be printable.
That being said, there are a couple of items to note about designing that will make the printing process much smoother. Here are 5 quick tips for creating the perfect 3D printable model.
Tip #1: Get Clearances Right
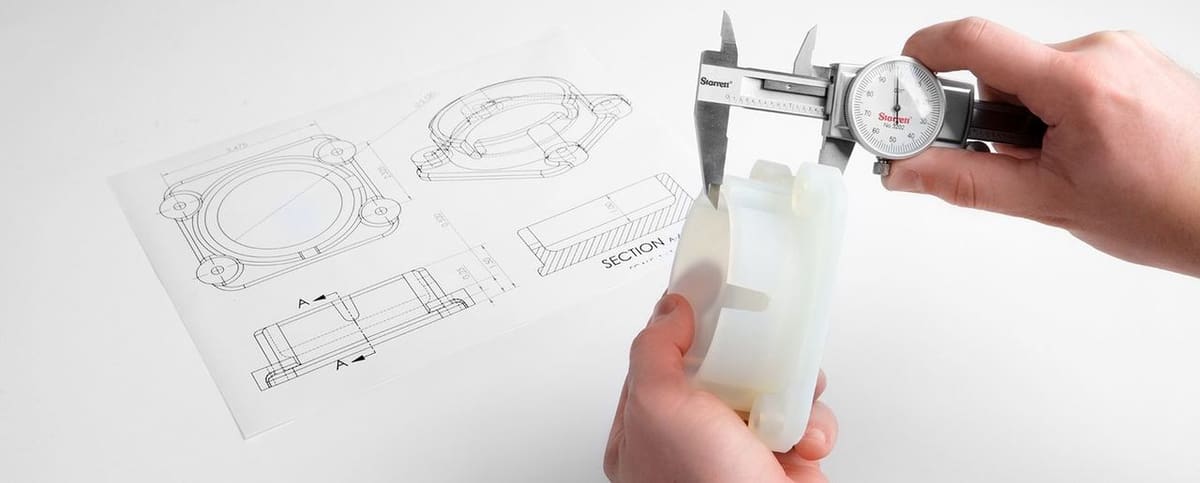
If you’re looking to create mechanical, fitting parts, this step is essential. No machine is perfectly precise, and 3D printers tend to be less precise than other manufacturing technologies.
This means that parts you design must have proper clearances, or gaps between each other, to guarantee a fit. For instance, if you have a mount that is intended to hold a bearing, the hole you design for the bearing should be slightly larger than the bearing itself. That way, even if the print has a few small artifacts on its surface, the bearing will still fit.
Find the clearances you need for your printer, and don’t forget to include them in your designs!
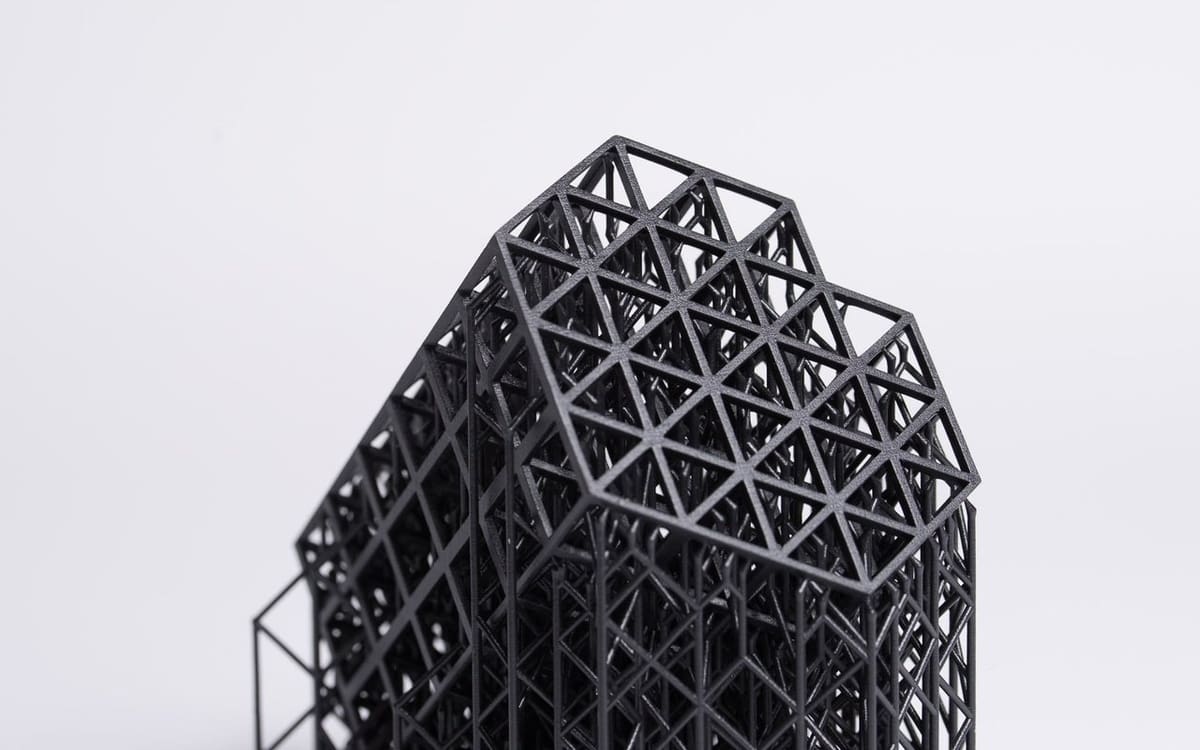
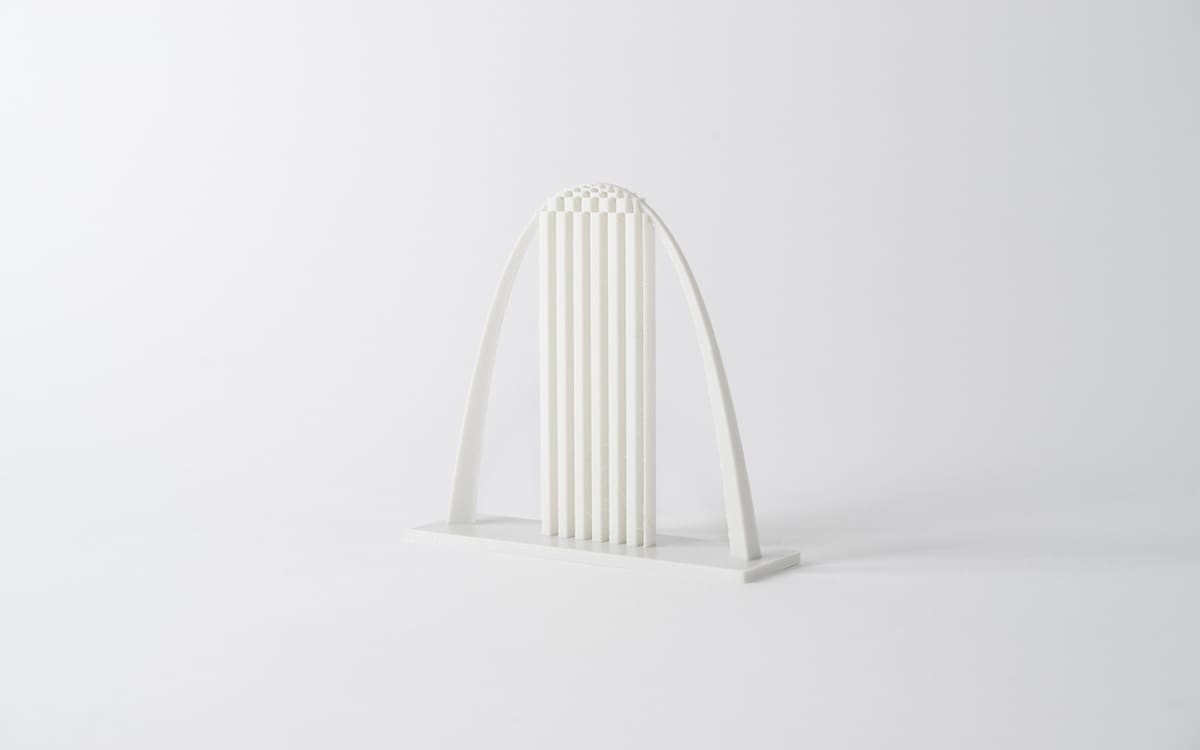
Tip #2: Mind Overhangs
In 3D printing, objects are created from the ground up, usually in a layer-by-layer process. This means that features hanging in mid-air don’t fare too well, becoming deformed or separating from the rest of the model.
The solution? Support structures. They prop up overhanging areas to retain their intended shape. Different 3D printing technologies have different support requirements. SLA printing, for instance, almost always demands supports, while in SLS, the plastic powder used for printing also doubles as the support material.
In FDM, the most common technology, supports are required based on the model’s geometry, which has a significant effect on printing and post-processing time. To avoid the hassle, keep an eye on overhanging areas when designing models for this technology. A good rule of thumb is to not to exceed 45 degrees when possible.
It’s an extra bit of work, but minding overhangs will save you loads of time in post-processing your print.
Tip #3: Watch File Quality
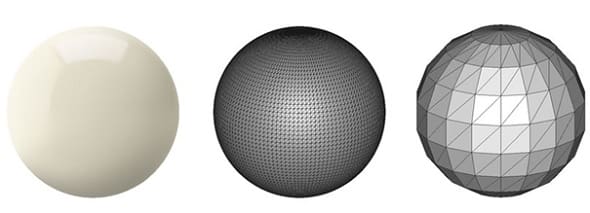
Before 3D printing, your design must be converted to a 3D printable file. During this process, there are a few key items to note:
- Ensure that your converted file is of sufficient quality. The above image demonstrates the importance of this: a higher-quality file will be larger, but will be more geometrically accurate. This is especially significant when you have small features, which are sometimes completely omitted when file quality is low.
- Check that the file is “watertight”. This means that it has no holes in it that could confuse your slicing software. A powerful, free tool for this is MeshMixer from Autodesk.
- Scale your model before exporting. This will prevent detail loss caused by scaling up your model after the fact. This is like how a low-resolution image looks fine when it is small, but becomes pixelated when you make it larger. Models exported before being scaled may seem fine when left alone, but can totally fall apart when you try to scale them later.
Any design, however impressive, can be laid low by file errors. Watch for file quality to get the best results!
Tip #4: Understand the 3D Printing Technology
3D printing isn’t just one technology. It encompassed multiple different technologies, each with their own advantages and caveats. Understanding the ins and outs of your technology and reflecting them in your designs will make the printing process much smoother.
To illustrate this, here’s a brief breakdown of three popular 3D printing technologies:
- Fused Deposition Modeling (FDM)
- Pros: Wide material choice, little post-processing required
- Cons: Poorer detail reproduction, supports required based on model geometry, weak strength between print layers
- Sample use: Light jigs and fixtures
- Not for: Jewelry, high-strength applications, etc.
- Stereolithography (SLA)
- Pros: Fine detail reproduction, good surface finish
- Cons: Supports usually required, long post-processing, prints degrade with exposure to light
- Sample use: Jewelry, dental models, figurines, etc.
- Not for: Outdoor use, high-strength applications, etc.
- Selective Laser Sinterting (SLS):
- Pros: Complex geometry reproduction, supports never required, durable prints
- Cons: Long post-processing, less detail than SLA
- Sample use: Functional, print-in-place assemblies
- Not for: Jewelry, figurines, etc.
You don’t need to be an expert, but a little reading on these technologies will go a long way.
Tip #5: Consider the Material

If you know the 3D printing technology you’ll be using, you’ll also know the materials available to you. Like printers, different materials have their own unique properties. When designing your model, account for these properties.
In FDM printing, for instance, ABS plastic is prone to warping, so your design’s base should be large enough to stay attached to the build plate. Flexibles don’t do too well with details, so maybe omit small features. These will all decrease chances of print failure.
Additionally, keep manufacturer specifications in mind. The same material produced by different manufacturers can behave differently, so always refer to the printing instructions and profiles provided with the material.
Take material considerations into account for a smooth printing experience.
Print On!
Now, you’re ready to design models for 3D printing! These tips are simple, but will go a long way in making the printing process smoother.
If you need help picking design tools, check out our rundowns on the best modeling and slicing software available. If you encounter trouble while printing, refer to our helpful troubleshooting guide.
Happy printing!