3D Printer Belt Tension: How to Tighten Printer Belts

The right 3D printer belt tension is crucial for quality prints. Read on to learn how to tighten your 3D printer's belts!
The majority of consumer 3D printers use fused-deposition modeling (FDM) to produce parts. These printers move the printhead (and print bed) around the X-, Y-, and Z-axes to create the desired part layer by layer. Different machines use different motion systems to control the movement of the printhead and other components. One of the most common motion systems for movement across the X- and Y-axes of an FDM printer is belts.
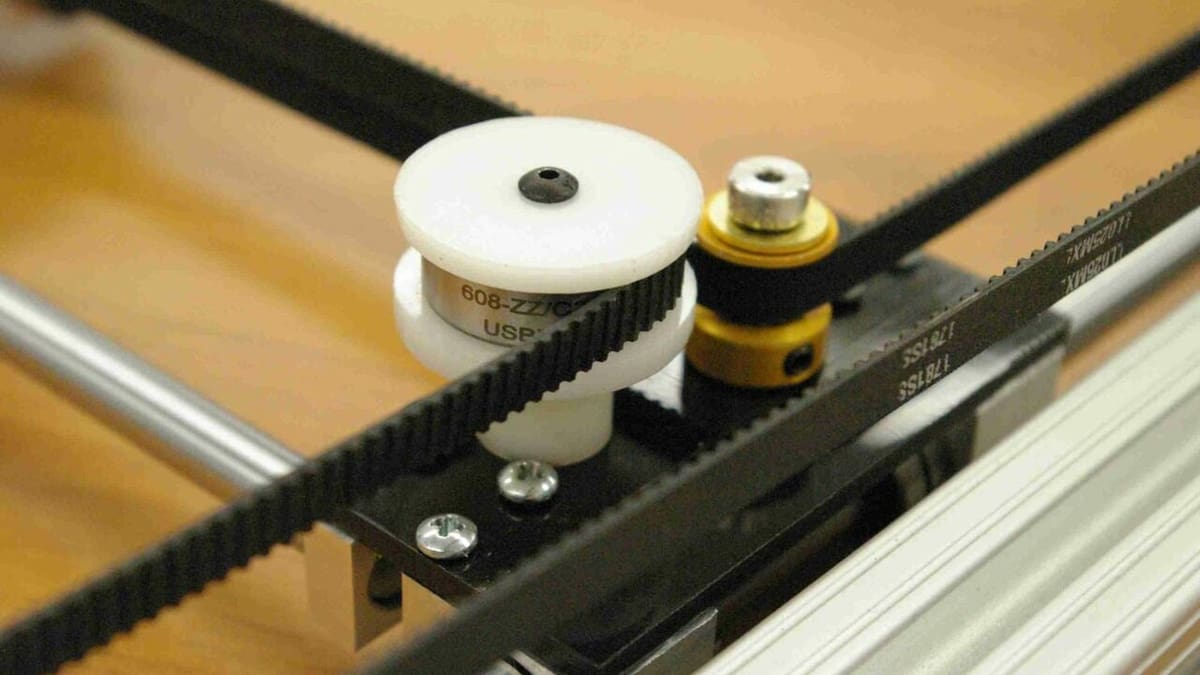
In the context of 3D printing, belts are flexible, flat straps set around the printer’s frame across a specific axis (usually X and Y). Also known as timing belts, these straps feature tread to hold their position, similar to how car tires grip the road. Belts are contained and bound by the belt tensioners on each end of an axis and the belt holder on a moving component’s carriage.
While they may seem like a small, basic component on your printer, belt tension significantly impacts the quality of printed parts. So, let’s learn more about how and why to tighten and maintain them.

Why Tighten Them?
Belts are only a small component on a 3D printer, but their condition and tension are critical to a great print. If a belt is too loose, many print quality issues will arise. For example, loose belts can cause layer shifting, where a part is printed with misaligned layers. At best you’ll have some wobbly-looking layers, at worst your part will be unusable.
Your parts’ dimensional accuracy will also be subpar, as the component moved by the belt will have more slack to jolt forwards or backwards. Poor dimensional accuracy can cause a print to not fit or work where it’s supposed to, even though you may have designed it with correct measurements.
If a belt is loose, flat, circular features on a model can start to look more like ovals, as once again there’s more room for the printhead to deviate from the set locations. As you might expect, other shapes will also be flawed and will probably look different than the expected design. Too much slack can additionally cause a ripple or wave effect up the sides of a part if the printhead moves when printing at different layers. As CHEP from YouTube tested, loose belts cause wavy and visibly uneven walls.
So with all these potential concerns, why not just tighten your printer’s belts before each use? While you want a good amount of tension, overtightening a belt can also cause issues, but these problems are more related to the life span of the belt rather than printing issues.
First of all, tightening a printer belt too much can cause it to snap instantaneously. But a more subtle issue is that keeping the belts too tight can cause them to degrade more quickly. Overtightening a belt also stretches it, and once stretched, there’s no going back, so you’ll end up back where you started with too-loose belts.
How to Tighten Them
Now that you understand the importance of correct belt tension, let’s dive into how you can perform this process on your own machine. Because not all 3D printers are the same, the specific actions will vary from machine to machine, but the general process is the same.
The basic way to tighten a belt on a 3D printer is as follows:
- Locate and access the belt tensioner at one end of the axis on which you want to tighten the belt.
- Use the appropriate tool (usually an Allen key or screwdriver) to loosen or detach the belt tensioner if it’s directly attached to the axis. If the tensioner features an adjustable tension knob, you can simply rotate the knob clockwise to tighten the belt to complete this process.
- Once the tensioner is loose on the frame, hold the frame with one hand and with moderate strength pull the tensioner in the direction that will tighten the belts (away from the moving part).
- Hold the tensioner in its far-back position, let go of the frame, and grab the tool you used earlier with your free hand and retighten or reattach the belt tensioner onto the frame.
And that’s it! Just make sure to tighten all of the belts on your printer, not just on one axis.
Advice
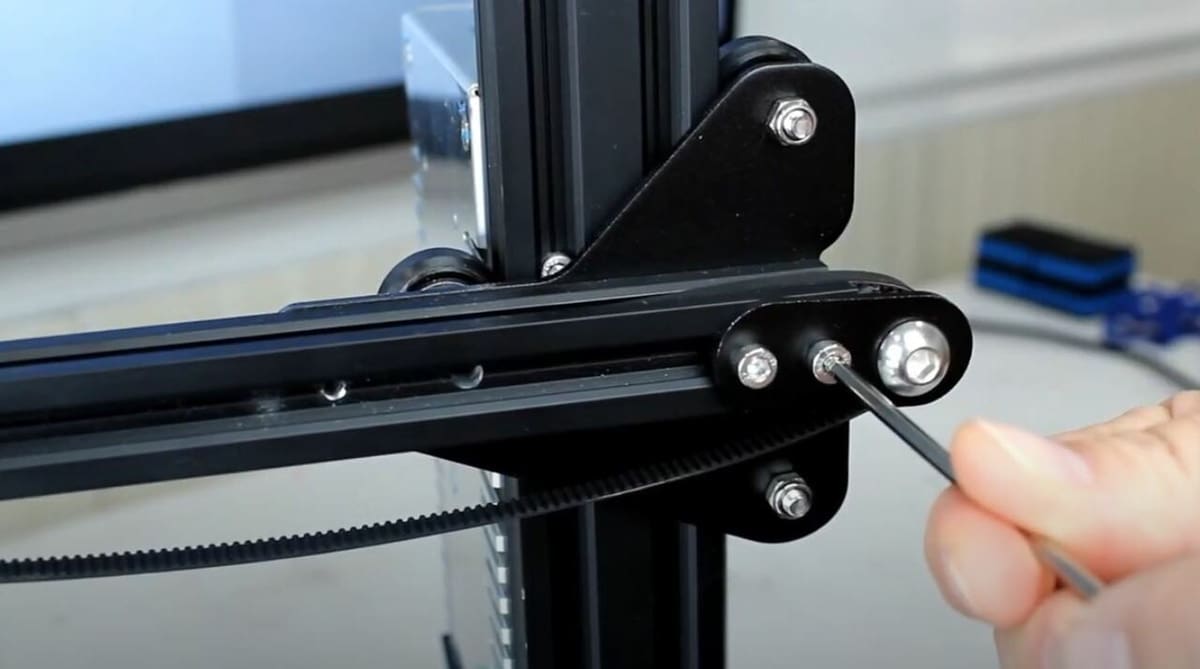
As mentioned above, your machine may have a built-in belt tension adjustment feature, like on the Ender 3 V2. In this case, you can use the knob to easily adjust the tension of a belt, and there’s no need to unscrew the belt tensioner.
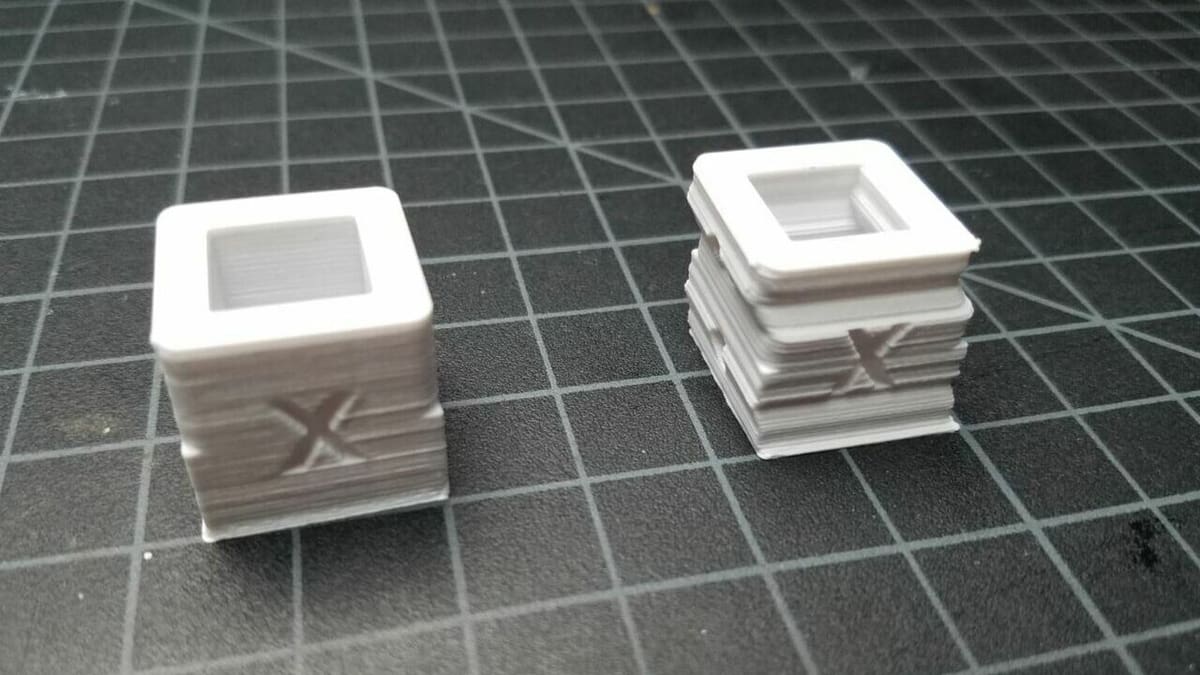
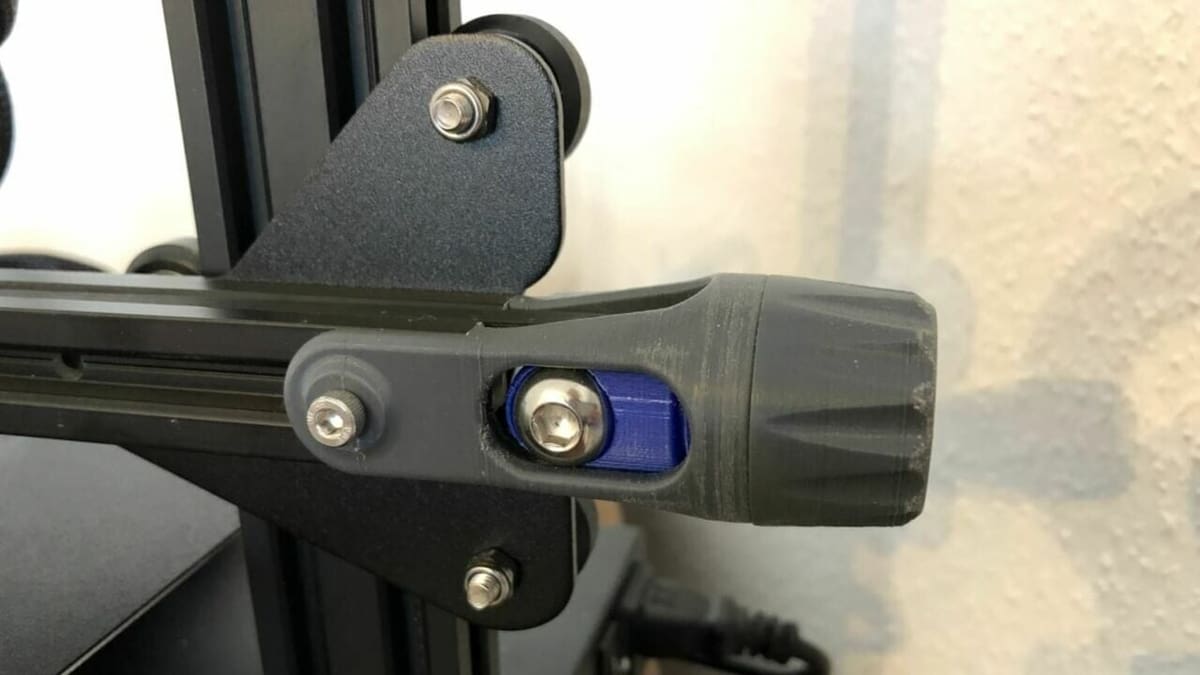
If your machine doesn’t have this feature, you can add a 3D printed belt tension adjuster to the frame. There are heaps of designs out there, and we’ve listed a few below for some popular 3D printers, but you can always design one yourself or remix an existing model:
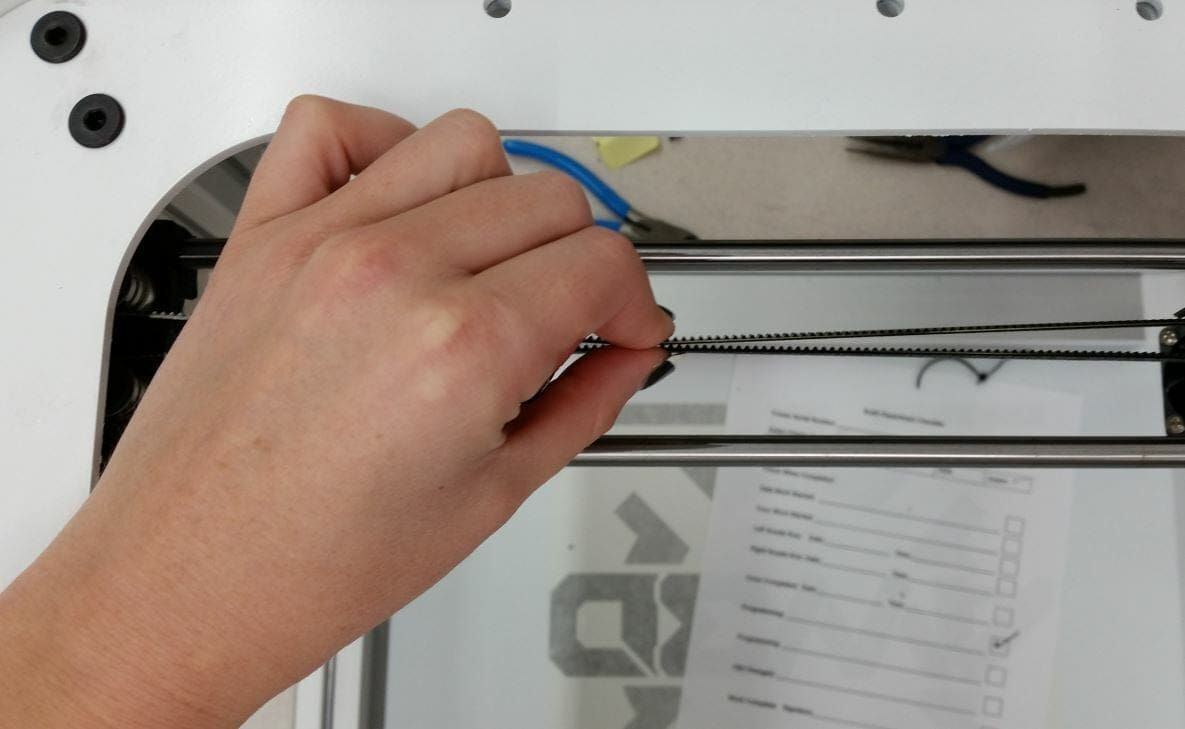
If you’re unsure about the tension in your belt, remember that it should be tight enough so that when you move the printhead or bed across its axis, it should move with a smooth motion without being so loose that it wobbles. If the component feels unsteady, tighten the belt; if it’s a bumpy movement, loosen the belt.
License: The text of "3D Printer Belt Tension: How to Tighten Printer Belts" by All3DP is licensed under a Creative Commons Attribution 4.0 International License.