Broken 3D Printed Parts: How to Fix Them

If you have broken 3D printed parts, there are several ways to fix them. Let's take a look at how you can repair the most popular materials.
When you’re 3D printing, there may come a time when your model is too big to be printed in one piece. In such circumstances, the best approach would be to print it in smaller sections. These can then be assembled to form your larger model.
In our article on gluing 3D parts, we look at the best ways to join pieces and what adhesives and methods work best. But, what if you’ve printed a model and then it breaks? Or you’ve printed a part for a model and a section has become detached.
As you’re probably aware, there are two main methods that the average 3D printing enthusiast uses for printing. These are fused deposition modeling (FDM), which uses filaments as the raw material, and vat polymerization (sometimes called resin printing), which uses UV-activated resin as the raw material. Each has its own particular properties as a finished product, so we’ll look at what’s needed to repair any breakages for both.
In this article, we will go through the general preparation and then look at different techniques for repairing both FDM and resin-printed parts.
General Preparation
Parts of a model that were printed separately should be easy to glue together, as they should’ve been specifically designed to fit together and would therefore need little preparation to ensure a good joint.
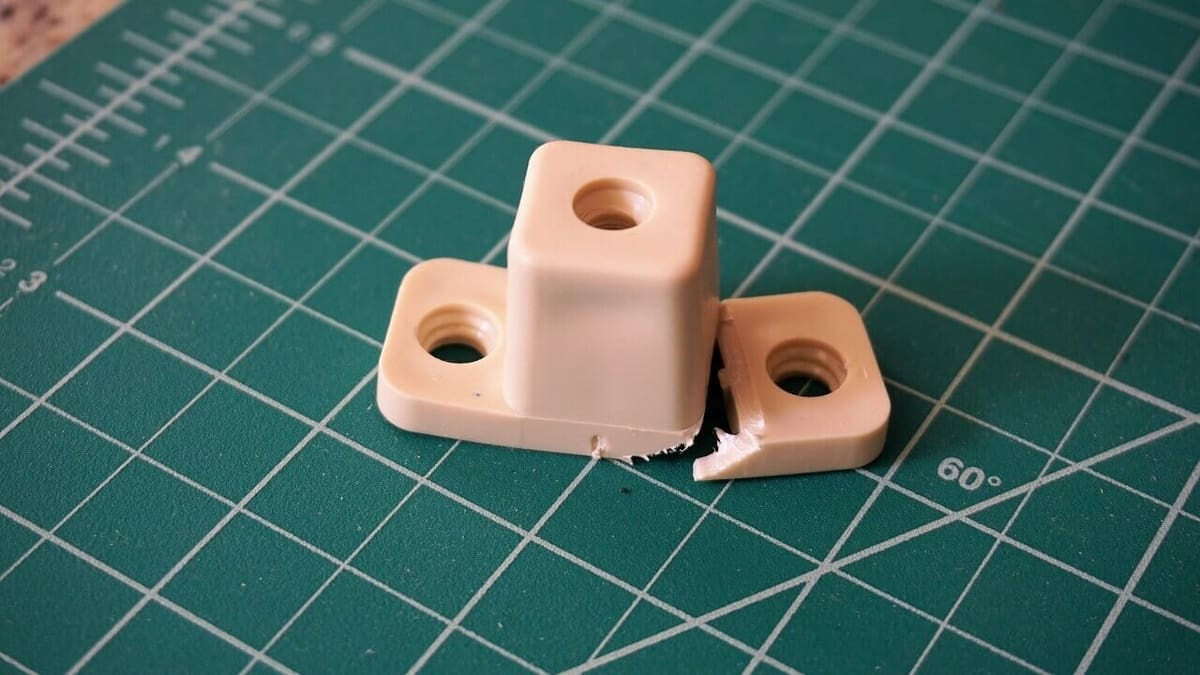
However, if you’ve broken a 3D printed part or model, it’s likely that you won’t have a clean break. For instance, if you have a model of a figure and one of the arms breaks off, the two parts will probably have rough edges. In this case, you may want to reattach the broken piece so the rough edges merge back to their original state. The alternative may be to clean and even sand the two surfaces and rely on fillers. Either way, preparation will follow the same route.
Cleaning
To give yourself the best chance of securely fixing the broken parts, you’ll need to have clean surfaces to join.
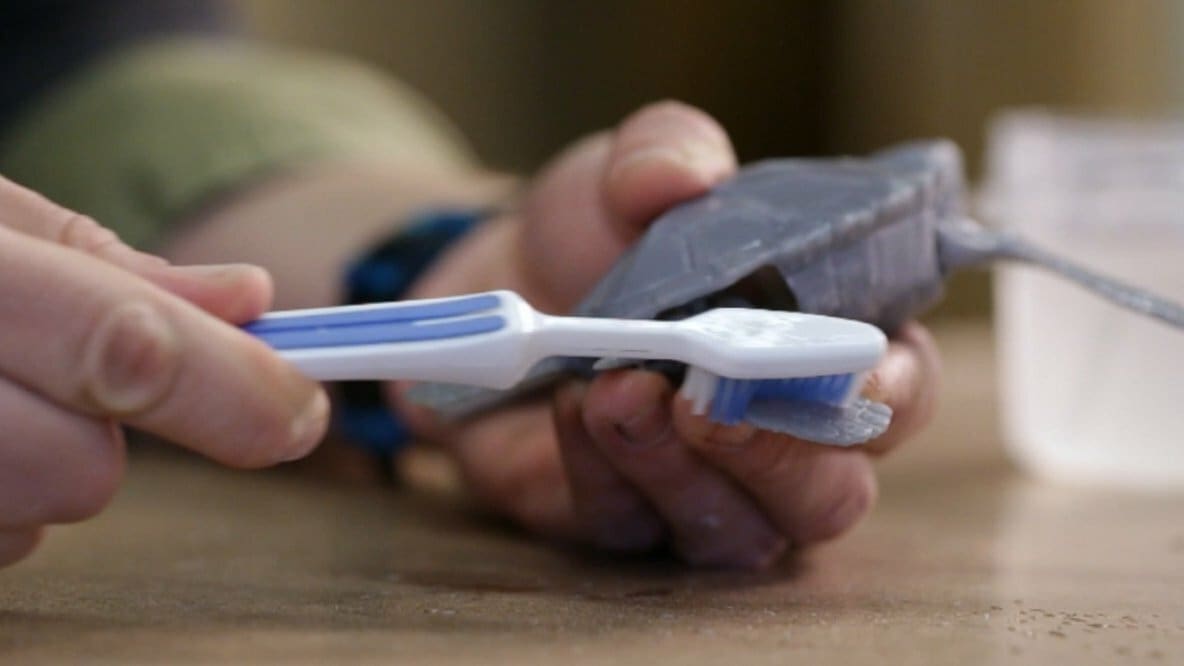
- Ensure that there are no loose bits or debris on either of the surfaces to be joined. Any dust or small fragments will affect the bond of your adhesive and may even weaken the joint.
- Use a small brush (even a toothbrush), although tweezers could also work. For larger bits, you might even be able to remove them by hand.
- The surfaces need to be free from dust so a damp cloth may be a good idea. However, ensure that the part is fully dry before attempting the repair.
Sanding & Filling
You may decide that a better option is to sand the surfaces and then rejoin them. If that’s the case, you’ve got a few options that will do the job.
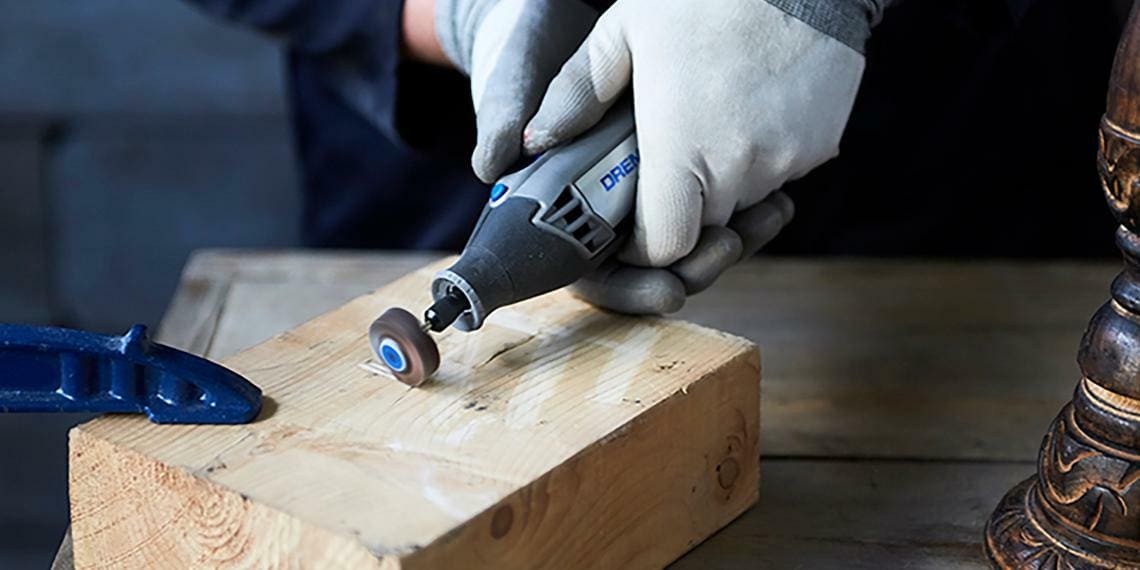
Sanding
First things first, you’ll need even surfaces. Maybe the most straightforward option would be to use either fine sandpaper or a small file. This would obviously depend on the size of the parts, but the materials needed may already be at your workshop or home, or they should be easy (and cheap) to access.
On the other hand, you could use a small electric modeling tool, such as a Dremel, but this may be “overkill” in some circumstances, and you would need to be careful not to overdo it and end with significant openings.
Once you’ve sanded the surfaces, they’ll join but there will be a (small) gap at the joint. In such cases, you’ll need to use an appropriate filler.
Filling
A good option is to take a look at the best 3D print fillers for some ideas on the best choice of filling material. This could be the way to go, specially if you’ve got multiple parts that need to be fixed or you anticipate that similar tasks will come your way.
Alternatively, you can use a 3D pen. This would depend on the filament type you’ve used because a typical 3D pen will only suit PLA or ABS filament. After you’re done, you’ve got a handy tool that you can create new things with or that you can keep to help you solve recurring filling issues. Note that this approach isn’t suitable for resin prints.
Once you’ve filled your broken parts, you’ll need to sand them again to remove excess material.
Having looked at how to prepare your broken parts for repair, now let’s look at how we’re going to carry out the repair.
Repairing FDM Prints
FDM printing uses heated and extruded filament to produce a 3D model made from a series of layers. The strength of the model depends on many factors such as the height of each layer, the thickness of the outer shell, and the infill.
Strength also comes from the type of filament you use, as each will have its own properties based on its chemical composition. The most common filament types used in FDM printing are PLA, ABS, and PETG.
Each of these has different levels of strength and durability, but they can all be susceptible to breakages. They also have specific reactions to different products and techniques, so it’s good to know what you’re working with and what you want to achieve.
PLA
PLA (polylactic acid) is probably the most commonly used filament, certainly among beginners. It’s fairly easy to print with, reasonably priced and post-processing is usually quite simple.
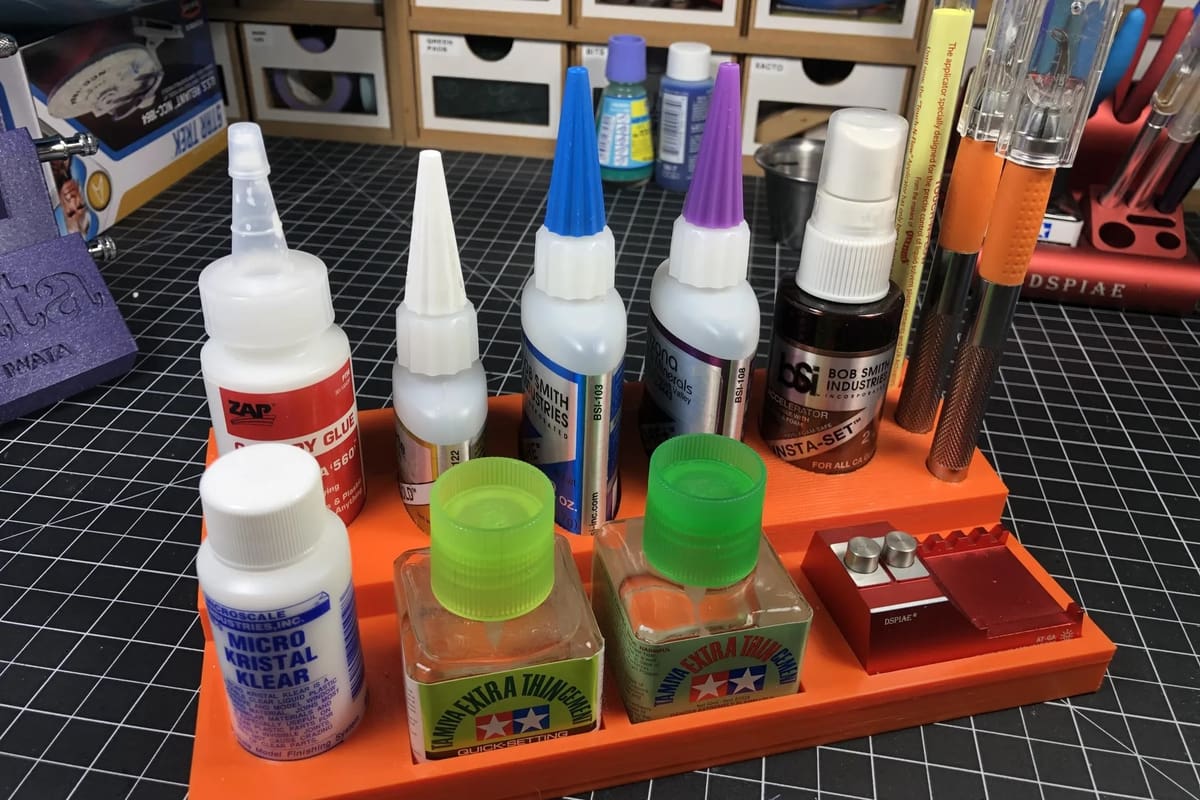
The easiest material to use to join broken parts is probably superglue. There are a multitude of different brand names that produce superglue and they pretty much all work in the same way. After preparing your parts, follow the next two steps:
- Add a small amount of superglue to just one of the surfaces and then carefully place them together.
- Most superglues advise pressing the parts firmly together for between 45-60 seconds to form a bond. This can be done by hand or you may want to use a small clamp or even tape while it sets.
This is a quick and cheap way to mend broken PLA and seems to work well, so it’s a popular choice among the 3D printing community. Other suitable adhesives could be plumber’s cement, epoxy, hot glue, polyurethane, and silicone.
ABS
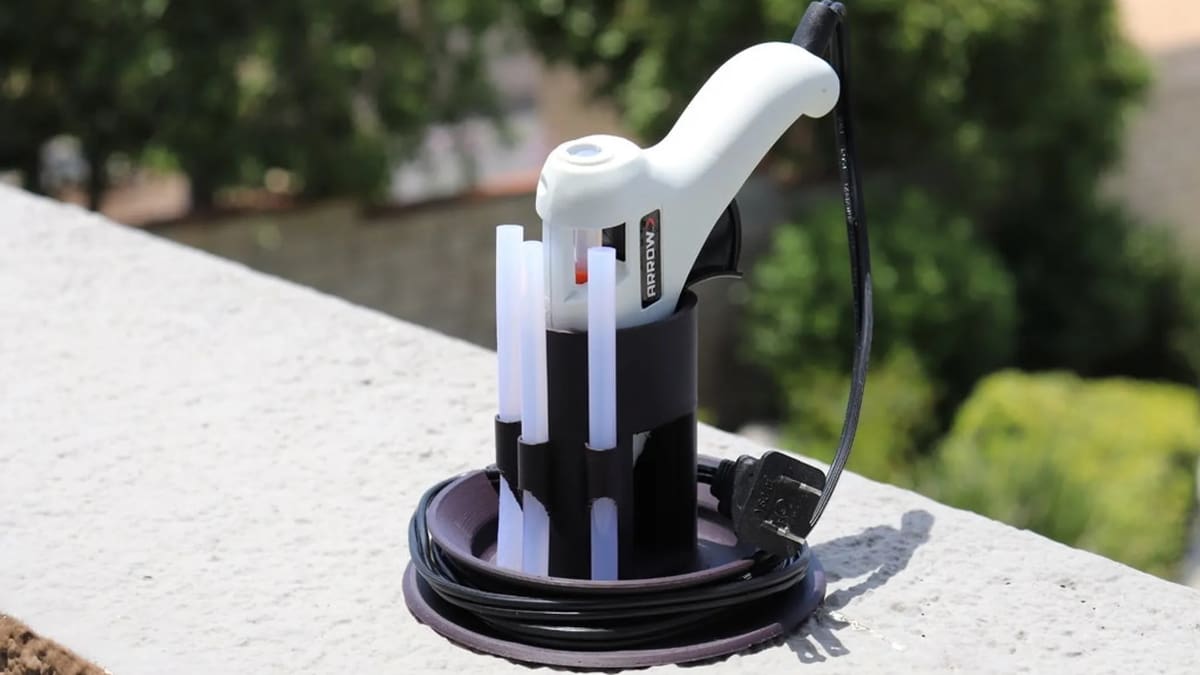
ABS (acrylonitrile butadiene styrene) is another popular choice among a lot of 3D printing hobbyists. It’s slightly more hard-wearing than PLA, which probably means fewer breakages, but may also make repair a bit harder. This time, we’ll look at using a hot glue gun to repair the broken parts following the general preparation.
- Allow your glue gun to reach the appropriate heat before use. Once you’ve done so, you’re ready to bond your broken parts together.
- Add the glue to one of the surfaces and ensure they’re joined before the glue has time to cool.
Now, hot glue will need about 2-3 mm depth to work properly and will be clearly visible once dried. It would therefore be prudent to only use this if you’ve had to sand or remove part of the broken pieces. The resulting bond will be strong and can be sanded to finish.
PETG
PETG (polyethylene terephthalate glycol) is still a popular choice but harder to work with and needs higher working temperatures. It is however durable and generally used for making high-impact parts or those to be used outside. The choice of adhesives for PETG repair is more limited so let’s have a look at using epoxy.
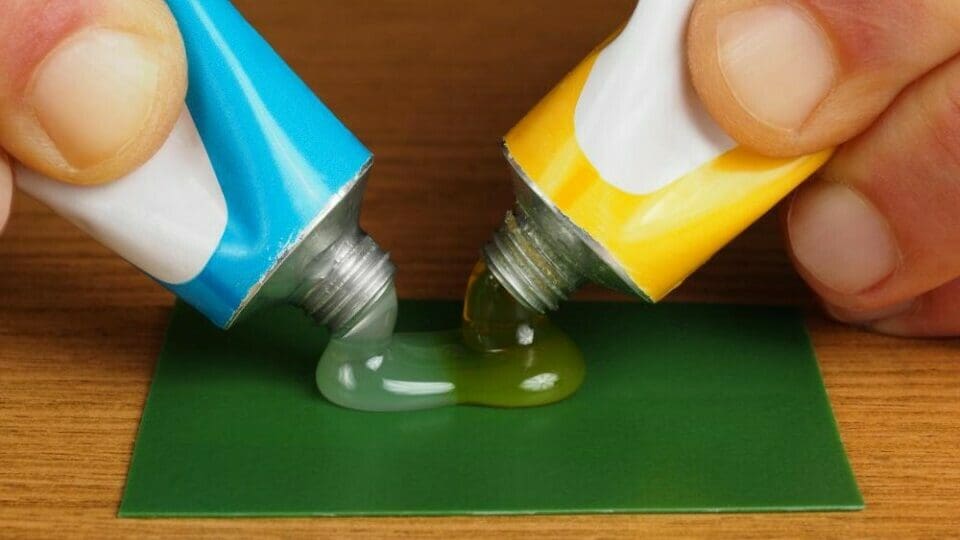
Epoxy is a bit more of a challenge to work with, but it provides a solid bond once dry. It’s most suitable for PETG rather than PLA because once it’s dry, its rigidity may not fit well with PLA’s flexibility. Most epoxy’s come in two parts (epoxy resin and hardener), which need to be mixed in a certain ratio. This will be clearly advised by the manufacturer, but it’s important to get it right.
- Mix the epoxy as per the manufacturer’s instructions.
- Apply the epoxy to both surfaces; this is usually done with a small spreader.
- Bond the pieces together.
- Allow it time to set. This can take anywhere from a few minutes to several hours.
The advantage of using epoxy is its strength, but it can also act as a filler. This is particularly good if you’ve had to sand or remove bits. Epoxy can be sanded when dry using the usual methods. Other suitable adhesives for PETG would be superglue, polyurethane, silicone, and hot glue.
Repairing Resin Prints
Resin printing is ideal for smaller prints and particularly miniatures and detailed models.
The resin itself is pretty durable, but it is usually not very flexible. The curing process, once printing has finished, involves exposing the part to UV light. Over-exposure or even being left in the Sun can result in the resin becoming brittle. This is when breakages with resin prints are most likely to occur.
However, you’ll also find that due to the size of the printed model, small detail parts may also break off due to their fragility. Adding flexible resin to standard resin for printing can make parts more resilient, which might make it a good option to avoid breakages in the first place.
Resin

The process of preparation for gluing is similar to the one for printed filament, although when it comes to sanding, smaller tools may be needed.
The other main difference in repairing broken resin is that you’re limited to certain adhesives. It would technically be possible to use all of the methods and materials we’ve listed, but they might not all be practical.
For example, epoxy, hot glue, and plumber’s cement wouldn’t work due to the excess material added to the model. The best option would probably be superglue, but there’s also a solution that’s particular to resin.
Acetone is a volatile and highly flammable liquid, so caution should be taken when using it. Most commonly sold as paint thinner, acetone acts by dissolving the resin and thereby making it malleable. To fuse two 3D printed resin parts, follow these steps:
- Brush a small amount of acetone onto each surface. The dissolving process is quick, it’s important to join the two pieces as soon as you can.
- The acetone will dissolve the surface of the resin part so joining the two will, in effect, bond them back as one piece of solid material, as opposed to acting as an adhesive. If you get the joining and bonding process right, the joint may even be invisible.
If necessary, the repaired model can be sanded in the usual manner, but again, you may need to use smaller tools than with FDM prints.
Other Considerations
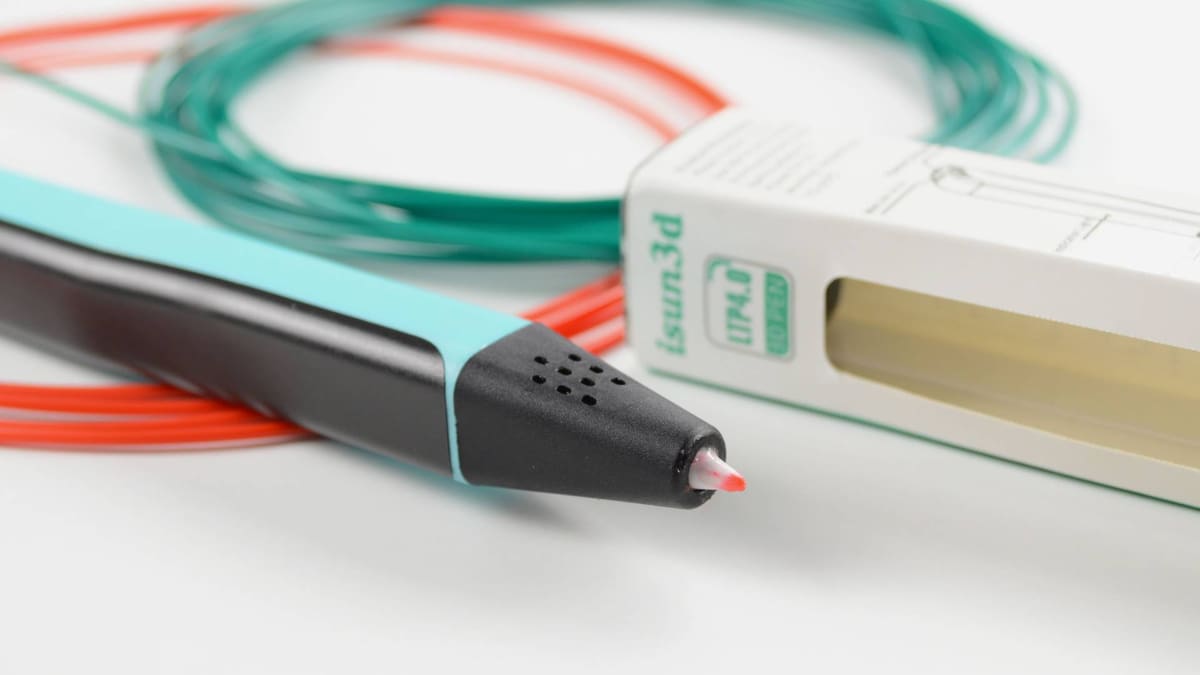
As mentioned previously, a 3D pen can be used to effect repairs to your broken model. This would also act as a filler if necessary and, if you match the colors correctly, could save you sanding and painting.
An alternative to the 3D pen – and maybe a cheaper option – would be to use PLA in a hot glue gun. It may sound crazy, but it’s possible! This will give you similar results to using a 3D pen but at a fraction of the cost.
Of course, when using any adhesive, solvent, or hot electrical equipment, safety should always be your first consideration. Some of the adhesives we’ve mentioned can not only give off powerful odors but may also be harmful to your breathing. It’s therefore important to work in a well-ventilated area and to have all the necessary protective gear.
Also, as we’ve already mentioned, acetone is highly flammable so keep it away from heat sources. Again, ventilation is important here. And hot glue guns are electrical tools and as such should be used with caution. You’re also dealing with a very hot nozzle and liquid glue so take care.
License: The text of "Broken 3D Printed Parts: How to Fix Them" by All3DP is licensed under a Creative Commons Attribution 4.0 International License.