How to 3D Print a QR Code – 3 Simple Steps

Printing QR codes can be very useful for a variety of different purposes. Read on for a start-to-finish guide to 3D print your own QR code!
With the rise of the digital era, QR codes have become increasingly popular in the last decade. An abbreviated form of “quick response codes”, QR codes were invented in 1994 for the automobile industry and have since become a part of many people’s daily lives. But what exactly are they?
QR codes are scannable barcodes that contain shaded markings placed in two directions (X- and Y-axes) to represent a piece of data. This data can be a string of text (like a website URL) or an image, which is used as an input source to generate the QR code. When scanned, the QR code takes devices to that input data, and only that input data, meaning identical QR codes always take users to the same place.
While most QR codes are printed on paper, one idea is to 3D print them. It could be a fun project to show off the capabilities of 3D printing. Of course, 3D printing QR codes can also make life easier, like restaurants giving digital access to menus, hotels giving guests access to Wi-Fi, or even individuals providing proof of vaccination. Just remember that the permanent nature of the information stored in a QR code means it can’t be changed – if you change your Wi-Fi password, for example, you’ll need a new code.
In this article, we’ll take you step-by-step through creating a 3D printed QR code. Let’s get started!

Step 1: Generating the QR Code
The first step to 3D printing a custom QR code is to make the actual code. To do this, you can use an online QR code generator and load your desired input for the scannable code, whether it be a URL, an image, or plain text.
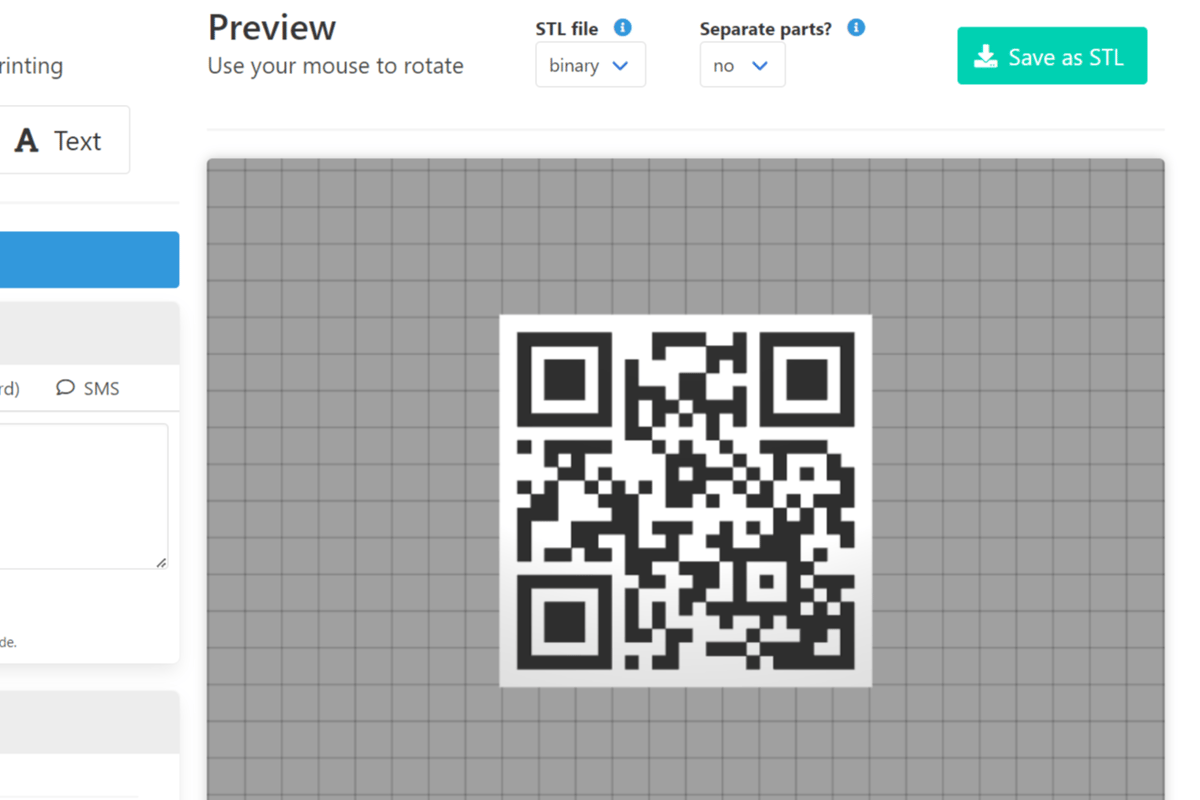
A great (free) online site is qrcode2stl, which can create codes in seconds for a wide variety of different inputs, including text, URLs, emails, contact information, Wi-Fi, and more.
After you insert your input information, you’ll need to fill out the required fields. Then, you can configure your 3D model in the “3D Model Options” section below. It’s possible to adjust the shape, width, depth, and border. In addition, you have the option to add custom text or a keychain hole to the side of the tag.
Once you’ve tweaked your settings, simply select the “Generate 3D Model” button. Your QR code will appear in the preview box on the right-hand side of the page. Once you’re happy with how it looks, you can save it as an STL file by clicking the “Save as STL” button in the upper right corner.
2D to 3D

There are many sites that allow you to generate QR codes but don’t include export options for 3D file formats. Thanks to the availability of free modeling programs, however, you can easily turn the 2D QR codes into 3D models.
Ideally, you would export the code in the Scalable Vector Graphics (SVG) file format. SVG files are best for this process because it’s a vector format that can be enlarged (or shrunk) without losing quality. This makes it ideal for converting to a 3D model.
QR Tiger, for example, exports QR codes to SVG formats. To turn the QR code SVG into a 3D model, you can check out their step-by-step guidance or the Instructables tutorial from danelow.

Step 2: Setting Up for Printing

Now, you’re finally ready to print your QR code 3D model! Before printing any custom model, though, you’ve got to first slice the design to generate G-code instructions for your printer. To do this, import the STL file into your 3D slicer, whether that’s Cura, PrusaSlicer, or another program.
In the slicer, you can set how your 3D model will be printed. For 3D printing an object like a QR code, there are a few settings that will help you achieve the highest quality print.
First, you should make sure that everything on your printer is well calibrated and functioning correctly, including the extruder (E-steps), nozzle, and hot end. This will ensure that your machine is printing at the best quality possible, which is key to printing a QR code with enough precision to be scanned successfully.
Next, consider lowering the print speed. As with printing any text, characters, or signage, it’s best to use a slow print speed to ensure that the lines and shapes are formed accurately. Also, increase the number of walls (or set the infill to 100%) to ensure that the QR code is completely solid. Solid lines should bond better to the backdrop surface and will result in a stronger print overall.
Lastly, if possible, you should activate linear advance in your firmware. If properly tuned, linear advance can improve your printer’s extrusion and allow your machine to print sharper corners. Sharp, precise angles are especially important for printing an object with as many corners as a QR code.
Step 3: Printing & Post-processing
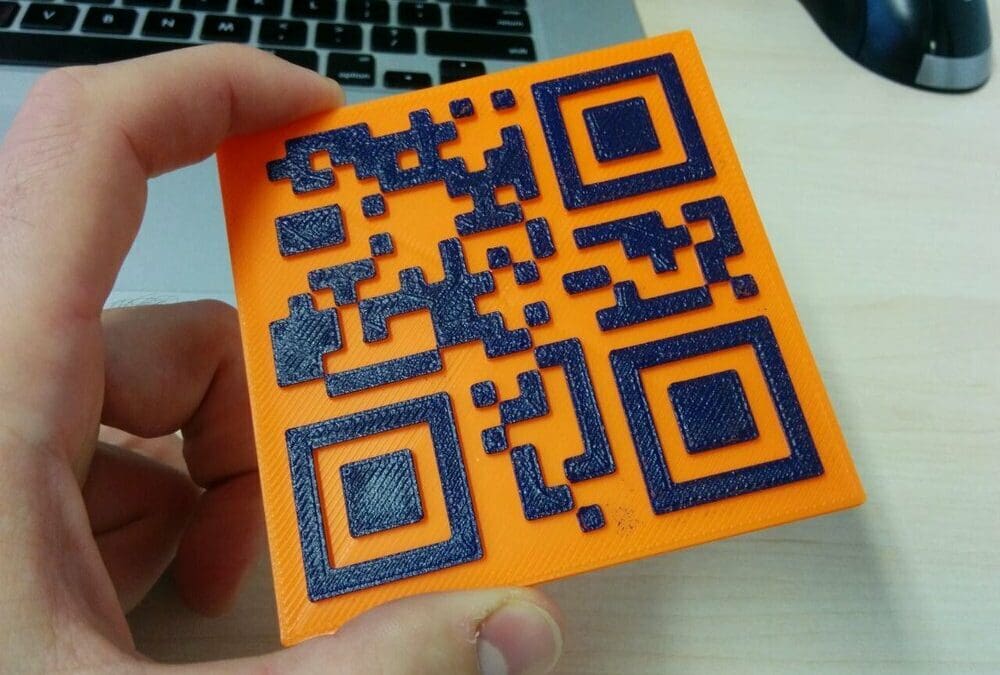
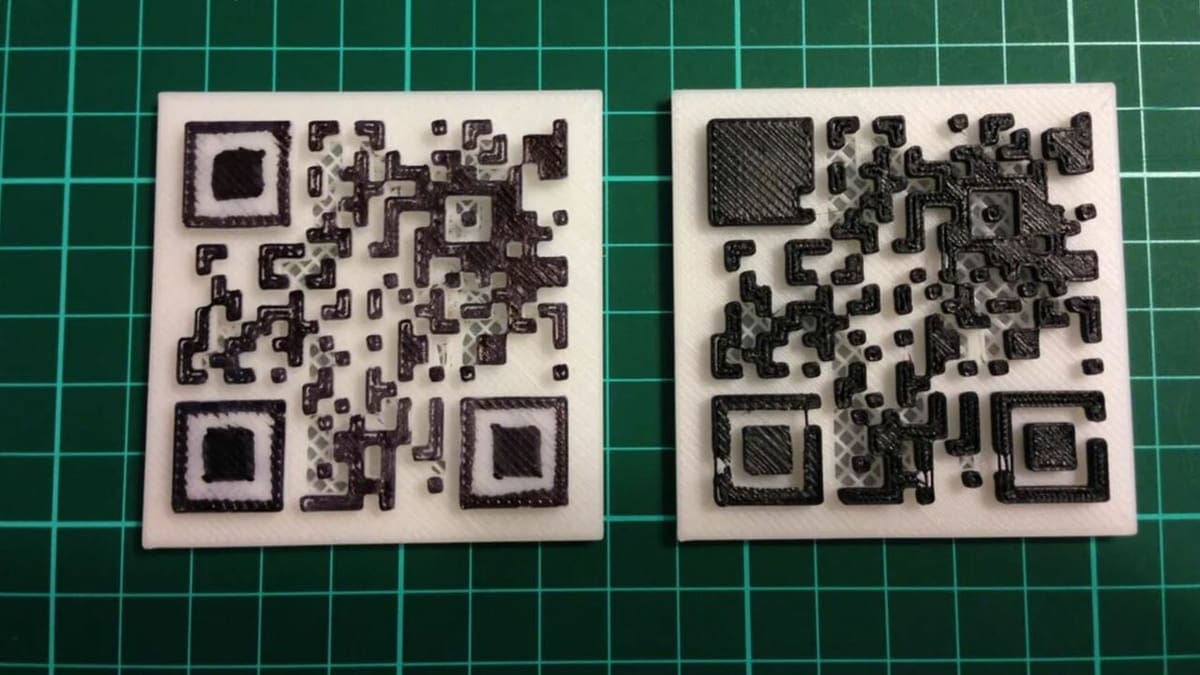
The final step is to print your QR code, and the color(s) you choose are very important. Basically, you’ll need to use contrasting the colors: one for the backdrop and another the QR code itself.
The two colors should provide a strong contrast. It’s also a good idea for the code to be a dark color set on a light background. This will make it easier and faster for devices to scan the code.
Now, this can be achieved in one of two ways: multicolor 3D printing or painting. Below, we’ll discuss both options.
Multicolor 3D Printing
There are a couple of easy ways to achieve two-color QR code prints with multicolor 3D printing. One way to go about it is to print the backdrop of the model in one filament color, then switch your filament to a different color when your printer reaches the layer for the actual code. This pause to change filaments can be set when you’re slicing or already printing.
Another option is to use a dual-extrusion system to achieve a two-color print, whether by using a separate multi-material system like Prusa’s MMU3 or a dual-extrusion printer like the Flashforge Creator Pro 2. Note that, to print your QR code with a dual-extrusion system, the slicing process is different.
Painting
Finally, the simplest and perhaps the most popular method is to color your model by painting. Typically, painting a 3D printed part involves covering the whole outer surface, but this can be challenging given the difficulty of perfectly and uniformly painting between the “lines” of the code.
Using a brush to just paint the top surface is possible, but any paint that touches the backdrop will interfere with the precise shape of the code. Therefore, the safest way to paint your 3D QR code is to use something flat (like a sponge) to evenly coat just the top layer of the print. This should give you even results.
License: The text of "How to 3D Print a QR Code – 3 Simple Steps" by All3DP is licensed under a Creative Commons Attribution 4.0 International License.