3D Paper Modeling: A Hands-On Introduction

You might not think of paper as a suitable medium for constructing 3D models, but it's actually quite potent. Check out this guide on 3D paper modeling to learn more.
Yes, It's Just Paper!
The creation of three-dimensional objects from paper (of various types and qualities) is generally referred to as 3D paper modeling. It describes all the different techniques that are used in order to transform a single sheet of paper into a 3D object. Multiple 3D objects can be combined in order to construct a more complex structure and this process can repeat itself until the final object is made.
A basic differentiation point among the different techniques is whether cuts are used. If not, then we just rely on the correct folding of the paper in order to create an object. This folding-only technique, known as origami, has roots in Japan. If cuts are used, then we may be talking about kirigami, card models, papercraft, or simply paper art. Whichever the name, the basic principle remains the same.
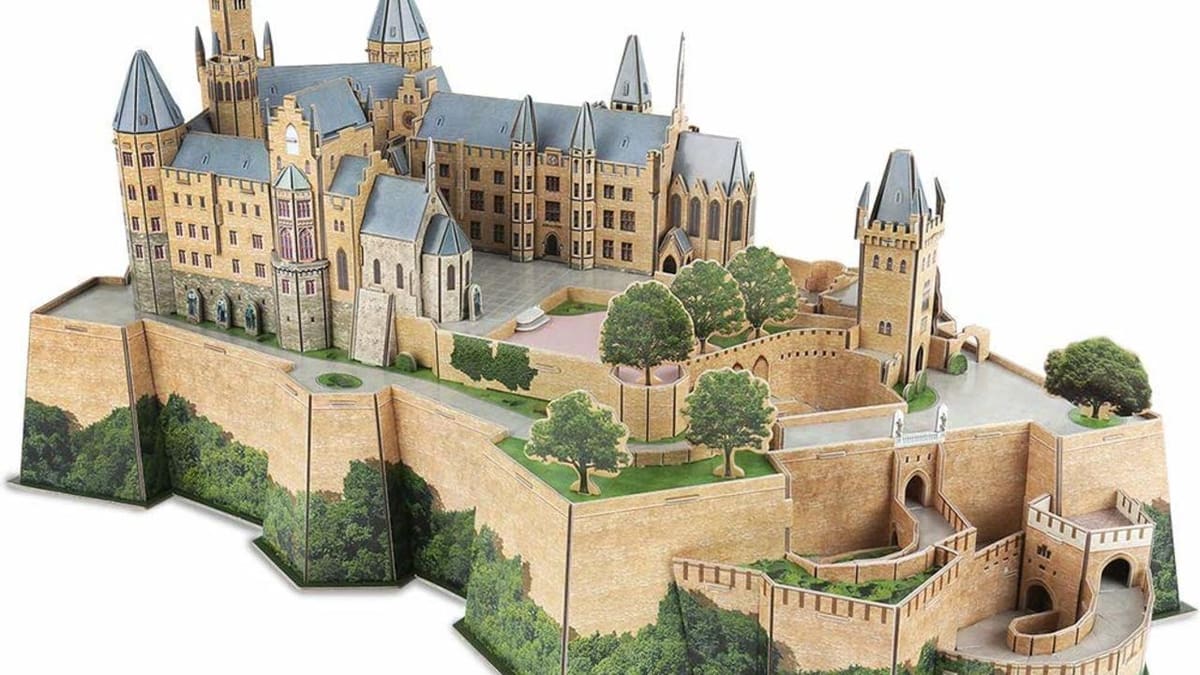
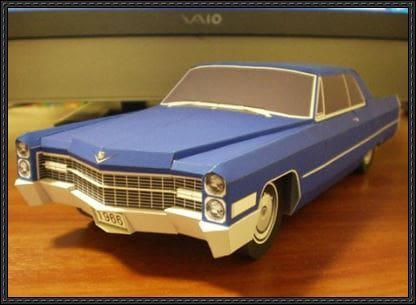
The most popular objects that can be made out of paper include buildings of all sorts, vehicles, castles, and action figures. Its low cost has played a role in its popularity, but paper modeling is by no means a low-quality craft.
Paper Modeling in the Wild
3D paper modeling has a wider range of applications than you might think. It certainly flourishes among certain hobbyists and modelers (e.g. railway modelers, architectural buildings, car model collectors) but it’s also used in education (e.g. physics sets, geography), in gaming of all sorts (e.g. toys, tabletop games) and sometimes in a more professional context (e.g. maquettes, mock-ups). Their application is limited only by the imagination of their creator and some physical limitations of paper (e.g. limited resistance to humidity).
Our Project
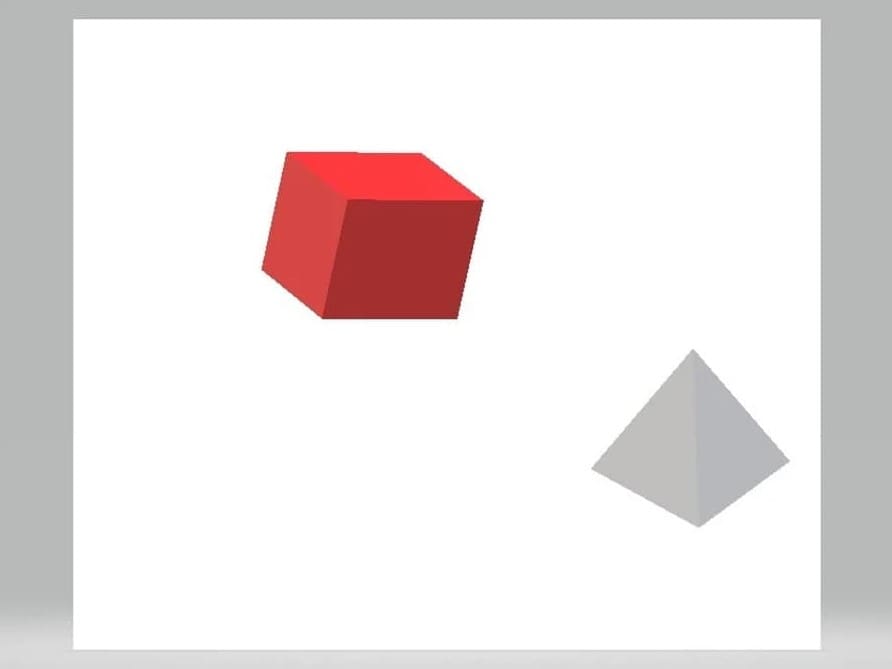
Let’s start diving deeper into the creation process by making our own very simple project. It consists of two objects: a big cube and a pyramid. The objective is to connect them at the end, forming something like a pyramid on a cubic base, a simple and straightforward model to start with.
It’s worth noting that this process of paper modeling bears some resemblance to 3D printing, but certain implementation steps are different. To get a better idea of how these processes compare, check out our detailed 3D printing explainer.
Gathering Materials and Tools
The first step includes two major tasks for us:
- We have to decide how we’re actually going to design the 3D sketch of our object (by hand or using a digital modeling tool).
- We need some basic hand tools that will be used at a later stage.
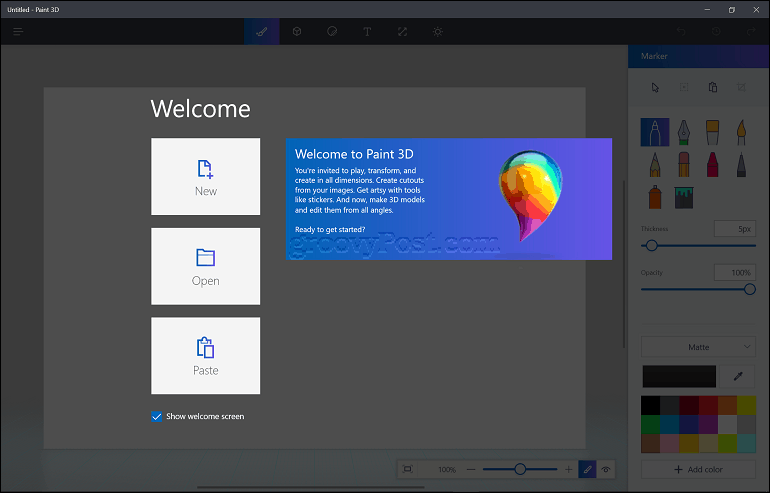
For the first task, it’s easier to choose the second option (use a 3D modeling software). Some people prefer to do everything by hand, but that requires substantial talent, especially if you’re a beginner. We opted to use Paint 3D, a basic 3D modeling program already installed by default on Windows 10.
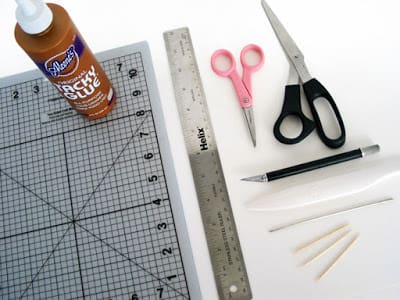
As for the second task: Although there’s no restriction on what we can use (maybe excluding some tools with a flame), the classics include
- a pair of scissors
- a tube of glue suitable for paper
- adhesive tape
- paperclips or other stabilizing materials
Designing the 3D Model
Now, let’s create a 3D model:
- Open up Paint 3D and search for the menu for 3D shapes.
- Select the cube from the expanding menu on the right side and draw one on the canvas.
- Do the same using the pyramid.
- We can change the sizes and the colors of the objects pretty easily. Just make sure that the pyramid is smaller than the cube (in order to easily fit it inside).
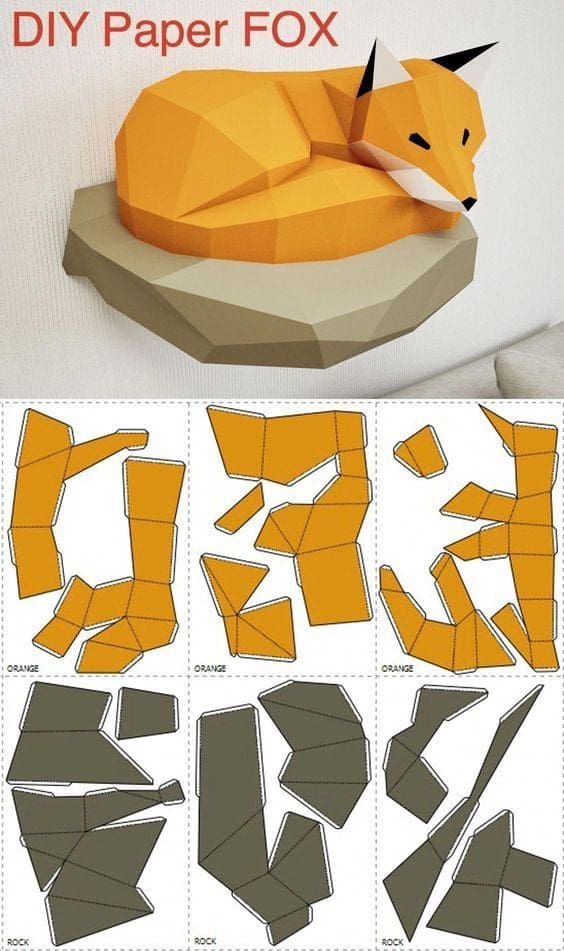
From 3D to 2D
This step is a crucial one because it’s here that the actual 3D model will be “transformed” to a series of 2D interconnected patterns. It’s also a pretty logical step; since paper is two-dimensional, everything has to be stripped of its third dimension.
The objective is to produce 2D designs such that, when they’re assembled together, they’ll produce our original 3D model. Naturally, we should be efficient and tidy during this process.
2D Considerations
When there’s no digital file, everything has to be done manually. The trick here is to not forget the ultra necessary connecting surfaces (flaps) among the main surfaces. Otherwise, our model will face serious construction challenges.
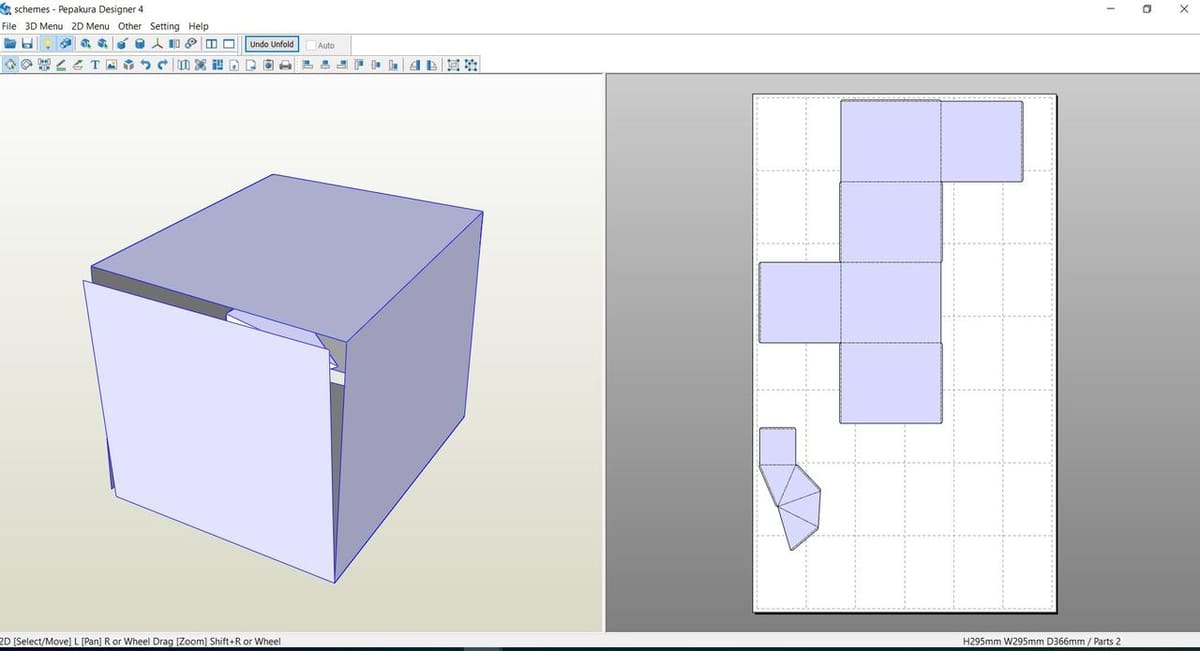
Fortunately for us, the software packages do this tedious and tricky task. Almost all popular software packages can produce the final printable shapes on paper, possibly through the installation of a plug-in. There is also specialized software that can break down a 3D model into its comprising 2D shapes, such as Pepakura Designer (currently at version 4). One tip here is to pay attention to file formats. Although Pepakura accepts several 3D file formats, sometimes a converter has to be used beforehand.
This is the case when using Paint3D to design the model. Since the application exports our project in the FBX format, Pepakura doesn’t recognize it. But, with the help of a special converter from Autodesk (creator of the well-known software AutoCAD), we can transform our file to DXF, which is accepted by Pepakura.
The image above shows what we get for our example project. Pay attention to the flaps that are automatically added by the software in order to be able to glue together all the sides.
Coloring and Printing
Now that we’ve finished the basic design work, it’s time to print the 2D net of our 3D model.
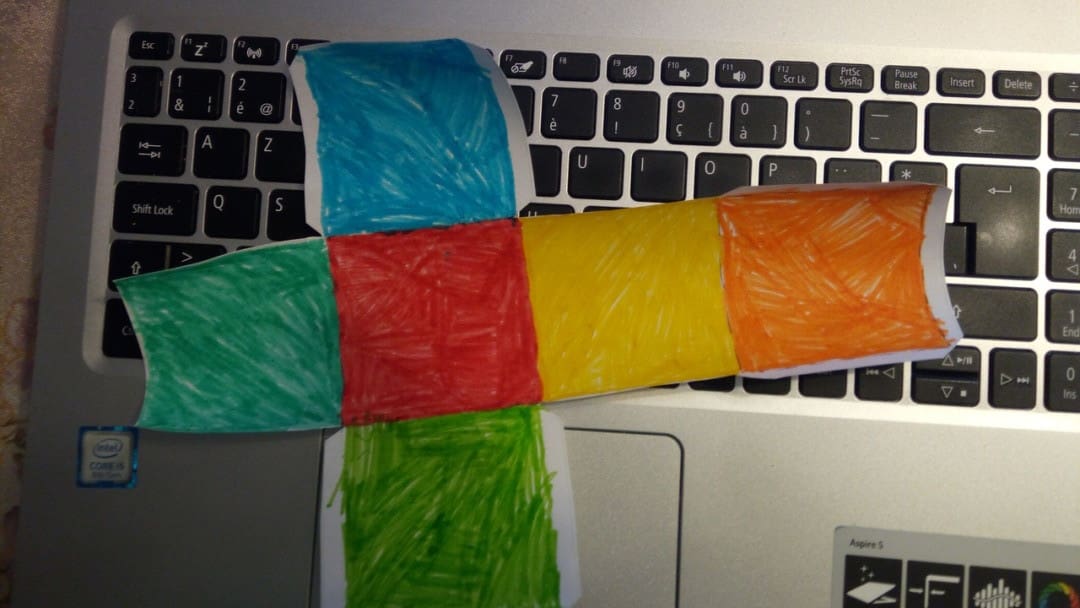
Many hobbyists also choose to apply coloring at this stage because
- it’s easier
- it allows for greater flexibility
- it’s easier to spot anomalies on patterns or parts
The coloring can be applied either before or after printing out the parts. In the first case, we have to use a software package to apply all the colors, and in the second case, we can use traditional painting techniques. Various techniques for coloring that can be used here depend on the type of paper used as well as the final effect that we want to give to our model.
It’s also considered best practice to apply numbering to the parts. These numbers will be used at later stages of assembly and make the reference to each part much easier. Once we’ve decided upon these details, we have to ensure that our printer is properly set up and then proceed with printing the sheets.
For our little project here, there’s no need to apply any numbering because our shapes are pretty basic and straightforward. As for the coloring part, we’ll opt for the manual method. Why not use some typical watercolor markers?
Cutting and Preparing
In this step, all parts and their associated connection surfaces are cut out. After checking for any issues, it’s time to fold everything along the designated edges.
Usually, folding edges are marked by dotted or dashed lines – although, this is not a universal rule – and the folded surface usually has to be perpendicular to the main surface. If the numbers of the surfaces are not included on the actual surface, make sure to find a way to keep the association between the surfaces and their numbers, especially for multi-part objects. A good way to do this is to use a pencil to write the number of each part from the inside.
Assembly
Now it’s time to use your folding skills to put this model together.
As with every assembly task, there’s a sequence of steps to follow in order to create an object from various parts. This sequence (the instructions) should guide us from the simpler to the more complex structures. When in doubt, one can rely on intuition or experimentation. This is where the numbering of each side will prove very useful because, in essence, we have to follow this sequence to get things right.
It’s highly advisable to not apply glue directly on pieces even if we feel that everything looks correct. It’s never a bad idea to take some time and do a draft assembly of the pieces (using tape or paperclips) which may save us a huge amount of time since it’s the last check to make sure everything fits together correctly.
After we’re confident that all parts are correctly cut, it’s time to commence assembly. Be careful when applying the glue; normally a single drop is enough, and the secret here is to spread it evenly on the gluing surface.
Finishing
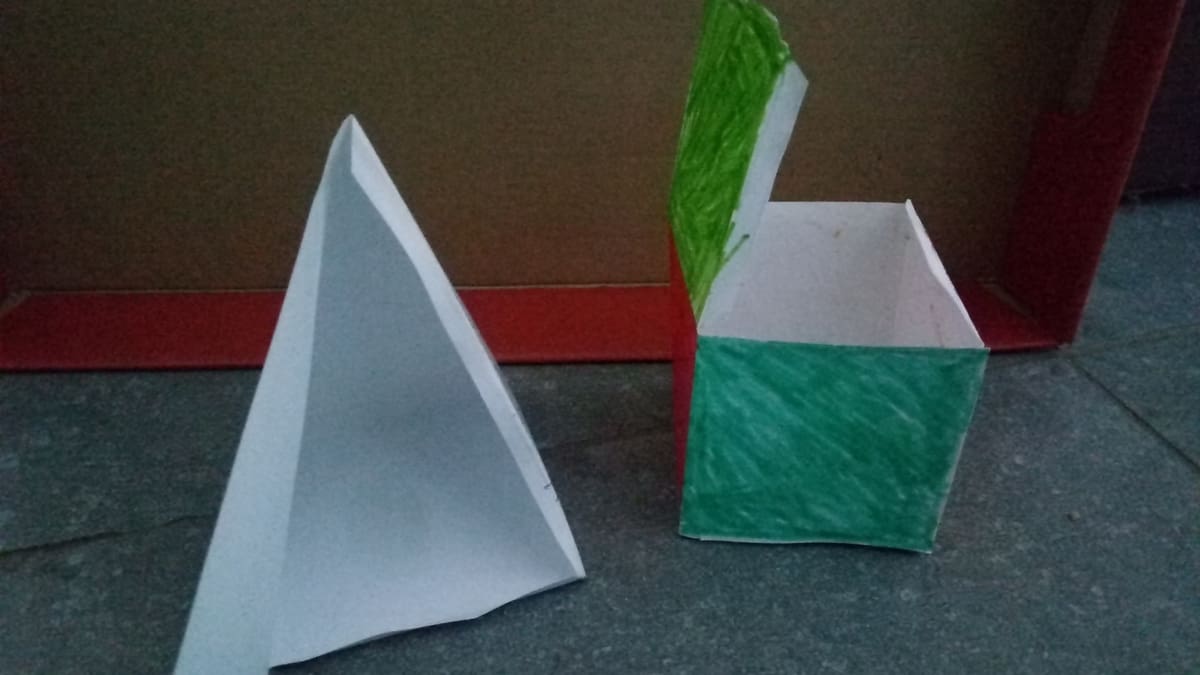
Your object may look great straight away, but sometimes it doesn’t hurt to do some final checks:
- Check all edges for glue spill-overs
- Check whether corners are correctly formed
- Check if any surface isn’t staying flat (usually a sign of a wrongly-designed or wrongly-glued part)
- Check whether the parts that have limited support are correctly supported by their adjacent piece
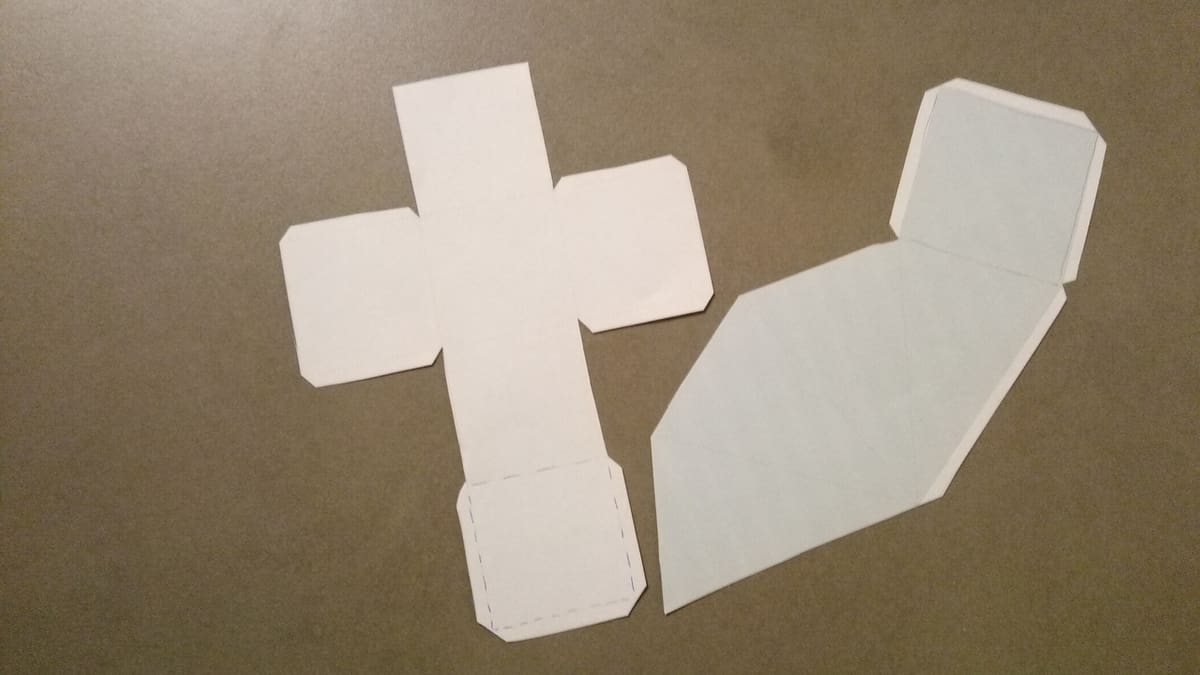
As an example, take a look at the image above. You may notice a couple of problems:
- Although our coloring was successful, we found a small problem with one edge of the cube (it bends inwards).
- The flap of one side of the pyramid isn’t matching correctly with its corresponding edge.
In our case, both of these problems were easily fixed. The glue was still fresh, so micro-corrections were possible. In the end, we got a pyramid on a cube base, which is exactly what we wanted from the very beginning!
(Lead image source: amazon.com)