Principles of 3D Scanning
First, let’s make sure we know what 3D scanning is.
3D scanning refers to the process of analyzing a real-world object or environment to collect data on its shape and appearance, to later be turned into a digital 3D model. This can be a physical object, something in nature, a person, or even your sweet little baby.
There are two main methods for taking a 3D baby scan: photogrammetry and 3D scanning. The scan is then converted into a 3D model to do with as you please. You can do this with an all-in-one 3D scanner app on your smartphone, or by taking a scan and uploading it to a computer for further processing.
Because the process of taking a 3D scan doesn’t vary too much, we direct you to our article on 3D Scanning, 3D Modeling and 3D Printing a Human Head for an in-depth overview of each of these aspects.
Here, we walk you through each basic step and option to find what’s best for you and your wee one.
Photogrammetry
Things You Will Need
For this, any camera will do, whether it’s a GoPro, DSLR, or the built-in camera in a smartphone. As long as you can transfer the photos to a PC (the second thing you’ll need), you’re good to go. The PC is necessary to stitch the photos together.
With that said, the second and last thing you will need is photogrammetry software. This is where the magic occurs, with all of those still shots blending together into a 3D model.
How to Scan a Baby Using Photogrammetry
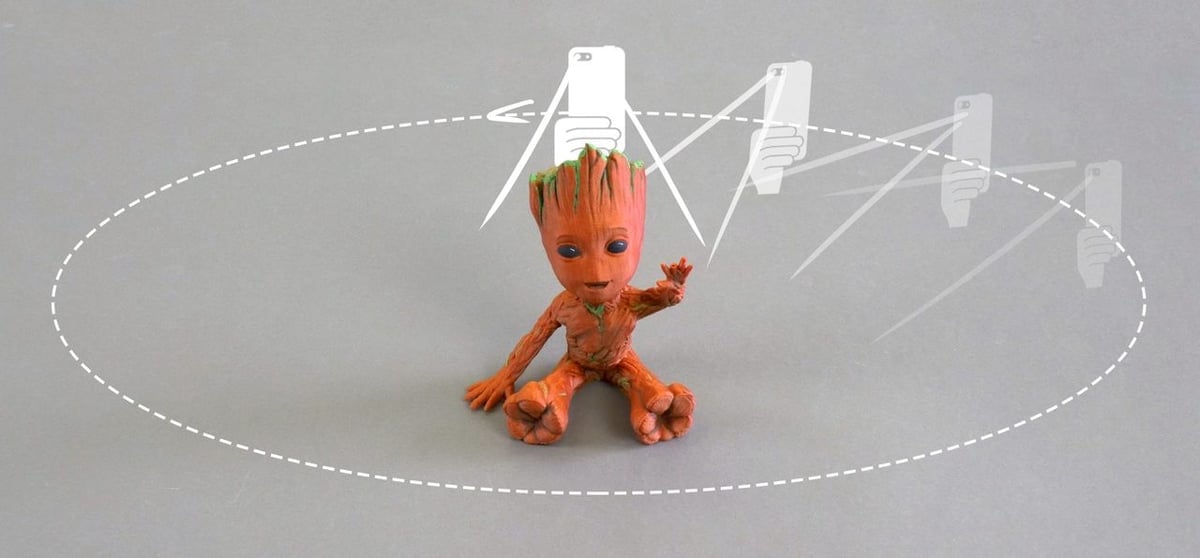
Scanning with photogrammetry is very simple. You know when you go to take a picture and you take 15 of the same thing? Later you have to weed through and delete some, but in reality, they’re all the same? It’s basically the same process, except you want each to be slightly different. You do this by snapping away by slowly orbiting what you’re scanning, in this case, your baby.
It’s important to make sure your baby remains still, otherwise, the scan might not work at all. The best way to achieve this is while the baby is asleep. However, you can also try while they’re sitting still watching TV or anything else to grab their attention and be calm.
An alternative option is to hold the baby. With this option, it’s important to note that the person holding the baby will also be in the scan and must remain still, as well.
Take photos around the baby at about 1 foot away. Be sure to take from all angles, getting closer if necessary to capture more detail, especially around the face. Keep taking photos until you have around 30-50 (the more the better). Then it’s time to transfer them to the photogrammetry software for processing.
3D Scanning
Things You Will Need
For this you will need a 3D scanner. There are four ways you can go about getting one:
Of course, each of these works slightly differently and varies in quality of the produced 3D model. It’s no surprise a more expensive commercial grade scanner will produce a better result than a free app on your smartphone. However, don’t discount the economic alternatives, especially if you’re new to 3D scanning. Your phone might be more powerful than you think.
How to Scan a Baby with a 3D Scanner
The procedure is very similar to the one for photogrammetry.
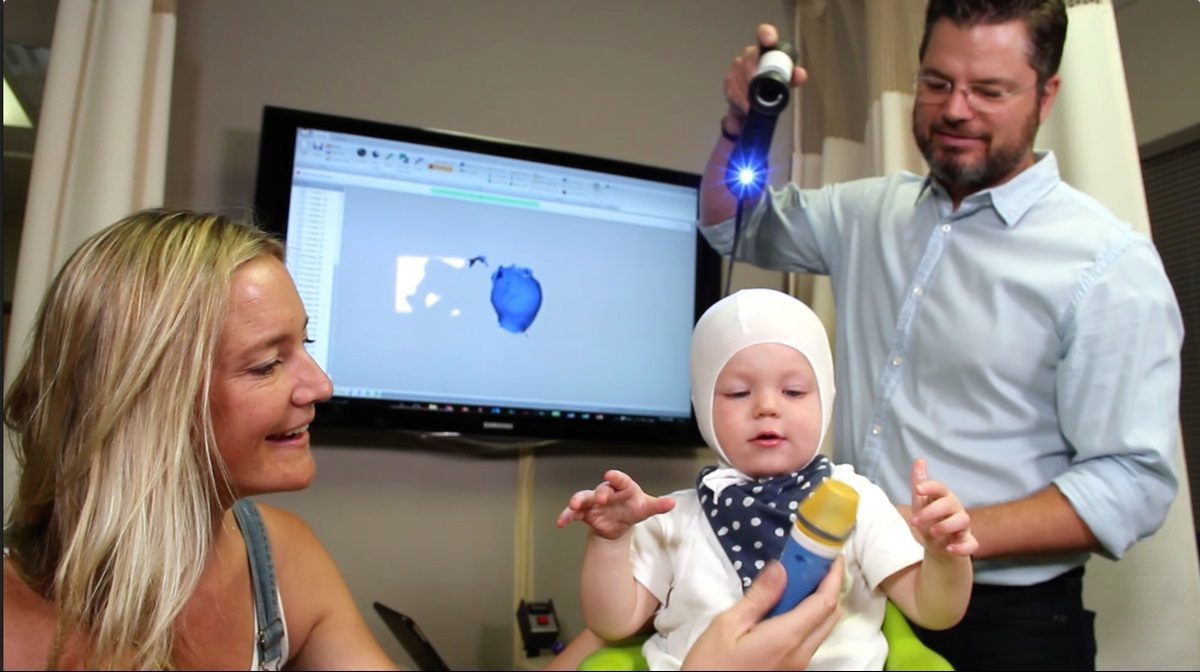
Make sure your baby stays still the whole time, either while sleeping or focused on something. You will also want to make sure there is good lighting from all angles and the baby can be seen properly.
Move the scanner around the baby at about 1-1.5 ft away. Move slowly, getting closer to some areas, like the face, to make sure the scan will be as accurate as possible.
After a few minutes of scanning (exact time depends on your scanner), stop the scan and viola! Your image is finished. In some caes, you’ll know when to stop the scan based on the visual feedback from the scanner. Most show the details as they are being scanned so you can see which areas have or haven’t been captured.
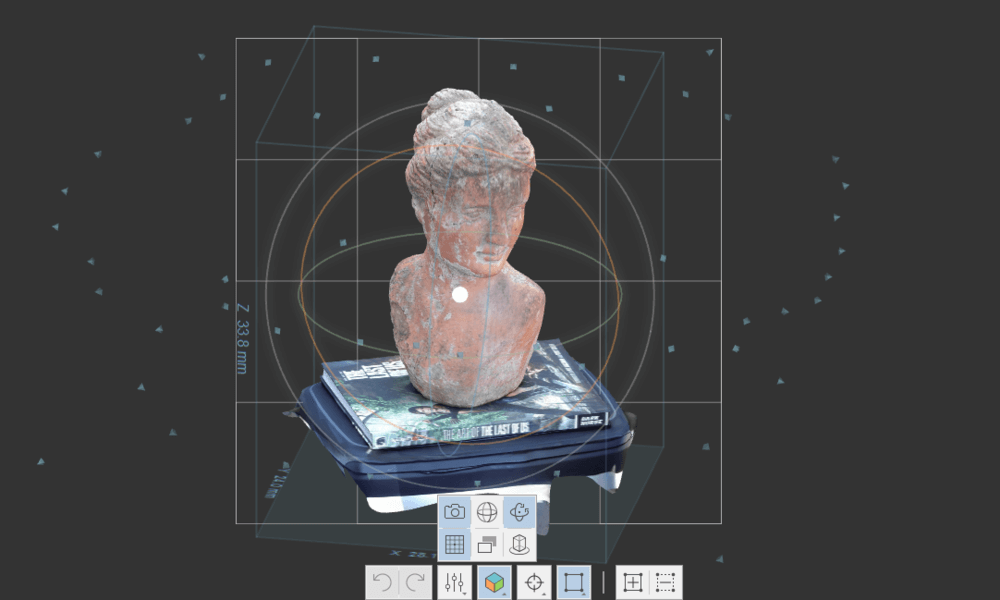
Turning the 3D Baby Scan into a 3D Model
Photogrammetry
Those of you who decided to use photogrammetry will have slightly more work to do. Remember needing software to turn your photos into a 3D model?
Now it’s time to transfer all the photos to the program of your choice. You do this by first importing the photos to your computer and then copying them into the program.
Most of the programs will have an easy step-by-step procedure which only requires a few clicks to complete the process. So, no fear here, as there is no need for you to be an expert on using these programs.
3D Scanning
Here you have an advantage over photogrammetry, as once you’ve finished scanning the baby, the 3D model is already built.
Exporting the 3D Baby Scan
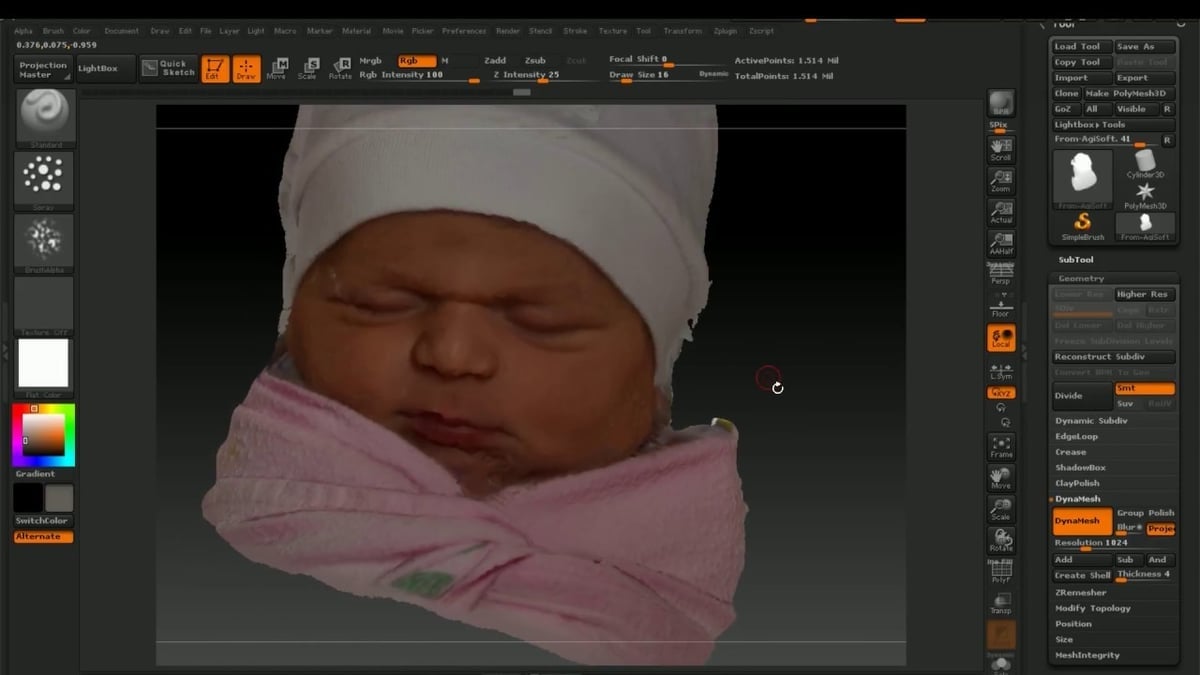
Regardless of which method you used, you may want to do some post-scan editing. For photogrammetry, this can be done in the program you used to stitch the files together. If you used a 3D scanner, there might be accompanying software for the specific one you chose. Otherwise, we recommend using a 3D modeling program. You can import your 3D model and use a variety of tools to make sure your 3D baby scan is just as perfect as the baby itself.
The last step for both Photogrammetry and 3D scanning will be exporting the 3D baby model. Somewhere in the program interface, you will have an option to export the model. The format you choose will depend on what you plan to do with it:
Bringing Your Scan to Life
At this stage, some of you might be wondering what to do with the 3D baby scan. Here are a few ideas:
- Digital model: Use a program like Blender to create an entire digital 3D environment.
- Picture frame: Hang a 3D print in a frame on the wall.
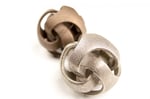
- Jewelry: 3D print a miniature of your baby (or even just your baby’s head) as a personalized charm
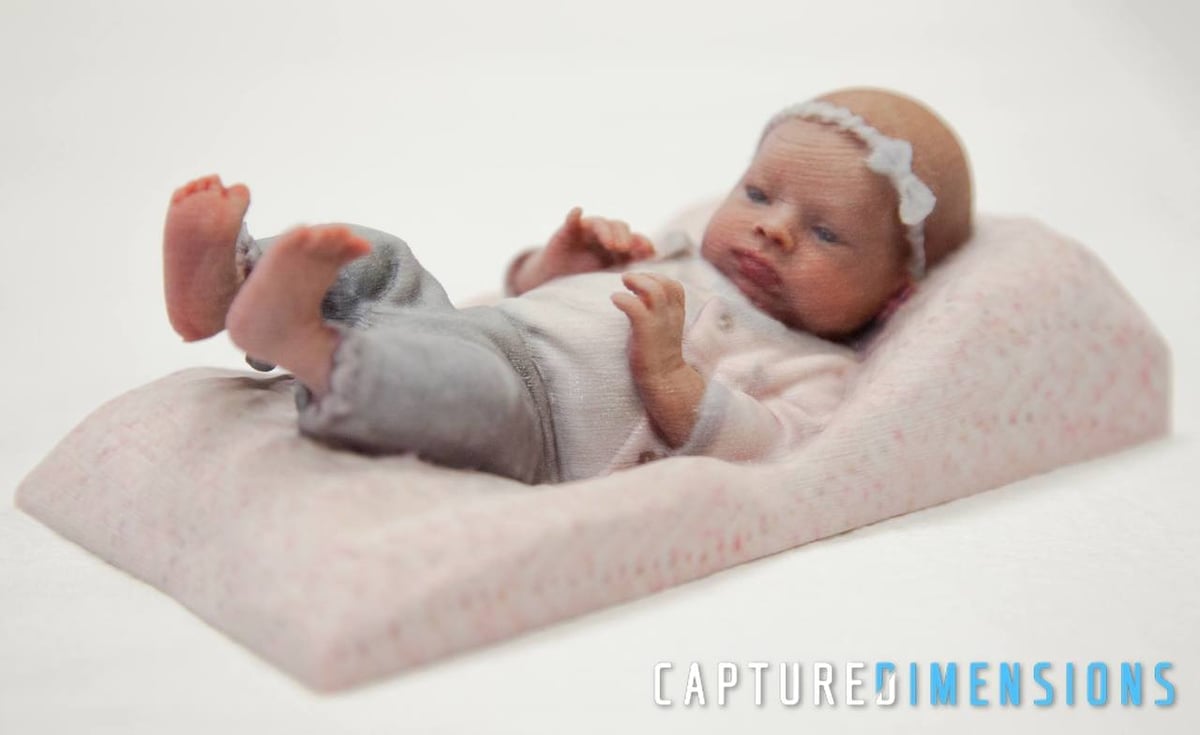
- Baby doll: 3D print a life-size model for a personalized baby doll. This could be great for older siblings who can’t wait to play with their newest brother or sister.
- “Mommy and me”: 3D print a figurine of mom or dad holding their baby.
- Gifts: 3D print mantelpieces, jewelry charms, baby dolls, and more to give to all those who fawn over your baby.
Want to pursue one of these ideas, but either don’t have a 3D printer or want to print in a different material? Check out Craftcloud, All3DP’s 3D printing and price comparison service. We provide real-time prices from a wide variety of professional services, including Shapeways, i.Materialise, and Sculpteo.
Order high-quality, custom 3D parts online at the best prices possible with Craftcloud by All3DP
Feature image source: Captured Dimensions
CERTAIN CONTENT THAT APPEARS ON THIS SITE COMES FROM AMAZON. THIS CONTENT IS PROVIDED ‘AS IS’ AND IS SUBJECT TO CHANGE OR REMOVAL AT ANY TIME.