At one point or another, we’ve all had prints fail or prints that we couldn’t attend to all the time. This simple monitoring problem can be solved by the amazing, free, and open-source software OctoPrint.
OctoPrint is a Raspberry Pi-based 3D printer application that lets you control your 3D printer remotely. Created by Gina Häußge in 2012, the software has been continuously improving, with new versions and new features (via plug-ins) coming out regularly.
Here, we’ll be highlighting the top 10 reasons to use OctoPrint. Some of the reasons we’ve found aren’t featured on the basic OctoPrint setup but are rather plug-ins. Given how easy they are to install, how popular they are with users, and that they’re free, it’s no surprise that they’ve made it to the top. By the end of our list, we’re sure you’ll be convinced to give OctoPrint a try if you aren’t a regular user already.
Wireless Printing
Many budget 3D printers lack the capability to be controlled or monitored wirelessly. Sliced models must be either loaded onto an SD card, USB drive, or transferred via a cable. These connection options have their limitations and can easily cause frustration. OctoPrint provides a great solution to this.
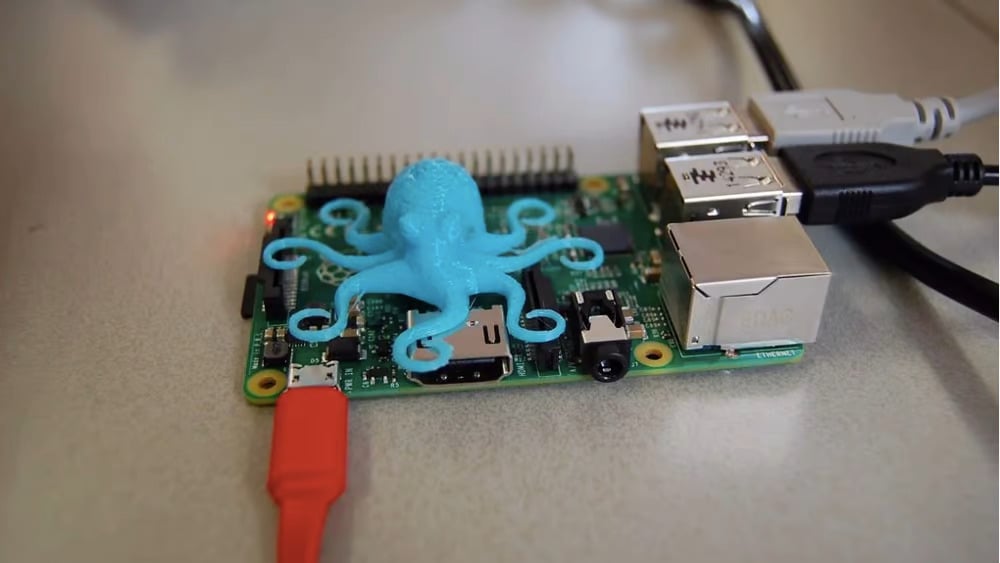
As we briefly mentioned before, OctoPrint provides software that’s installed on a Raspberry Pi, which is then connected to the 3D printer. Due to the wireless capabilities provided by the Raspberry Pi, you can wirelessly control the 3D printer over the local network.
It cannot be understated how freeing this advantage is. No longer will you have to go from computer to printer with a storage device. Start a print from the couch and monitor it while you cook dinner – all without actually going to the printer.
OctoPrint allows you to remotely send G-code, control the temperatures of the extruder and hot end, monitor the progress of ongoing prints, and much more. With OctoPrint’s wireless printing capabilities, you can always be in control over your 3D printer, even when you’re not physically present.
Print From Anywhere
As you know, wireless printing is great when you’re at home and on the same network. But what if you’re out of the house and want to start a print so that it’s finished when you get home? Or what if you want to monitor the progress of your prints when you’re away?
OctoPrint has several options for you to control (start and stop) as well as monitor your prints from literally anywhere.
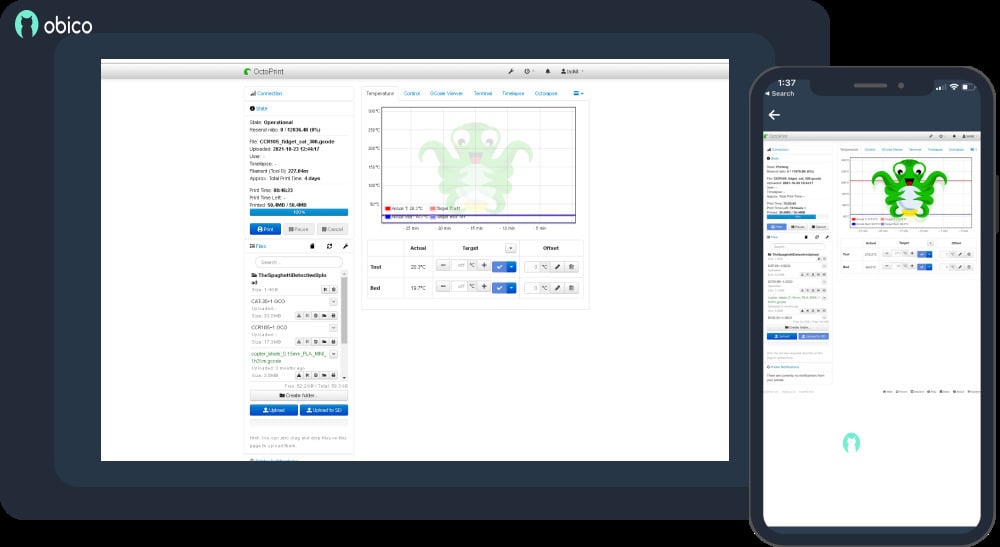
One of the most popular remote monitoring options, The Spaghetti Detective, was recently retired and replaced with Obico for OctoPrint. Obico builds on the success of its predecessor and provides users with unlimited live webcam streaming, AI-powered failure detection, full OctoPrint remote access, printer status notifications, as well as a free companion mobile app for iOS and Android.
As with many OctoPrint plug-ins, you have more than one flavor to choose from. Printwatch will use machine learning to continuously monitor your prints and stop errors before they get out of hand. User-controlled options include sending email or SMS notifications, pausing or stopping the print, turning off extruder heat, and there are also customizable actions that can be set by the user. For more details on Printwatch check out our full review.
OctoEverywhere is another offering that grants full control of your printer remotely. OctoEverywhere boasts good support, full framerate webcam streaming, print status live streaming, printer notifications, and many more features. Visit their website for additional details.
G-code Viewer
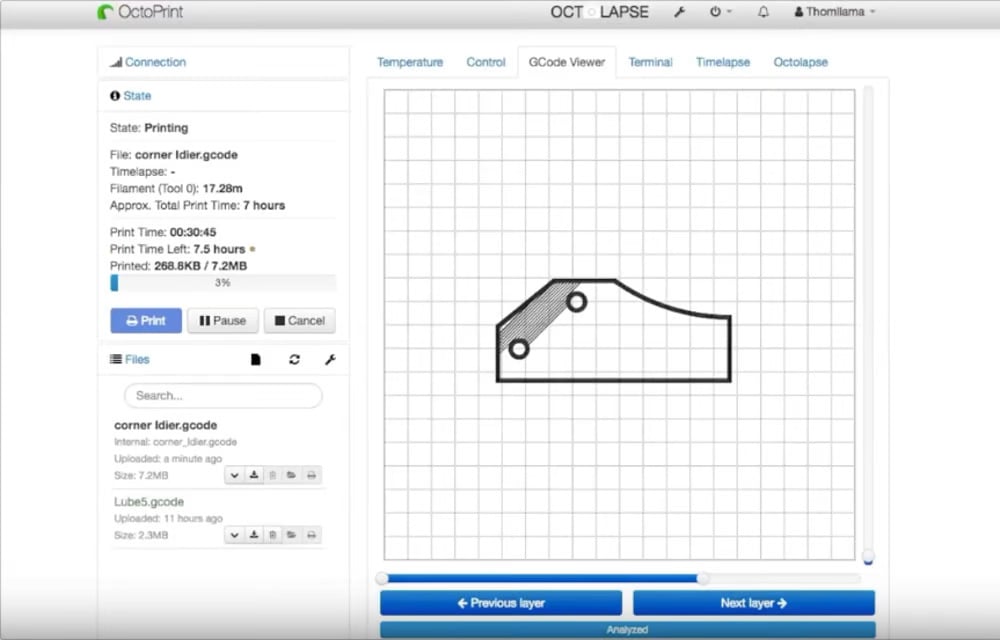
Typically users who run OctoPrint monitor the progress of their print via a webcam attached to their Raspberry Pi. However, if you don’t have a webcam or just want another way to check on your print, the built-in G-code viewer can keep you updated with your print’s current status.
This underrated feature of OctoPrint shows the real-time nozzle position and the layer number. You can also find your print’s status in the window just below the visualizer, which shows the current G-code commands being sent to the printer.
If that view is too bland for you, consider trying out PrettyGCode. This plug-in adds an animated color 3D G-code visualizer tab in Octoprint. It syncs to the print job giving you a stunning look into the printing process. You can even customize the UI via CSS.
Terminal Commands
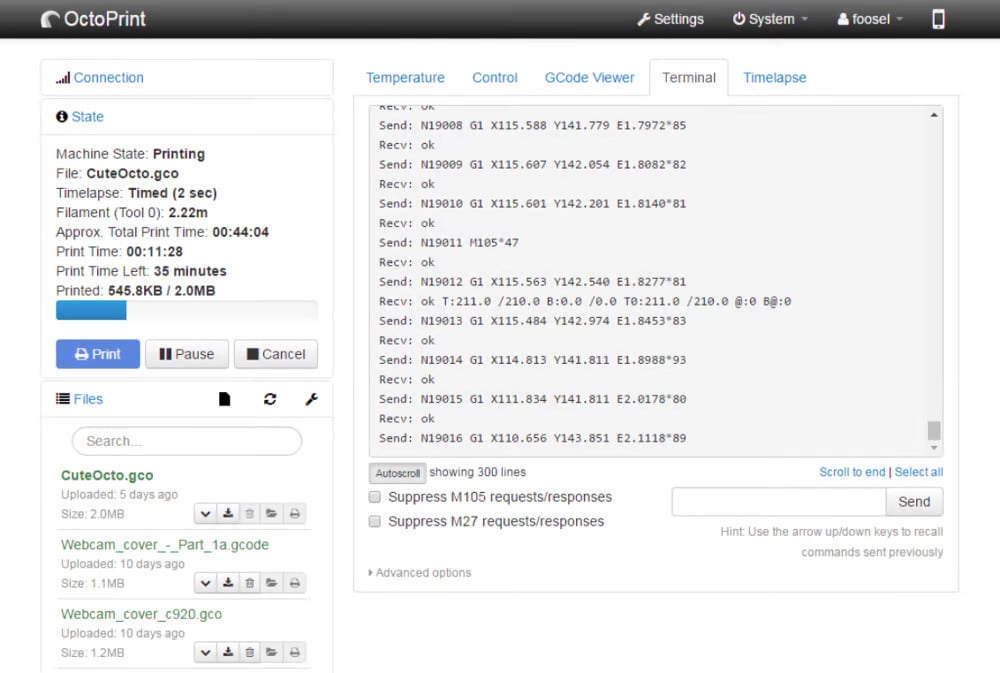
The terminal command function is a great feature for the more advanced users out there. It lets you view the codes that are being sent to the 3D printer in real time. This includes temperature messages, SD card messages, and 3D printer command functions, all of which are visible here.
The most important use, however, is when you need to send custom G-code commands to your 3D printer. Instead of relying on another program to communicate with your printer, such as Pronterface, you can directly send commands within OctoPrint’s terminal.
This can come in handy in a number of scenarios. If you have to calibrate your 3D printer, you can view the existing system presets in the terminal command. Some commands will also let you input and store new calibrated values. For anyone who likes to tinker with their machine, this is a handy feature to have.
Time-Lapse & Octolapse
We’re all aware that 3D printing is a lengthy process and a model can take hours (or days) to print. Setting up a time-lapse video enables you to view the entire hours-long printing process in a matter of seconds.
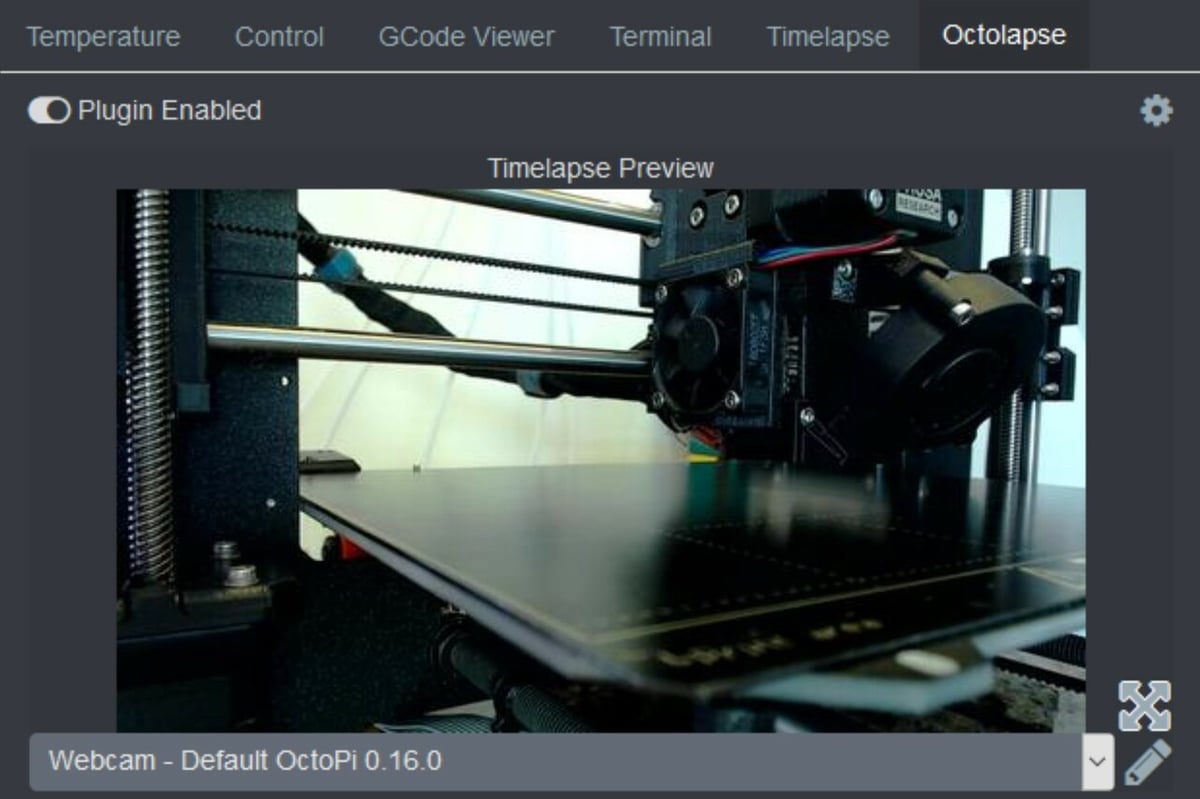
Using OctoPrint and a camera attached to your Raspberry Pi, you can capture a time-lapse video of your 3D prints by setting the frame rate and snapshot interval. This is part of OctoPrint’s built-in functionality. For real enthusiasts, there are also more advanced setting options.
Time-lapse videos take up a fraction of the space that filming in real-time would (and are much more fun to watch). OctoPrint stores the time-lapse locally on the Raspberry Pi and you can even download it on your computer. Another helpful benefit of a time-lapse video is being able to identify the exact cause of a print failure or at least the point at which the failure occurred.
Octolapse is a plug-in that builds upon the functionality of the time-lapse section in OctoPrint by creating cleaner, sharper videos. If you’re interested in optimizing your time-lapse videos, check out the best settings for Octolapse. When you get the settings right, you can get some buttery smooth videos of your creations.
Cloud Slicing
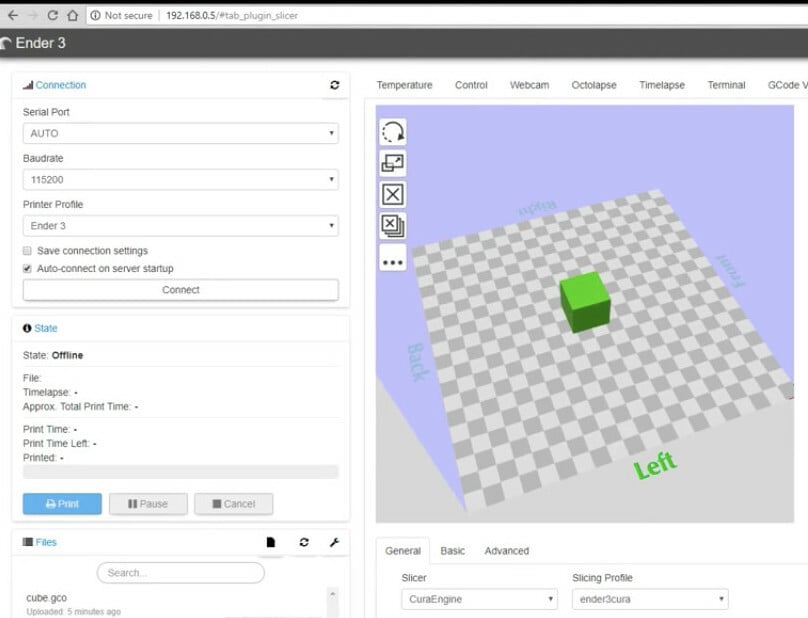
Cloud slicing, as the name indicates, is a remote slicing feature that enables you to slice your 3D models without actually installing slicing software on your computer. The slicing of the model is done with a plug-in installed on the Raspberry Pi.
Consider a scenario where your laptop is full of applications and you can’t install a new slicer. Or imagine you don’t want to install slicing software on each computer you’re using. This is where the cloud-slicing plug-in is ideal. The feature utilizes either the Cura or Slic3r plug-in.
If you’re curious or just want a bit of help with this, you can check out this video from Teaching Tech about how to install slicer plug-ins:
TouchUI
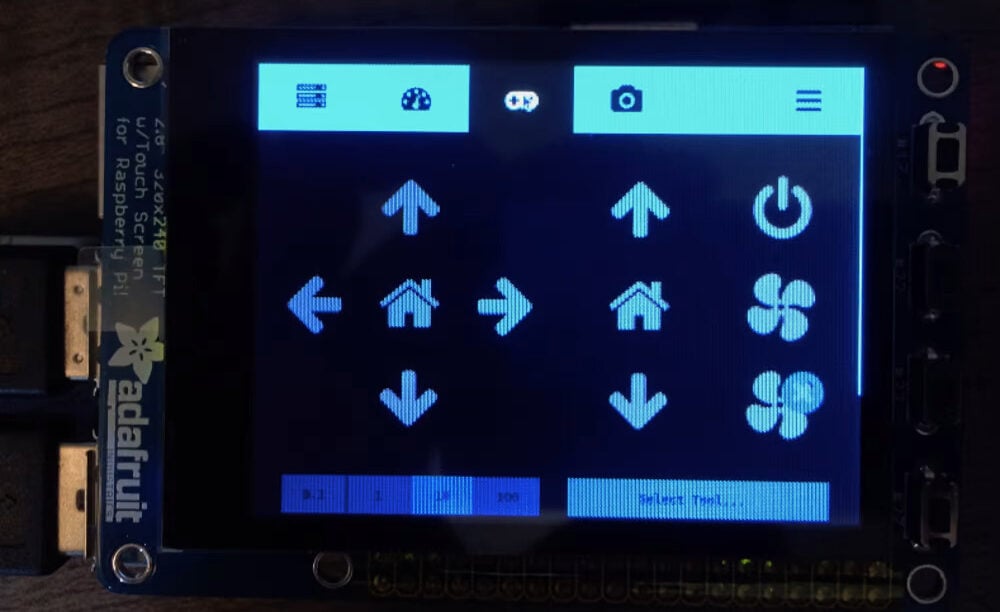
A touchscreen UI has become the norm for many of our devices. However, many 3D printers still lack this helpful feature (hello MK3S!)
Users can get their OctoPrint UI on a touchscreen using OctoPrint’s TouchUI plug-in. This plug-in allows you to use OctoPrint without opening your computer. The UI on the touchscreen is very similar to what you see in your browser, so it’s easy to make the transition.
Installing the touchscreen might seem a tedious task at first, but there are plenty of guides and tutorials available out there that make the entire process easy.
Ultimately the beauty of this plug-in is how it allows the use of the OctoPrint UI on mobile devices or custom TFT builds. Accessing your OctoPrint on your cellphone for instance means you won’t even need a computer to access, monitor, or control OctoPrint.
Open-Source Community
Many developments that have taken place in the 3D printing world are from within the community itself. Private developers have put in hours of their own time to improve several aspects of 3D printing, including free, open-source programs such as Marlin, Cura, and the star of this article, OctoPrint.
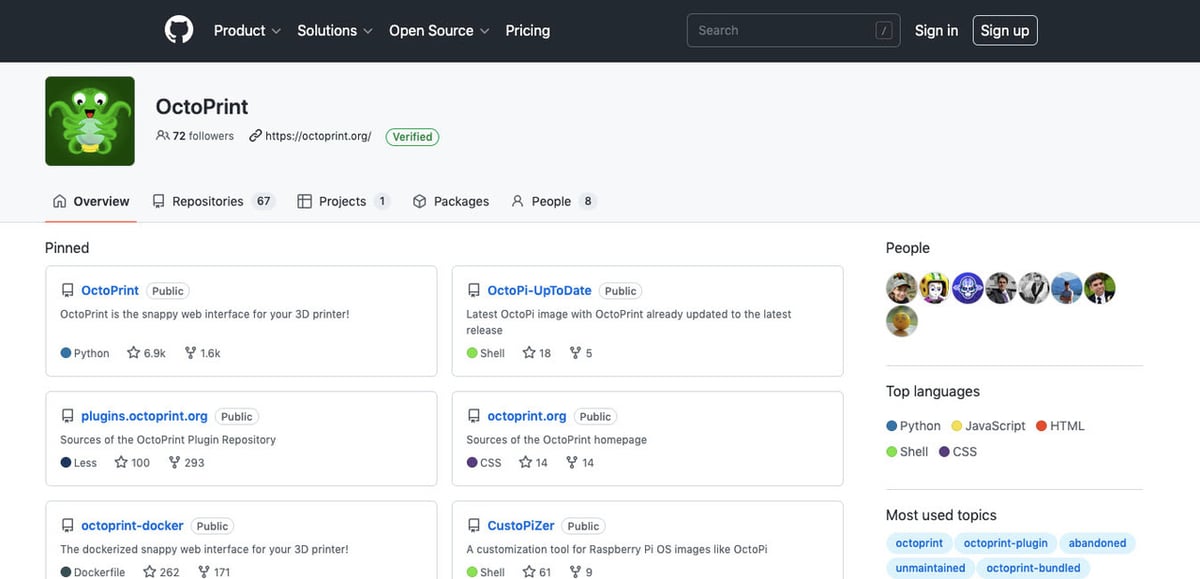
OctoPrint owes much of its success to its open-source and free nature. All of the source code is available on its GitHub page for anyone who wishes to modify it. Through this, many users and developers have shared and incorporated their own ideas. The plug-ins developed by users are a great enhancement to the functionality of OctoPrint.
Multiple Printer Control
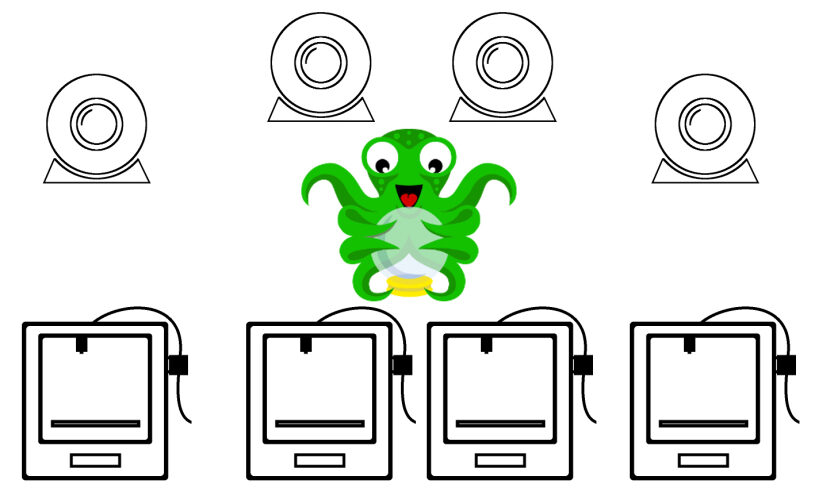
As you can imagine, this feature is great if you’re working with more than one 3D printer. Connect all of them and their respective webcams to a single Raspberry Pi.
For example, you can find a video showing how to install three printers onto a Raspberry Pi.
Another option is OctoFarm, a free, open-source, and user-developed interface that allows you to control and monitor multiple 3D printers on a single Raspberry Pi. You can check on your multiple printers on a single screen, including sending and monitoring prints.
Plug-ins Galore
In the end, it’s hard to choose just 10 great features of OctoPrint. To make things easier, here’s a compilation of plug-ins that’ll help you 3D print more easily and safely.
- DisplayLayerProgress: This plug-in sends the current layer information – the progress and other data of a print via the M117 command to the printer display and also to OctoPrint’s top navigation bar. It can also send all M117 messages to a desktop pop-up. Data is available and customizable on print progress, the estimated print end time, print time left, current layer, total layer count, current height, and much more.
- HeaterTimeout: Often, a printer is left switched on with the extruder still being heated, causing a potential fire hazard. This heater timeout plug-in turns off the heating of the hot end after a set amount of time, thus saving you from a potential fire and from a pricey electric bill.
- Simple Emergency Stop: There’s always a possibility that things can go wrong while printing – the kinds of things that have you wishing for a stop button that doesn’t exist… until now. This plug-in adds a big red bar at the top of your OctoPrint UI that, when pushed, will stop all printer activity and help prevent any further damage.
- OctoPrint-BLTouch: If you have a BLTouch, this plug-in adds a set of controls for the senor to the OctoPrint Controls tab. Move the extension probe up and down, self-test the probe, and release the probing alarm among other options.
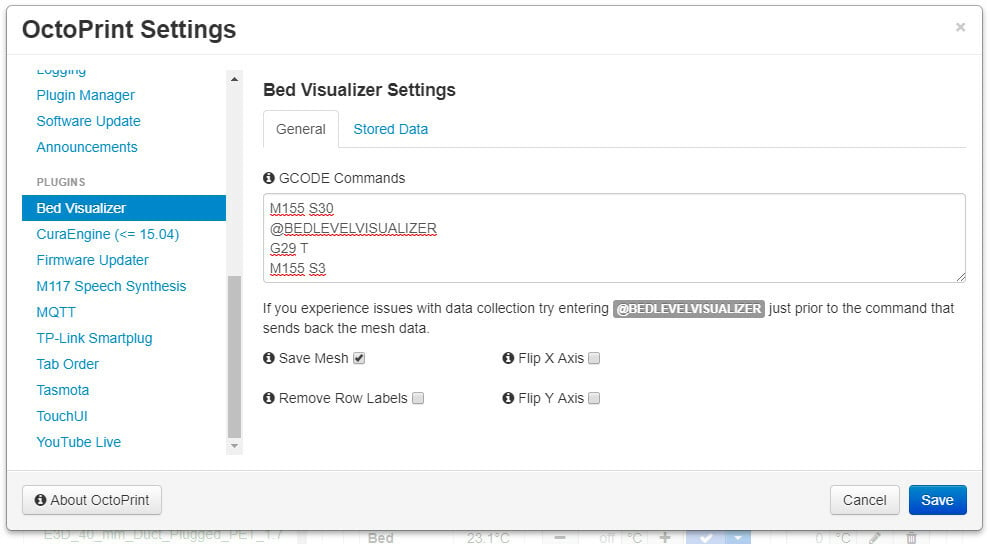
- Bed Level Visualizer: This is a great addition for those who have installed a bed leveling sensor such as the BLTouch above. It lets you view the leveling of your printer bed as measured by the sensor. This way, you have a graphical representation of your 3D printer’s bed and can visually verify any unevenness to take the necessary actions.
These are just a few of the many, many available plug-ins and add-ons to OctoPrint.
If you’re a new or even seasoned OctoPrint user, these great features will help you get the best functionality out of the application and the best prints from anywhere in the world. Happy printing!

License: The text of "10 Good Reasons to Use OctoPrint" by All3DP is licensed under a Creative Commons Attribution 4.0 International License.