
Ultimaker 2 Extended Review: The Big Brother
Rating

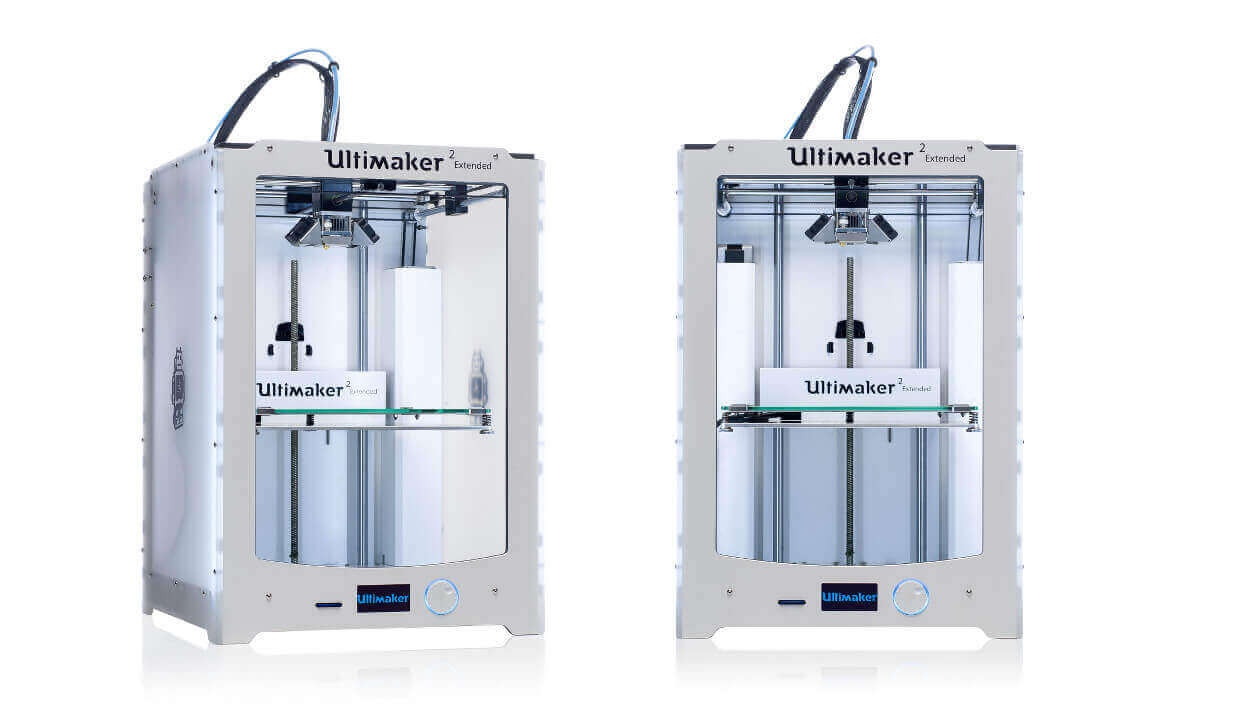
The popular and established Ultimaker 2 got a big brother: the Ultimaker 2 Extended. Read this Ultimaker 2 Extended review to find out how the test turned out.
The Ultimaker 2 is one of the most popular and established 3D printers on the market today. And it’s got a big brother: the Ultimaker 2 Extended. On the first glance, there’s not much of a difference between the two printers: The Ultimaker 2 Extended is taller, allowing you to print objects with a height of up to 305 mm (12 in).
Here’s also a review on the Ultimaker 2+.
Assembling, calibrating and getting it ready for printing doesn’t take long. The build plate size at 223mm x 223 mm is still the same. The price of the Ultimaker 2 Extended is €2.999,00 (incl. VAT) in Europe ― quite a bit more for an extra 10 cm (3.94 in) in height ― and is available through iGo3D.
The Ultimaker 2 Extended was rated “Best Large Format” by Make Magazine in November 2015.
Ultimaker 2 Extended Review: Unboxing
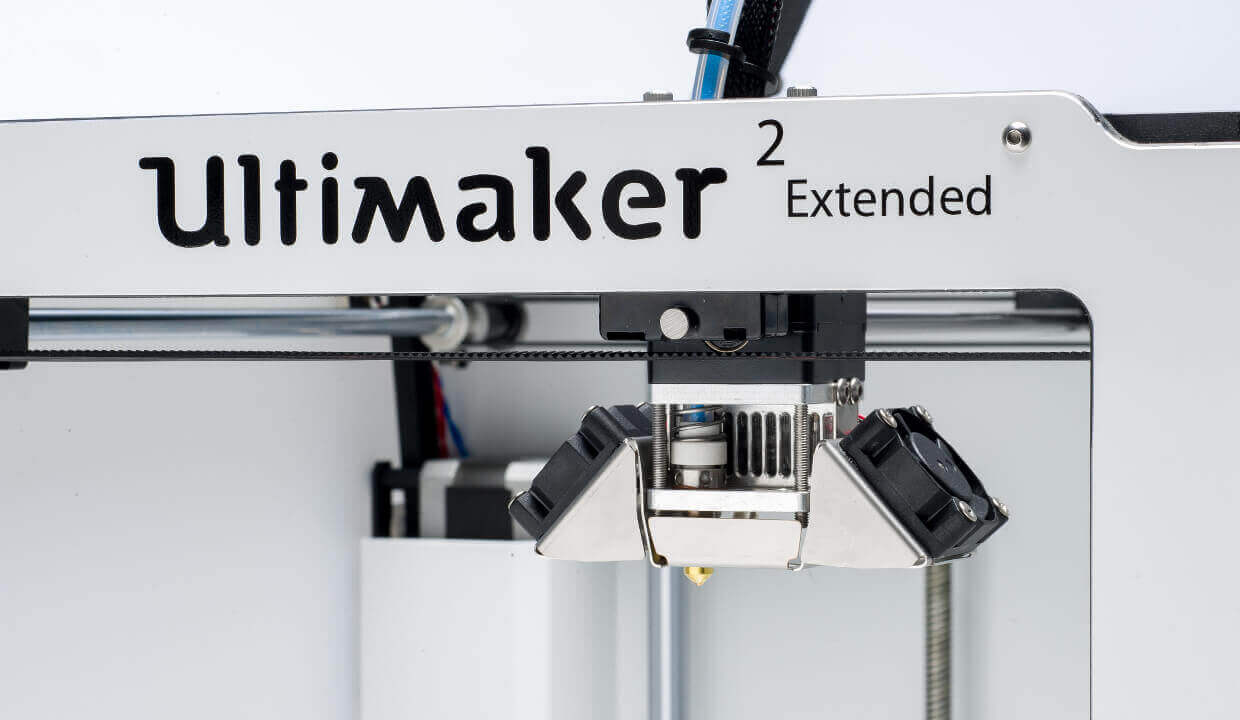
Just like with the Ultimaker 2 model, the shipment includes everything you need to start printing right away. The Ultimaker 2 Extended is built really well and, despite its height, is very sturdy.
Included in the shipment
- The spool holder and spool guide included are easy to mount.
- You’ll also find an SD card that allows you to transfer the printable models from your computer to the printer.
- A filament spool is also included so that you can start printing.
- The glass plate is well-packaged to prevent damage during shipment. The objects are printed directly onto it.
- The power cable is fairly short, as was the case with the previous model, but serves its purpose.
Ultimaker 2 Extended Review: Assembly
Assembling the printer doesn’t take long. You place the glass plate into the metal fixtures on the floor of the printer, where it is held in place by two metal clamps in front.
On the back of the printer is an opening into which you snap in the filament spool holder ― you’ll need a little arm power for that. On the side of the printer, you’ll see another opening. This is where the filament guide is mounted.
When you plug in the power cable, the Ultimaker 2 Extended is ready to start. To get started with the printing process, though, you first have to place the filament spool on the filament holder so that the printing material can roll off counterclockwise. Then you load the filament through the filament guide into the material feeder on the back of the printer
When you select the corresponding function on the menu, the filament will be automatically fed in. As soon as the material comes out of the nozzle, you click on “Continue” and the installation of the Ultimaker 2 Extended is done.
Our evaluation
So far, we haven’t noticed much of a difference between the original Ultimaker 2 and the extended version: The printer is built very well, the shipment includes everything you need and assembly is easy and doesn’t take long. Once you understand how it works, it’s easy to change filaments. If you come across problems, you’ll find detailed online support information.
Ultimaker 2 Extended Review: Software
Even if you have ready-made 3D models, you still have to prepare the virtual models for printing, using the right software. Cura is an established software program used with the Ultimaker series. The program is excellent and can be used with other printer models as well. Cura is compatible with Windows, Mac OS and Linux Ubuntu and is free.
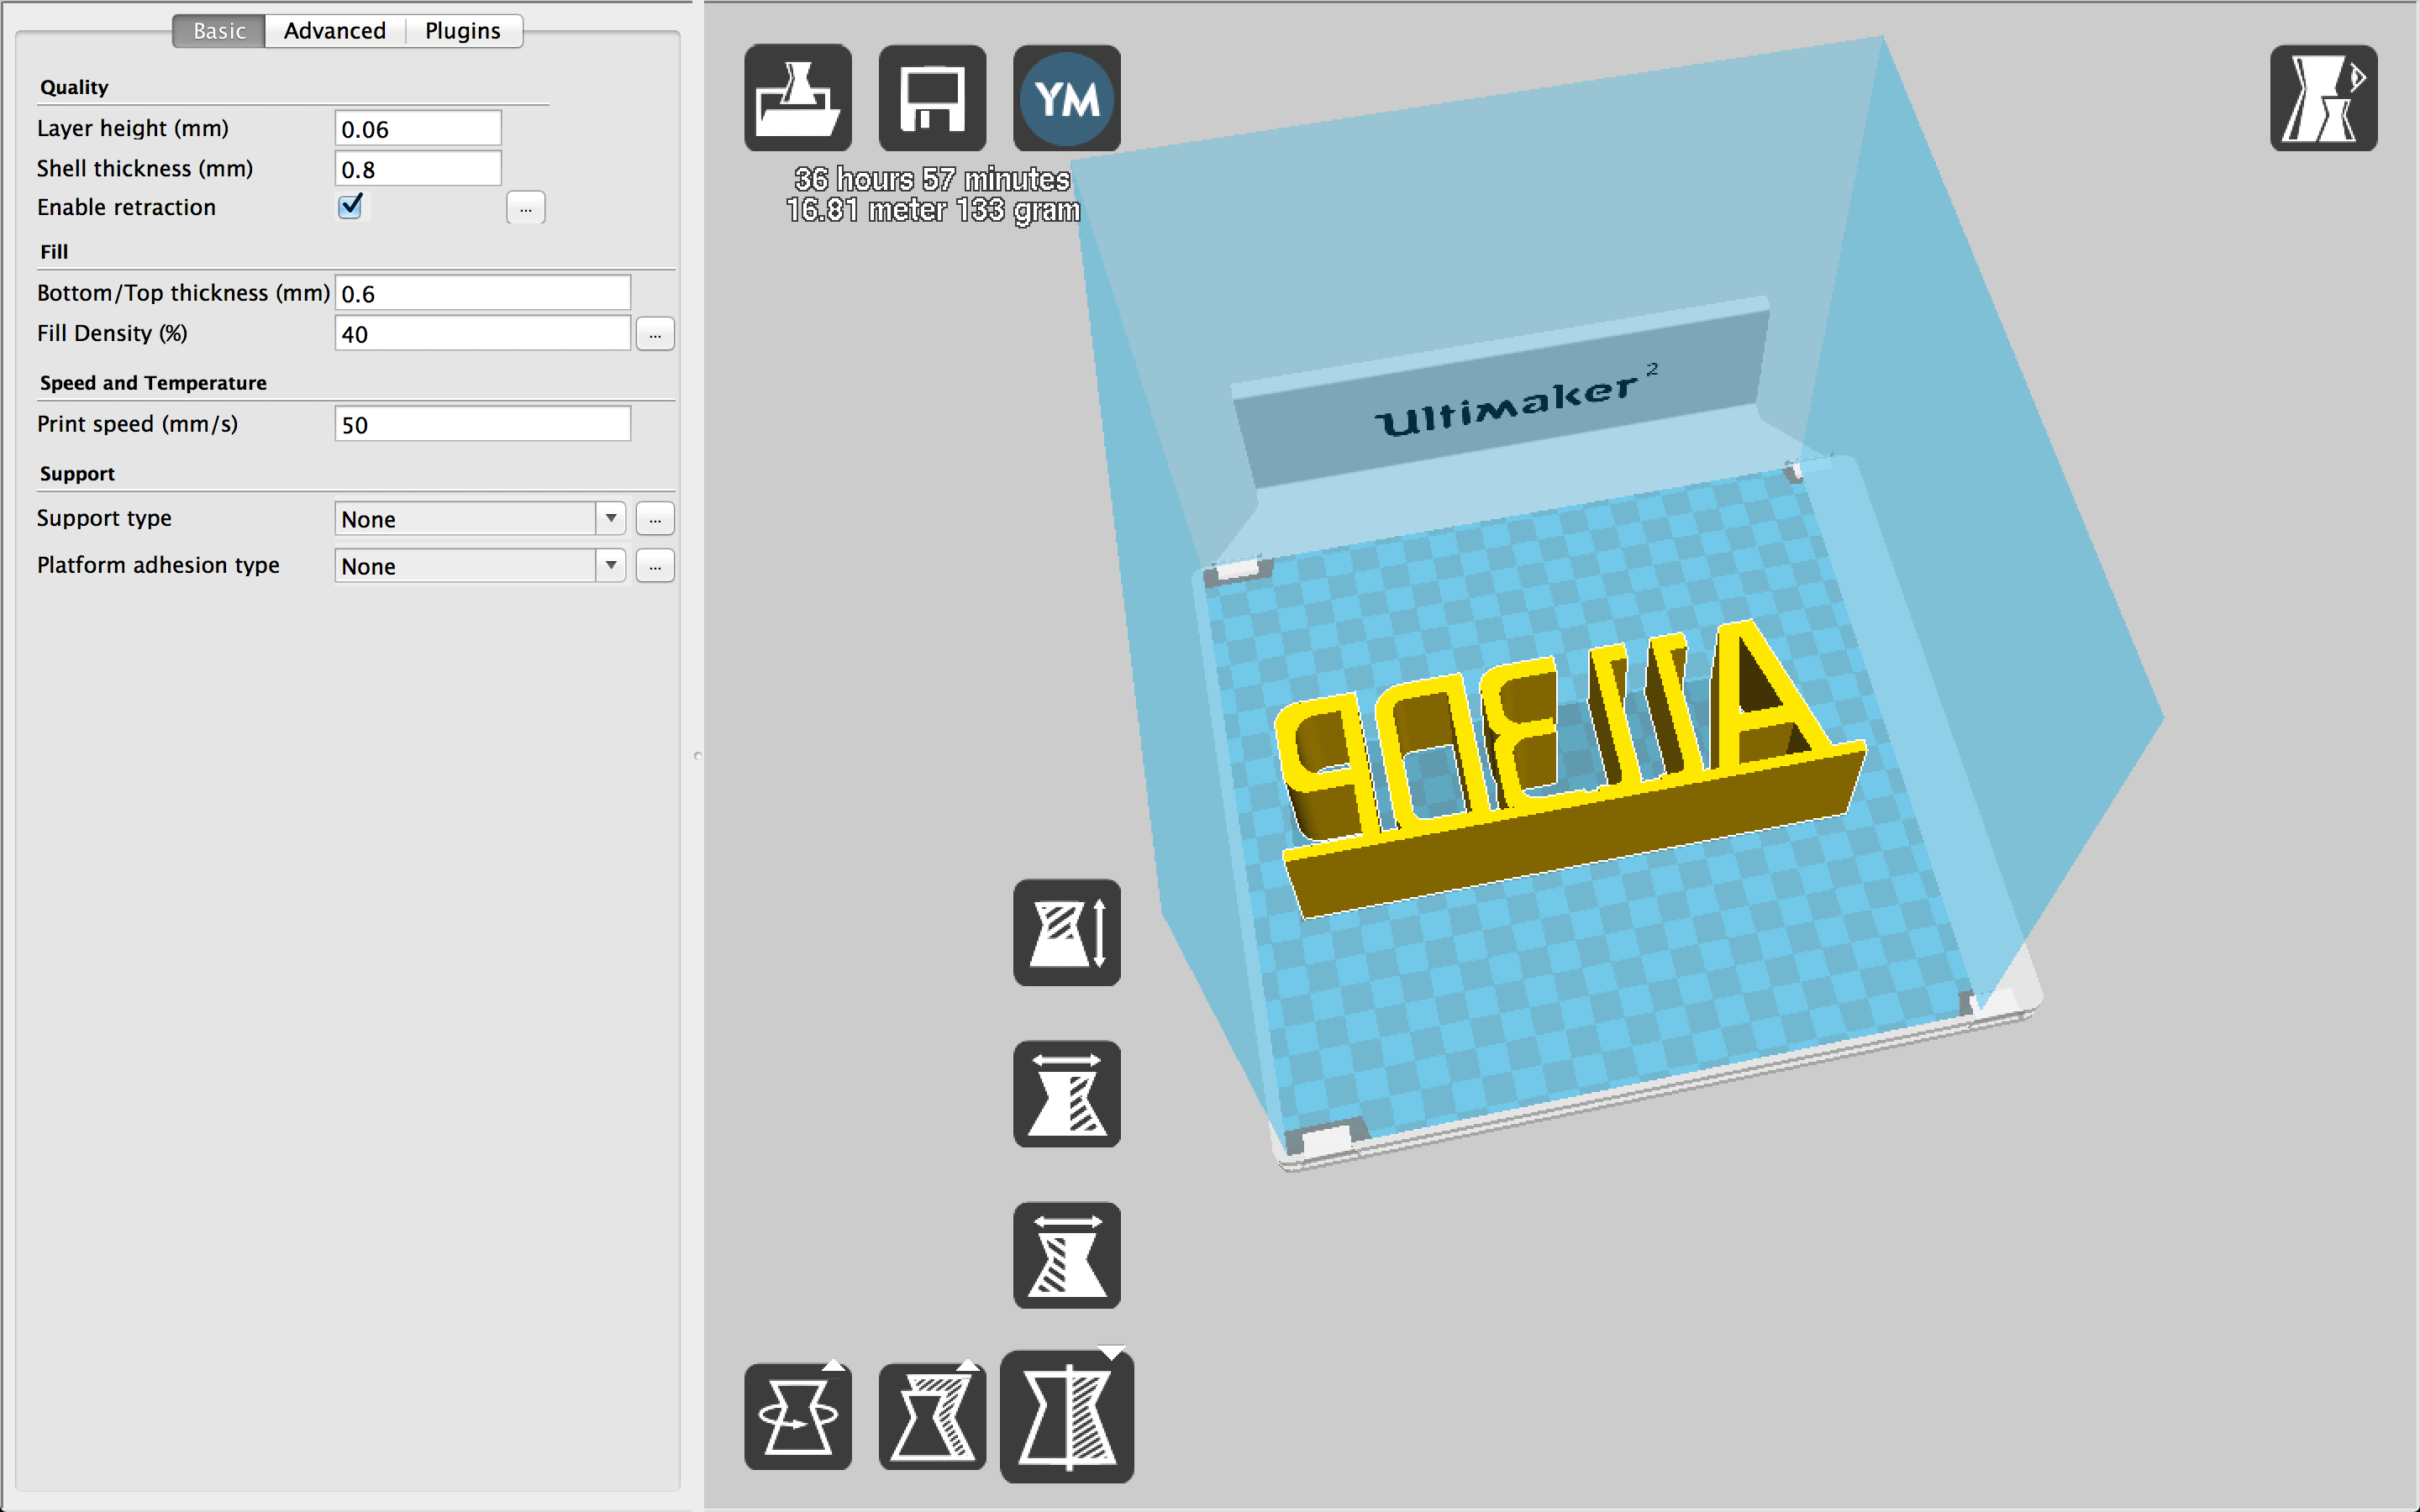
Since Cura can be used for a large number of printers, you’ll need to first select your printer from the menu. Next, you’ll see the user interface. At first glance, it seems pretty technical, that is, it’s not very intuitive, but after you’ve done it a couple of times, you’ll find it easy to navigate.
Using the drag-and-drop method or the load button allows you to load the model of your choice. The .stl, .obj, .dae und .amg. file formats are supported. Once you’ve loaded the virtual model, you can position, mirror, duplicate and scale it.
Even if it’s tempting, you should only take advantage of the maximum build height of the Ultimaker 2 Extended if the object can’t be positioned any other way. It’s important to avoid overhangs and to lay your object flat on the long side. If the surface is very large, you should test out printing with a raft so that it won’t be negatively affected, and the object is easier to remove from the glass plate. If overhangs can’t be avoided, you have the option of printing support structures as well. You find these types of settings under “Expert Settings.”
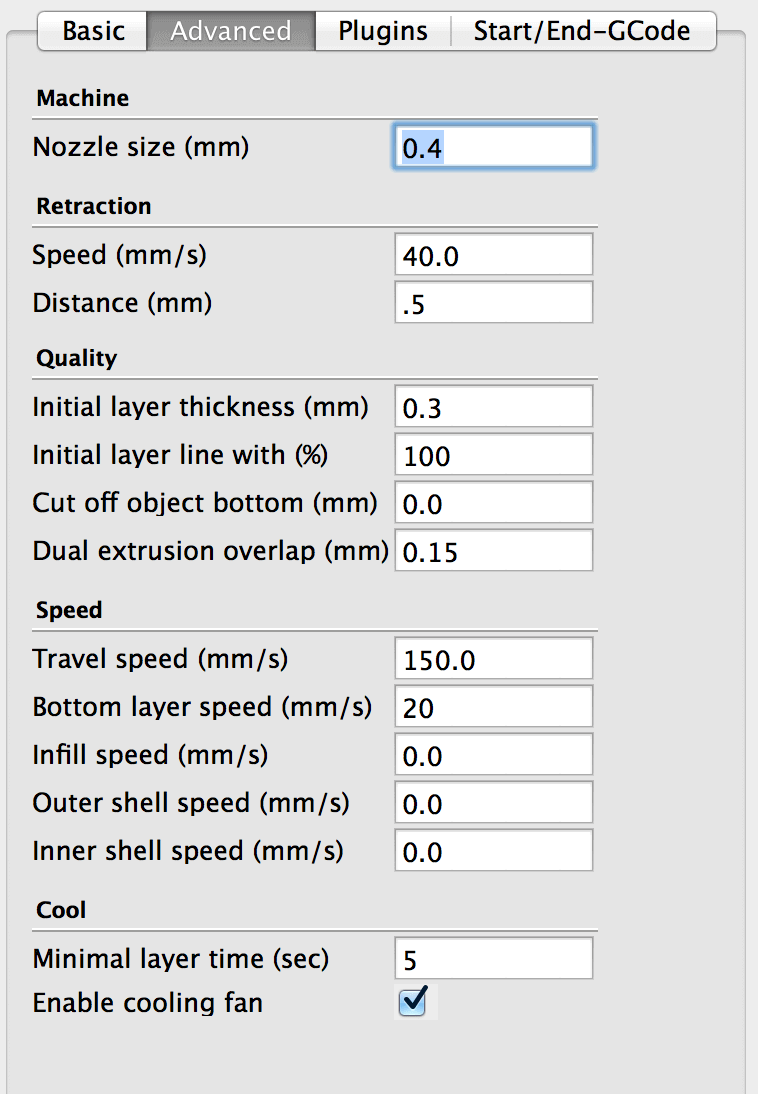
We recommend that beginners start out with simple objects, using the default settings. With a little more experience, you’ll soon have a better understanding of the expert setting options and how to best use them.
When you’ve selected the settings you want, Cura shows the printing time and the amount of printing material needed. Once you’re satisfied with the result, you can export everything to the SD card and start printing.
Our evaluation
Cura is one of the most popular software programs for model preparation in 3D printing. This is because of the ease of use and wide range of setting options. Beginners quickly achieve successful printing results and experts can optimize their prints. If you need help, there is an extensive online user guide, where you’ll also find answers to specific questions.
Ultimaker 2 Extended Review: Calibration & Printing
The SD card containing the file with the prepared virtual model can be inserted into the printer on the front. Before starting the printing process, the glass plate has to be calibrated. This is necessary in order to achieve best results and so that nothing starts shifting, gets out of place, during the printing process.
In other words: The distance between the nozzle and the plate has to be the same across the entire plate. A business card should just barely fit between the nozzle and the plate. The corresponding point can be found on the menu. The distance should be approximately 1 mm (0.039 in). You turn the knob to adjust the distance. When fine-tuning the distance, the print head scans the various points on the plate. The height is adjusted with the screws underneath the build plate. If your business card fits perfectly between the nozzle and the plate, click on “Continue” and adjust the next point on the plate.
Now you also need to prepare the glass plate itself. If you discover that the print out is coming loose during the printing process, carefully apply a thin layer of the adhesive to the glass plate with a glue stick. This helps to ensure that the first layer sticks to the plate.
You select the printable object on the SD card from the menu. Then the Ultimaker 2 Extended starts heating up, and as soon as the right temperature has been reached, the printing process starts.
The remaining printing time is shown on the display. This way you’ll always know when you get to see your printed object. If the bar is solid, indicating that the printing process is over, you’ll need to let the printer cool down a while. Otherwise, you may get burned. Once the printer has cooled off sufficiently, you can lift the glass plate with the printed object out of the printer. Usually, the objects can be easily removed; if not, you can use the spatula to help remove it.
Our evaluation
If you’re just starting out with 3D printing, you might get a little anxious when the printing process takes a long time. Not to worry, it always takes quite a while. The Ultimaker 2 Extended is one of the fastest printers, though, and it delivers some of the best results. The surfaces turn out smooth, and the details come out the way you want them to.
Ultimaker 2 Extended Review: The Verdict
The Ultimaker 2 series is clearly among the top-rated printers in the 3D printing scene. They are well built, easy to assemble and deliver excellent results.
Except for the height, we found no major differences between the Ultimaker 2 and the Ultimaker 2 Extended.
Beginners and pros alike will enjoy both models ― these printers are considered workhorses and are often used by pros. Everything you need for printing is sent along with the printer, the online support is comprehensive and you can start printing objects quickly and successfully. The software serves its purpose and offers all of the necessary setting options.
If the extra charge of 700 euros is too much, you’ll be happy with the Ultimaker 2.
On the whole, the Ultimaker 2 Extended is a very nice extended version of the previous model, even though the only difference is the 10-cm (3.94 in) increase in height. It would be best first to decide if you need a large build volume like that ― or if it would be worth it to get oversized parts printed by a 3D printing service provider.
Ultimaker 2 Extended Review: Specifications
Printing
Build volume: 223 x 223 x 305 mm
Nozzle diamete: 0.4 mm
Supported filaments: PLA, ABS, CPE
Filament diameter: 2.85 mm
Print surface: Heated bed (50° – 100° C)
Layer resolution: Up to 20 micron
Sound: Average operational noise: 49 dBA
Speed and precision:
Print speed: 300mm/s – 300 mm/s
Travel speed: 30 mm/s – 300 mm/s
Precision: 12.5 / 12.5 / 5 micron
Temperature:
Nozzle temperature: 180 – 260 °C
Heated bed temperature: 50 – 100 °C
Operational temperature: 15 – 32 °C
Storage temperatur: 0 – 32 °C
Physical dimensions:
Desktop size: 357 x 342 x 488 mm
Shipping size: 400 x 400 x 650 mm
Weight/Shipping weight: 12.0 / 21.0 kg
Layer resolution:
Fast: 200 micron (0.2 mm)
Normal: 100 micron (0.1 mm)
High: 60 micron (0.06 mm)
Ultra high: 40 micron (0.04 mm)
Electrical
AC input: 100 – 240 V, 1.4 AMPS
Electrical: 50 – 60 Hz, 221 Watt max.
Software:
Supplied software: Cura
File types: STL, OBJ, DAE, AMF
OS: Windows, Mac, Linux
Generally
Connectivity: Stand-alone SD card printing
Warranty: 12 months (excluding the hot end)
Declaration of Conformity: CE marking
License: The text of "Ultimaker 2 Extended Review: The Big Brother" by All3DP is licensed under a Creative Commons Attribution 4.0 International License.