If you live in a humid climate, you may find that many of your 3D prints aren’t going to plan. The cause may be that your filament is damp. Don’t despair, there are many ways to dry it out. Instructables user, HydeTheJekyll, came up with an interesting method which involves making use of an unused slow cooker.
Are you regularly experiencing failed prints and can’t find anything wrong with your printer? You may be a victim of damp filament. Although the printer will work for some time with such filament, the final results are often poor quality.
Thankfully if you’ve bought a large spool, you don’t have to throw it away – there are many ways to dry damp filament. For example, this DIY heated drybox which costs just $20.
Or, if you have a spare slow cooker lying around your home, an Instructables project from HydeTheJekyll could be your best bet for drying out your filament. Essentially, he’s modified the slow cooker to operate on low air pressure.
HydeTheJekyll explains: ”As we all know, over time, moisture can get inside of our filament. Slowly turning our favorite rolls into brittle garbage. We store them in safe places, take time to care for them like children. But, in the end, they often turn into the sad shell of the former glory they once provided.”
Slow Cooker Savior for 3D Printing Hobbyists
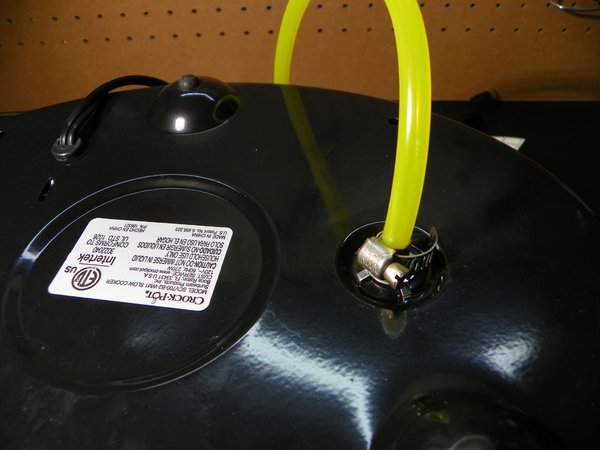
Everything you’ll need for this project to work should be easy to get your hands on. Firstly, the most obvious requirements are damp or old 3D printing filament and a slow cooker. HydeTheJekyll used a 7QT Crock-Pot.
You’ll also need a device which can pull a strong vacuum as well as a hose, silicone tape, and caulk – these can all be purchased from a hardware store. Perhaps the most difficult to find is Petroleum Jelly or Silicone release agent which is used to coat the lid and form a seal.
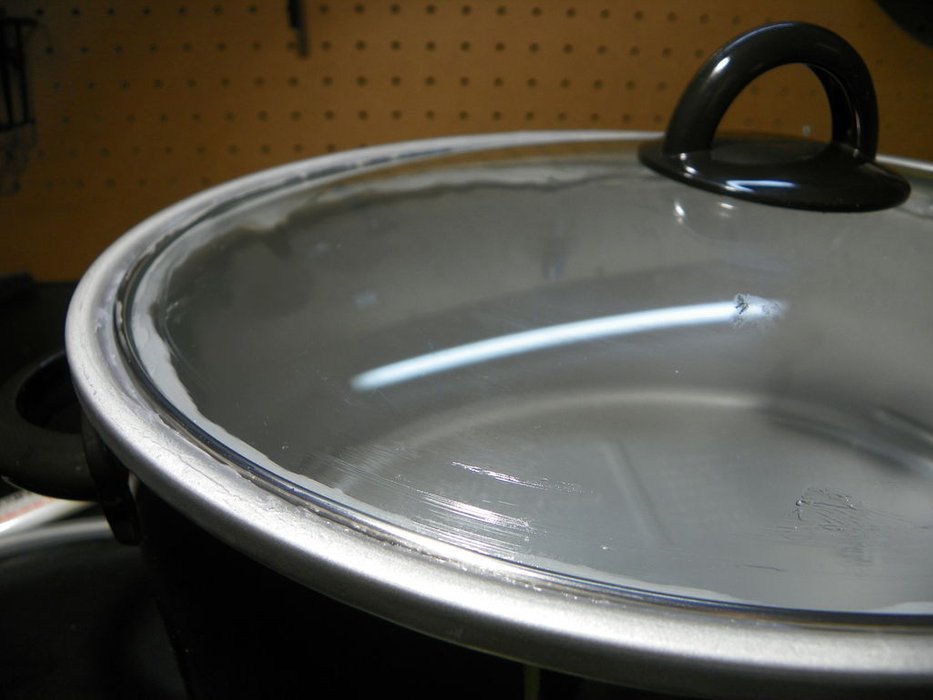
From here, the instructions include removing the stoneware from the slow cooker and attaching a hose to the lid. Then, seal up up all holes with the silicone and apply it to the lid so it fits to the pot with no cracks.
After this is complete, simply let the pot dry for 24 hours and it’ll then be ready to use if it can hold a vacuum. Finally, simply place your filament into it and set it to warm, after ten minutes, attach your vacuum line and slowly increase the vacuum so that it pulls water away from the filament.
HydeTheJekyll explains: “You need enough vacuum to help the water evaporate from the filament, but you don’t need to make it a total vacuum! You will get a feel for it as you use it. Mine seems to be great after about an hour at 120F and -40 kpa… Enjoy your filament’s second life!”
Interestingly, HydeTheJekyll is planning on patenting this process. To find out more or to follow his detailed instructions, visit the project Instructables page. You’ll find both descriptions and images to help create your filament drying crock pot.
Source: Hackaday
License: The text of "Dry Out Damp Filament with an Unused Slow Cooker" by All3DP is licensed under a Creative Commons Attribution 4.0 International License.