Voron 2.4 Build: 9 Tips for a Seamless Build

The Voron 2.4 is a relatively complex FDM printer you have to build yourself. Read on for tips for a smooth and good Voron 2.4 build!
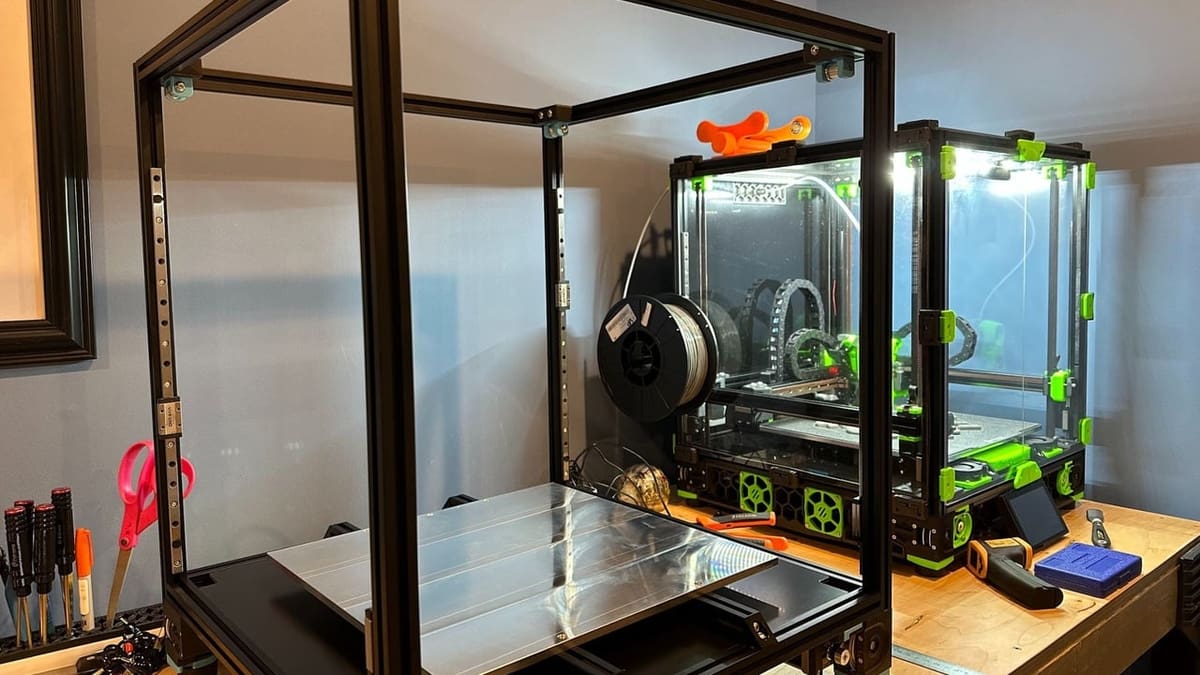
The Voron 2.4 is a DIY CoreXY 3D printer and the flagship printer from Voron Design. As hinted by its name, Voron Design is just a design team; they don’t sell printers or even make kits. In order to build a Voron, one has to source the parts and build the printer themselves!
While you can invest the time and effort in looking at the thorough bill of materials and source the parts yourself, some companies sell kits with most of the hardware. You can also rely on Voron’s Print it Forward program, which is meant to facilitate access to the printed parts.
No matter how you’re getting your hands on the different components, in a nutshell, opting for a Voron machine means that it’s essential to build the printer well to get the full performance out of it.
The Voron 2.4 is arguably the most popular printer of all Vorons, having a unique quad-belt driven Z-axis system. However, it’s also rather complex, especially compared to other fused deposition modeling (FDM) 3D printers, and there are several things you should take note of before starting your build.
Here are some tips for a smooth assembly and well-built printer!

#1: Read Through The Manual Beforehand
If you’re still on the fence about starting this project, look through the Voron 2.4’s manual to get a gauge of the time, materials, and skills required. Also, consider reading through Voron community threads, where there’s plenty of information that might help you determine whether this project is suitable for you.
After deciding to start a Voron 2.4 build, familiarize yourself with the manual and get a good overview of the steps required. This will make sure that you have a clear bird’s eye view of the process and know what you’re doing, how much time might be required for the different steps, and what skills you may need to learn or brush up on beforehand.
Voron printers have a specific design “style” and build methods that are worth getting used to before starting, so that the process will be smooth and easy. For example, roll-in T-nuts are used as fasteners for the frame, heat set inserts are used in many parts of the printer, and printed tools will be used for some parts of the printer’s assembly.
The step-by-step manual is highly detailed and informative. Browsing through it before starting the build can save you precious time and money by anticipating what’s required and avoiding mistakes!
#2: Build the Frame Square
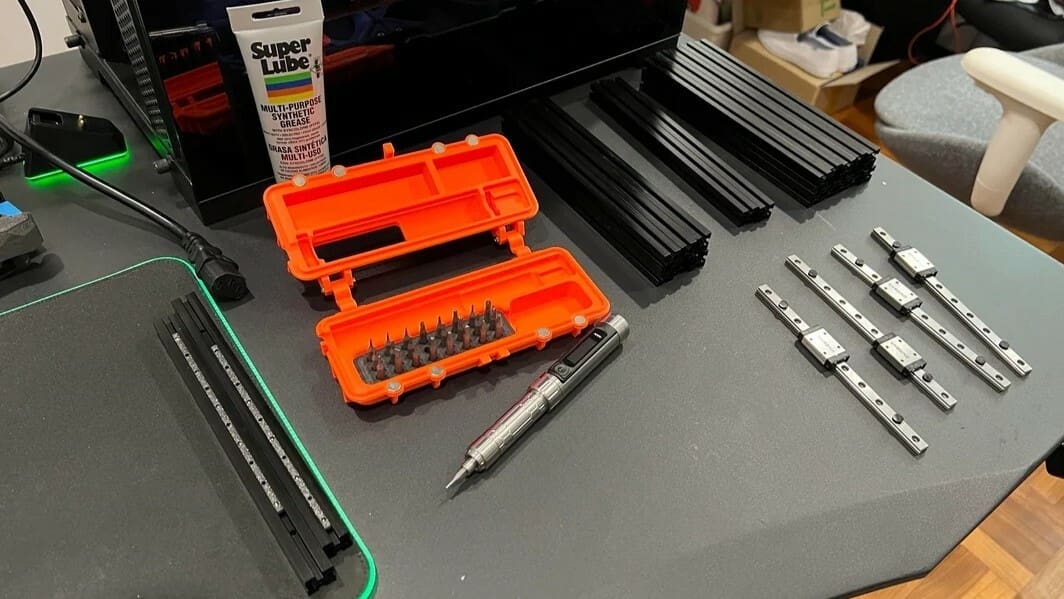
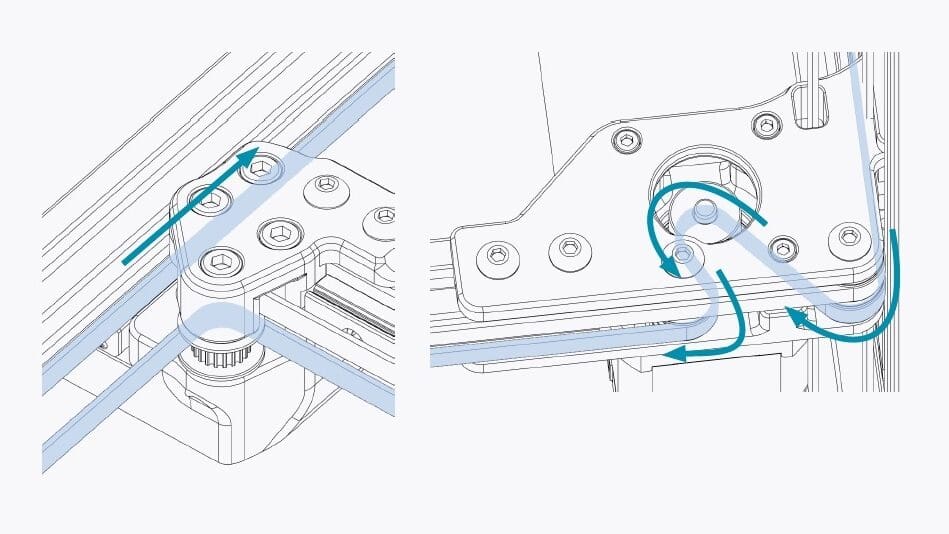
The first part of a Voron 2.4 build is the frame. A square frame is the basis of a good and accurate build. If the frame isn’t square, everything else, including the resulting printed parts, won’t be square by the time the printer is finished.
Ensure your extrusions are straight, cut square, and to the exact same length. If they differ slightly, you can use thin washers to compensate. It’s best to build your frame on a flat surface, so that alignment will be easy. You can also get tools like a machinist square, though you can also use another extrusion as a squaring tool.
To check for squareness, measure both diagonals of each face of the frame. The diagonals should differ at most by under 1 mm for a 350-mm build and under 0.5 mm for a 250-mm build.
#3: Apply Threadlocker
When building your printer, remember to apply threadlockers. Threadlockers are liquid adhesives that are applied to threaded fasteners. In the absence of oxygen and in the presence of metal, they cure and help prevent the loosening of fasteners due to stress and vibrations.
Blue Loctite (medium strength) is a common recommendation by Voron and its community. Purple (low strength) Loctite may not be sufficient, while red (high strength) Loctite requires additional heating before removal. Blue Loctite can be relatively easy to remove without heating, yet it provides good holding strength.
The Voron 2.4 (or any other 3D printer) vibrates significantly while printing, especially at higher speeds and accelerations. Hence, it’s best to apply Loctite to all fasteners, including those in the frame, motor grub screws, and mounting components such as linear rails. Do it once, and don’t worry about fasteners loosening up again!
Very importantly, don’t allow Loctite to touch parts printed in ABS (or any other plastic, for that matter). Not only does Loctite not work on plastic, but ABS and some other thermoplastics react with chemicals in the Loctite. The chemical breaks down bonds in the ABS, making the part very weak and brittle. This is true for most Loctites, including the blue option. While there are certain types of Loctite made for plastics, these are not needed in the build.
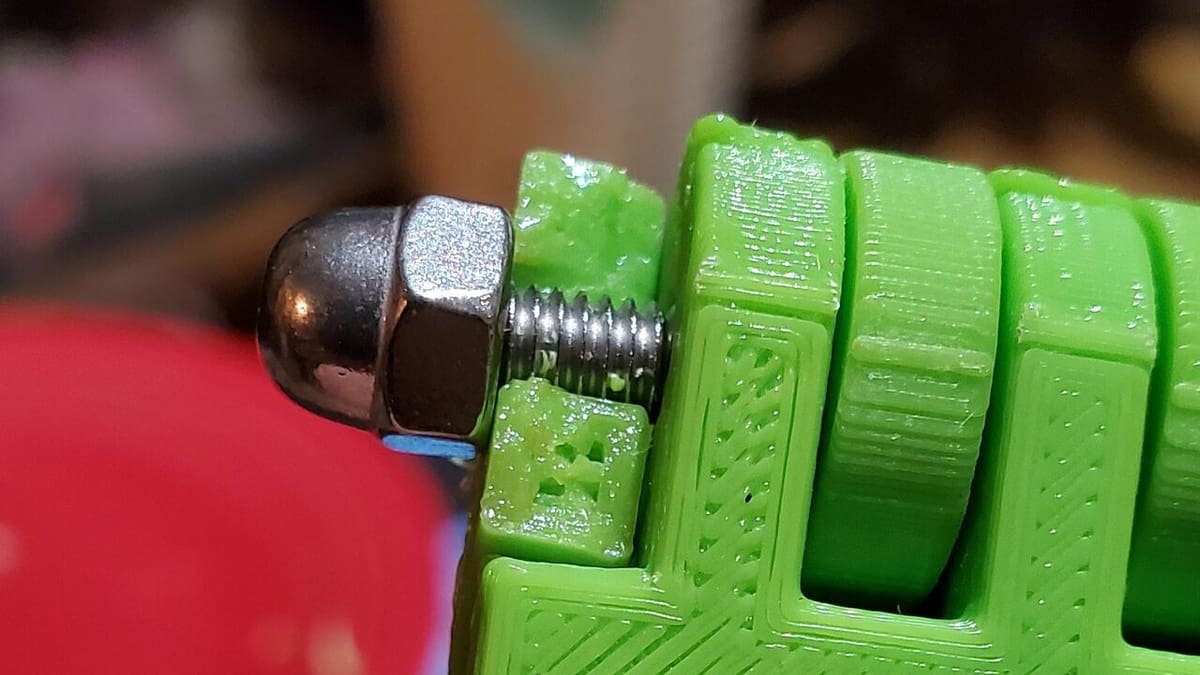
#4: Don't Overtighten
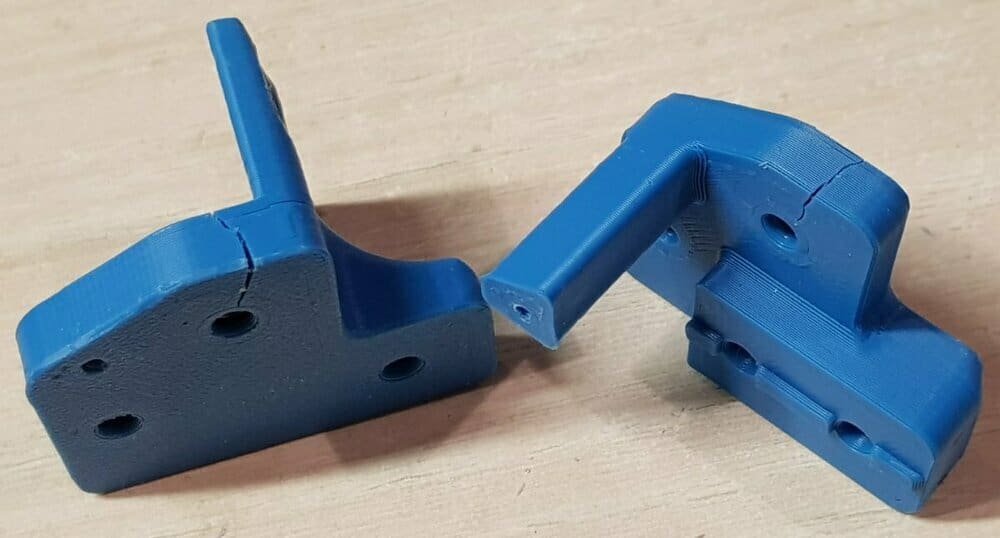
In many instances, you’ll be tightening bolts onto 3D printed parts. As these parts are plastic, be careful not to overtighten the screws to prevent deformation, cracking, or excessive stress on the plastic parts.
Parts may crack and fail or creep excessively (the gradual deformation of a material under constant stress). Creep may cause the bolts becoming loose, and more problems may arise during printing. For example, loose tolerances may lead to lower print speeds and quality, and loosening bolts may slowly cause a complete printer failure.
As a general rule of thumb, tighten until hand tight with the long end of the Allen key. It should be as tight as you can make it with your hand without the use of any power tools. There’s also the option to tighten frame extrusions more, as they’re made of aluminum. If you want to get technical:
f=μN (friction force = friction coefficient x normal force)
Therefore, more tightening increases normal force, which increases the friction. This, in turn, makes for a stronger blind joint. However, make sure not to torque the screws excessively, especially for plastic parts. This also helps ensure you don’t strip heads out of your button head screws!
#5: Correctly Printed Parts
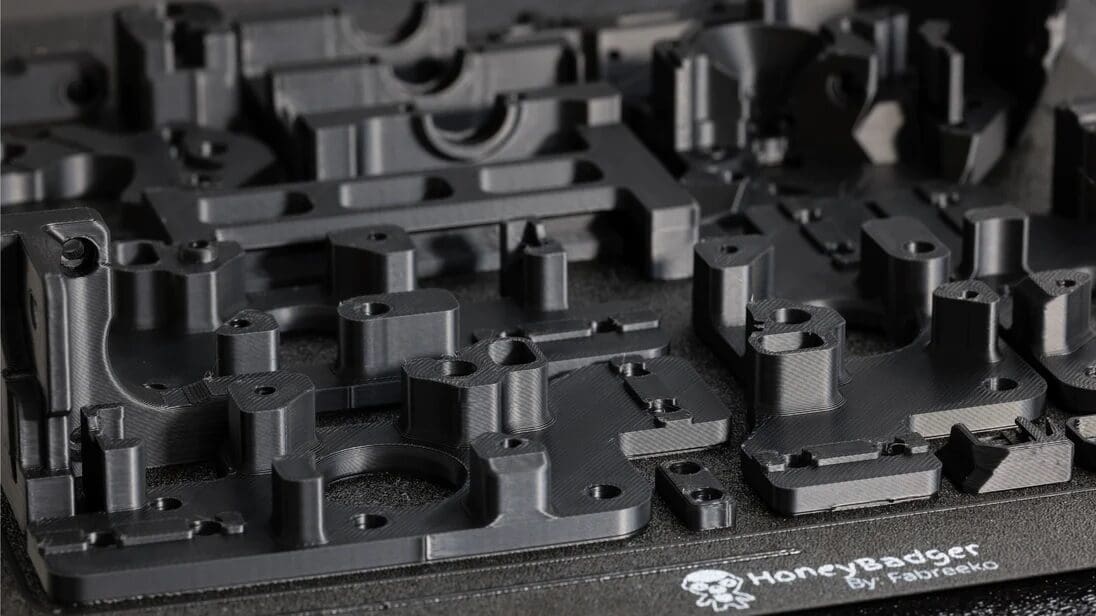
The Voron 2.4 uses 3D printed parts for its build, many of which are structural or functional. Hence, it’s important for parts to be printed well with a suitable material. It’s recommended to use ABS for all printed parts, especially those inside the chamber. ABS is a slightly flexible material with high heat and impact resistance. An even better option is to use ASA, a polymer that’s similar to ABS but with better UV and heat resistance.
It’s not recommended to use filaments such as PLA or PETG as they aren’t sufficiently heat resistant. You can check out more material options on Voron’s website.
It’s best to use the recommended print settings provided by Voron:
- Layer height: 0.2 mm
- Extrusion width: 0.4 mm
- Infill percentage: 40%
- Infill type: Grid, gyroid, honeycomb, triangle, or cubic
- Wall count: 4
- Solid top/bottom layers: 5
- Supports: None
These parts are designed with ABS shrinkage in mind, hence no additional size compensation is required in the slicer. They also have relatively generous tolerances. If you’re printing the parts yourself, remember to print the files in Voron’s Test Prints folder. If the thread tests thread smoothly and the bearings fit into the Voron cube, you’re good to go!
If you’re building a Voron 2.4 as your first printer, or you don’t want to print ABS on your current printer, consider the previously mentioned Print It Forward (PIF) program, a community-run initiative to print a set (either functional parts or all parts) of high quality, vetted Voron parts at a low price point. Alternatively, you can opt for a 3D printing service.
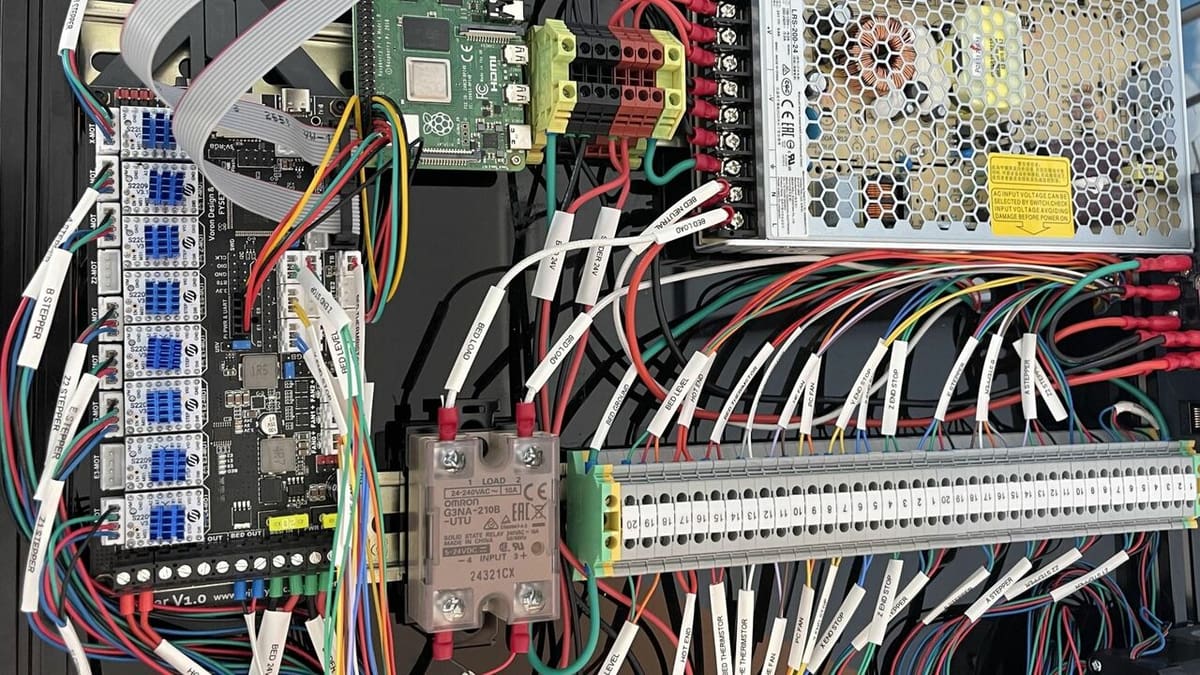
#6: Wiring
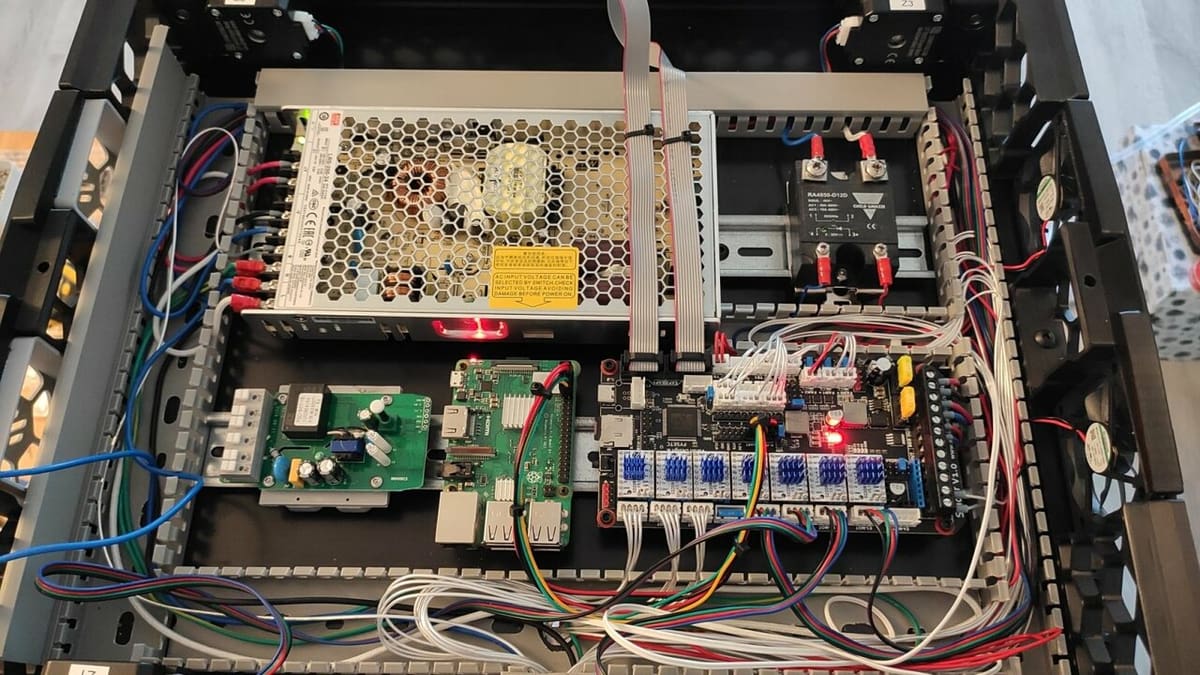
The Voron 2.4 has a relatively complex electrical system (compared to other FDM printers). Make sure you build it safely and correctly!
Choose the Correct Wires
Polytetrafluoroethylene, more commonly known as PTFE, is known for its excellent chemical resistance, high temperature resistance, good insulating properties, and low coefficient of friction. In fact, it’s also the material used to make Bowden tubes!
PTFE, Teflon, or FEP wires (they are the same) are known for their low friction, high bending resistance, and good insulation properties. Although they come at a higher price compared to cheaper alternatives such as PVC insulated wires, it’s crucial to use the pricier ones, especially in cable or drag chains or wire sleeves, as the wires rub and bend very often. Cable breaks are annoying and difficult to diagnose, and no one wants that to happen!
It’s also important to get the correctly sized wires, so that they can carry sufficient current. Voron recommends a wire gauge of 20 AWG for the hot end heater, 16-18 AWG for mains wiring, and 24 AWG for everything else. If you’re building your Voron with higher-power components, you may need thicker wire. Remember to check the necessary specifications and calculate the appropriate wire gauge to use.
Crimp Securely
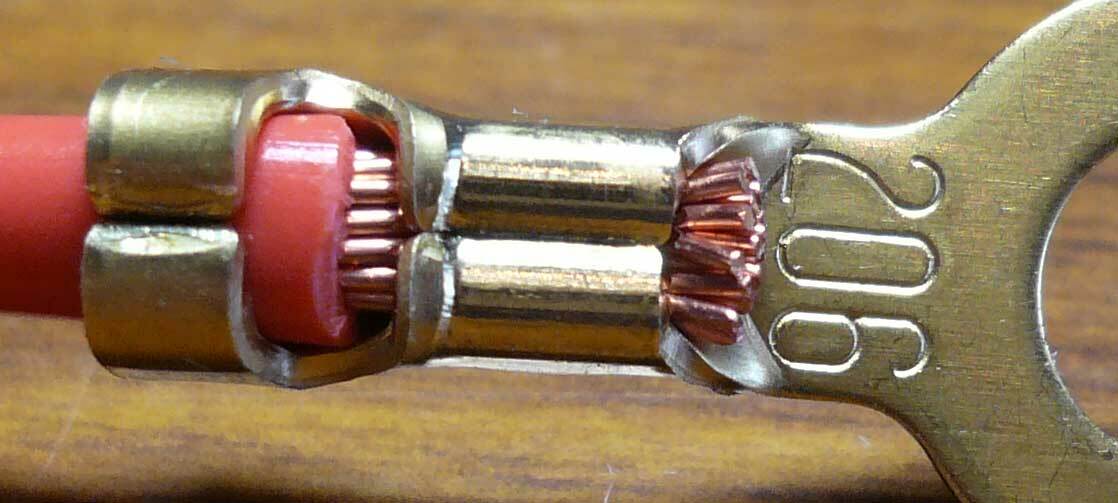
In the process of building a Voron 2.4, you’ll need to crimp wires. Crimp connections are long lasting, durable, rather cost-effective, and highly vibration resistant, which makes them a popular choice for electrical wiring in machines, including in the Voron 2.4. To get the most out of these, make sure crimps are tight and secure, so that the electrical connections are secure and work as expected.
Loose crimps can cause unpredictable issues and are hard to diagnose, and could even cause costly damage to your printer or its electronics. Make sure to get quality crimpers and practice crimping a few wires before working on the actual ones for your build!
#7: Check & Check Again!
After every few steps, check your work and make sure you’ve done everything correctly! This is especially important for the electronics.
When building the Voron 2.4, you’ll be dealing with mains electricity (high voltage AC 110 V/220 V). Mains electricity can be very dangerous and can even lead to death. Hence, it’s imperative that you’re extremely careful when dealing with the wiring and observe proper safety procedures.
Recheck that you’ve done all the wiring correctly, especially before turning the printer on for the first time, and make sure to follow Voron’s documentation pages in sequence. Use a multimeter to test for correct connections. If you don’t have one, you can purchase one for under $10. It’s a good investment, as it’s useful to have for other electronics projects. Failure to do these tests may result in costly damages to the electronics or other parts of the printer.
#8: Don't Warp Your Bed
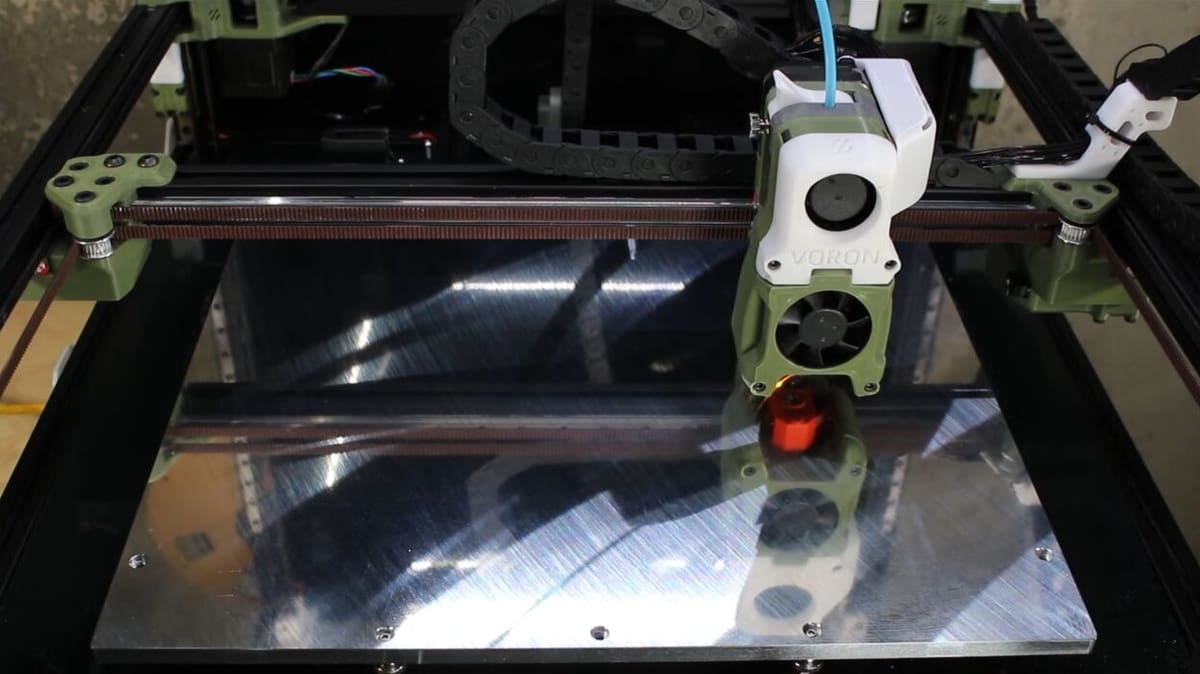
One of the key advantages of Voron (or other DIY printers) over off-the-shelf printers is their very thick and flat beds. The Voron 2.4 is designed stock for an 8-mm MIC 6 aluminum bed, with a variance within 0.1 mm.
A thick MIC 6 cast aluminum has several advantages: it allows for even heating, good conductivity, has high thermal stability (it won’t warp over many heat cycles), and will remain flat even when heated.
However, it’s still possible for this bed to warp. As aluminum expands at a different rate than stainless steel when heated, it’s important to tighten the screws appropriately. When tightening, tighten one screw tight, two screws firm, and the last screw loose. This should prevent the bed from warping due to heat cycles.
#9: Ask the Community
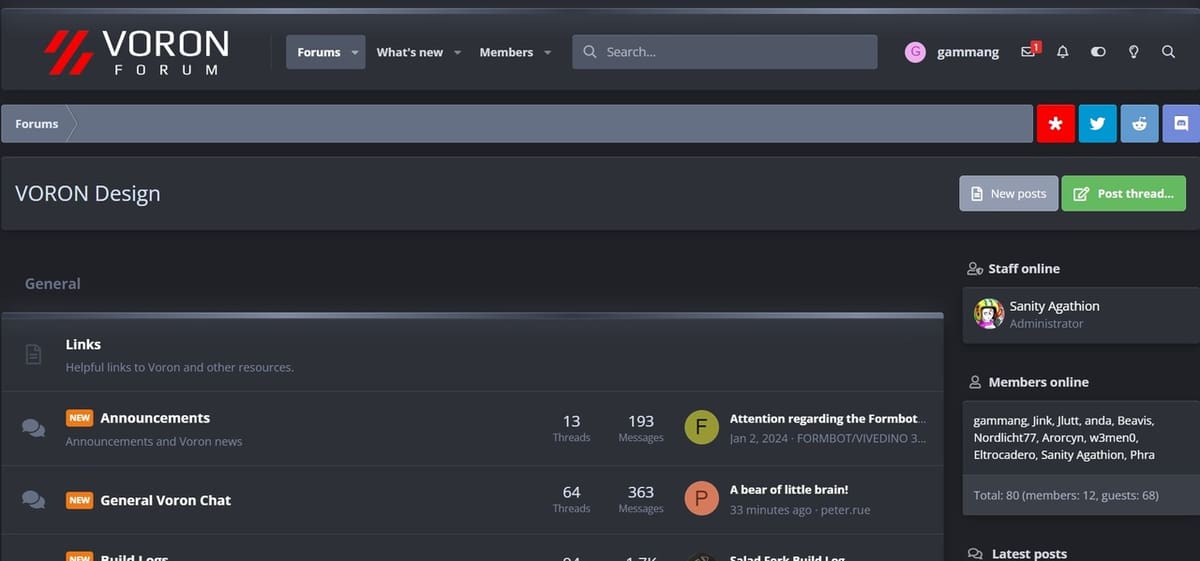
If you have questions or need help, join the Voron communities on Reddit and Discord. Voron has a large, friendly, and helpful community, and you are sure to get personalized help!
Voron has two subreddits. r/VoronDesign is the subreddit used for questions, showcases, and discussions, while r/VoronCoreXY is used exclusively for serial requests. A serial request is a short video that can be submitted after a finished Voron build, giving the user a “serial number” for their build.
The Voron Discord is more active, but you can also visit the subreddit if you wish to read up on previous discussions.
In late 2022, Voron also launched (or revamped) Voron Forum, where its threads allow users to post build logs, get support, and discuss topics.
As you can see, there’s plenty of support to be found when it comes to building a Voron printer, as makers know the challenge it can represent. So, ask away if you’ve got questions or need help, and have fun building your Voron 2.4!
License: The text of "Voron 2.4 Build: 9 Tips for a Seamless Build" by All3DP is licensed under a Creative Commons Attribution 4.0 International License.