Complete Guide to Clear & Transparent 3D Printing

Learn how to achieve crystal clear 3D printed parts: methods, printing & post-processing tips, resins, filaments, and ordering.
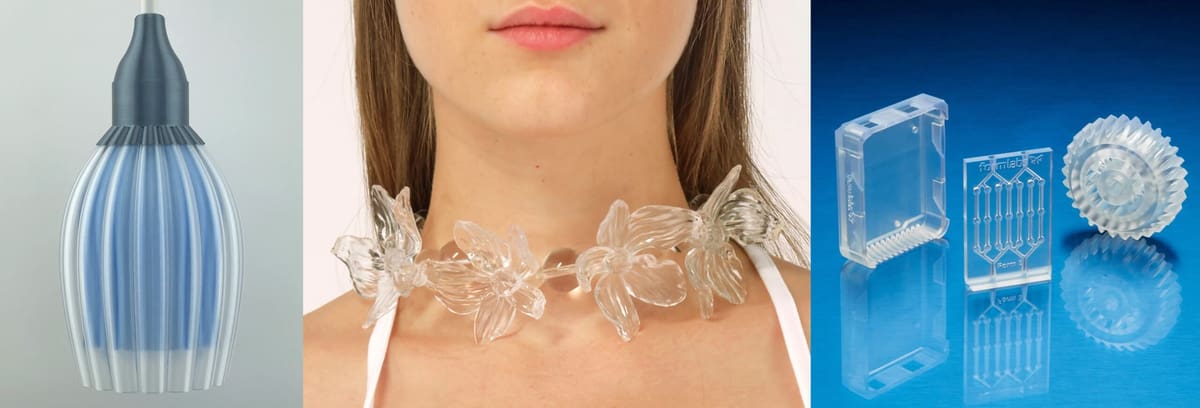
Product designers need clear and transparent bottle prototypes, dentists value clear 3D printed surgical guides, and transparency is a prized trait in 3D printed light fixtures, architectural models, and even toys.
Material advances are delivering clearer parts than ever, enabling even 3D printed prescription lenses and displays for augmented reality tech. Yet, crystal-clear lens-quality prints are still rare outside industrial printers.
Regardless of your 3D printer there are options for transparent parts and a variety of methods and materials for any budget. From affordable clear filament with some post-processing steps to industrial-grade resin materials on advanced 3D printers. There are also abundant 3D printing services offering transparent parts.
Know, however, that transparency in 3D printing is a combination of factors: method, material, and post-process finishing, but if all starts with your part’s shape.
Even when material itself is capable of being clear, the final appearance depends heavily on the geometry of the part. Transparency is affected by how light travels through the material, so curved, thick, or detailed shapes can bend, scatter, or trap light inside the part, which makes it look cloudy or frosted. For example, a solid cube of clear resin will look like frosted glass unless it’s sanded and polished, whereas a thin, flat panel will look much clearer right off the printer.
The wall thickness of your part can also affect its final translucency. Warping, cracking, or uneven curing can occur if your walls are too thin (less than 1.5mm). On the flip side, solid walls that are too thick (over 10mm) can sometimes trap heat and extra resin, making it appear cloudy. Try to aim for a thickness of about 2-5mm for best results.
Below we cover how to achieve various levels of transparency using FDM, resin, and other 3D printing technologies.
Many Ways to Be Clear
There are many types of translucent materials available for 3D printing and they are nearly all plastics. There have been advances in 3D printed glass and silicone but, polymers are the most accessible materials.
Here, we’ll focus on the growing availability of truly transparent materials. First, we will cover the main methods of transparent 3D printing (SLA and FDM) but clear prints also heavily rely post-processing steps, which we cover in best practices for attaining quality results. Finally, we offer a list of the top filaments and resins available for clear 3D printing.
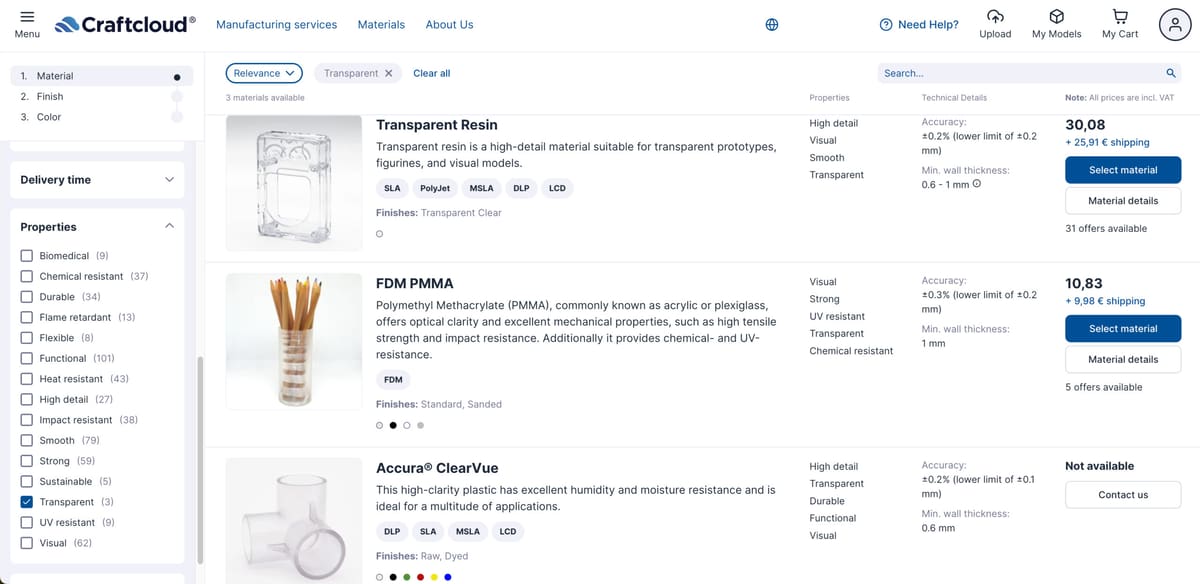
Although you’ll find many tips in this article, flawless transparent parts may be out of reach for many 3D printers. Instead of printing parts yourself, you can always turn to 3D printing services, such as Craftcloud’s price comparison service, to quickly find the best service at the best price.
Now, let’s explore the available methods for printing clear and transparent 3D parts.
Resin 3D Printing for Clear Parts

Resin-based printing methods (stereolithography, SLA; digital light processing, DLP; liquid crystal display, LCD) are the obvious first choice for transparent parts since the layer lines are less apparent than filament-based methods. These deliver near-clear results without much post processing.
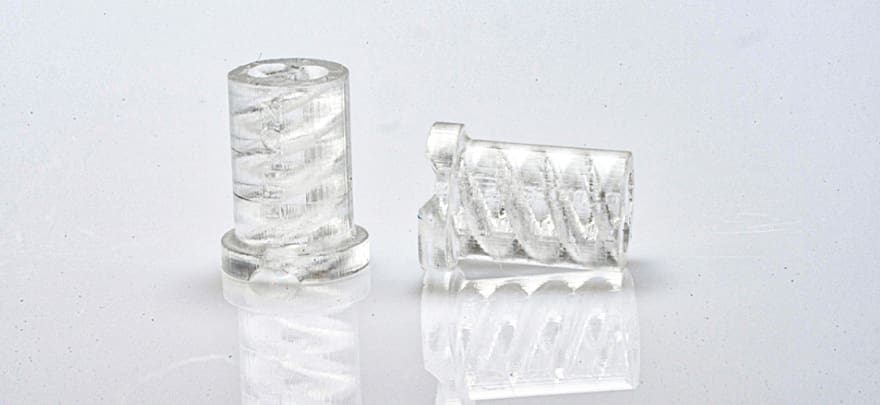
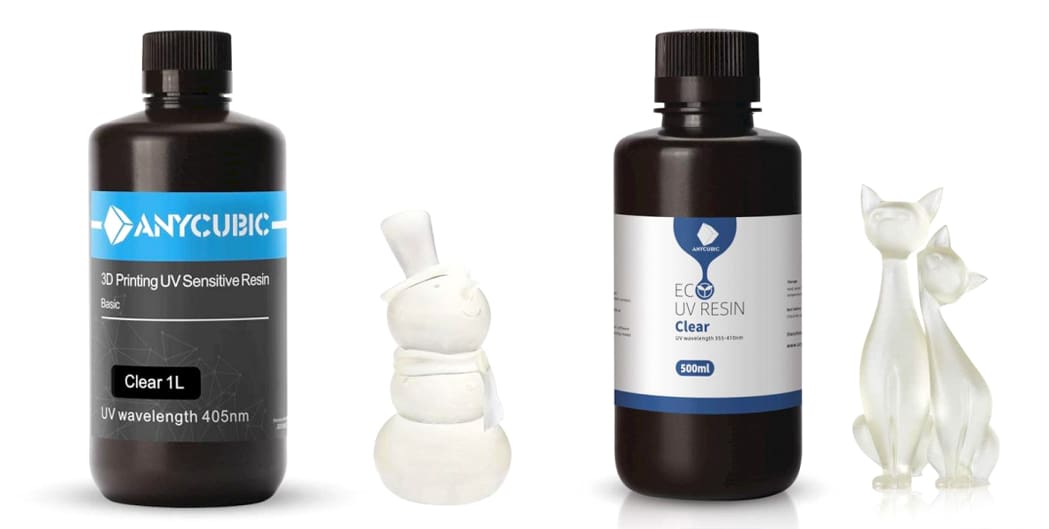
Transparent resins, when cured in UV light, create clear parts, but there are some tips to getting the clearest prints, such as printing at 100% infill density. This trick will definitely add hours to your print time, but it produces parts that can be crystal clear, even functional camera lenses.
Micro-Scale 3D Printing for Specialized Industries
Micro resin 3D printing technologies that produce tiny, finely detailed objects for research or medical applications can also achieve transparency. Microstereolithography (µSLA) prints parts on the micro-scale, or resolutions between 2 microns (µm) and 50 microns. It requires specialized resins, sophisticated lasers, and the addition of focusing lenses, which generate almost unbelievably small points of light. Two-Photon Polymerization (TPP) is a similar technology to µSLA but gets even smaller. TPP is currently used in research, medical applications, and manufacturing for tiny parts, such as micro-sized electrodes and optical sensors.

There’s another resin-based technology from ceramic 3D printing company Lithoz, in partnership with German glass manufacturer Glassomer. Called “LithaGlass,” the product begins with a quartz-glass-based slurry enabling the flexibility of 3D printing and the performance of fused silica glass. The post-processing involves the sintering of the print in an oven that reaches 1,300°C to melt away the polymer binder and fuse the glass particles into a solid, transparent piece. Despite the melting away of material, the company claims that the parts retain their shape after an isotropic (equal in all directions) shrinkage. As of 2025, this material is still classified as a “pre-series material” research project on the Lithoz website.
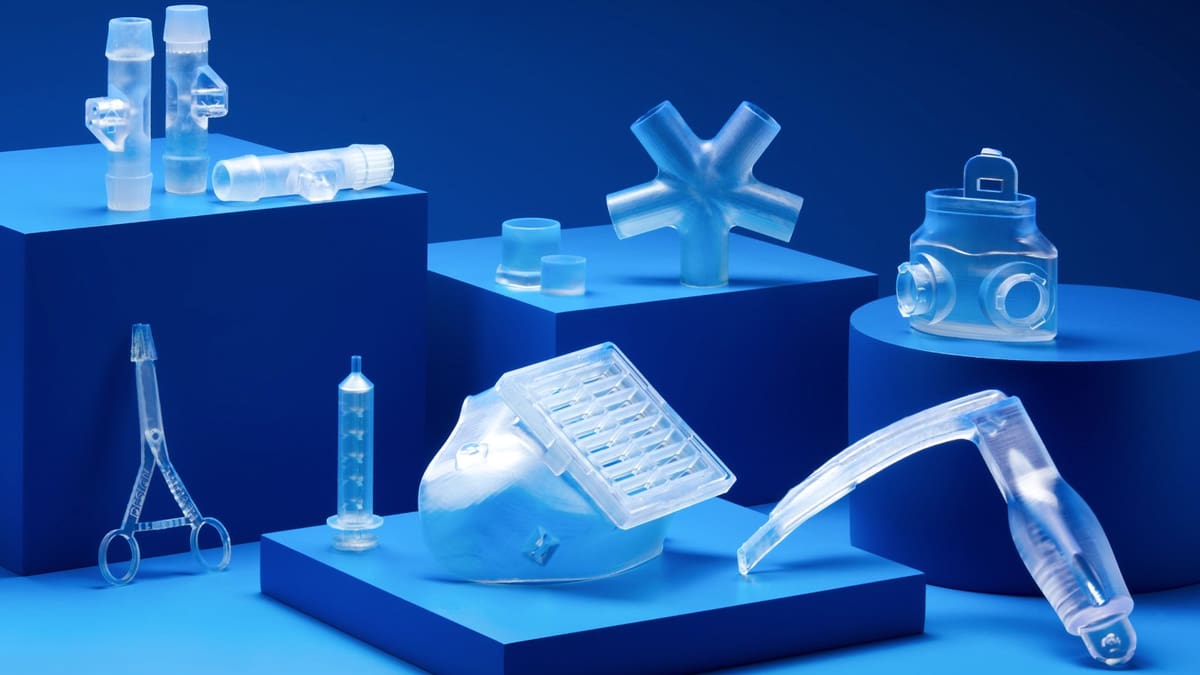
3D Print-Service-Level Clear
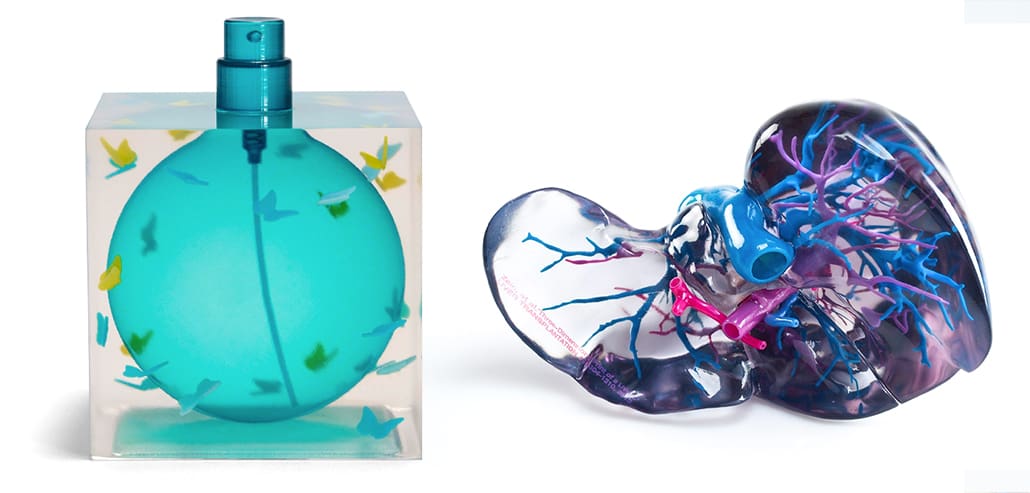
Product prototypes and medical models like those pictured above are made the a 3D printing technology called material jetting, it’s another resin-based method where UV-curable resin is deposited drop by drop onto a surface and cured instantly with UV light. This isn’t consumer-level technology but anyone can order material jetted parts at a 3D printing service.
Polyjet is the most popular brand of material jetting. It was developed by 3D printer maker Stratasys. To get clear prints using Polyjet, you begin with a clear resin (such as VeroClear by Stratasys). For best results, Polyjet parts must typically be finished with a lacquer, polish, or photobleaching process.

Another brand to select would come from 3D printer maker Mimaki. It’s proprietary technology is also a type of material jetting. It uses inkjet print technology to deposit UV-curable liquid resin in white, clear, and CMYK, along with soluble support material on a bed layer by layer. Each layer is cured by the UV light.
FDM 3D Printing for Clear Parts
Fused deposition modeling (FDM) enables you to achieve transparent parts with transparent filament as the starting material. In real-world FDM prints, layer lines and air gaps scatter light, so even the clearest polymer won’t look like a sheet of acrylic without post-processing (sanding, vapor polishing for some plastics, or resin coating), which we detail below.
Clear filaments are available in these types of polymers:
If you have these four polymers to choose from, PMMA is the most naturally clear and with polishing, it can look nearly glass-like. It can achieve excellent light transmission (~92%, close to glass), however, it tends to be brittle, and in FDM printing it can crack.
Polycarbonate has very good transparency (~89% light transmission) and is tougher and more impact/heat resistant than PMMA. It need high temperatures to print will but can achieve high clarity if printed slowly and post-processed.
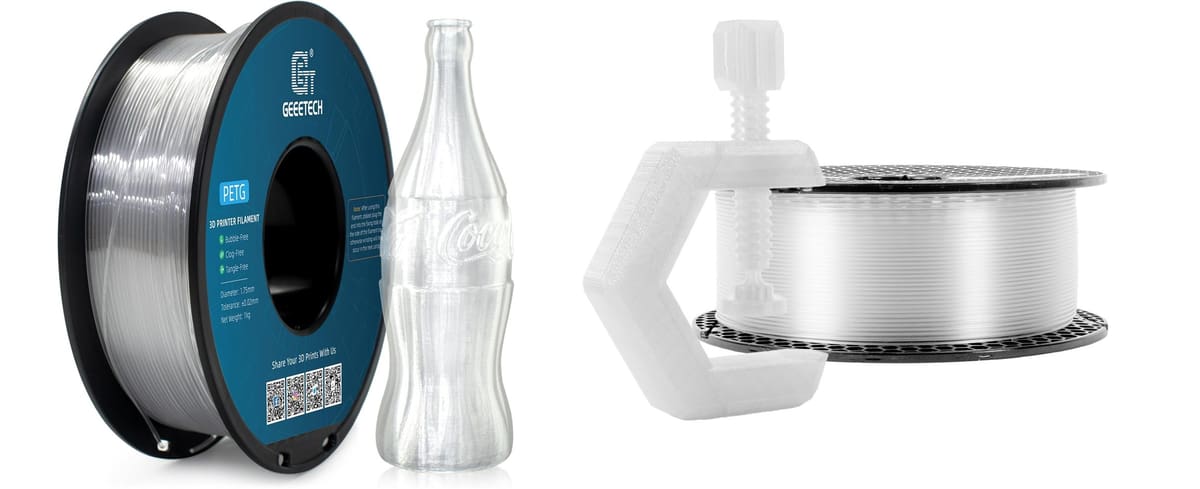
PETG is naturally translucent, with light transmission around 88–90%, but can be made more clear with optimized settings (high temp, slow speed, thicker layers, polishing). Is cheaper and easier to print than PC or PMMA.
PLA is available in “clear”, but it usually looks milky or translucent, not glass-like, even with post processing.
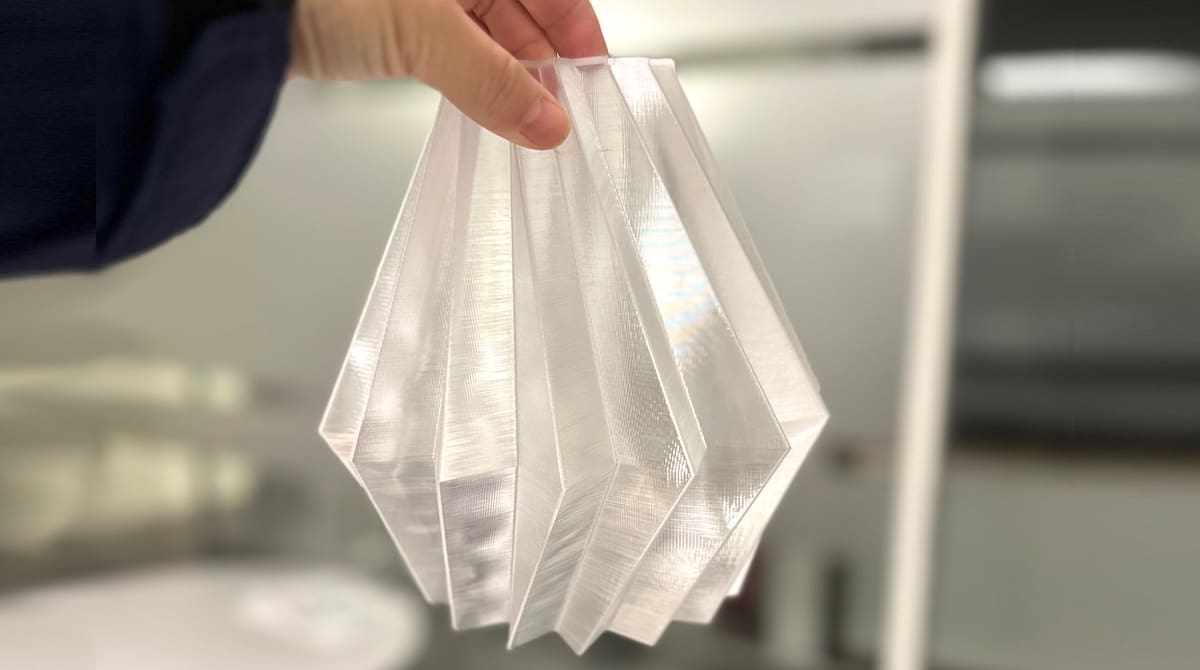
If you’re looking to print large items, such as a lamp shade or signage, clear material in pellet form — used with pellet-material extrusion systems — is more economical. Often the same material used in injection molding, clear pellets are available in more variety than their filament cousins but often not sold in small quantities.
Printing Tips: FDM & Resin
When printing using FDM, there are certain print settings that can improve print quality. For example, you should use a higher hot end temperature, a larger layer height, and a low infill. These steps will ensure that the clear material is properly melted, spaced out, and hollow enough for optimal transparency.
Also consider your part orientation. Do you need transparency perpendicular to the Z-axis, in the XY-plane, or complete transparency? For making a transparent vase, you most likely will only need transparency in the X- and Y-axes (across it). For making a flat window, you only need transparency through the Z-axis. For complete transparency, you’ll need transparency in all axes.
Achieving transparency in the X- and Y-axes requires large layer heights relative to the nozzle size used. Larger, more spherical layers tend to refract less light, thus leading to a more see-through 3D printed part. According to material manufacturer Taulman3D, printing at 70% – 90% of the nozzle diameter results in more transparent prints.
Best FDM Print Settings to Improve Transparency:
- Print slower (25% – 30% of your normal print speed)
- Print thicker layers by using a larger nozzle
- Print at 70% – 90% of the nozzle diameter to obtain a structure that refracts less light
- Use the highest nozzle temperature within the filament’s range (ensuring fusing of the plastic and to reduce micro-bubbles)
- Use a flow rate above 100% (such as 108%)
- A single direction for infill
- Disable your fan or print cooling since fast cooling can lead to micro-bubbles.
With resin transparent 3D printing, best practices for achieving true transparency happen mainly in post-processing, which we cover below, but one tip to try during printing is adding a bit of blue dye to clear resin in order to counteract the yellowing process of the UV light during the curing – though that can result in cloudy prints and some experimentation is required.
Best Resin Print Settings to Improve Transparency:
- Optimize exposure settings: Overexposure can lead to a frosty or cloudy look (resin cures beyond the intended boundary), Underexposure can lead to weak layers that scatter light. Dial in exposure using a test print.
- Layer height: Thinner layers (25–50 µm) reduce visible layer lines for better clarity. Thicker layers cure faster but increase haze.
- Model orientation: Printing flat (parallel to build plate) requires fewer supports so smoother surfaces and clearer faces. Printing angled makes a stronger print, but more supports so more post-processing needed.
Post-Processing Tips for the Clearest Resin Prints

With most 3D printing, post-processing is necessary to achieve the desired results. Transparent printing is no different. In fact, much of the actual transparency is achieved here.
Although resin can produce truly stunning transparent parts right from the printer once you put those parts through the standard resin washing and curing you often end up with cloudy opaque parts. Don’t worry, you can get them back to a transparent finish with some post-processing.
First, resin parts must be cleaned or any resin residue. Typically this is done with isopropyl alcohol. Then they are cured under UV light. Avoid over curing to prevent yellowing. Finally, parts must be sanded, polished, and finished with a clear coat or lacquer.
For best results, sanding should begin at 400 grit, moving incrementally all the way to 12,000 grit, at which point parts become reflective. After sanding and polishing, spraying on a clear coat produces a nice finish and also protects from UV exposure which can lead to yellowing. Parts can alternatively be dipped in resin for a truly smooth finish (though this is not ideal for lenses).
An industrial post-processing method used with PolyJet 3D printing is known as photobleaching. This method requires an additional machine, such as the ProBleacher made by Stratasys.
Post-Processing Tips for the Clearest FDM Parts
When it comes to FDM prints, sanding off the layer lines as described above in the resin section is required.
After you’ve spent some time removing surface material from your 3D printed parts, it’s time to add material. Clear coating is often overlooked but remains a simple, effective, and quick way to smooth, fill imperfections and enhance the clarity of clear parts.
Clear coats and lacquers come in different finishes from matte, satin to semi-gloss, and gloss. Although there are coatings for 3D printed parts, lacquers for clear automotive parts work just as well.
Spray the lacquer from around 30-cm away, moving side to side while spraying to ensure a consistent coat and to avoid overspray. Depending on the specific spray you may want to wait at least 24 hours at room temperature before handling the part.
Once dry, sand again with a very high grit sandpaper (1000+) to remove any imperfections in the coat, such as stray dust particles, overspray, or “orange peeling”. Once sanded, rinse the part in clean water and ensure the part is dry and free from dust before applying another coat.
Depending on how coarse and rough the surface is, you may need to apply additional coats of lacquer. A word of caution though, do not be tempted to apply a thick, heavy coat of lacquer because this will result in a tacky surface that never seems to dry.
Some filament-based 3D printed parts can be treated with solvents, but be warned that solvents cannot be used on all FDM print materials. Using a solvent on ABS parts, for example, results in an unpleasant cloudy finish.
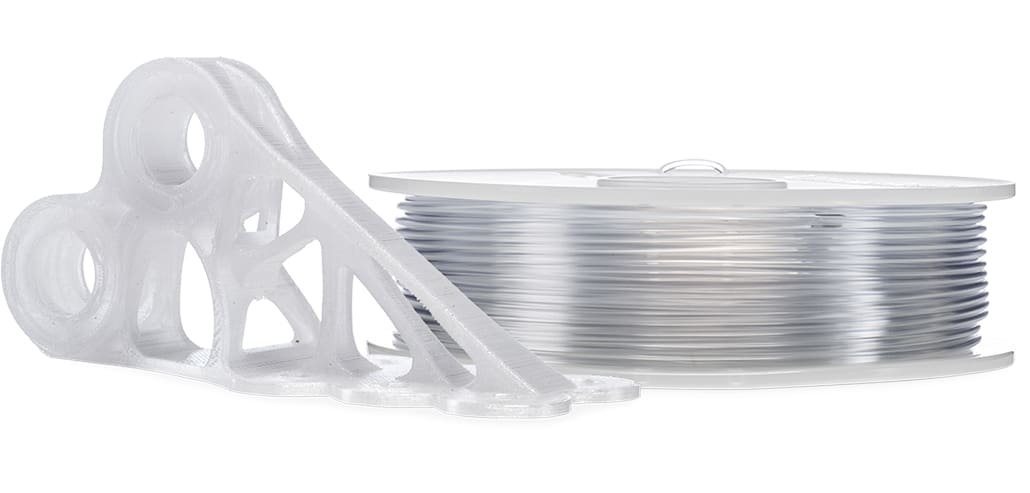
PolySmooth filament, for example, is designed specifically for models which are intended to be transparent. PolySmooth can be finished with ethanol, which is sprayed onto the print and left to dry for several days. Several reapplications turn the part transparent. However, the part may lose dimensional stability as a result of the solvent.
Transparent Resin Buyers' Guide
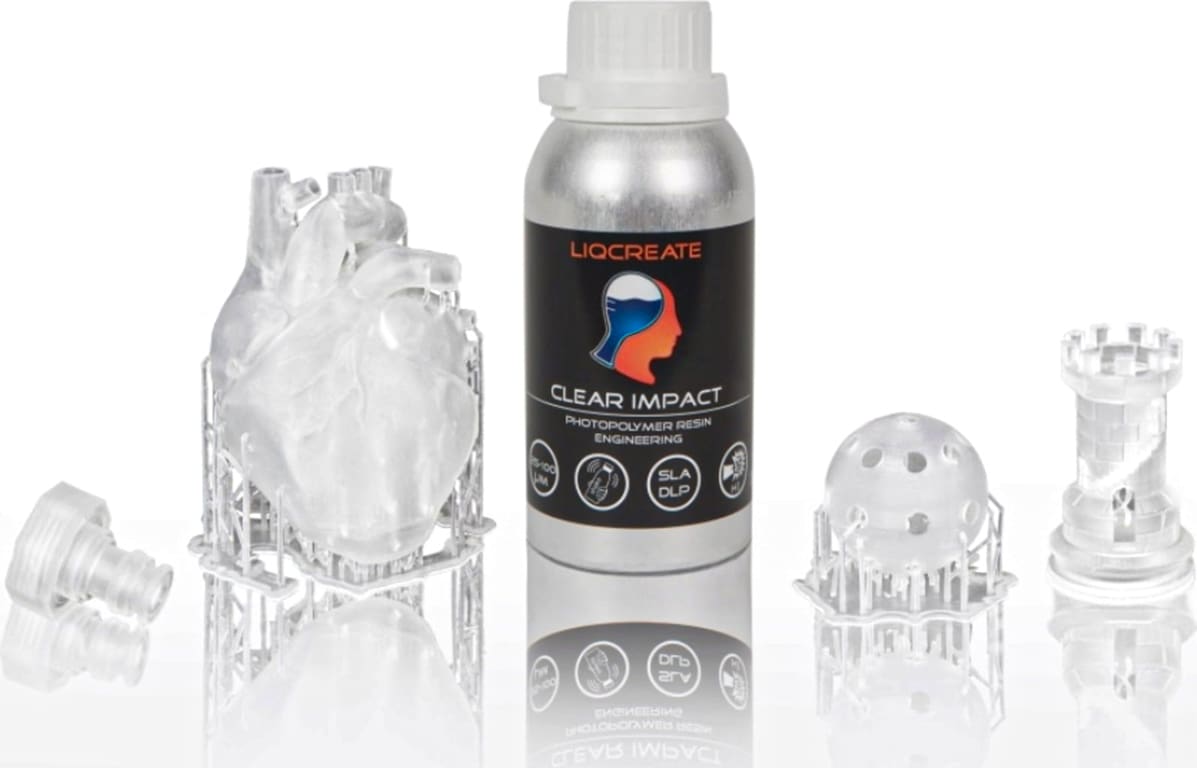
There is an ever-growing number of resins for SLA and Polyjet printers. These can be found in a range of price points, from consumer-friendly options like Siraya Tech Simple Resin Clear to dental or medical-grade products.
When selecting a clear resin always check to see which one is approved for use in your 3D printer. In other words, which one has a printer profile, which means that the printer manufacturer has tested this resin in that particular machine and developed the optimal print settings for it. You’re not limited to printer-approved materials, but if you select a third-party resin, you’ll need to do some testing to come up with your own optimal workflow.
Consumer 3D Printing Resins
Professional 3D Printing Resins
Biocompatible Resins
Specialty Resins
Transparent Filament Buyers' Guide
As we mentioned above, filament materials for 3D printing various plastics, from PLA and PETG to ABS and polycarbonate. Among these, PLA and ABS are the most commonly used, with PLA being one of the easiest to work with and yielding excellent transparency. If you have other mechanical requirements for you parts, such as withstanding outdoor conditions, you’d want to go with PETG or polycarbonate.
We have a full guide to the best clear filaments at “Clear Winners: The Best Transparent & Clear PLA Filaments of 2023.”

If you’d like to get something printed in transparent filament but don’t want to deal with any printing challenges, try Craftcloud by All3DP. When professionally printed, some of the material options come out looking almost exactly the same as glass.
Ordering Clear Parts from a 3D Printing Service
If your product prototype or end-use part has to be transparent and you don’t have the time or inclination for the labor involved in the process, the easiest option is to put your product in the hands of professionals.
3D printing services will almost always use industrial-grade 3D printers, just as PolyJet, and higher-quality resins than those available for home use.
When ordering online and faced with choosing clear FDM or clear resin (SLA or PolyJet), FDM will be cheaper but resin will be more clear, generally. Size may be a constraint for resin unless you find a service with one of the very large 3D Systems resin machines.
For companies that offer a transparent material options the post-processing steps that are required for transparency are already included but for some company, you may need to select a “finish.” In this case, chose polished or smoothed.
License: The text of "Complete Guide to Clear & Transparent 3D Printing" by All3DP Pro is licensed under a Creative Commons Attribution 4.0 International License.