Nowadays, there are many different ways of designing an object, whether it be two or three-dimensional. Of course, digital solutions, such as computer-aided design (CAD) and drafting programs, are the most popular. Still, some people prefer to use traditional media such as pen and paper.
However, the medium used for designing isn’t as black-and-white as you might think. Many people use a mix of both traditional and digital methods, drawing out iterations on paper and later developing them digitally. The challenge with this process is that users have to manually convert their hand-drawn images to digital versions.
In this article, we’ll go over how you can convert a handmade drawing into a 3D image or model. It’s important to note that the conversion process varies depending on the complexity of the 3D image or model you want to create. We’ve compiled a few methods, each appropriate for different end results. We’ll review how each method is done and what tools exist for the process.

3D Images
In this category, we’ll go over how you can make 2D sketches appear three-dimensional. We’ll also cover a few programs that can assist with this process.
3D in 2D
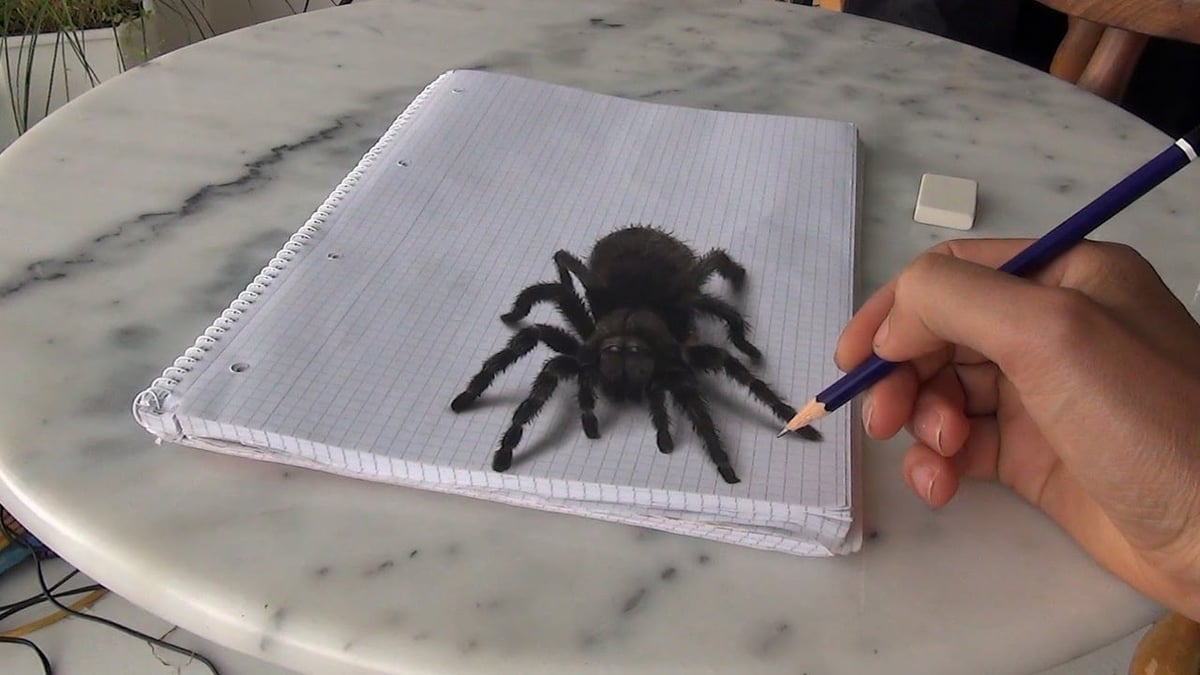
Since the Renaissance, artists have been developing 3D drawing techniques to give images a sense of depth. Some techniques involve creating a 2D sketch that appears three-dimensional from at least one perspective. A few fun and popular examples include sidewalk illusions and objects reaching beyond their 2D plane.
While 3D drawing can be done on paper, software solutions also allow you to draw in 3D, using similar digital techniques. These programs aren’t your regular sketch-to-3D design programs, as they aren’t wholly 3D modeling oriented.
Mental Canvas
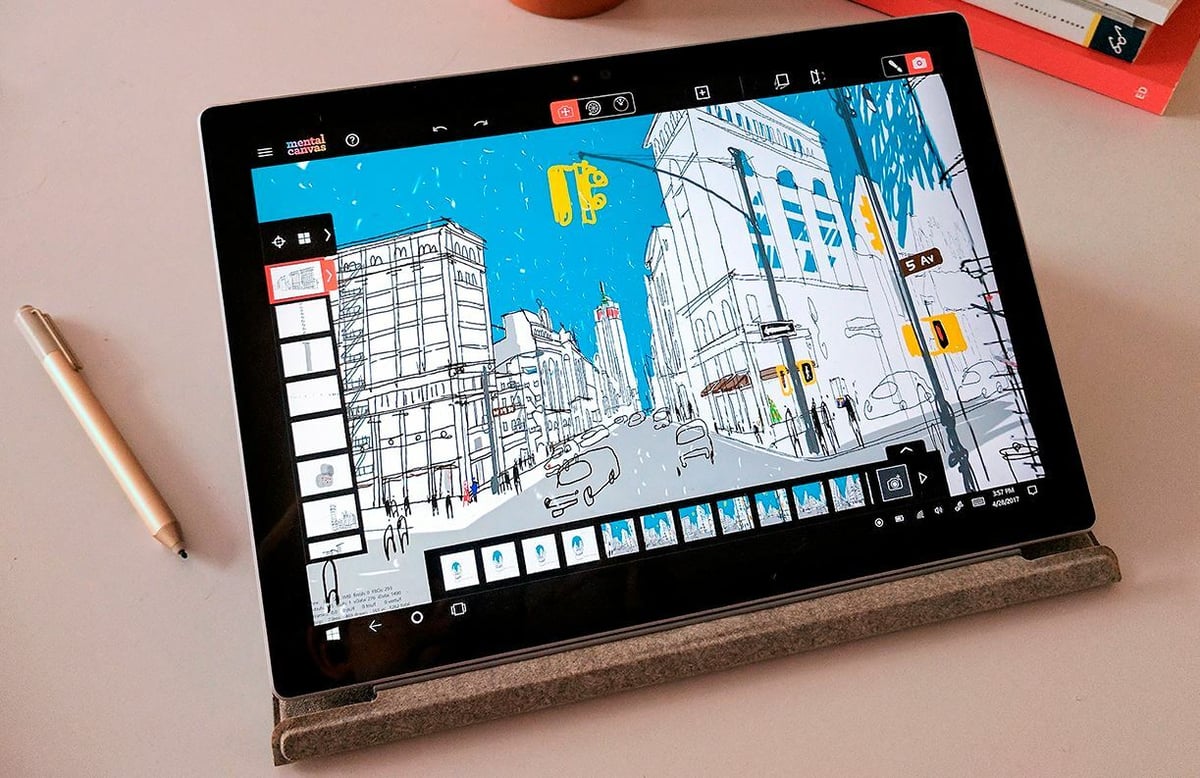
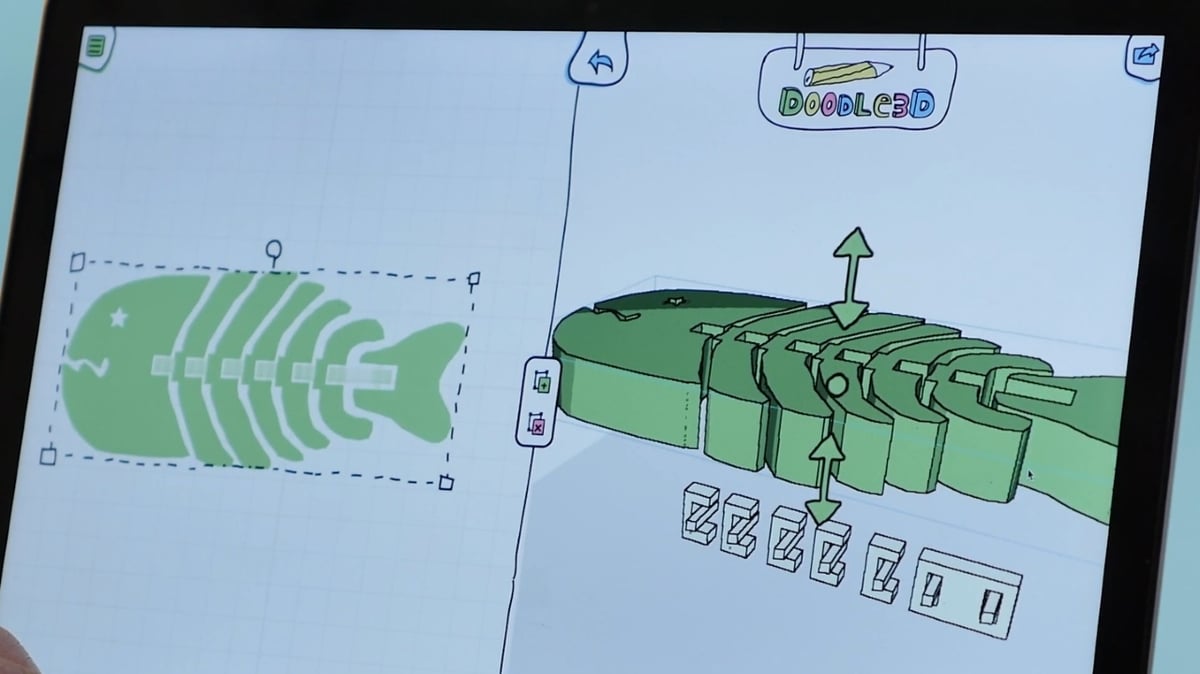
Our first example of a 3D drawing program is Mental Canvas, specifically the Mental Canvas Draw application. It lets you draw in 3D. The program essentially works by having a collection of 2D planes that exist together in a 3D space. This allows you to move your perspective and draw 2D figures in a 3D space.
Gravity Sketch
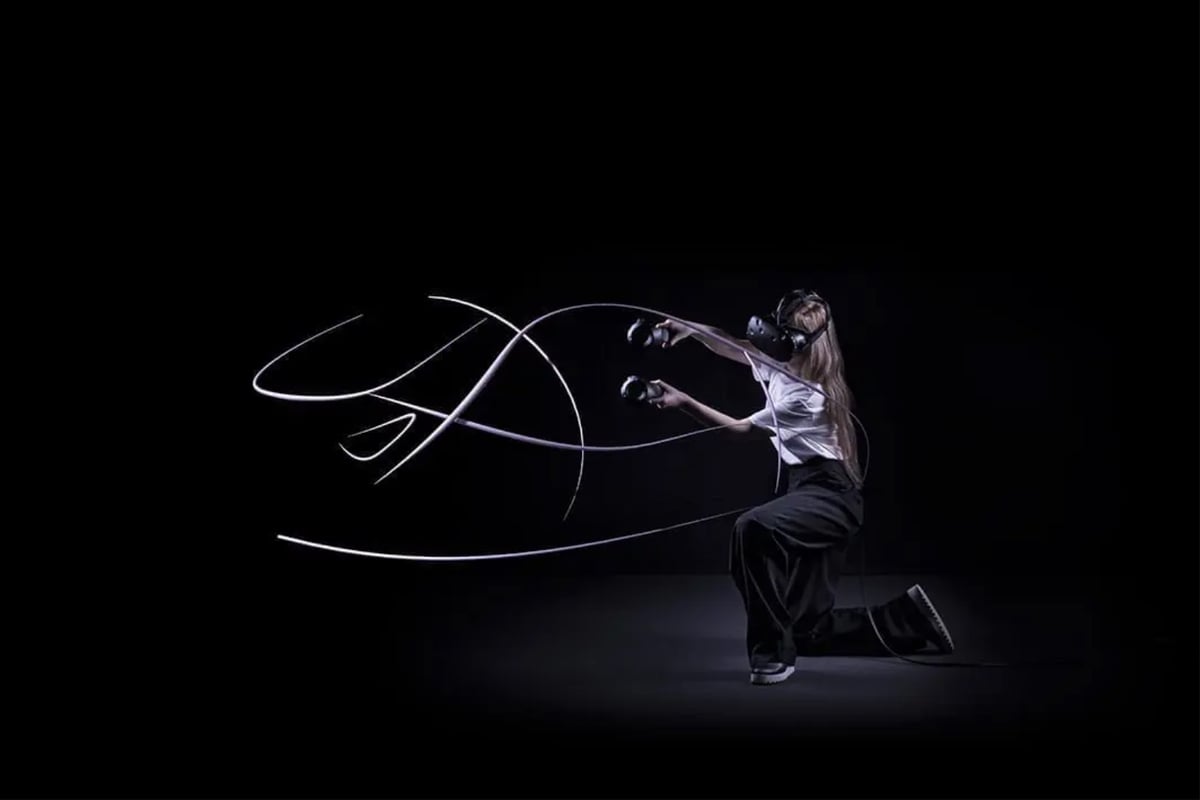
Another example of a 3D drawing software solution is Gravity Sketch, a CAD and 3D drawing program compatible with traditional computers and virtual reality systems (such as Oculus). Gravity Sketch has many standard CAD functions but is also equipped with 3D drawing features, namely its free-form sketching and tracing over 2D images tools.
Free-form sketching allows you to create a 2D drawing in a 3D design space with an adjustable perspective. Gravity Sketch’s other 3D drawing feature (tracing over 2D images) is similar but allows you to make your 3D drawing around an imported 2D image. Your 3D drawing or trace can also be made into a 3D wireframe model.
3D Modeling
3D modeling is the process of creating a representation of an object in a digital three-dimensional space. In this category, we’ll go over how you can create both basic and complex 3D models from 2D sketches. We’ll also present you with some software solutions that can help automate the sketch-to-3D model process.
Going Digital
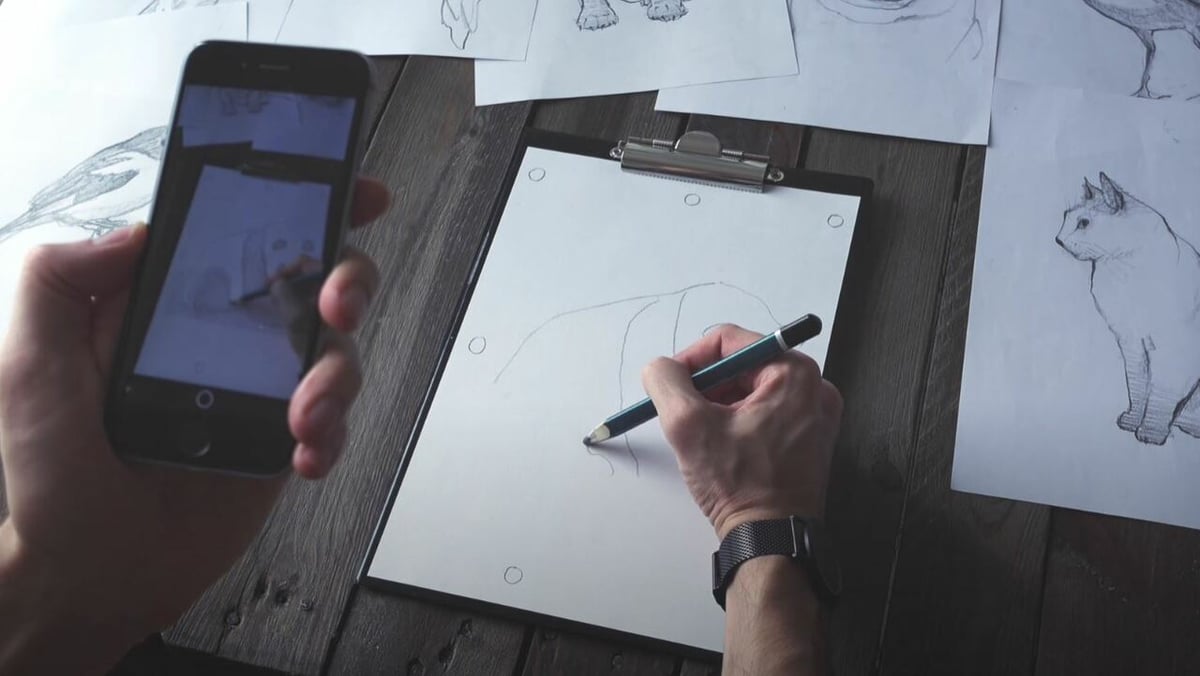
The most basic conversion we’ll go over is digitizing a 2D sketch, which can be done with a scanning device such as an integrated scanner on a paper printer or even a smartphone with a camera. If you opt to take the phone route, make sure to download a proper scanning app, such as Adobe Scan, Microsoft Office Lens, or SwiftScan.
Using an electronic drawing device (e.g. tablet and pen) automatically completes this step because your sketch is already digital. Creating your drawing digitally also saves time if you make your drawing in a vector-based platform, such as Adobe Illustrator, because you won’t need to vectorize the image.
Vector vs. Raster
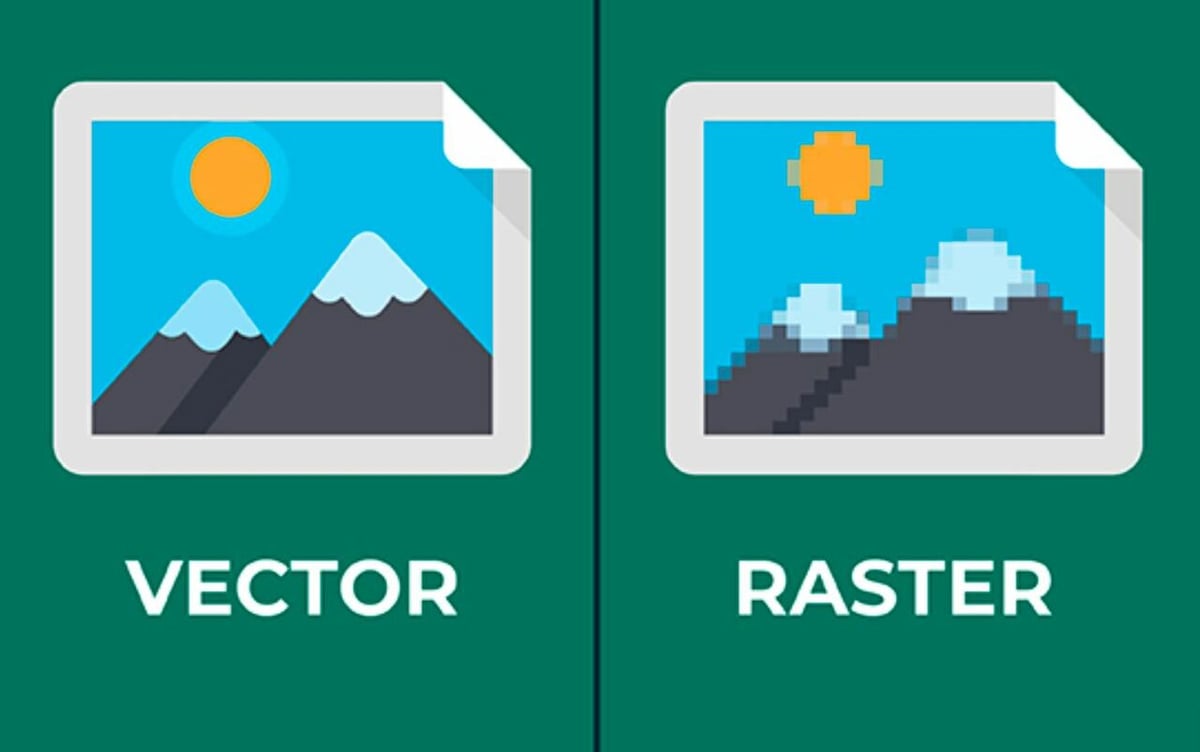
After digitizing your pen-and-paper sketch, you now have to vectorize the drawing. That’s because most scanning platforms export your drawing scan in a scalar (opposite of vector) file format, such as JPG. This makes it hard to edit individual features on your image or scale your image without a loss of quality.
To fix this, you can vectorize the image to turn it into a set of mathematically calculated features that can easily be manipulated. You can vectorize your image by uploading it to vector-based graphic design software – such as Adobe Illustrator, CorelDraw, or Inkscape – and using a vectorization tool. Once vectorized, you should look at your drawing and correct any imperfections that may have occurred during vectorization.
Alternatively, you can trace over your scanned drawing, which is especially handy if you’re using a graphics design platform without a vectorization feature. This will create a digital replica of your drawing that you can edit, move, and adjust.
Basic 3D Models
The second conversion we’ll go over is turning a sketch of a 3D object into a basic digital 3D model. By “basic 3D model”, we mean 3D models that only contain detail across two dimensions, such as a cube or cylinder.
If necessary, digitize your paper sketch as we discussed in the previous section, then save your digital sketch from your graphics editing platform into a file format capable of storing 2D data (e.g. DXF, DWG, SVG). Next, import the 2D drawing file into a CAD program, such as Fusion 360, Onshape, or AutoCAD. When you import the 2D drawing, make sure that the software uses the drawing file as a 2D sketch and not for other purposes (e.g. reference image).
The next step is to adjust and verify the integrity of your 2D sketch before giving it a third dimension. This means checking that your sketch matches your desired dimensions and overall shape. You should be able to use the drawing features available in your CAD program to make any changes, including ensuring the sketch is a closed figure.
Finally, use a depth-providing modeling feature on the CAD program to turn your finalized 2D sketch into a 3D model. There are a few 3D modeling tools that accomplish this task, and two popular ones are the extrude and revolve tools.
And now you’ve turned a paper drawing into a 3D model!
Complex 3D Models
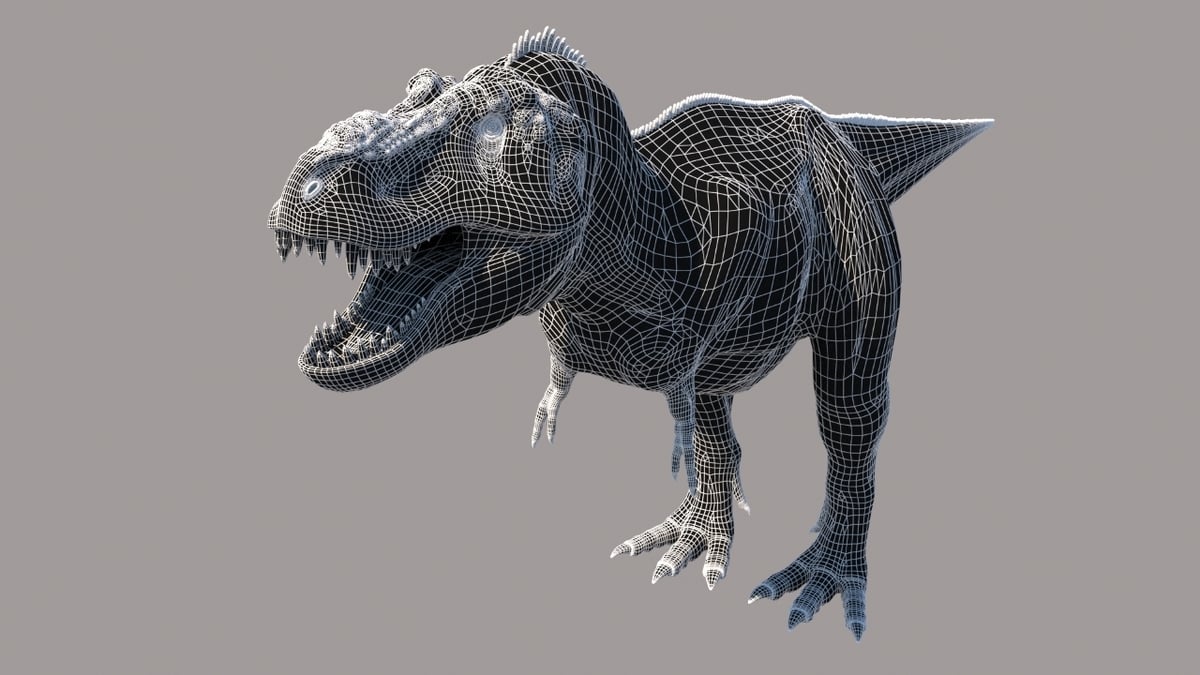
Although we’ve covered how to create basic 3D models from digital sketches, you may also be curious about how to make complex 3D objects. Complex 3D models describe 3D objects with detail across all three dimensions, such as most real-world objects (e.g. cars, architectural structures, or character models).
Unlike basic objects that can be converted to 3D by adding a third dimension, the features of complex 3D models must be built out manually. To aid you in this enhancement process, make sure to have more sketches of your desired complex 3D model, each from a different perspective. The sketches can be uploaded as reference images and superimposed over your design space to allow you to easily replicate features from the sketch.
The first step is to digitize and vectorize your drawings in the other perspectives using the method we explained in the Going Digital section. Next, choose a sketch in any perspective that you want to begin with and use the method described in the previous section to create a basic 3D model based on that sketch.
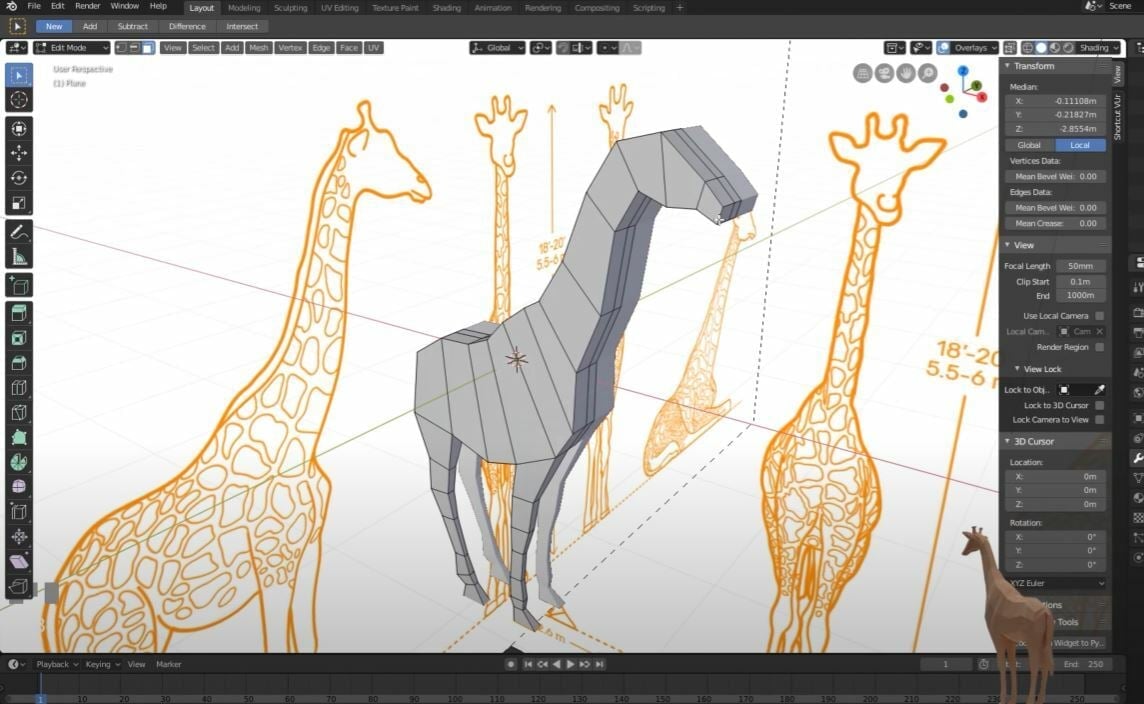
In order to edit this basic model to become the complex object you’ve designed, we’ll have to upload it into an advanced 3D design or modeling program, such as Fusion 360 or Blender. You should also upload your reference images of the other perspectives to the design space. Make sure to place your reference images on the proper planes and to align them with your perspective of the model to assist you in designing.
After uploading, you can use the software’s 3D modeling tools to modify your basic 3D model. While generic modeling tools work well for this process, sculpting tools also are useful for manipulating the shape of the model. This process involves a manual element, allowing you to make a complex 3D model that exactly fits your vision.
Automated 3D Modeling
As you’ve probably figured out by now, converting a sketch to a complex 3D model is a long and often very manual process. Although this allows for a lot of customization when creating a model, not every user is skilled enough in 3D design programs to execute their vision.
Luckily, there are a few programs that can help users with this process. These programs can automatically detect features displayed on a 2D drawing and convert them to 3D features on a 3D model. You’ll also need to upload sketches of the model from different perspectives, as this will help the program determine where features are located on a complex 3D model.
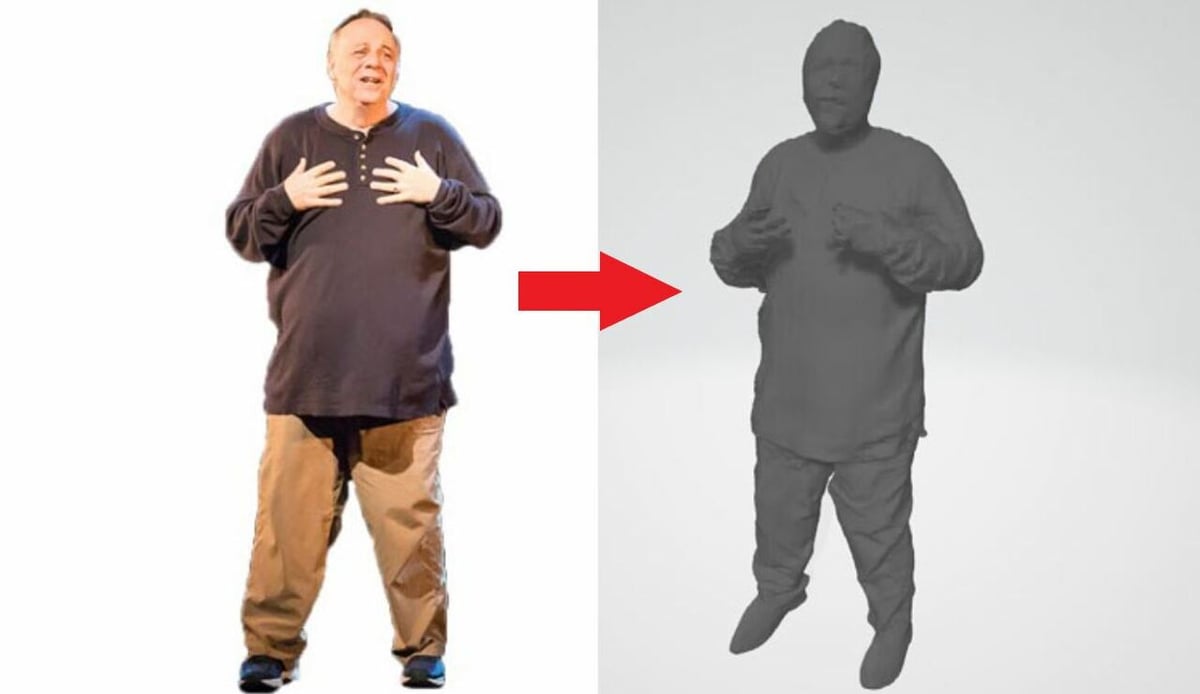
One fairly accurate 2D to 3D conversion program is the PIFuHD application, which can turn a digital image with a transparent background into a rough (not the best detail) 3D model. This program is especially great because it’s compatible with Blender, a popular computer graphics and CAD platform.
According to some users, FlexiDesign and Anvil Express are also great options capable of a form of automated conversion. Of course, all of these programs can’t read just any type of sketch or image. These programs usually have a set of requirements for the imported sketches, so try to use the one that works best with your sketch or image.
Overall, an automated conversion solution can significantly speed up the design process when performed correctly. However, it’s important to keep in mind that these programs carry an intrinsically higher likelihood of messing up than more manual methods because the detection software isn’t always perfect.
License: The text of "Sketch to 3D: How to Convert a Sketch into a 3D Image/Model" by All3DP is licensed under a Creative Commons Attribution 4.0 International License.